ローカル環境を汚さず好きなだけ WordPress の環境を用意する方法をまとめました。
はじめて WordPress を使う人でもわかりやすいように記述しました。
準備
Dockerは以下を参考にインストールしておいてください。
Windowsのインストール手順
http://docs.docker.jp/docker-for-windows/step_one.html
Windows10 Professonal 64bit用ダウンロードページ
https://hub.docker.com/editions/community/docker-ce-desktop-windows/
上記以外のWindows用ダウンロードページ
https://github.com/docker/toolbox/releases
Macのインストール手順
http://docs.docker.jp/docker-for-mac/step_one.html
この記事を書いた際の環境は下記のとおりです。
- MacOS Catalina 10.15.3
- Docker 19.03.5
- docker-compose 1.25.4
作業用ディレクトリを作る
※作成場所はどこでも構いません。フォルダ内で環境が管理できるので、複数環境を作りたい場合は複数フォルダを作ればOKです。
mkdir wordpress1
DBサーバとAPサーバの定義を用意する
テキストエディタで以下の内容のファイルを作り、作成したフォルダ内に docker-compose.yml という名前で保存します。(文字コードはUTF-8 BOMなし)
version: "3.7" # docker-composeの書式のバージョン
services: # 以下にサーバ情報を記載
  db: # データベースサーバ(MySql)名(任意の名前を指定可)
    image: mysql:5.6 # 使用するデータベースのイメージ名とバージョン(https://hub.docker.com/_/mysql)
    restart: always # PC再起動時などDocker自体が起動したときにこのサーバも自動で起動するよう設定
    environment: # 環境変数
      MYSQL_ROOT_PASSWORD: root # rootユーザのパスワード(任意に指定可)
      MYSQL_DATABASE: wordpress_db # WordPress用データベース名(任意に指定可)
      MYSQL_USER: wordpress_user # WordPress用接続ユーザ名(任意に指定可)
      MYSQL_PASSWORD: wordpress_pass # WordPress用パスワード(任意に指定可)
  ap: # アプリケーションサーバ(PHP,WordPress)名(任意の名前を指定可)
    image: wordpress:latest # 使用するWordPressのイメージ名とバージョン(latestは最新を表す https://hub.docker.com/_/wordpress)
    restart: always # PC再起動時などDocker自体が起動したときにこのサーバも自動で起動するよう設定
    depends_on: # 先に起動させるサーバを指定
     - db
    ports:
     - "10080:80" # アプリケーションサーバの80番ポートをローカルの10080番ポートにつなげる(http://localhost:10080 でアクセスできるようになる)
    environment:
      WORDPRESS_DB_HOST: db:3306 # データベースサーバ名:ポート番号
      WORDPRESS_DB_USER: wordpress_user # WordPress用接続ユーザ名(dbの内容に合わせる)
      WORDPRESS_DB_PASSWORD: wordpress_pass # WordPress用パスワード(dbの内容に合わせる)
      WORDPRESS_DB_NAME: wordpress_db # WordPress用データベース名(dbの内容に合わせる)
これで、db、apの2つのサーバが作成されます。
※複数環境を用意するときは ports: の 10080 がかぶらないように 10081,10082という感じで設定します。それ以外は同じで問題ありません。
サーバの起動
wordpress1 ディレクトリ内で下記コマンドを実行します。
docker-compose up -d
実行完了までしばらく待ちます。
起動確認
下記コマンドで各サーバの状態を確認できます。
docker-compose ps
下記のように表示されます。State が Up となっていれば起動しています。
     Name                   Command               State           Ports
-------------------------------------------------------------------------------
wordpress_ap_1   docker-entrypoint.sh apach ...   Up      0.0.0.0:10080->80/tcp
wordpress_db_1   docker-entrypoint.sh mysqld      Up      3306/tcp
Wordpress 初期設定
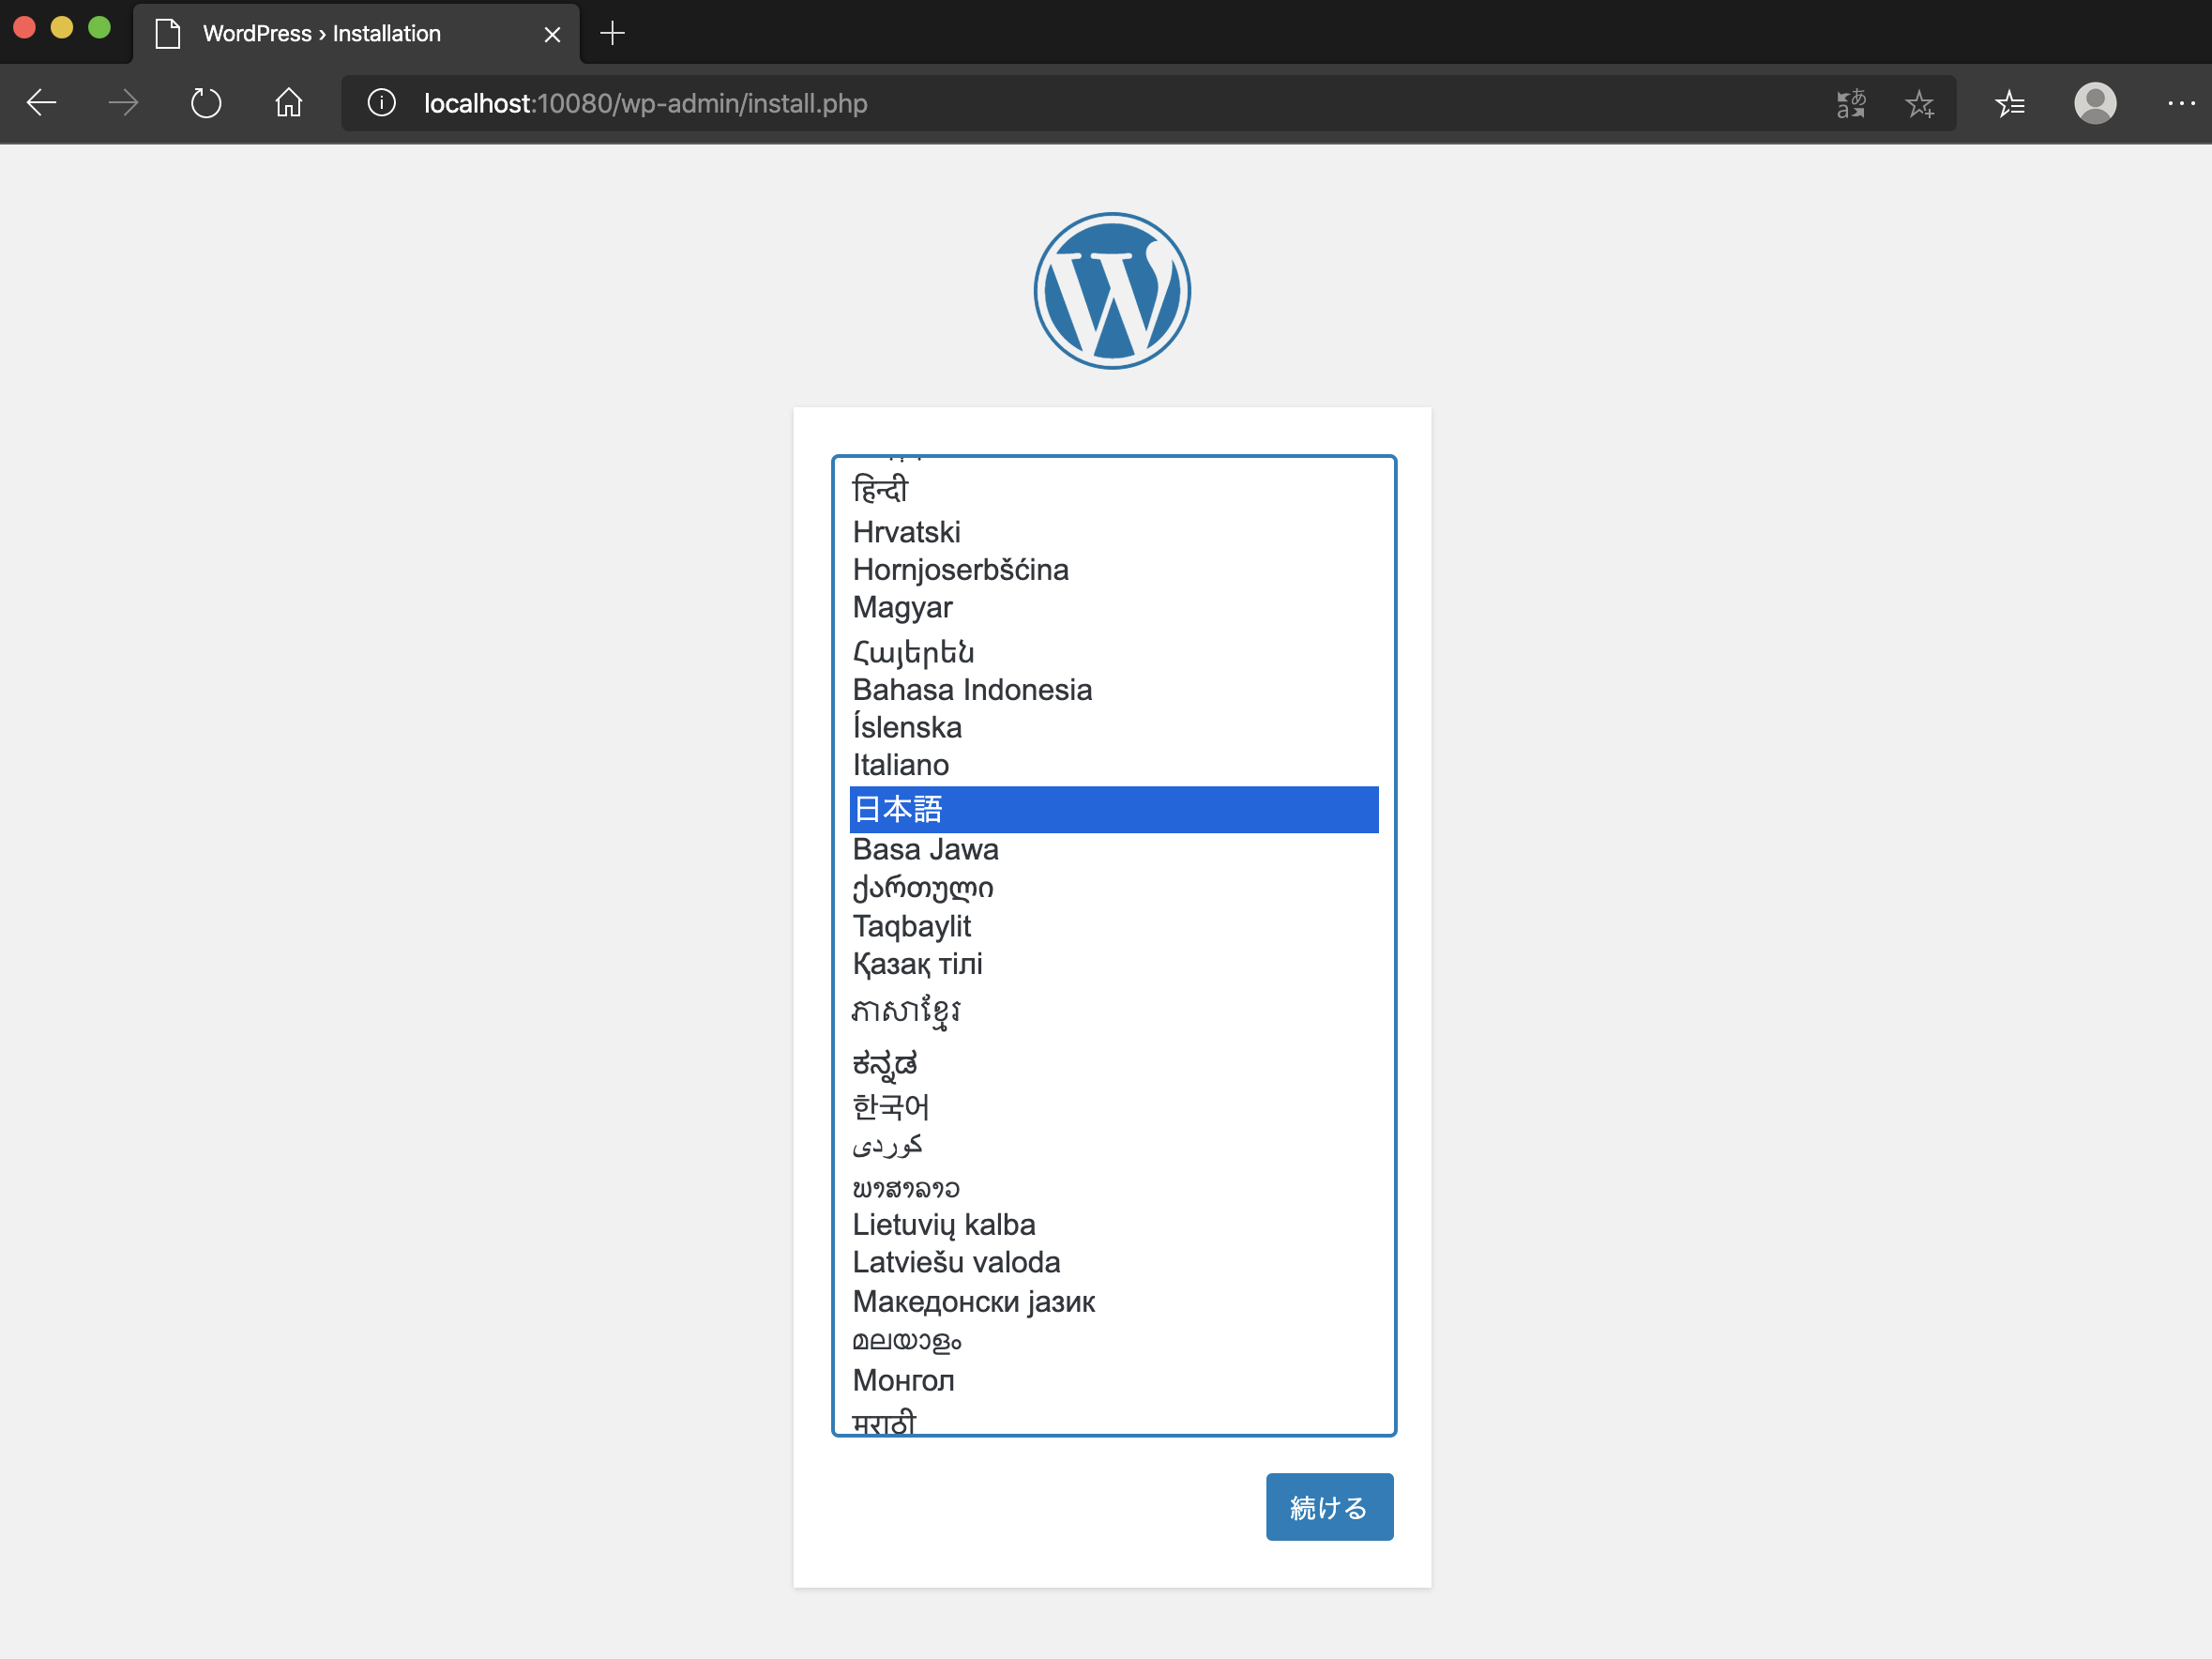
ブラウザで http://localhost:10080 にアクセスします。
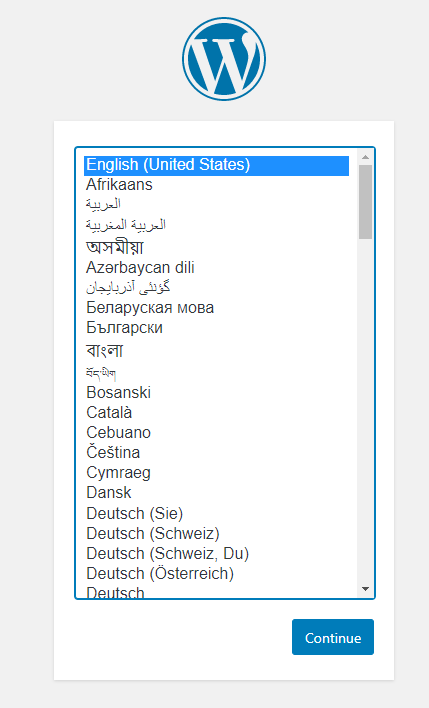
言語選択画面が表示されるので、日本語を選び「続ける」ボタンを押します。
必要情報入力
サイトのタイトル、ユーザ名、パスワード、メールアドレスを入力し「WordPressをインストール」ボタンを押します。
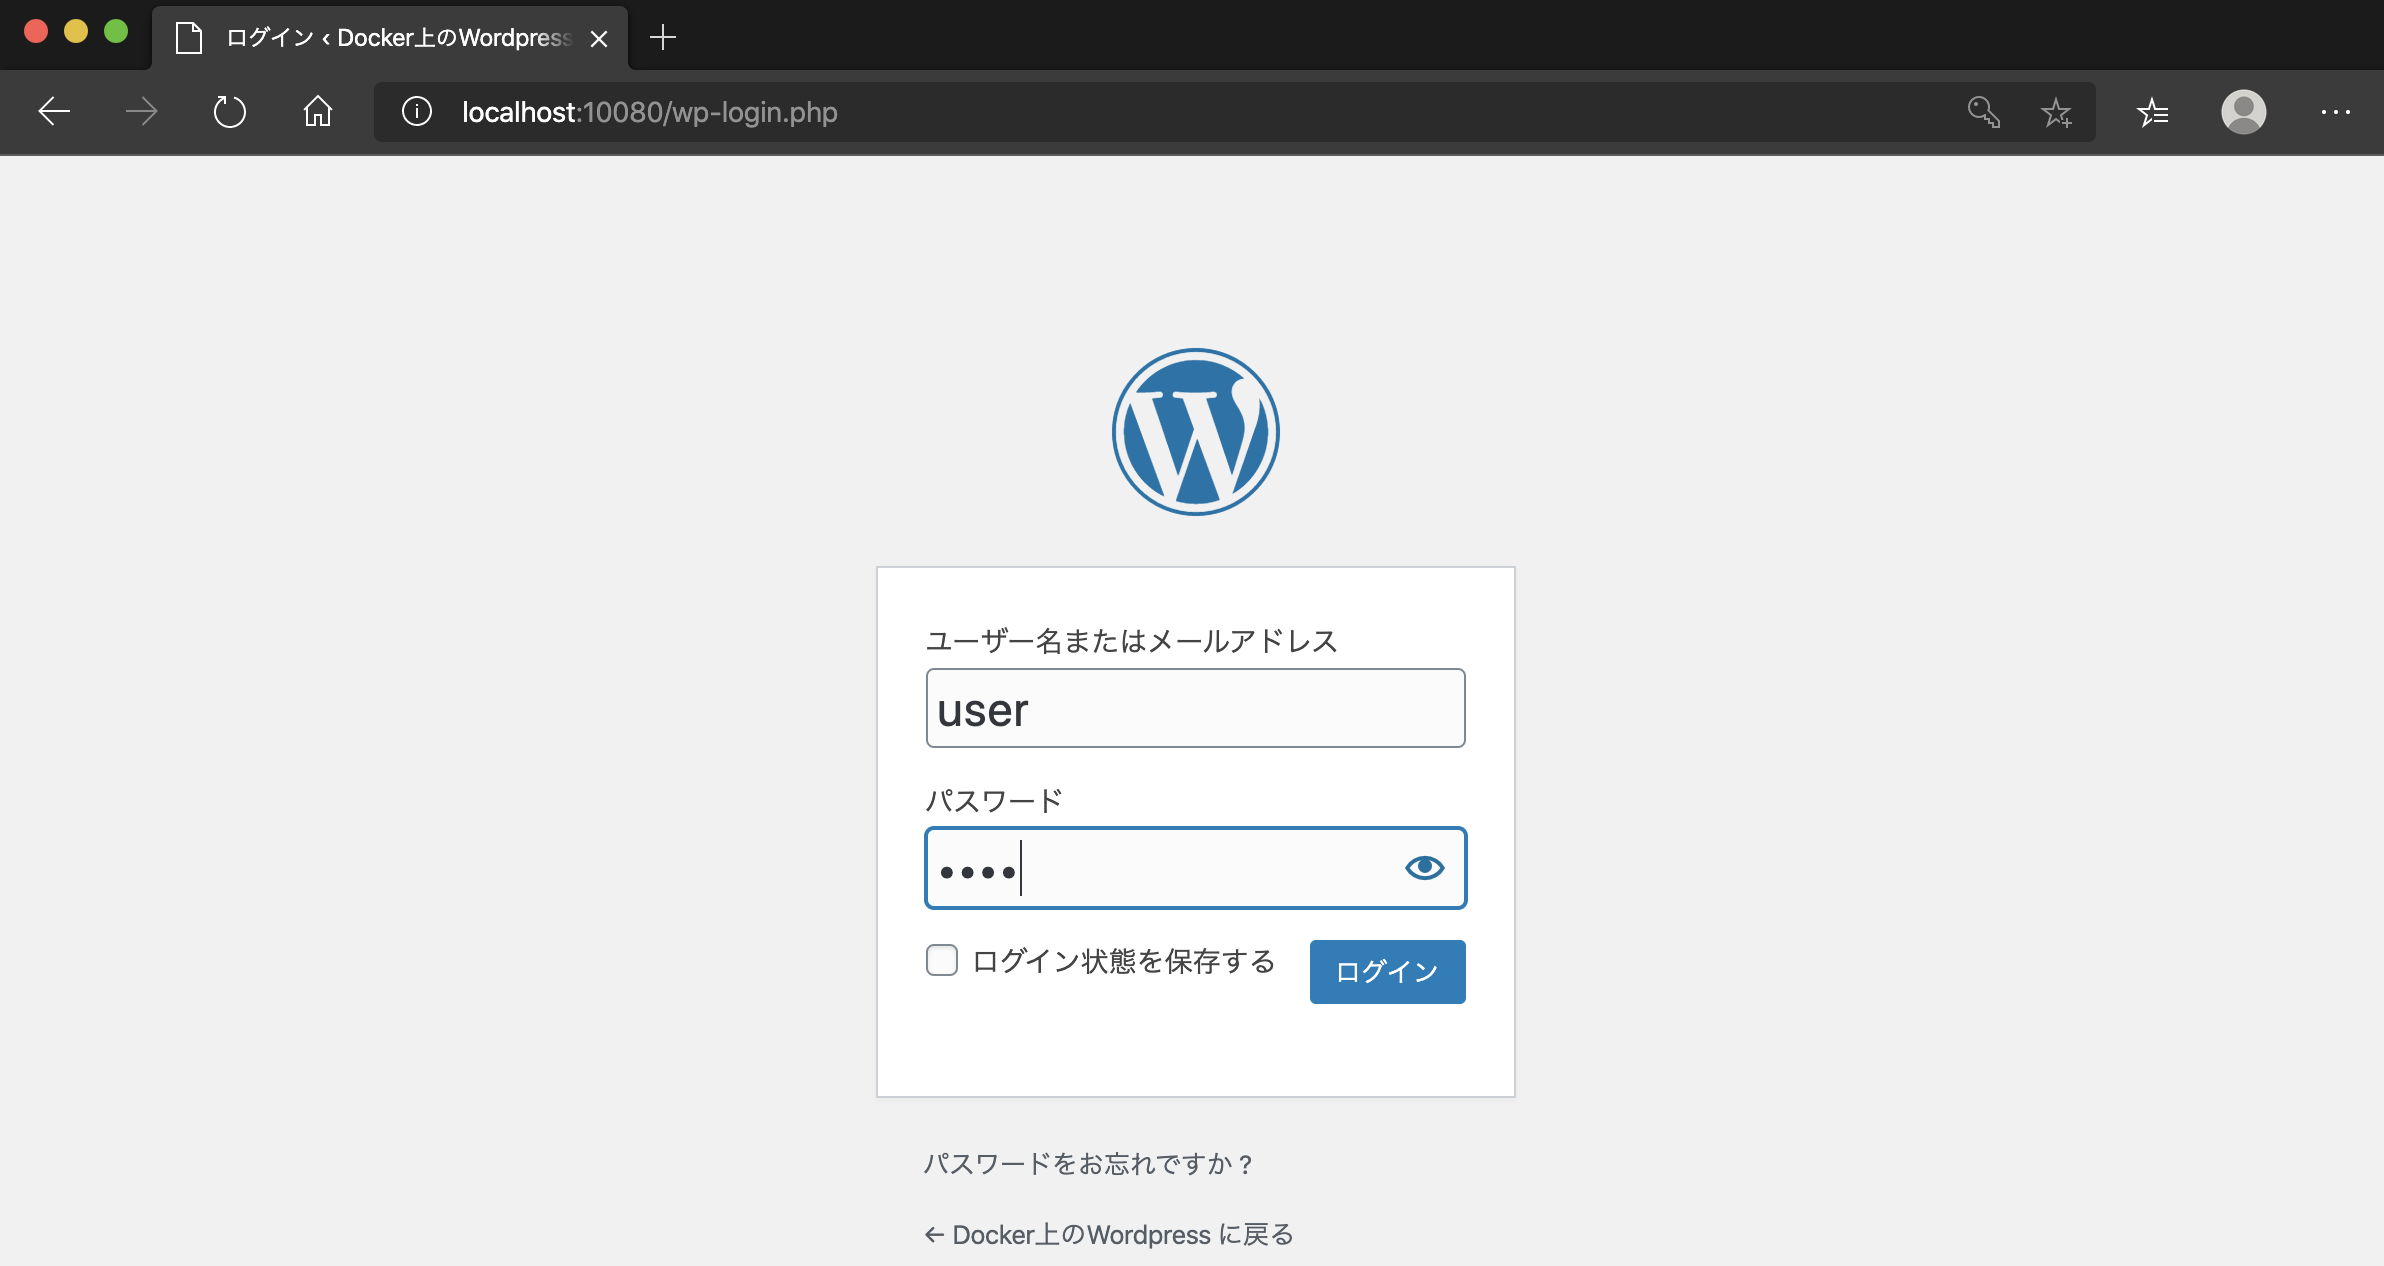
ログイン
「ログイン」ボタンを押します。
設定したユーザ名、パスワードを入力し、「ログイン」ボタンを押します。
DBサーバに入り、テーブル情報を見てみる
wordpress1 ディレクトリ内で以下のコマンドを実行します。
docker-compose exec db mysql -uwordpress_user -p wordpress_db
Enter password:
パスワードを聞かれるので wordpress_pass を入力します。
Reading table information for completion of table and column names
You can turn off this feature to get a quicker startup with -A

Welcome to the MySQL monitor.  Commands end with ; or \g.
Your MySQL connection id is 34
Server version: 5.6.47 MySQL Community Server (GPL)

Copyright (c) 2000, 2020, Oracle and/or its affiliates. All rights reserved.

Oracle is a registered trademark of Oracle Corporation and/or its
affiliates. Other names may be trademarks of their respective
owners.

Type 'help;' or '\h' for help. Type '\c' to clear the current input statement.

mysql>
mysql クライアントが起動しました。
データベース一覧
下記コマンドでデータベースの一覧を確認できます。
show databases;
docker-compose.yml で指定した wordpress_db が作成されています。
+--------------------+
| Database           |
+--------------------+
| information_schema |
| wordpress_db       |
+--------------------+
2 rows in set (0.00 sec)
テーブル一覧
下記コマンドでテーブル一覧を確認できます。
show tables;
WordPress で使用するテーブルが作成されています。
+------------------------+
| Tables_in_wordpress_db |
+------------------------+
| wp_commentmeta         |
| wp_comments            |
| wp_links               |
| wp_options             |
| wp_postmeta            |
| wp_posts               |
| wp_term_relationships  |
| wp_term_taxonomy       |
| wp_termmeta            |
| wp_terms               |
| wp_usermeta            |
| wp_users               |
+------------------------+
12 rows in set (0.00 sec)
テーブルの内容
下記コマンドでテーブルの中身を確認できます。
select * from wp_users;
+----+------------+------------------------------------+---------------+------------------+----------+---------------------+---------------------+-------------+--------------+
| ID | user_login | user_pass                          | user_nicename | user_email       | user_url | user_registered     | user_activation_key | user_status | display_name |
+----+------------+------------------------------------+---------------+------------------+----------+---------------------+---------------------+-------------+--------------+
|  1 | user       | $P$B6hIB70MCnEgXDjdLvlU12ORlbDyL4. | user          | info@example.com |          | 2020-02-21 16:16:10 |                     |           0 | user         |
+----+------------+------------------------------------+---------------+------------------+----------+---------------------+---------------------+-------------+--------------+
1 row in set (0.00 sec)
DBサーバから抜ける
exit を実行します。
exit
APサーバに入る
さきほどDBサーバに入ったように docker-compose exec サーバ名 実行コマンド で入れます。
以下のコマンドで APサーバに入ります。
docker-compose exec ap sh
入ると以下が表示されるはずです。
#
カレントディレクトリをみる
pwd コマンドで現在いるディレクトリを確認できます。
pwd
/var/www/html
ファイル一覧を見る
ls コマンドでファイル/ディレクトリ一覧を確認できます。
ls
index.php    readme.html      wp-admin            wp-comments-post.php  wp-config.php  wp-cron.php  wp-links-opml.php  wp-login.php  wp-settings.php  wp-trackback.php
license.txt  wp-activate.php  wp-blog-header.php  wp-config-sample.php  wp-content     wp-includes  wp-load.php        wp-mail.php   wp-signup.php    xmlrpc.php
ファイルの内容を見る
cat コマンドでファイルの内容を確認できます。
cat wp-config.php
データベースの接続設定等が確認できます。
<?php
/**
 * The base configuration for WordPress
 *
 * The wp-config.php creation script uses this file during the
 * installation. You don't have to use the web site, you can
 * copy this file to "wp-config.php" and fill in the values.
 *
 * This file contains the following configurations:
 *
 * * MySQL settings
 * * Secret keys
 * * Database table prefix
 * * ABSPATH
 *
 * @link https://codex.wordpress.org/Editing_wp-config.php
 *
 * @package WordPress
 */

// ** MySQL settings - You can get this info from your web host ** //
/** The name of the database for WordPress */
define( 'DB_NAME', 'wordpress_db');

/** MySQL database username */
define( 'DB_USER', 'wordpress_user');

/** MySQL database password */
define( 'DB_PASSWORD', 'wordpress_pass');

/** MySQL hostname */
define( 'DB_HOST', 'db:3306');

/** Database Charset to use in creating database tables. */
define( 'DB_CHARSET', 'utf8');

/** The Database Collate type. Don't change this if in doubt. */
define( 'DB_COLLATE', '');

/**#@+
 * Authentication Unique Keys and Salts.
 *
 * Change these to different unique phrases!
 * You can generate these using the {@link https://api.wordpress.org/secret-key/1.1/salt/ WordPress.org secret-key service}
 * You can change these at any point in time to invalidate all existing cookies. This will force all users to have to log in again.
 *
 * @since 2.6.0
 */
define( 'AUTH_KEY',         'cbaae291c44c536f6b94cbb071ac6c66cf068300');
define( 'SECURE_AUTH_KEY',  '759e4f7c08b219ef6276aab82a342091c6cf0618');
define( 'LOGGED_IN_KEY',    'a50c09c57d2aed6d2ecbd3560dc239e42c9e06ed');
define( 'NONCE_KEY',        '580347a26116c13cbb5883d91ec8a7d56587a82a');
define( 'AUTH_SALT',        '03e501a4860d9993968f79eb029f4646ff865bcf');
define( 'SECURE_AUTH_SALT', '28108878c043111feacf6cfb174743b9d353bde4');
define( 'LOGGED_IN_SALT',   '5ed8b34550fb494f125531bfd209ea8e66468401');
define( 'NONCE_SALT',       '41c843fd2b0183f7ee4c70215d6d5f62f29dfabd');

/**#@-*/

/**
 * WordPress Database Table prefix.
 *
 * You can have multiple installations in one database if you give each
 * a unique prefix. Only numbers, letters, and underscores please!
 */
$table_prefix = 'wp_';

/**
 * For developers: WordPress debugging mode.
 *
 * Change this to true to enable the display of notices during development.
 * It is strongly recommended that plugin and theme developers use WP_DEBUG
 * in their development environments.
 *
 * For information on other constants that can be used for debugging,
 * visit the Codex.
 *
 * @link https://codex.wordpress.org/Debugging_in_WordPress
 */
define( 'WP_DEBUG', false );

// If we're behind a proxy server and using HTTPS, we need to alert WordPress of that fact
// see also http://codex.wordpress.org/Administration_Over_SSL#Using_a_Reverse_Proxy
if (isset($_SERVER['HTTP_X_FORWARDED_PROTO']) && $_SERVER['HTTP_X_FORWARDED_PROTO'] === 'https') {
        $_SERVER['HTTPS'] = 'on';
}

/* That's all, stop editing! Happy publishing. */

/** Absolute path to the WordPress directory. */
if ( ! defined( 'ABSPATH' ) ) {
        define( 'ABSPATH', dirname( __FILE__ ) . '/' );
}

/** Sets up WordPress vars and included files. */
require_once( ABSPATH . 'wp-settings.php' );
APサーバから抜ける
exit コマンドでシェルを終了すれば抜けます。
exit
ファイルをサーバからローカルにコピーする
サーバに入っていない状態で、 docker cp (コンテナ名):(コピー元パス) (コピー先パス) コマンドを実行します。
※コンテナ名とは docker-compose ps で表示される name になります。(docker-compose cp はない)
※パスはフルパスで指定します。
     Name                   Command               State           Ports
-------------------------------------------------------------------------------
wordpress_ap_1   docker-entrypoint.sh apach ...   Up      0.0.0.0:10080->80/tcp
wordpress_db_1   docker-entrypoint.sh mysqld      Up      3306/tcp
以下のコマンドでAPサーバの wp-config.php をローカルの /tmp にコピーできます。
docker cp wordpress_ap_1:/var/www/html/wp-config.php /tmp
ファイルをローカルからサーバにコピーする
さっきと逆で docker cp (コピー元パス) (コンテナ名):(コピー先パス) とするとできます。
ローカルで設定ファイルを書き換えてサーバに反映させたいときには以下のようにします。
docker cp /tmp wordpress_ap_1:/var/www/html/wp-config.php
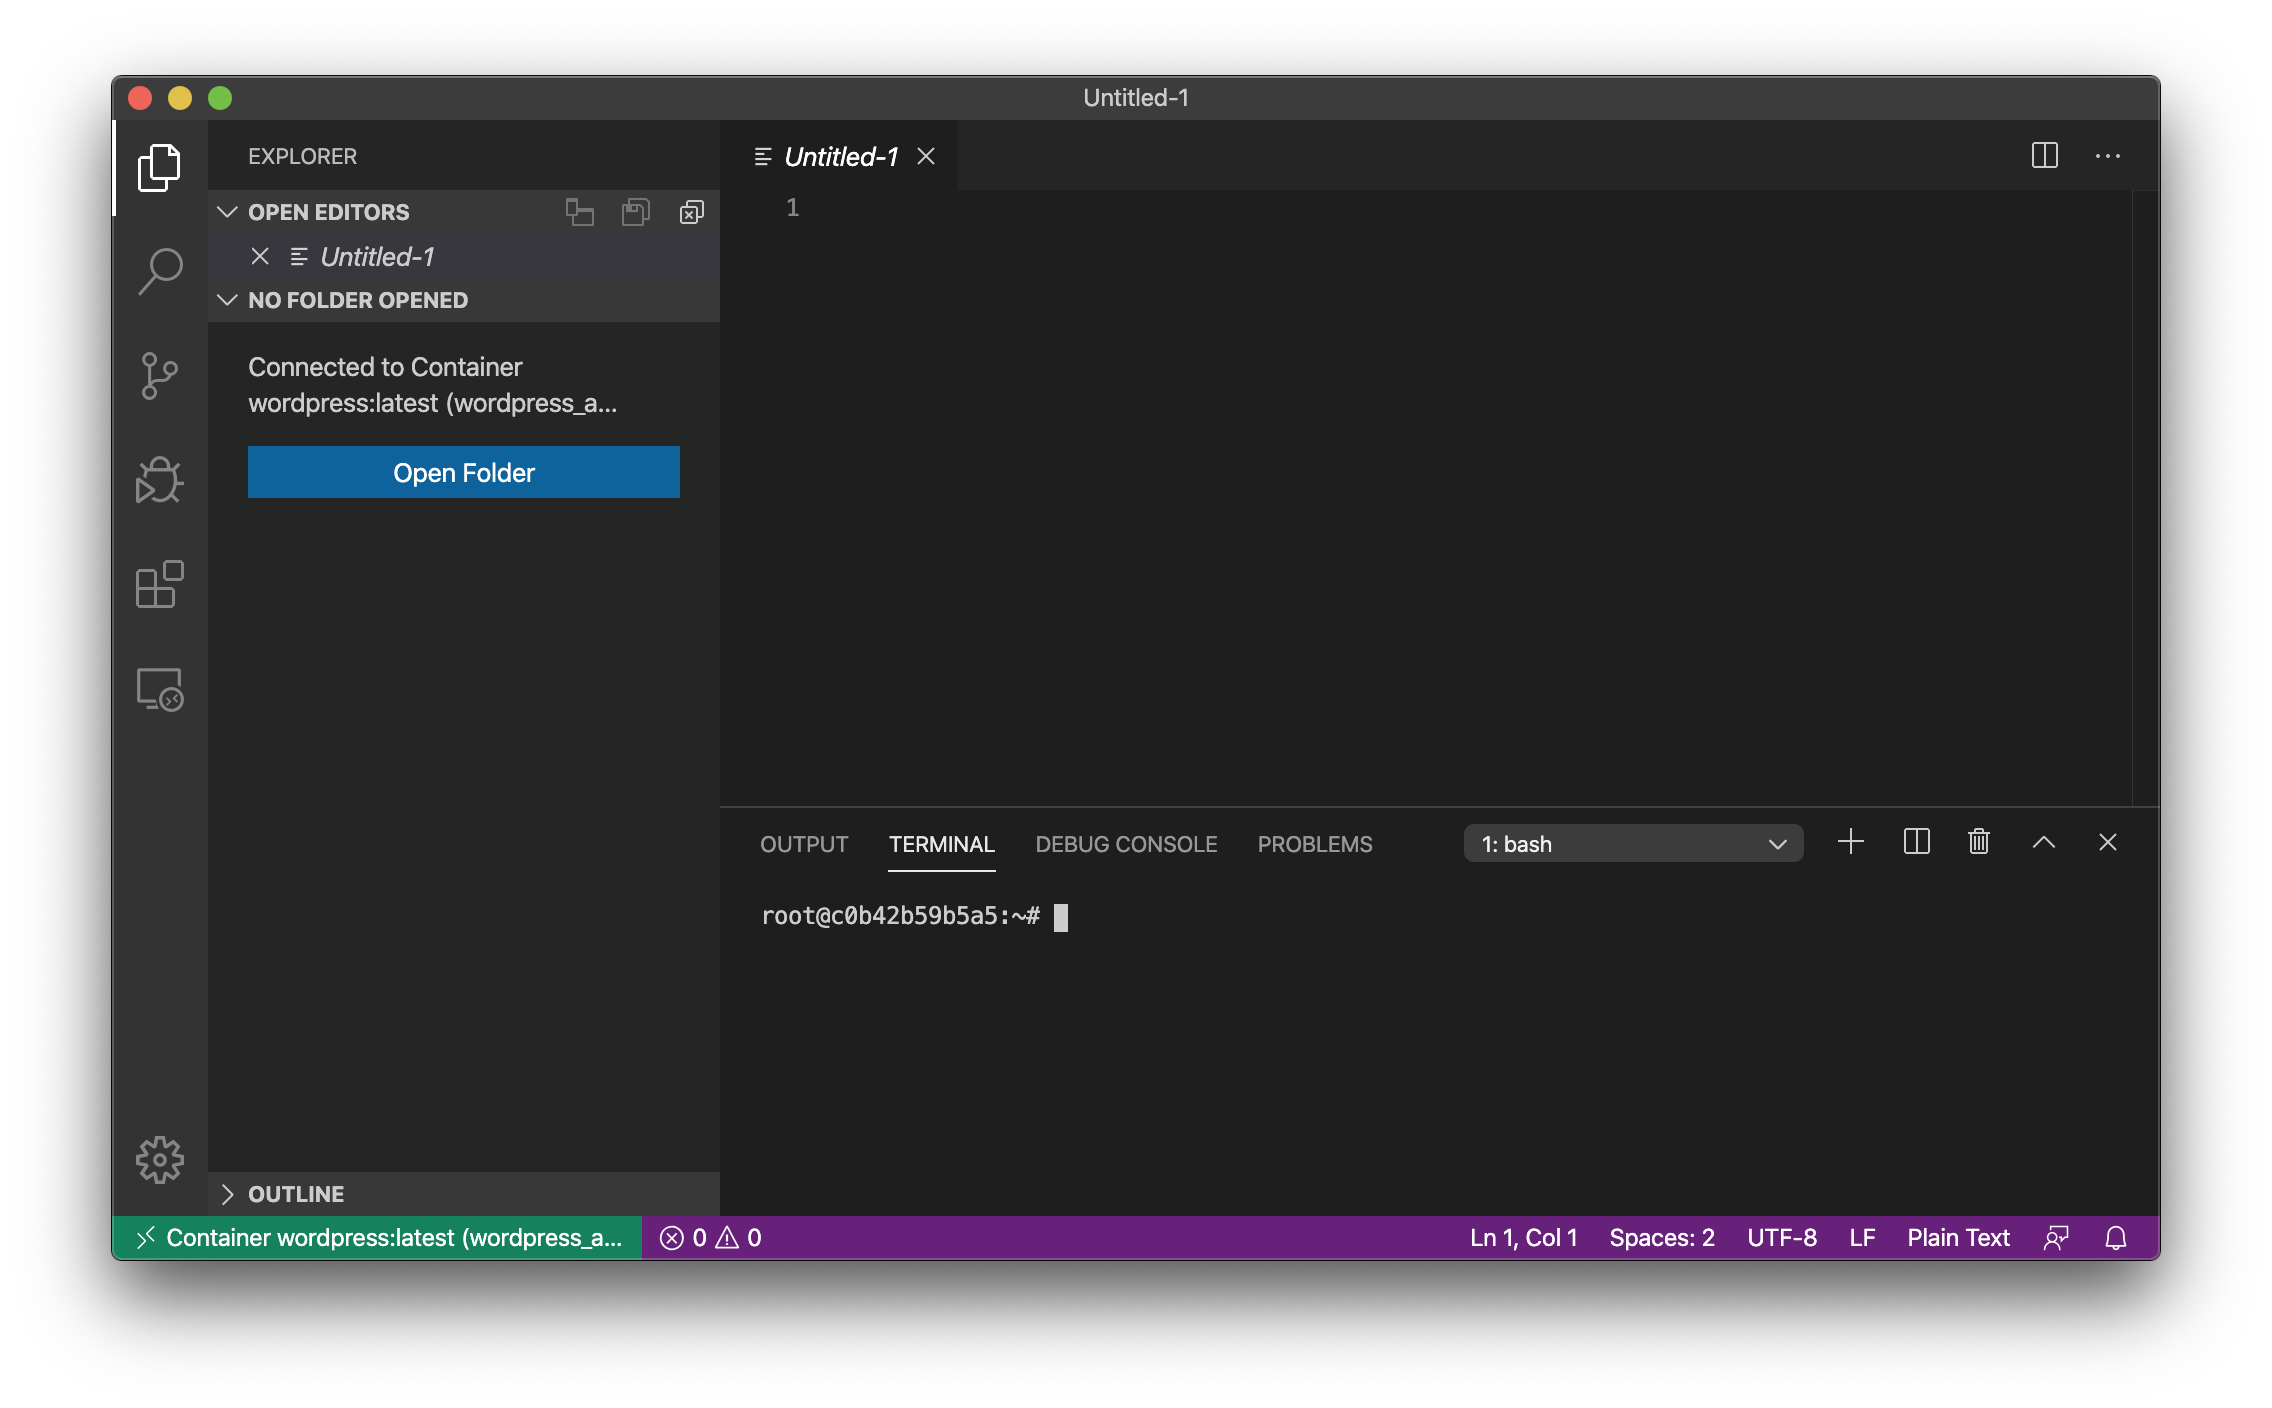
サーバ上のファイルをエディタで直接変更したい場合は VSCode の Remote Development プラグインを使うとできます。
プラグインをインストールして、画面左のディスプレイアイコンを選択します。
Other Containerというところに、 wordpress_ap_1, wordpress_db_1 が表示されるので、選択して右側の をクリックします。
サーバ内のファイルを編集できるウインドウが立ち上がります。
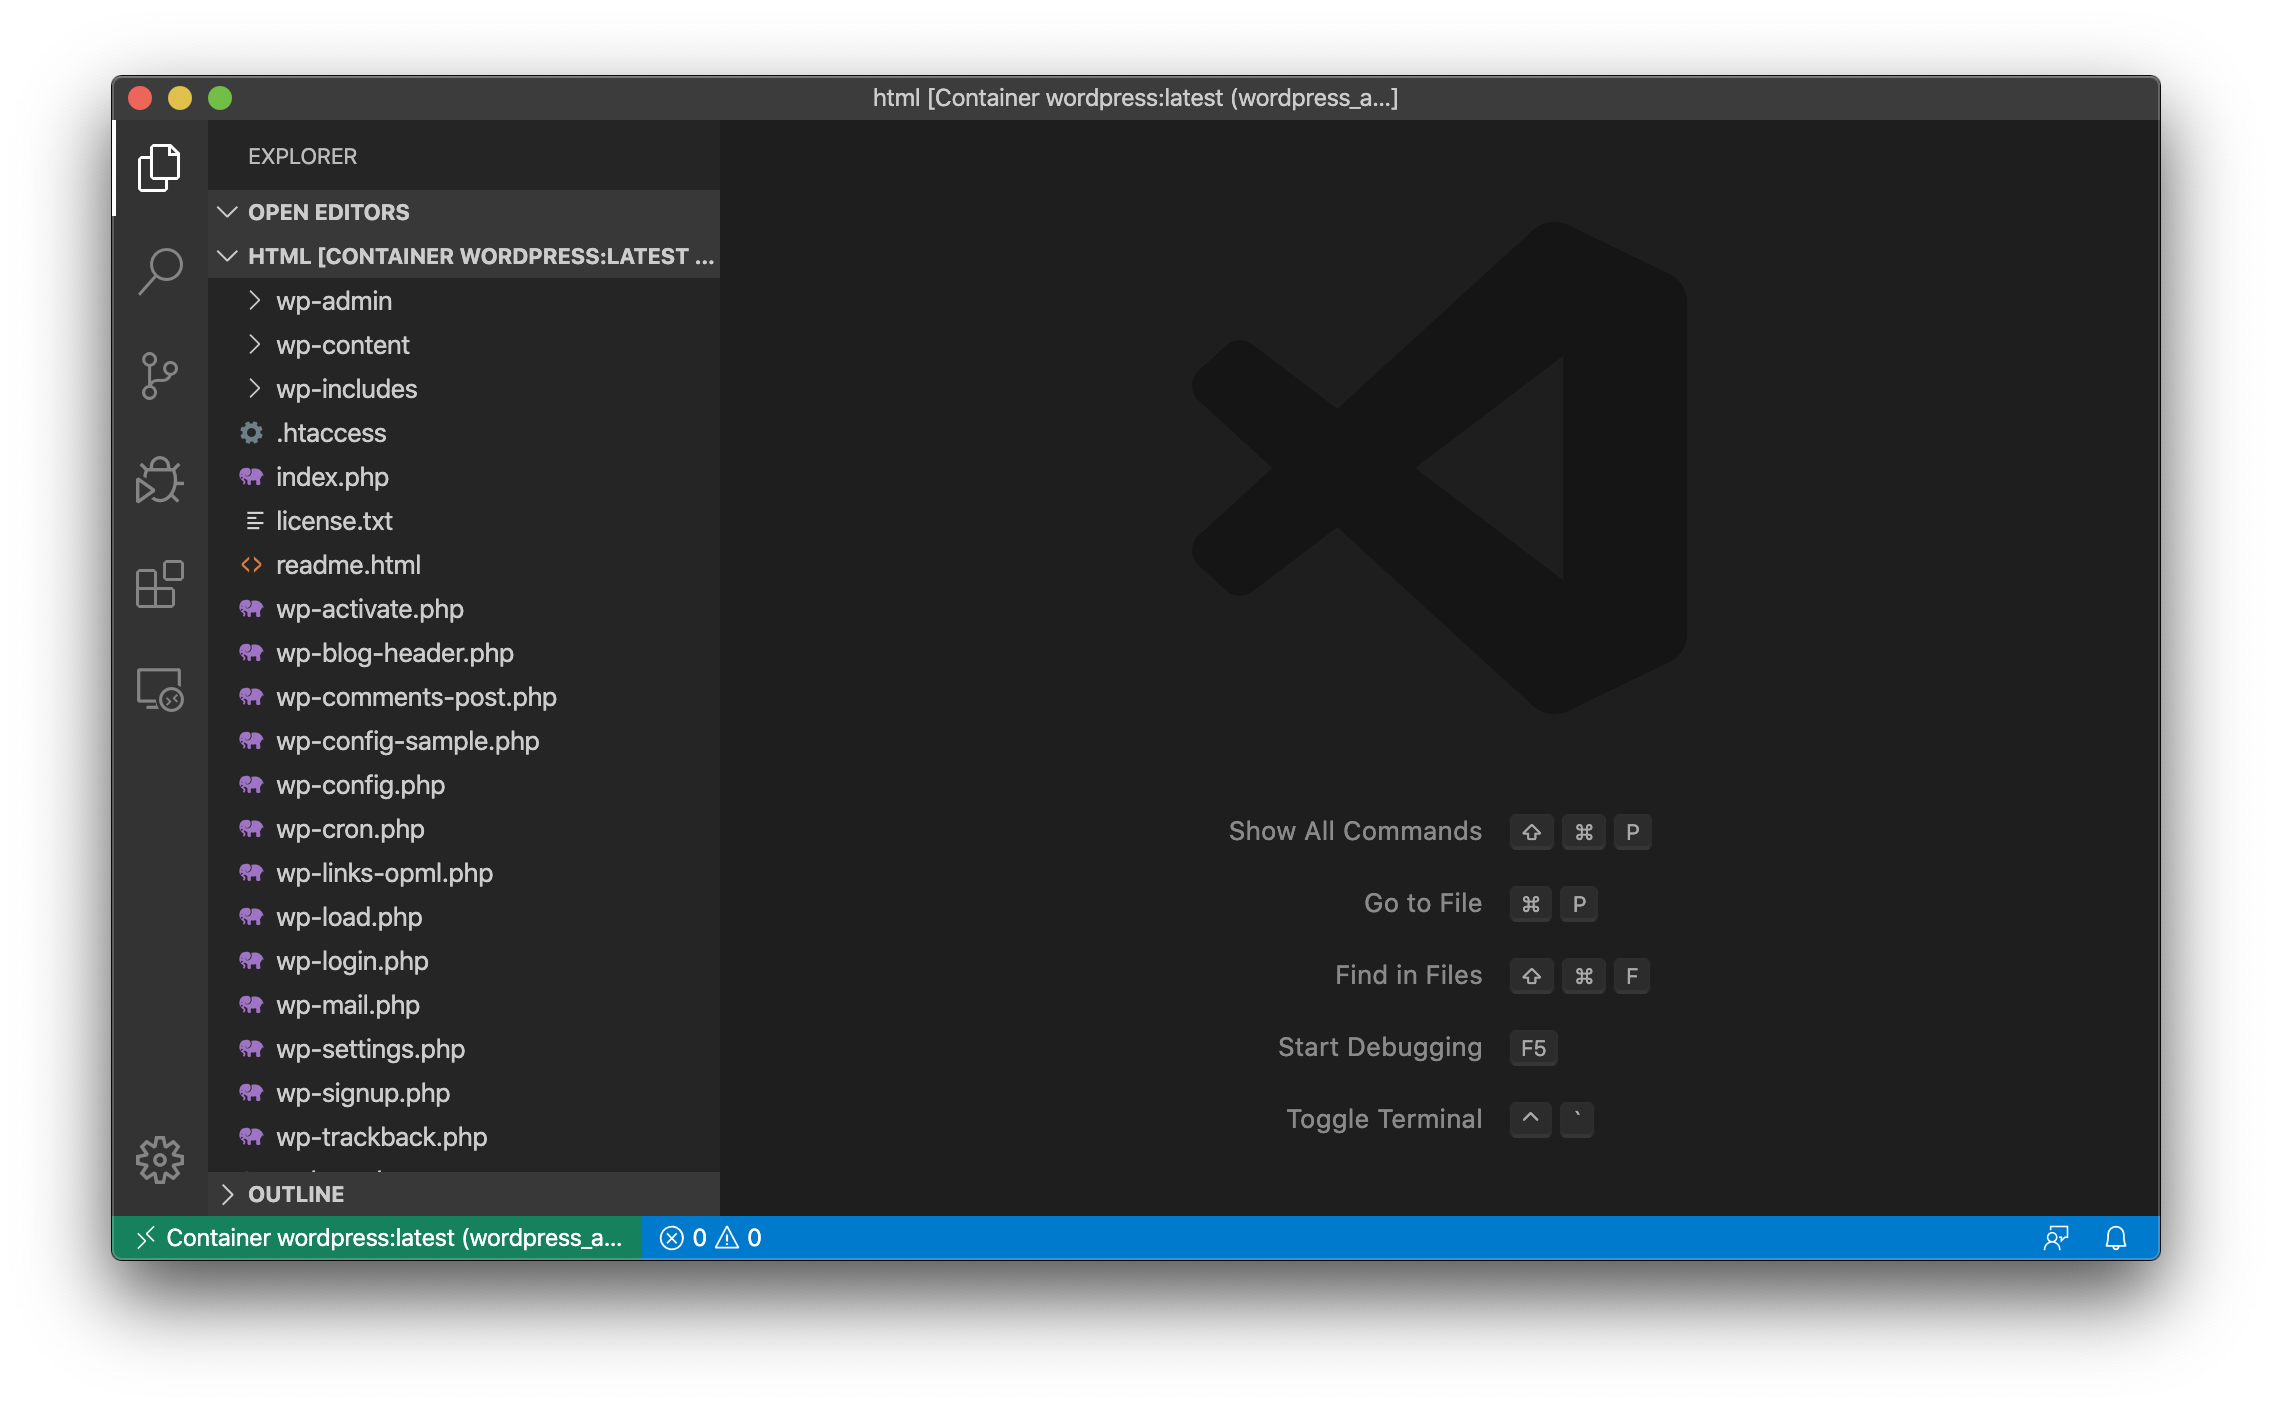
「Open Folder」 ボタンを押して、 /var/www/html を入力し、「OK」ボタンを押します。
APサーバ内のファイルが一覧表示され、自由に編集できます。
初期状態に戻す方法
色々編集していて環境がおかしくなったときなどで、最初の状態に戻したい場合は docker-compose down でキャッシュを消して docker-compose up で再度起動すると言語選択画面からまたやり直すことができます。データベースも初期状態になるので注意してください。
※ 環境が要らなくなった場合は docker-compose down のあと wordpress1 フォルダを消せばOKです。
docker-compose down
Stopping wordpress_ap_1 ... done
Stopping wordpress_db_1 ... done
Removing wordpress_ap_1 ... done
Removing wordpress_db_1 ... done
Removing network wordpress_default
このあたりを知っておけば好きなように環境を作ったり消したりできるかと思います。
Windows環境でブラウザにエラーが表示される場合
Windowsで同様に環境構築しているとサーバ起動後にブラウザでうまく表示されなかったので、対応方法を追記します。
環境は
- Windows10Home 64bit
- DockerToolbox-19.03.1.exe をインストール
- docker-compose version 1.24.1
- Docker version 19.03.1
です。
調べるとDockerToolboxは裏でVirtualBoxという仮想マシンを動かしている関係で
その設定が必要なようです。
VirtualBoxのポートフォワーディングの設定が必要です。設定手順は次の通りです。
VirtualBoxのポートフォワーディングの設定
デスクトップのOracle VM VirtualBox を起動します。
設定ボタンを押して、「ネットワーク」タブの「高度」を開いた中にある「ポートフォワーディング」ボタンを押します。
右側の追加ボタン を押して、名前は任意(ここでは wordpress)、ホストポート10080、ゲストポート80を入力し「OK」ボタンを2回押します。
下記画面が表示された場合は「アクセスを許可する」ボタンを押してください。
※これでいけるはずなのですが、なぜかホストポートも80にしないと私の環境ではうまく動作しませんでした。ホストポート10080だとうまくいかない場合は80に設定し、docker-compose.yml のports: も 80:80 に書き換えて
docker-compose down
docker-compose up -d
とし、 http://localhost を開けばうまくいくはずです。
これで下記画面が表示されます。
