1
1

Delete article

Deleted articles cannot be recovered.

Draft of this article would be also deleted.

Are you sure you want to delete this article?

More than 5 years have passed since last update.

【Excel】画面項目に合わせてテキストオブジェクトを配置する

Last updated at Posted at 2019-09-05

##概要
Excelで仕様書を作成している方々向けです。
仕様書作成時に、画面項目や帳票項目に番号を振る事がちょいちょいあると思います。
一個一個オブジェクトを編集するのが面倒だったので、マクロ化しました。

##コード

テキストオブジェクト作成.bas
Sub テキストオブジェクト作成()
    Const HEIGHT As Integer = 24
    Const DEFAULT_TEXTBOX_SIZE As Double = 20.5
    Const CHAR_WIDTH As Double = 7.5

    Dim rng
    Dim width

    For Each rng In Selection
        If rng.value <> "" Then
            width = DEFAULT_TEXTBOX_SIZE + (LenB(StrConv(rng.value, vbFromUnicode)) - 1) * CHAR_WIDTH
            activeSheet.Shapes.AddTextbox(msoTextOrientationHorizontal, _
                          rng.left, rng.Top, width, HEIGHT).Select
            Selection.Characters.Text = rng.value
        End If
    Next
End Sub

##実行結果
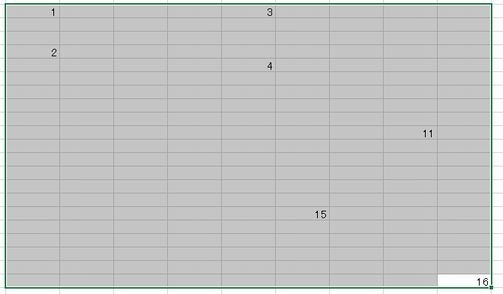
実行前
WS000007.JPG

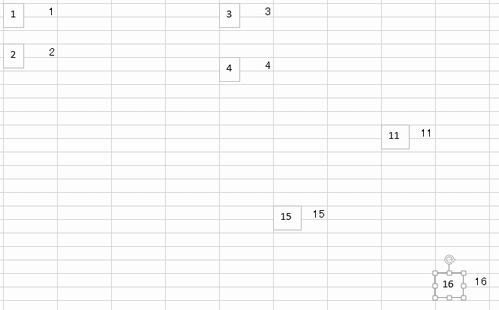
実行後
WS000008.JPG

選択範囲のセルに文字が入力されている場合、オブジェクト化します。

##使用例
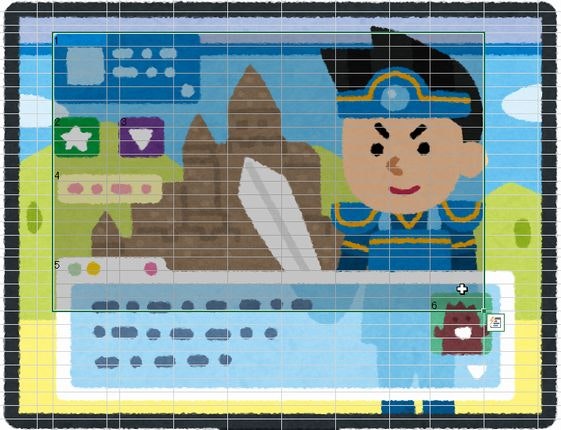
こんな感じでシートの背景に画面を設定すれば...
WS000009.JPG

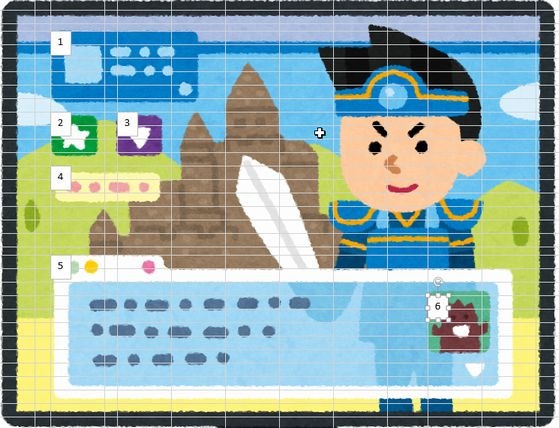
画面の表示項目の位置にあわせてオブジェクトを作成できます。
WS000010.JPG

1
1
0

Register as a new user and use Qiita more conveniently

  1. You get articles that match your needs
  2. You can efficiently read back useful information
  3. You can use dark theme
What you can do with signing up
1
1

Delete article

Deleted articles cannot be recovered.

Draft of this article would be also deleted.

Are you sure you want to delete this article?