Basic認証とは
Webサイトに簡易的なアクセス制限をかける認証システムのひとつです。
Basic認証を設定したページにアクセスすると、IDとパスワードを求められます。
認証に成功するとWebページ内を閲覧することができます。
失敗すると再度入力を求められたり、「401 Authorization Required」と表示されたりしてアクセスすることができません。
また、アクセス制限はサイト全体であったり、サイト内のあるページに対してかけたりと指定できます。
注意点としては、セキュリティとしては脆弱です。
Webサイト(ページ)を閲覧する際の入り口は守ってくれますが、通信内容まで保護してくれるというわけではありません(SSL通信だとその限りでないですが)。
もう一つ注意してほしいのは、Basic認証を設定するとクローラーもアクセスできず検知できないため、検索エンジンの検索結果に表示されません。
とはいえ自作のポートフォリオや、サイト制作案件の公開前のサイトなど利用するタイミングもあるかと思うので覚えておいて損はないかと思います。
ざっくりポイントおさらい
・Basic認証は簡易的な認証システム
・認証に成功するとWebページ内を閲覧できる
・サイト全体でも指定ページのみでもアクセス制限が可能
・セキュリティとしては脆弱である
・Basic認証を設定すると、クローラーもアクセスできず検知できない(ブラウザで検索しても表示されない)
・自作のポートフォリオや、公開前のサイトなどで利用する
Spring BootでSpring SecurityのBasic認証を使ってみる
環境
windows10
eclipse Version: 2021-03 (4.19.0)
手順
プロジェクト作成
前提としてgradleプロジェクトを作成している必要がある。
認証後に表示させる画面も作成するので、とりあえずは以下のようにプロジェクトを作成する。
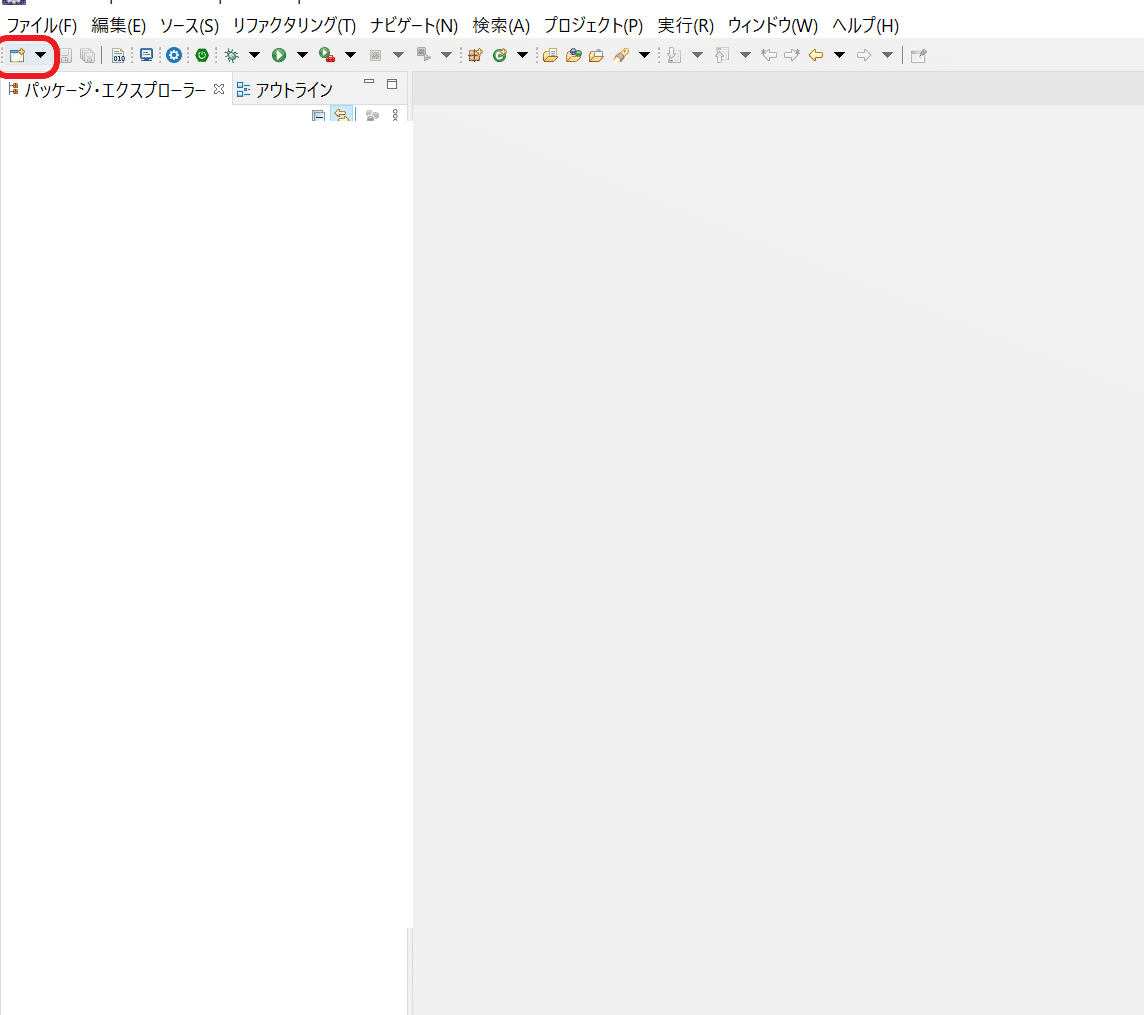
eclipseの左上の「▼」をクリックして「新規プロジェクト」を選択する。
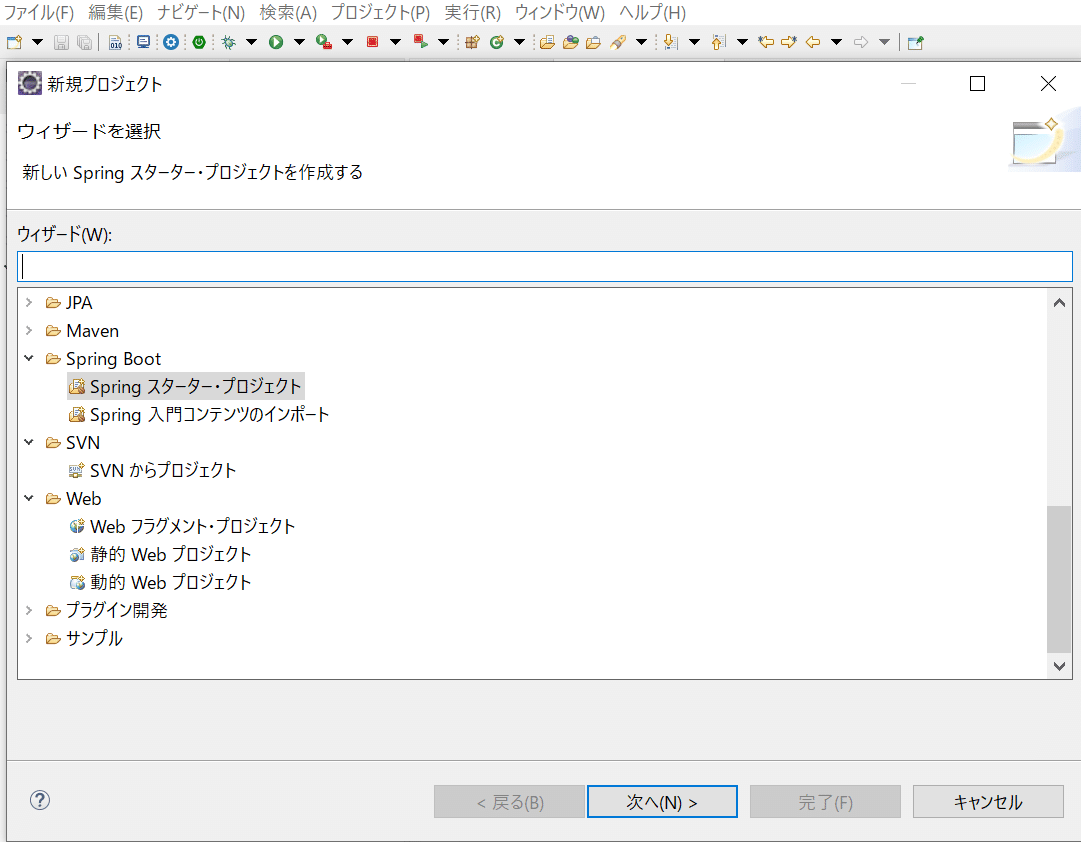
「Spring スタータープロジェクト」を選択して「次へ」ボタンをクリック。
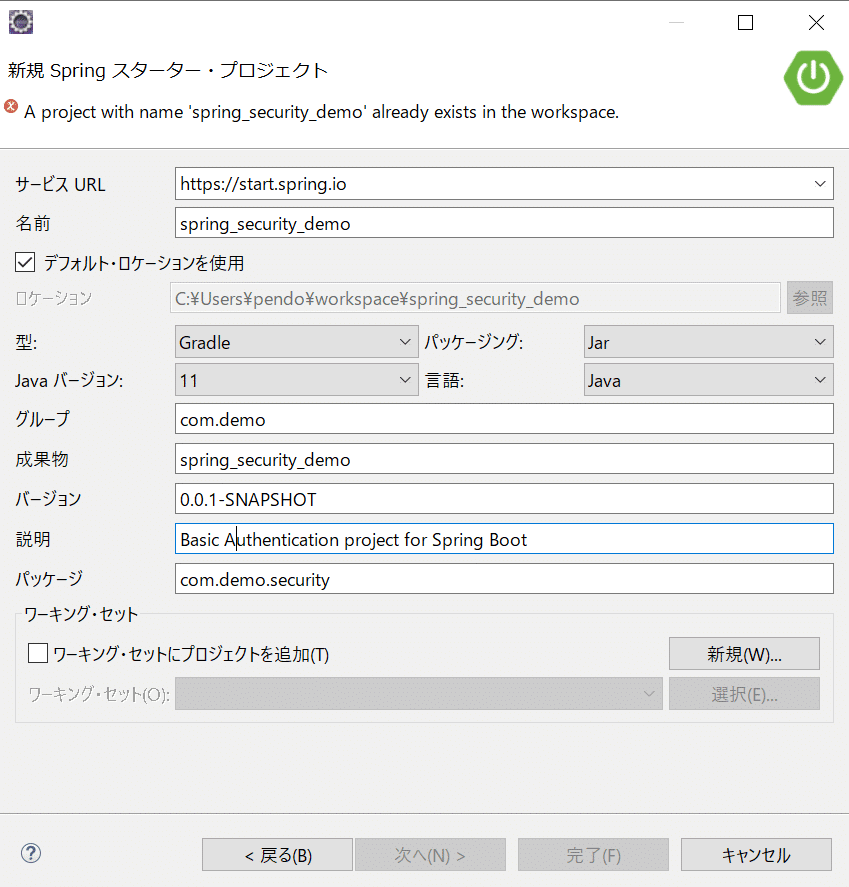
プロジェクト名やパッケージなど任意の名称でいいですが、考えるのが面倒であれば画像通り命名するのが楽かと思います。
(※警告が表示されていますが、プロジェクト作成後にキャプチャ撮影したので、「プロジェクト名が既に存在する」と怒られているだけなので無視してください。)
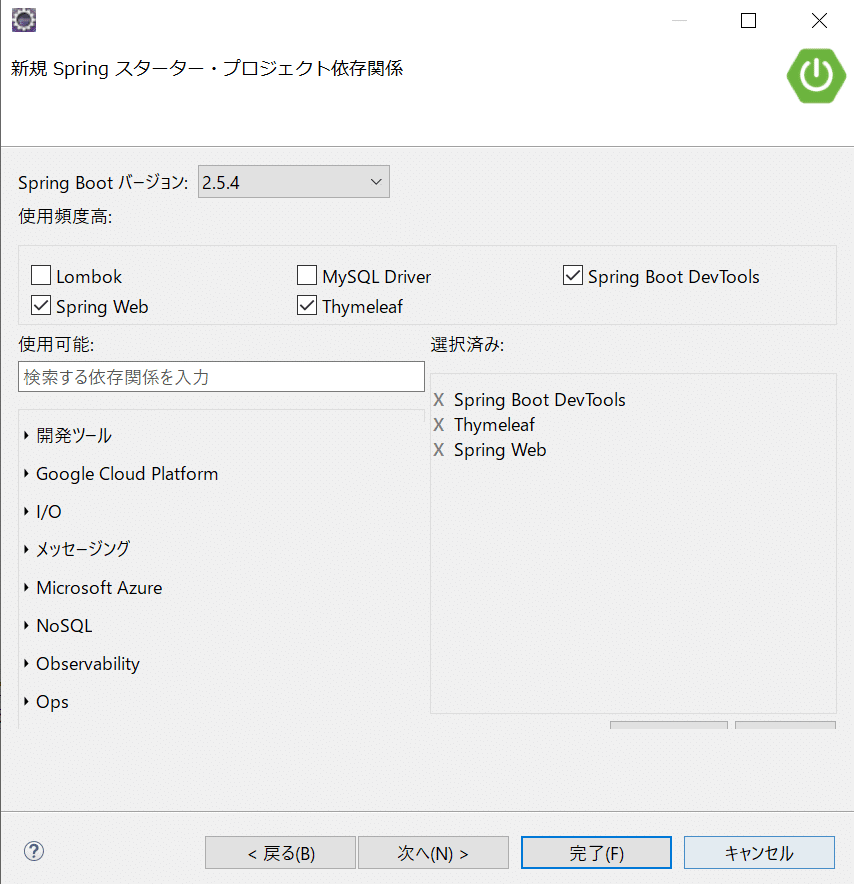
なくてもいいかなとは思いましたが、個人的に後々少し拡張したりする場合に使うかと思い以下に✔つけてます。よくわからない場合、同じようにつけてくれたらよいかと思います。
チェックつけたら完了ボタンを押して作成します。
これでプロジェクトが作成されたかと思います。
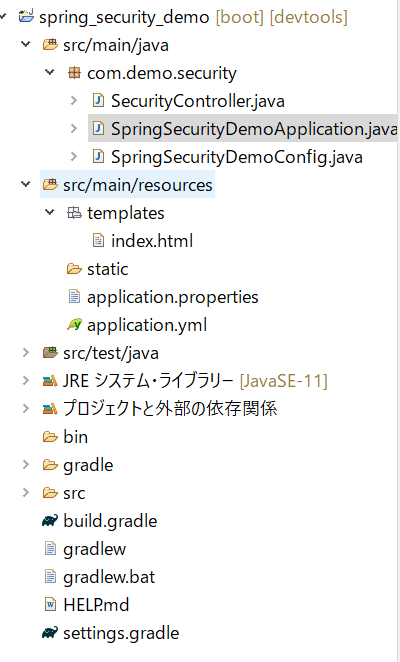
作成したプロジェクトは、最終的に下記のようになるので、一つずつ手順を説明していきます。
build.gradleに「spring-boot-starter-security」を追加する。
dependencies {
	implementation 'org.springframework.boot:spring-boot-starter-thymeleaf'
	implementation 'org.springframework.boot:spring-boot-starter-web'
	developmentOnly 'org.springframework.boot:spring-boot-devtools'
	runtimeOnly 'mysql:mysql-connector-java'
	testImplementation 'org.springframework.boot:spring-boot-starter-test'
//以下の一文を追加する
	implementation 'org.springframework.boot:spring-boot-starter-security'
}
application.yml内にBasic認証時に入力するuserの名前とパスワードを設定する。
 # SpringSecurity - user情報
spring:
 security:
   user:
     name: testuser
     password: pass001
認証画面が表示されるようにする
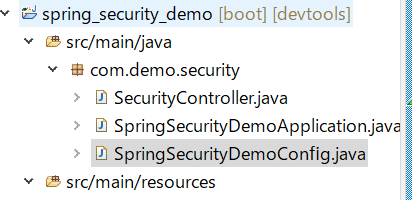
以下の階層にjavaファイルを作成(ファイル名はなんでもよい。)。
私は「SpringSecurityDemoConfig.java」というファイル名で作成しています。
package com.demo.security;

import org.springframework.context.annotation.Configuration;
import org.springframework.security.config.annotation.web.builders.HttpSecurity;
import org.springframework.security.config.annotation.web.builders.WebSecurity;
import org.springframework.security.config.annotation.web.configuration.EnableWebSecurity;
import org.springframework.security.config.annotation.web.configuration.WebSecurityConfigurerAdapter;
import org.springframework.security.config.http.SessionCreationPolicy;
import org.springframework.security.web.firewall.DefaultHttpFirewall;

@Configuration
@EnableWebSecurity
public class SpringSecurityDemoConfig extends WebSecurityConfigurerAdapter {

    @Override
    protected void configure(HttpSecurity http) throws Exception {
        //localhost:8080で表示する際にBasic認証を実施
        http.antMatcher("/").httpBasic()
                .and()
                //全てのURLリクエストは認証されているユーザーしかアクセスできないように設定
                .authorizeRequests().anyRequest().authenticated()
                .and()
                //リクエスト毎に認証を実施
                .sessionManagement().sessionCreationPolicy(
                                 SessionCreationPolicy.STATELESS);
    }

}
}
認証成功後に表示されるページを作成
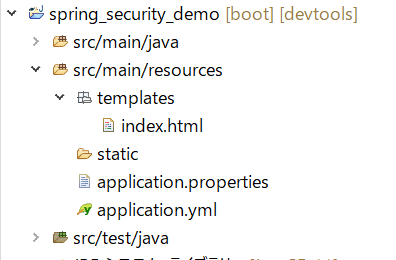
以下にindex.htmlを作成します。
<!DOCTYPE html>
<html xmlns:th="http://www.thymeleaf.org">
<head>
<meta charset="utf-8">
<title>Home</title>
</head>
<body>
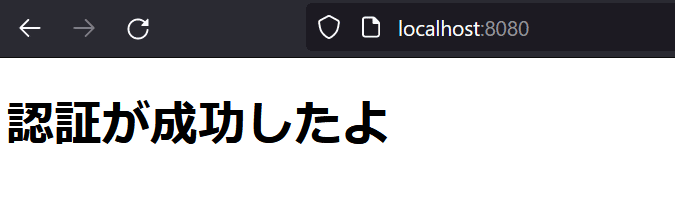
<h1>認証が成功したよ</h1>
</body>
</html>
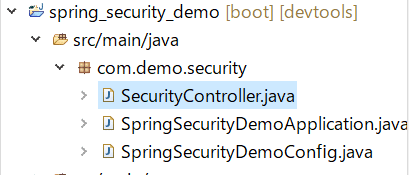
Controllerを作成
以下に作成
package com.demo.security;

import org.springframework.stereotype.Controller;
import org.springframework.web.bind.annotation.GetMapping;

@Controller
public class SecurityController {

	@GetMapping("/")
	public String getHome() {
		return "index";
	}

}
BootRunでアプリを起動
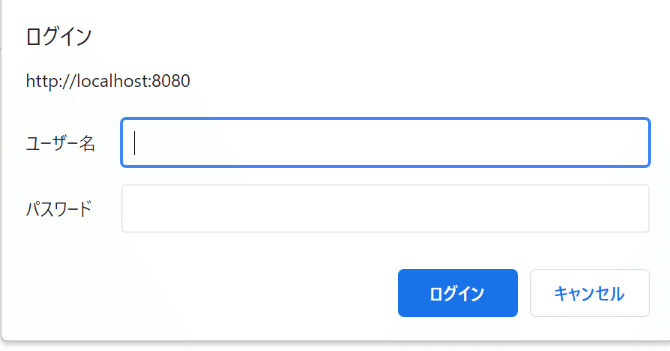
画像のようなウインドウが表示されるはず。
適当に入力すると再度入力を促され、先ほどapplication.ymlで設定した「testuser」をユーザー名の欄に、「pass001」をパスワードの欄に入力するとログインでき、index.htmlに遷移する。
以上で終了です。
まとめ
この記事はとっかかりとして使っていただき、さらに知識の肉付け(PasswordEncoderでパスワードをハッシュ化とか)がしたい方は他にも色々調べてみてください。
ここまで読んでくださりありがとうございます、それでは