TL;DR
- シングルサインオン(Single Sign-On)機構(Keycloak)を導入して,複数のWebサービスを共通のアカウントで利用できるようにします
- dockerコンテナベースで作ります
- この記事では,keycloakを稼働させるまでを説明します
- 別のサービスとの連携は,関連記事で掲載します
Keycloak概要
-
Keycloakは,オープンソースの認証(authentication)とアクセス権限管理サービスです
- 認証を複数の段階で管理できます
- Realm(レルム,領域)が複数のClient(クライアント)を束ねて扱います
- Realmごとにユーザやグループが作られ,管理されます
- Clientは,Webサービスごとに作る設定で,ユーザを特定するデータとKeycloakの管理データを突合します
- 2段階認証(2FA)のような認証レベルを上げる仕組みを導入することもできます
- Realm(レルム,領域)が複数のClient(クライアント)を束ねて扱います
- 認証を複数の段階で管理できます
-
OpenIDとSAML V2.0などの標準化規格に対応したWebサービスと接続することができます
- Keycloakにユーザを作ると,そこで作ったユーザで,複数のサービスにログインすることができるようになります
docker-compose.yml
- httpsアクセスが必要になるので,入り口にリバースプロキシ(nginx)を置いて,裏側に置いたkeycloakコンテナにはhttpアクセスを行います
- nginx.confの内容は後述します
- fullchain.pem/privkey.pemは,Let's Encryptのワイルドカード証明書をマウントします
- mysqlコンテナは公式のイメージを使ってもOKです
- keycloakコンテナは,DBコンテナへのアクセスに加えて,管理者ユーザ名と初期パスワードを設定します(本来は念のためenvファイルに切り出した方が良いです)
- リバースプロキシの内部でコンテナが稼働するので,
PROXY_ADDRESS_FORWARDING=trueの記述が必要です
- リバースプロキシの内部でコンテナが稼働するので,
# sso/docker-compose.yml
version: '2'

services:
  rev:
    image: nginx:1.15.8
    restart: always
    depends_on:
      - keycloak
      - gitlab
    ports:
      - "443:443"
    volumes:
      - ./nginx.conf:/etc/nginx/nginx.conf:ro
      - ./fullchain.pem:/etc/nginx/fullchain.pem:ro
      - ./privkey.pem:/etc/nginx/privkey.pem:ro
  db:
    restart: always
    image: sameersbn/mysql:5.7.24
    environment:
      - DB_USER=dbuser
      - DB_PASS=dbpass
      - DB_NAME=keycloak
    volumes:
      - ./mysql:/var/lib/mysql:Z

  keycloak:
    restart: always
    image: jboss/keycloak
    depends_on:
      - db
    expose:
      - 8080
    environment:
      - DB_VENDOR=mysql
      - DB_ADDR=db
      - DB_USER=dbuser
      - DB_PASSWORD=dbpass
      - KEYCLOAK_USER=admin
      - KEYCLOAK_PASSWORD=admin
      - PROXY_ADDRESS_FORWARDING=true
nginx.conf
- 通常のリバースプロキシ設定ですが,
X-Forwarded-Protoをプロキシヘッダに記載しないと,リダイレクトが効かず,アクセスできないので忘れないように設定してください.
user nginx;
worker_processes auto;
error_log /var/log/nginx/error.log;
pid /run/nginx.pid;

include /usr/share/nginx/modules/*.conf;

events {
       worker_connections 1024;
}

http {
     log_format  main  '$remote_addr - $remote_user [$time_local] "$request" '
     '$status $body_bytes_sent "$http_referer" '
     '"$http_user_agent" "$http_x_forwarded_for"';

     access_log  /var/log/nginx/access.log  main;

     sendfile            on;
     tcp_nopush          on;
     tcp_nodelay         on;
     keepalive_timeout   65;
     types_hash_max_size 2048;
     client_max_body_size 8g;

     include             /etc/nginx/mime.types;
     default_type        application/octet-stream;

     # Load modular configuration files from the /etc/nginx/conf.d directory.
     # See http://nginx.org/en/docs/ngx_core_module.html#include
     # for more information.
     include /etc/nginx/conf.d/*.conf;

     server_tokens off;

     server {
          listen 443 ssl default_server;
          server_name ;#<KeycloakのFQDN>;
          ssl_certificate /etc/nginx/fullchain.pem;
          ssl_certificate_key /etc/nginx/privkey.pem;
          ssl_protocols       TLSv1.1 TLSv1.2;
          ssl_ciphers         'ECDH !aNULL !eNULL !SSLv2 !SSLv3';

          keepalive_timeout  180;
          send_timeout 180;
          client_body_timeout 180;
          client_header_timeout 180;
          proxy_send_timeout 180;
          proxy_read_timeout 180;

          proxy_set_header Host    $host;
          proxy_set_header X-Real-IP    $remote_addr;
          proxy_set_header X-Forwarded-Host       $host;
          proxy_set_header X-Forwarded-Server    $host;
          proxy_set_header X-Forwarded-For    $proxy_add_x_forwarded_for;
          proxy_set_header X-Forwarded-Proto $scheme;

          location / {
              proxy_pass http://keycloak:8080/;
          }
     }
}
コンテナの起動とログイン
-
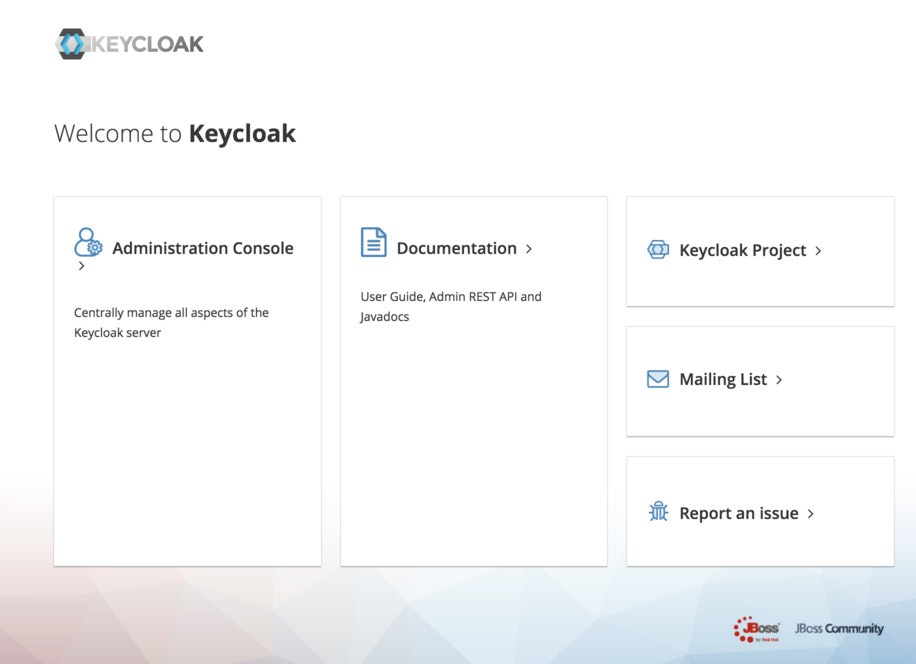
docker-compose up -dコマンドで,keycloak, rev(nginx), db(mysql)の3つのコンテナが立ち上がります - nginx.confに記載した「KeycloakのFQDN」にブラウザでアクセスし,Keycloakの稼働を確認します.
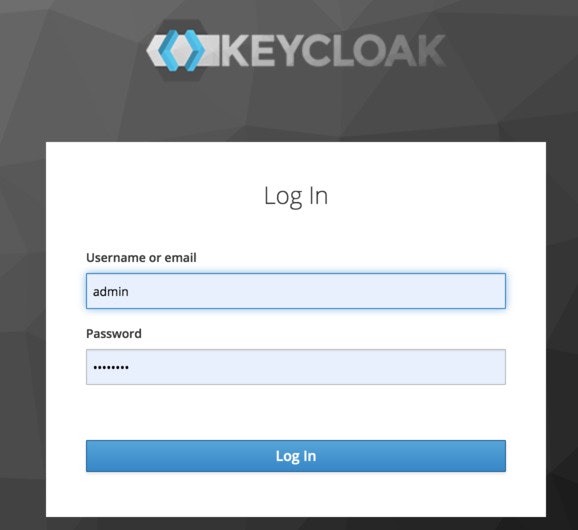
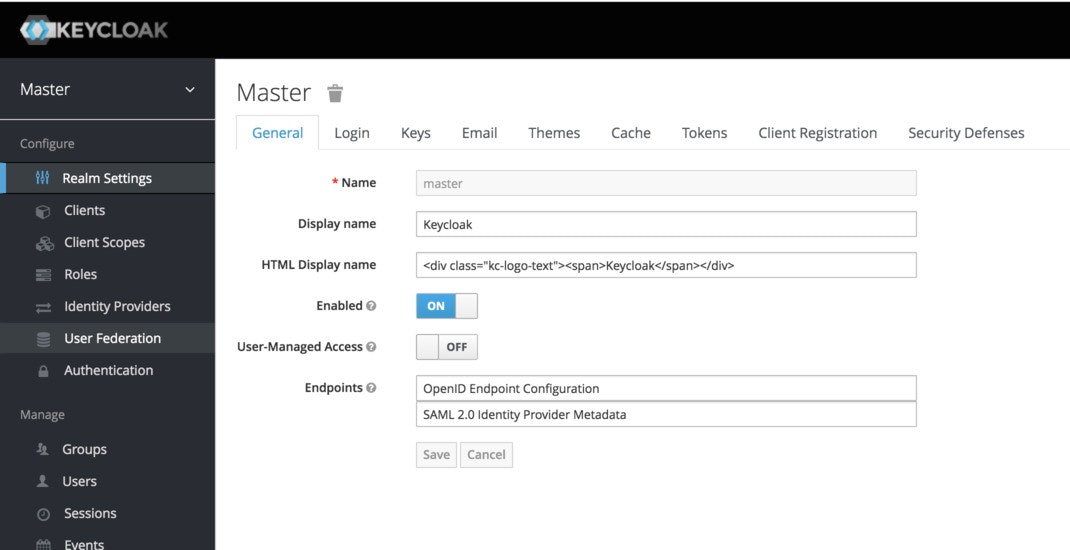
- "Administration Console"をクリックし,ログイン画面が出たら,docker-compose.ymlに記載した管理者アカウントでログインします
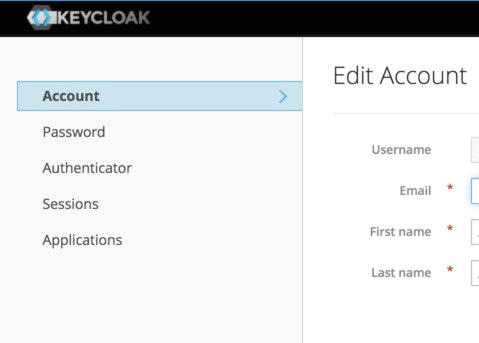
- ログインしたら,画面右上のアカウント名をクリックし,"Manage account"をクリックすると,パスワードを設定できる画面に遷移するので,変更します


