はじめに
Alexa SkillとGoogle Assistant両方のアプリを開発・リリースしてみて、気が付いた違いなどをまとめてみました。
流れとしては、まず、リリースされているスキル数の多いAlexaSkillは、開発自体の敷居が低いんだろうと考え、自分にもできるかも?と思い、【Alexaスキル開発トレーニング】を参考にしながら、AWSのアカウント作成や、Amazon Developerのアカウント作成から始めてみました。
試行錯誤すること約1か月。2017/12/20に無事AlexaSkillをリリースすることができ、音声アシスタントに関するナレッジも溜まってきたので、次はGoogleAssistantにも挑戦することにしました!
なので、この記事は、AlexaSkill → GoogleAssistantではどうなるの? といった視点で進めていきます。
開発標準Webサービスの違い
Alexa・GoogleAssistantの開発で利用する標準的なWebサービス群の違いです。
| Service | Alexa | GoogleAssistant | 備考 |
|---|---|---|---|
| Developer Service | Amazon Developer | Actions on google | 開発ポータルでプロジェクトの作成・定義を行う。 |
| NLP Service (Frontend) |
Skill Builder (Alexa Skill Kit) |
Dialogflow | IntentやSlotType (Entity) を定義して、 自然言語処理と対話モデルを紐付ける。 *NLP (Natural Language Processing) |
| Web Services | AWS | FireBase | クラウドコンピューティングサービス |
| Computing Service (Backend) |
- Lambda | - Cloud Functions | Node.jsなどのBackend Functionを配置 *[Cloud Functions Tips] 参照 |
| Storage Service | - S3 | audio/imageコンテンツ格納用 *[Cloud Storage・Hosting] 参照 |
|
| CDN Service | - Cloud Front | コンテンツ配信用 (GetRequestが少なければ無くてもよい) *CDN (Contents Delivery Network) |
*[Cloud Functions Tips]
Cloud Functionsの関数デプロイは、DialogflowのFulfillmentタブ内にある機能「Inline Editor(Powered by Cloud Functions for Firebase)」からデプロイすることができます。
(AWS Lambdaでいうところの「関数コードをインラインで編集」の機能にあたります。)
上記の方法であれば、「Firebase ツールをインストール」 → 「ターミナルウィンドウを開く」 → 「デプロイ」といった、面倒な手順を踏まないで良いので、たいへん楽です。
*[Cloud Storage・Hosting]
アプリ内で.mp3のaudioと.pngのimageコンテンツを返しているのですが、同じものを「Cloud Storage・Hosting」に配置してもあまり意味が無いので、今回は、「S3・Cloud Front」に配置してあるコンテンツをそのまま利用しました。
なので、上記表内の「Cloud Storage・Hosting」は利用していないので、取り消し線にしています。
Web Services 無料利用枠(月間)
月間1000人のユーザが訪れ、20回のGetRequestがあったと想定すると、以下のような計算になります。
1,000 Users x 20 Requests of Monthly = 20,000 Requests
| Service | 実リクエスト数 | 無料利用枠 | 利用率 | - |
|---|---|---|---|---|
| AWS - S3 - Gets | 20,000 Requests | 20,000 Requests | 100.00% | × |
| AWS - CloudFront | 20,000 Requests | 2,000,000 Requests | 1.00% | ○ |
| AWS - Lambda | 20,000 Requests | 1,000,000 Requests | 2.00% | ○ |
| FireBase - Cloud Functions | 20,000 Requests | 125,000 Requests | 16.00% | △ |
このままでは、「AWS - S3 - Gets」が100%を超え、課金されてしまいますので、S3から直接コンテンツを配信するのではなく、AWS - CloudFrontを経由して、コンテンツを配信することで、月間の使用量をAWS無料利用枠内の1%に抑えることができます。
// AWS - S3
// const audioHost = "https://s3-ap-northeast-1.amazonaws.com/xxxx/audio/";
// AWS - CloudFront
const audioHost = "https://xxxxxxxx.cloudfront.net/audio/";
- <参考リンク> CloudFront経由でS3からコンテンツ配信をする
同様に、アプリの人気が出すぎて「FireBase - Cloud Functions - Requests」が 100%を超えてきてしまう場合は、バックエンドの関数を FireBaseのCloud Functionsから、AWSのLambdaに引っ越しする必要がありそうです。
バックエンドソースの違い
LaunchRequest
特定のインテントが指定されずにユーザーから呼び出される最初のイベントは、
Alexaでは「LaunchRequest」、GoogleAssistantではDialogflowのDefault Welcome Intentに設定されたEvent(初期値:input.welcome)となります。
Alexa SDK v1 (2018/04以前)
const handlers = {
  'LaunchRequest': function () {
    var speechOutput = 'Hello!';
    var reprompt = 'Reprompt Message';
    this.emit(':ask', speechOutput, reprompt);
  }
};
Alexa SDK v2
const LaunchRequestHandler = {
  canHandle(handlerInput) {
    return handlerInput.requestEnvelope.request.type === 'LaunchRequest';
  },
  handle(handlerInput) {
    const speechText = 'Hello!';
    const repromptText = 'Reprompt Message';

    return handlerInput.responseBuilder
      .speak(speechText)
      .reprompt(repromptText)
      .getResponse();
  }
};
GoogleAssistant
const actionHandlers = {
  'input.welcome': () => {
      let responseToUser = {
        speech: 'Hello!(VoiceMessage)',
        displayText: 'Hello!(TextMessage)'
      };
      let googleResponse = app.buildRichResponse()
            .addSimpleResponse(responseToUser);
      app.ask(googleResponse);
  }
};
GoogleAssistantでは、スマートフォンで呼び出されることもあるため、
VoiceMessageだけでなく、TextMessage用のdisplayTextも用意されています。
TellWithCard
アプリの応答にカードを表示して終了する場合、
AlexaとGoogleAssistantでは、以下のような違いになります。
Alexa SDK v1 (2018/04以前)
const handlers = {
  'ByebyeIntent': function () {
    var speechOutput = 'Byebye!';
    var cardTitle = 'Card Title Text';
    var cardContents = 'Card Contents Text';
    var imageObj = {
        smallImageUrl: 'https://example.com/image/card_small.png',
        largeImageUrl: 'https://example.com/image/card_large.png',
    };
    this.emit(':tellWithCard', speechOutput, cardTitle, cardContents, imageObj);
  }
};
Alexa SDK v2
const ByebyeIntent= {
    canHandle(handlerInput) {
        return handlerInput.requestEnvelope.request.type === 'IntentRequest'
            && handlerInput.requestEnvelope.request.intent.name === 'ByebyeIntent';
    },
    handle(handlerInput) {
        const speechOutput = 'Byebye!';
        const cardTitle = 'Card Title Text';
        const cardContents = 'Card Contents Text';
        const imageObj = {
            smallImageUrl: 'https://example.com/image/card_small.png',
            largeImageUrl: 'https://example.com/image/card_large.png',
        };

        return handlerInput.responseBuilder
            .speak(speechOutput)
            .withStandardCard(cardTitle , cardContents, imageObj.smallImageUrl, imageObj.largeImageUrl)
            .getResponse();
    },
};
- <参考リンク> スキルの応答にカードを追加する
GoogleAssistant
const actionHandlers = {
  'ByebyeIntent': () => {
    let responseToUser = {
      speech: 'Byebye!(VoiceMessage)',
      displayText: 'Byebye!(TextMessage)'
    };
    let googleResponse = app.buildRichResponse()
          .addSimpleResponse(responseToUser)
          .addBasicCard(app.buildBasicCard('Card Contents Text')
            .setSubtitle('Card Subtitle Text')
            .setTitle('Card Title Text')
            .addButton('Read more', 'https://example.com/index.html')
            .setImage('https://example.com/image/card_small.png', 'Image alternate text'));
    app.tell(googleResponse);
  }
};
リリース後のソース修正の違い
リリース後のIntent(Frontend)と、Function(Backend)のソース修正の違いについては、以下の表のようになります。
| Service | Alexa | GoogleAssistant | 備考 |
|---|---|---|---|
| Intentの追加・変更 (Frontend) |
× (Skill Builder*) | ○ (Dialogflow) | *[Go to development]で修正可 |
| Functionの修正 (Backend) |
○ (Lambda) | ○ (Cloud Functions) | - |
Alexaの場合、**Intentを追加・変更**するには **「Go to development」**で開発モードにして、再申請する必要があります。
GoogleAssistantの場合は、「Dialogflow」や「Training」機能の発話ログから、**動的にIntentの追加・変更**ができます。
また、Backend側の**Functionの修正**は、Alexa・GoogleAssistantのどちらも動的に行えます。
- <参考リンク> Training | Dialogflow
参考ソース
開発のベースに利用したGitHubの参考ソースです。
Alexa
GoogleAssistant
参考リンク
実装・申請にあたって参考にしたQiita記事のリンクです。
Alexa
GoogleAssistant
おわりに
1,000 Users を達成するのに、Alexaでは1か月掛かりましたが、GoogleAssistantでは、3日で達成しました!
やはり、Alexaに対して、GoogleAssistantは、Android、iPhone、GoogleHomeと間口が広いのが有利です。
日本語対応のGoogleAssistantアプリも少ないので、露出が増える分、今がチャンスかもしれないですね!
今回が初めてのQiita投稿となりましたが、最後まで見てくださって、本当にありがとうございます。
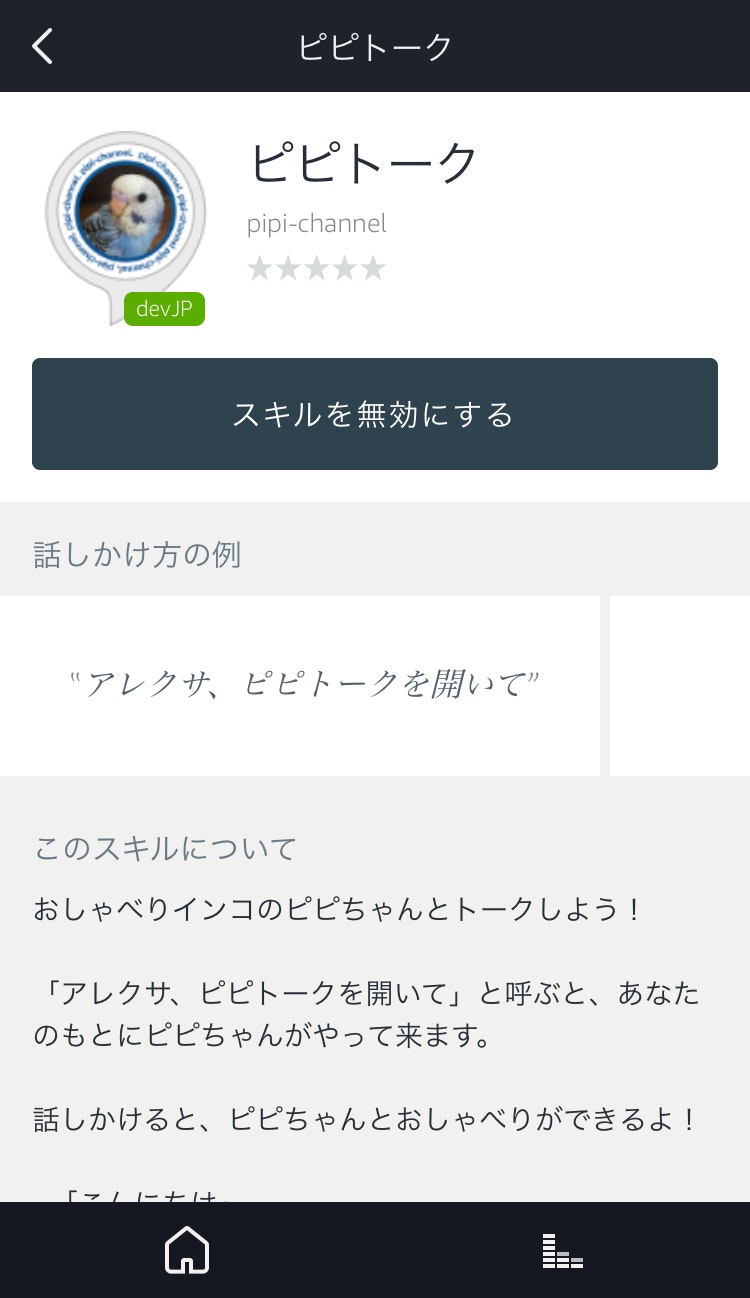
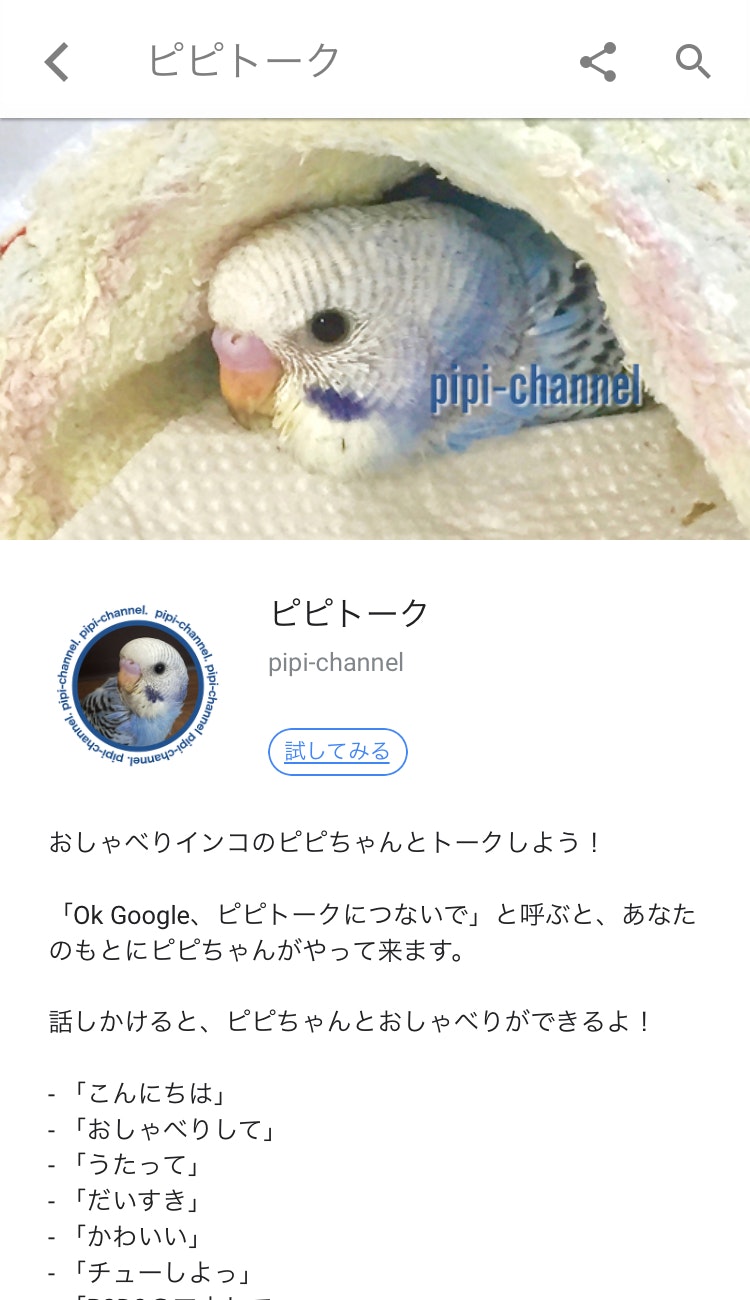
ぜひ、今回リリースしたGoogleAssistantアプリ【ピピトーク】でも遊んでみてください!

添付
アプリの応答カード画像
Alexa
| App | Card |
|---|---|
 |
 |
GoogleAssistant
| App | Card |
|---|---|
 |
 |