前回Swaggerについて調べて実際に使ってみました。
前回はwebからyamlファイルを生成し作成する方法でしたが、今回はDockerを使った方法を試してみます。
前回と同じくまだDockerについて浅い知識しかないのでご指摘などありましたらご連絡いただけますと幸いです。
前回の記事は以下です。
Swaggerについて調べてみた
今回参考にさせていただいた記事は以下です。ありがとうございます!
UI開発にSwaggerで作ったmockサーバーを使う
Swaggerの概要をまとめてみた。
DockerでSwagger Editorを立ち上げる
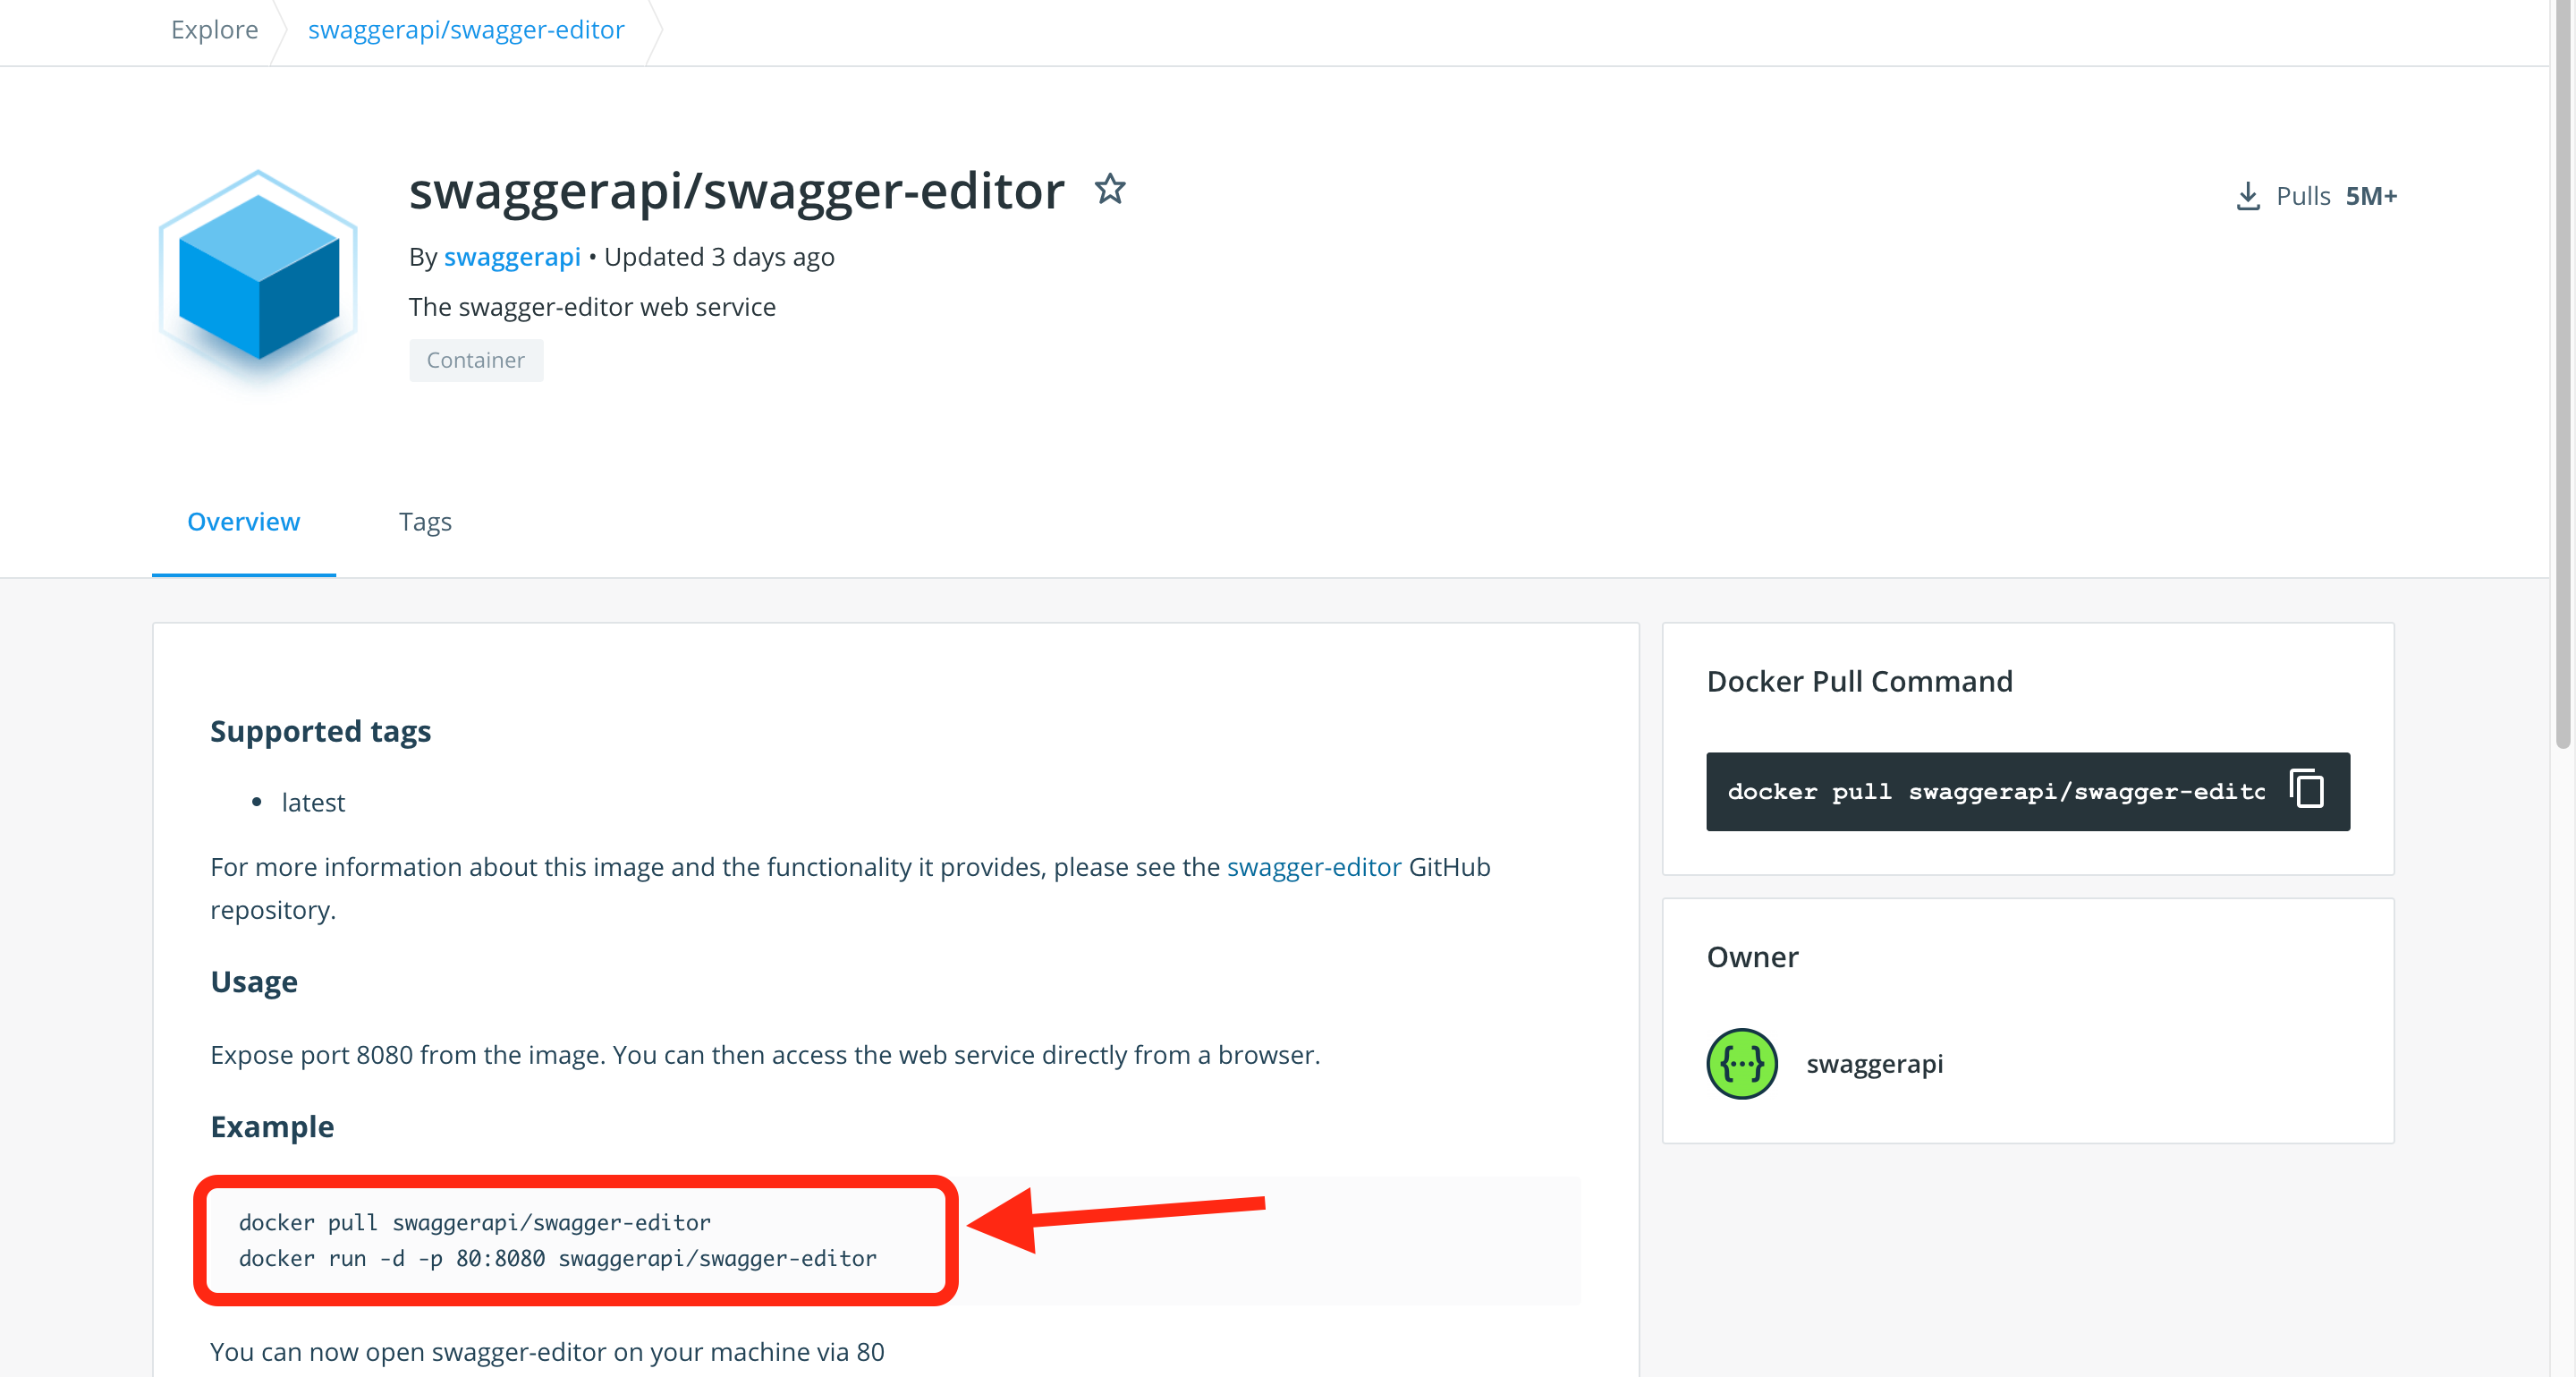
DockerHubにあるイメージをpullします。
以下が公式のイメージです。
swaggerapi/swagger-editor
上記の画像にあるようにコマンドを実行していきます。
$ docker pull swaggerapi/swagger-editor
$ docker run -d -p 80:8080 swaggerapi/swagger-editor
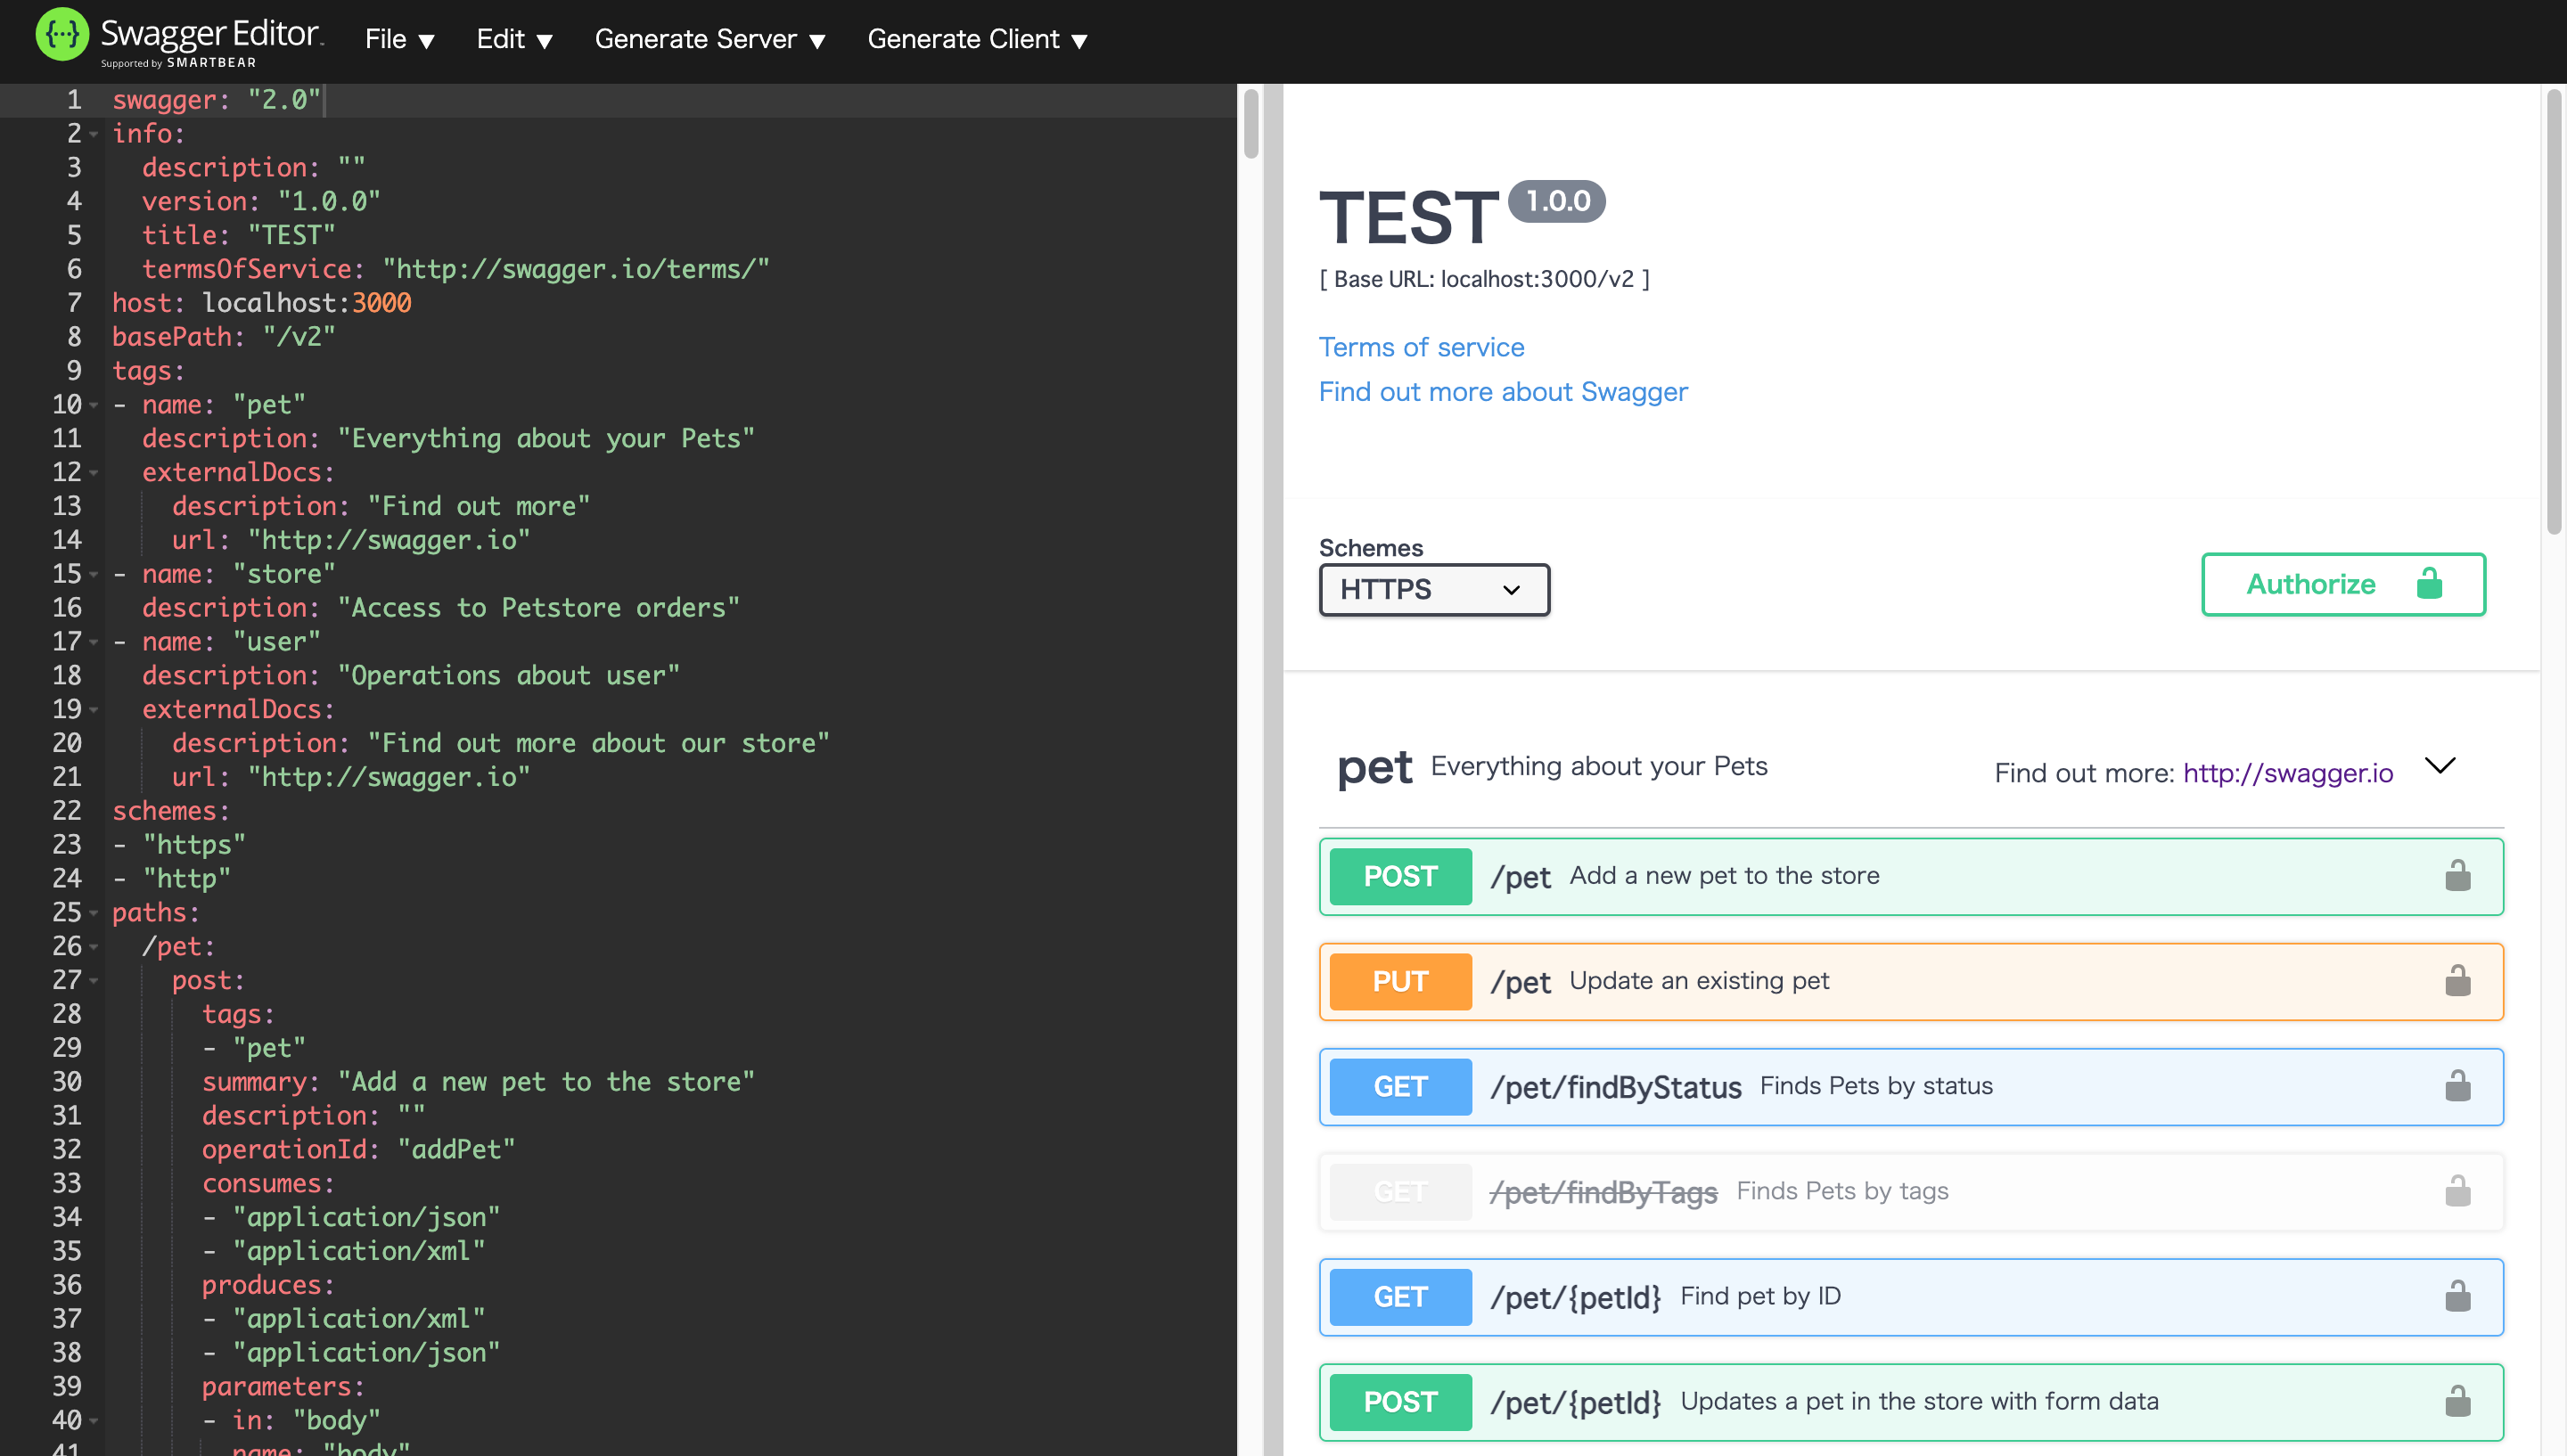
成功すると上記の場合localhostで下記のようにSwagger Editorが開きます。
ここで編集をしていくということですね。
mockサーバーを作成する
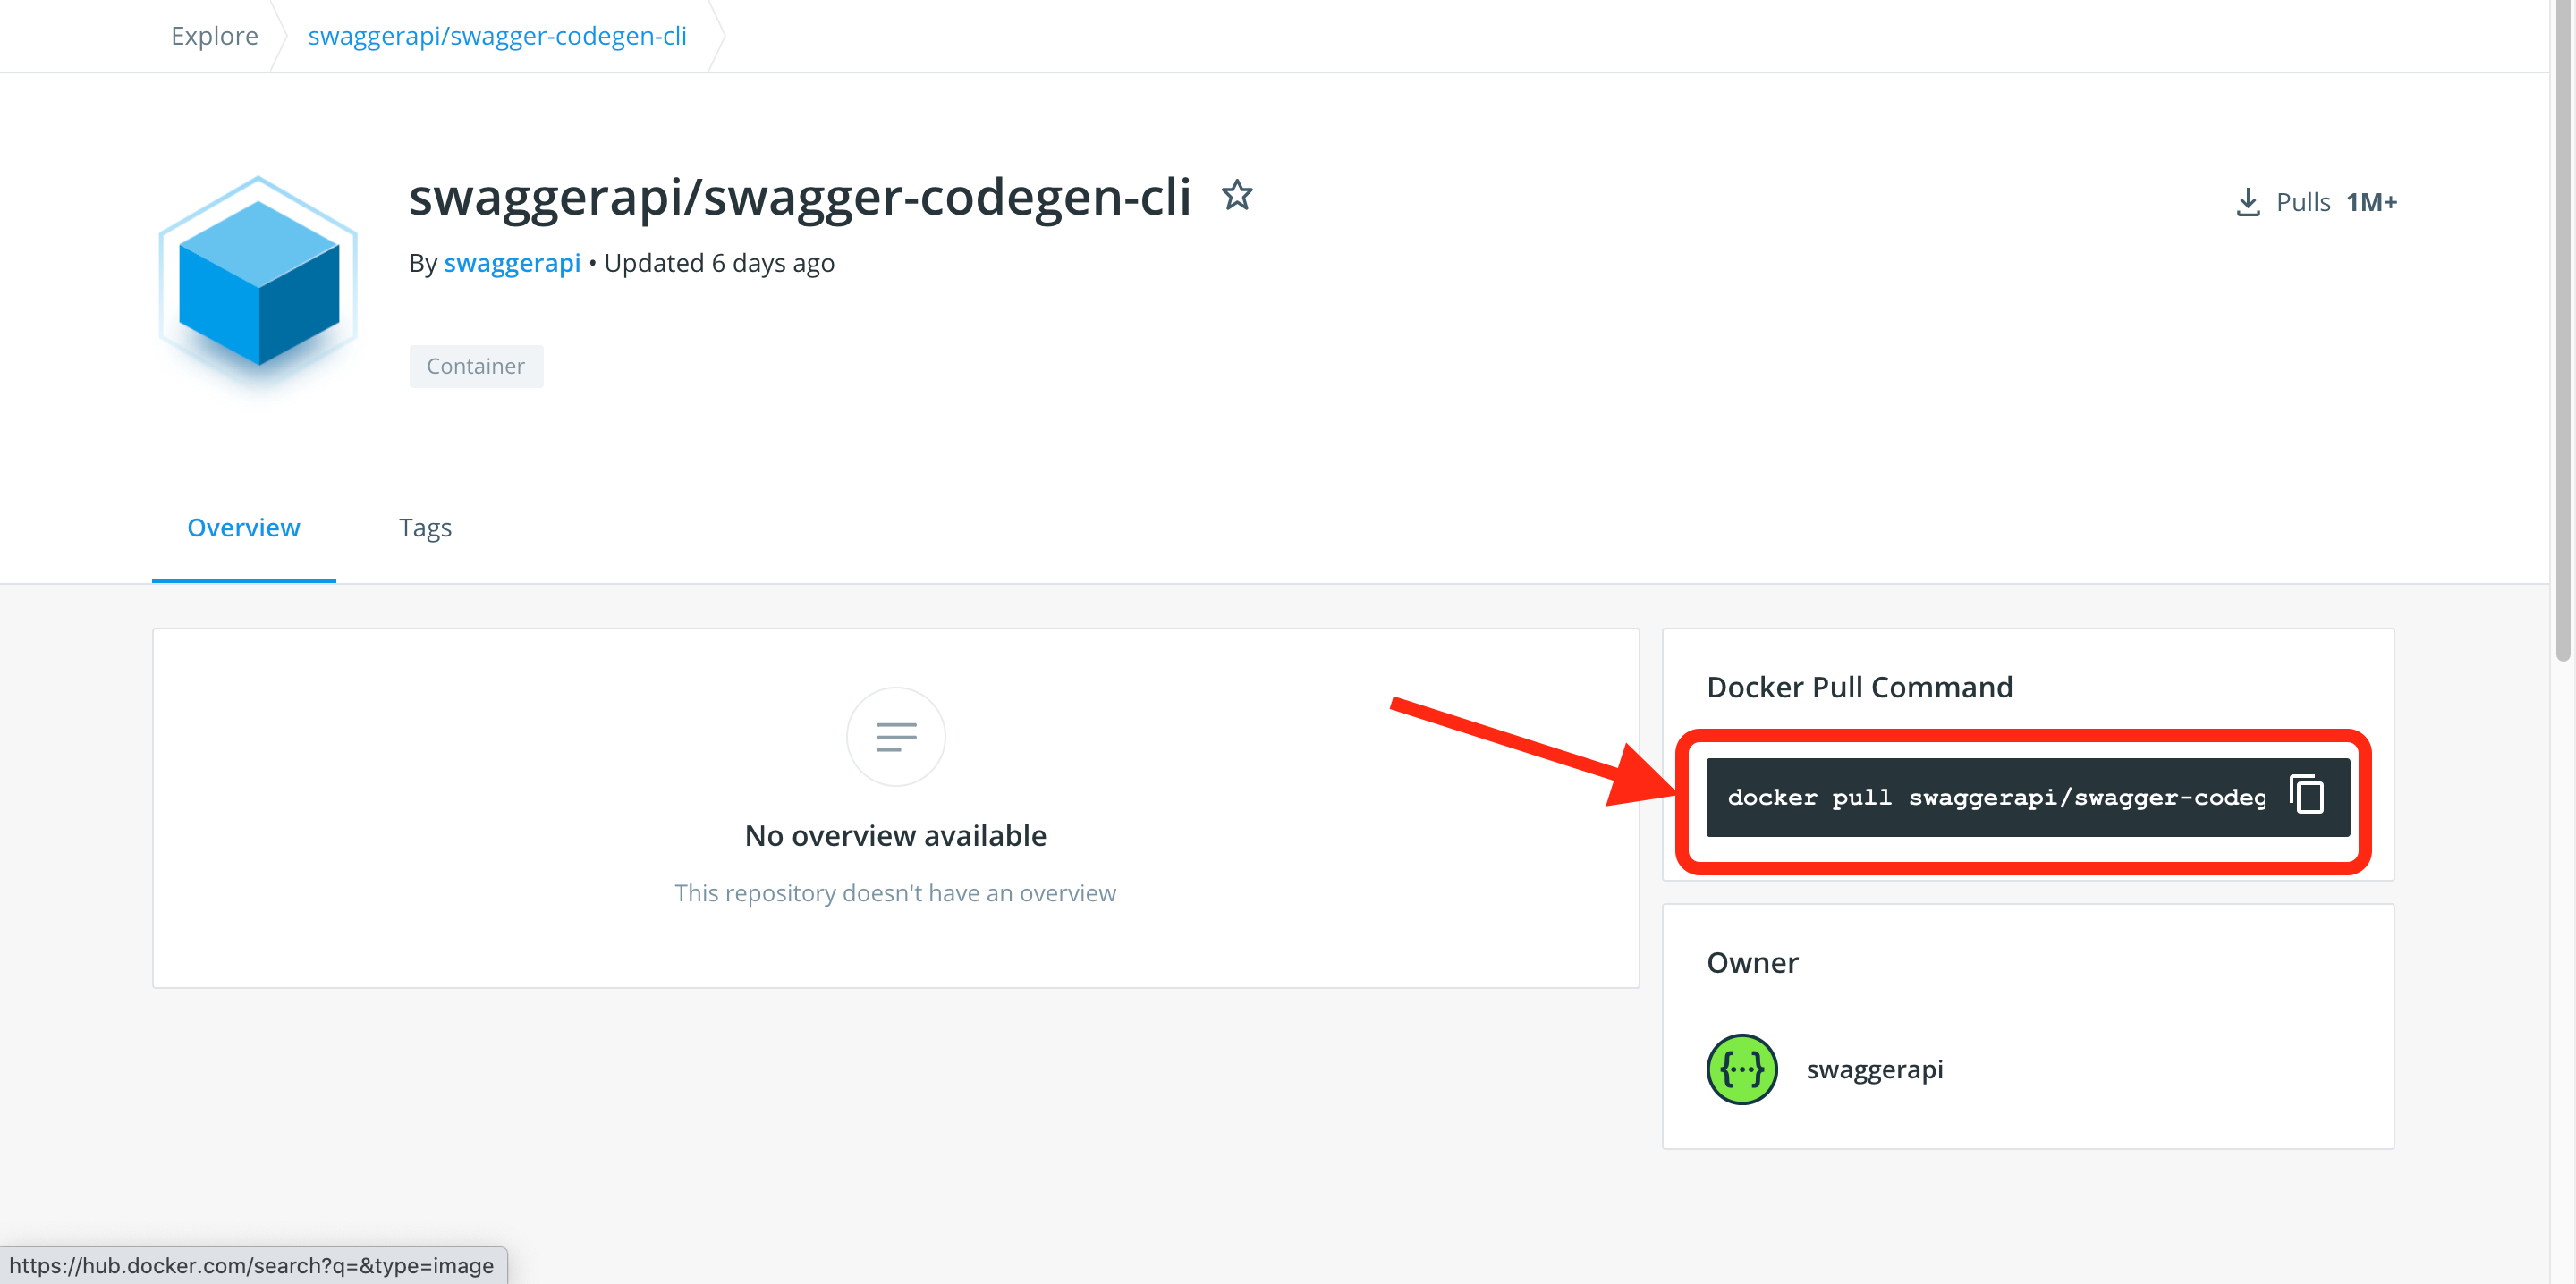
こちらもDockerHubにあるイメージをpullします。
以下が公式のイメージです。
swaggerapi/swagger-codegen-cli
上記の画像にあるようにコマンドを実行していきます。
$ docker pull swaggerapi/swagger-codegen-cli
HTMLでUIを表示する
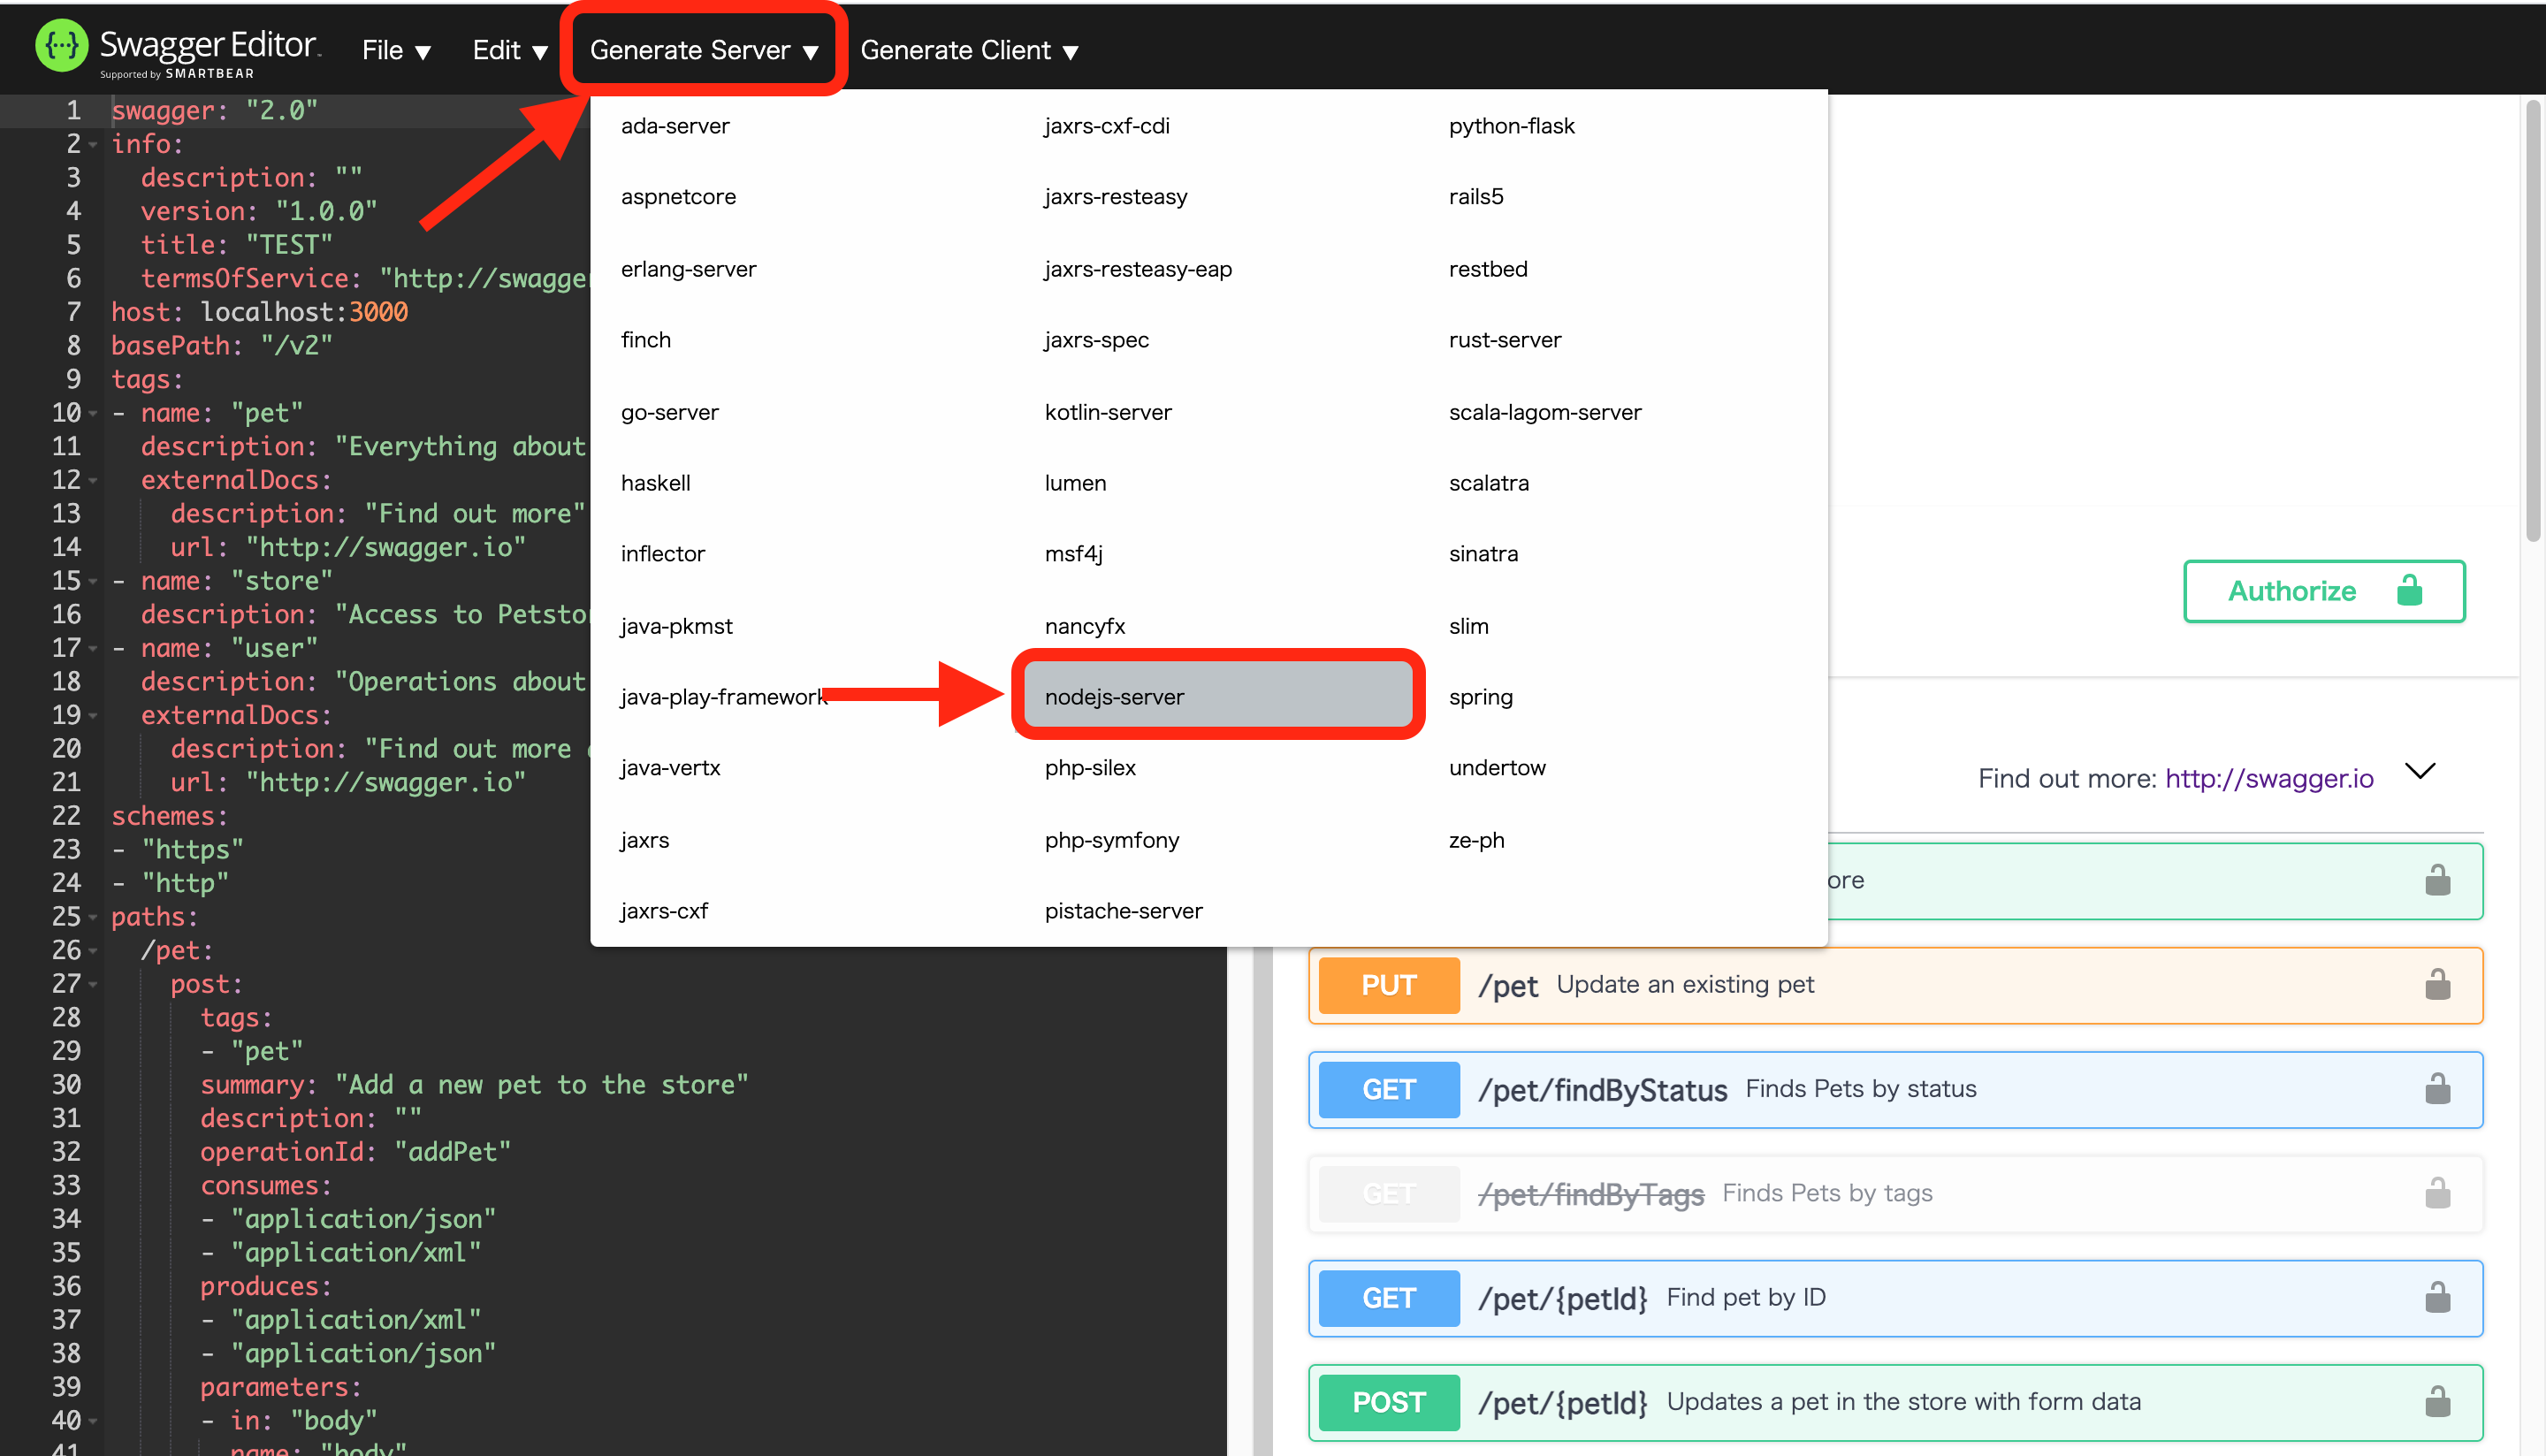
localhostで開いているSwagger Editorで下記の画像のように操作をします。
Generate Serverから開発環境に合わせたものを選びます。
今回私はnodejs-serverを選択しました。
ファイルがダウンロードされたら、ダウンロードしたディレクトリまで移動しましょう。
$ cd nodejs-server-server
そして以下のコマンドを入力します。
$ npm install
$ node index.js
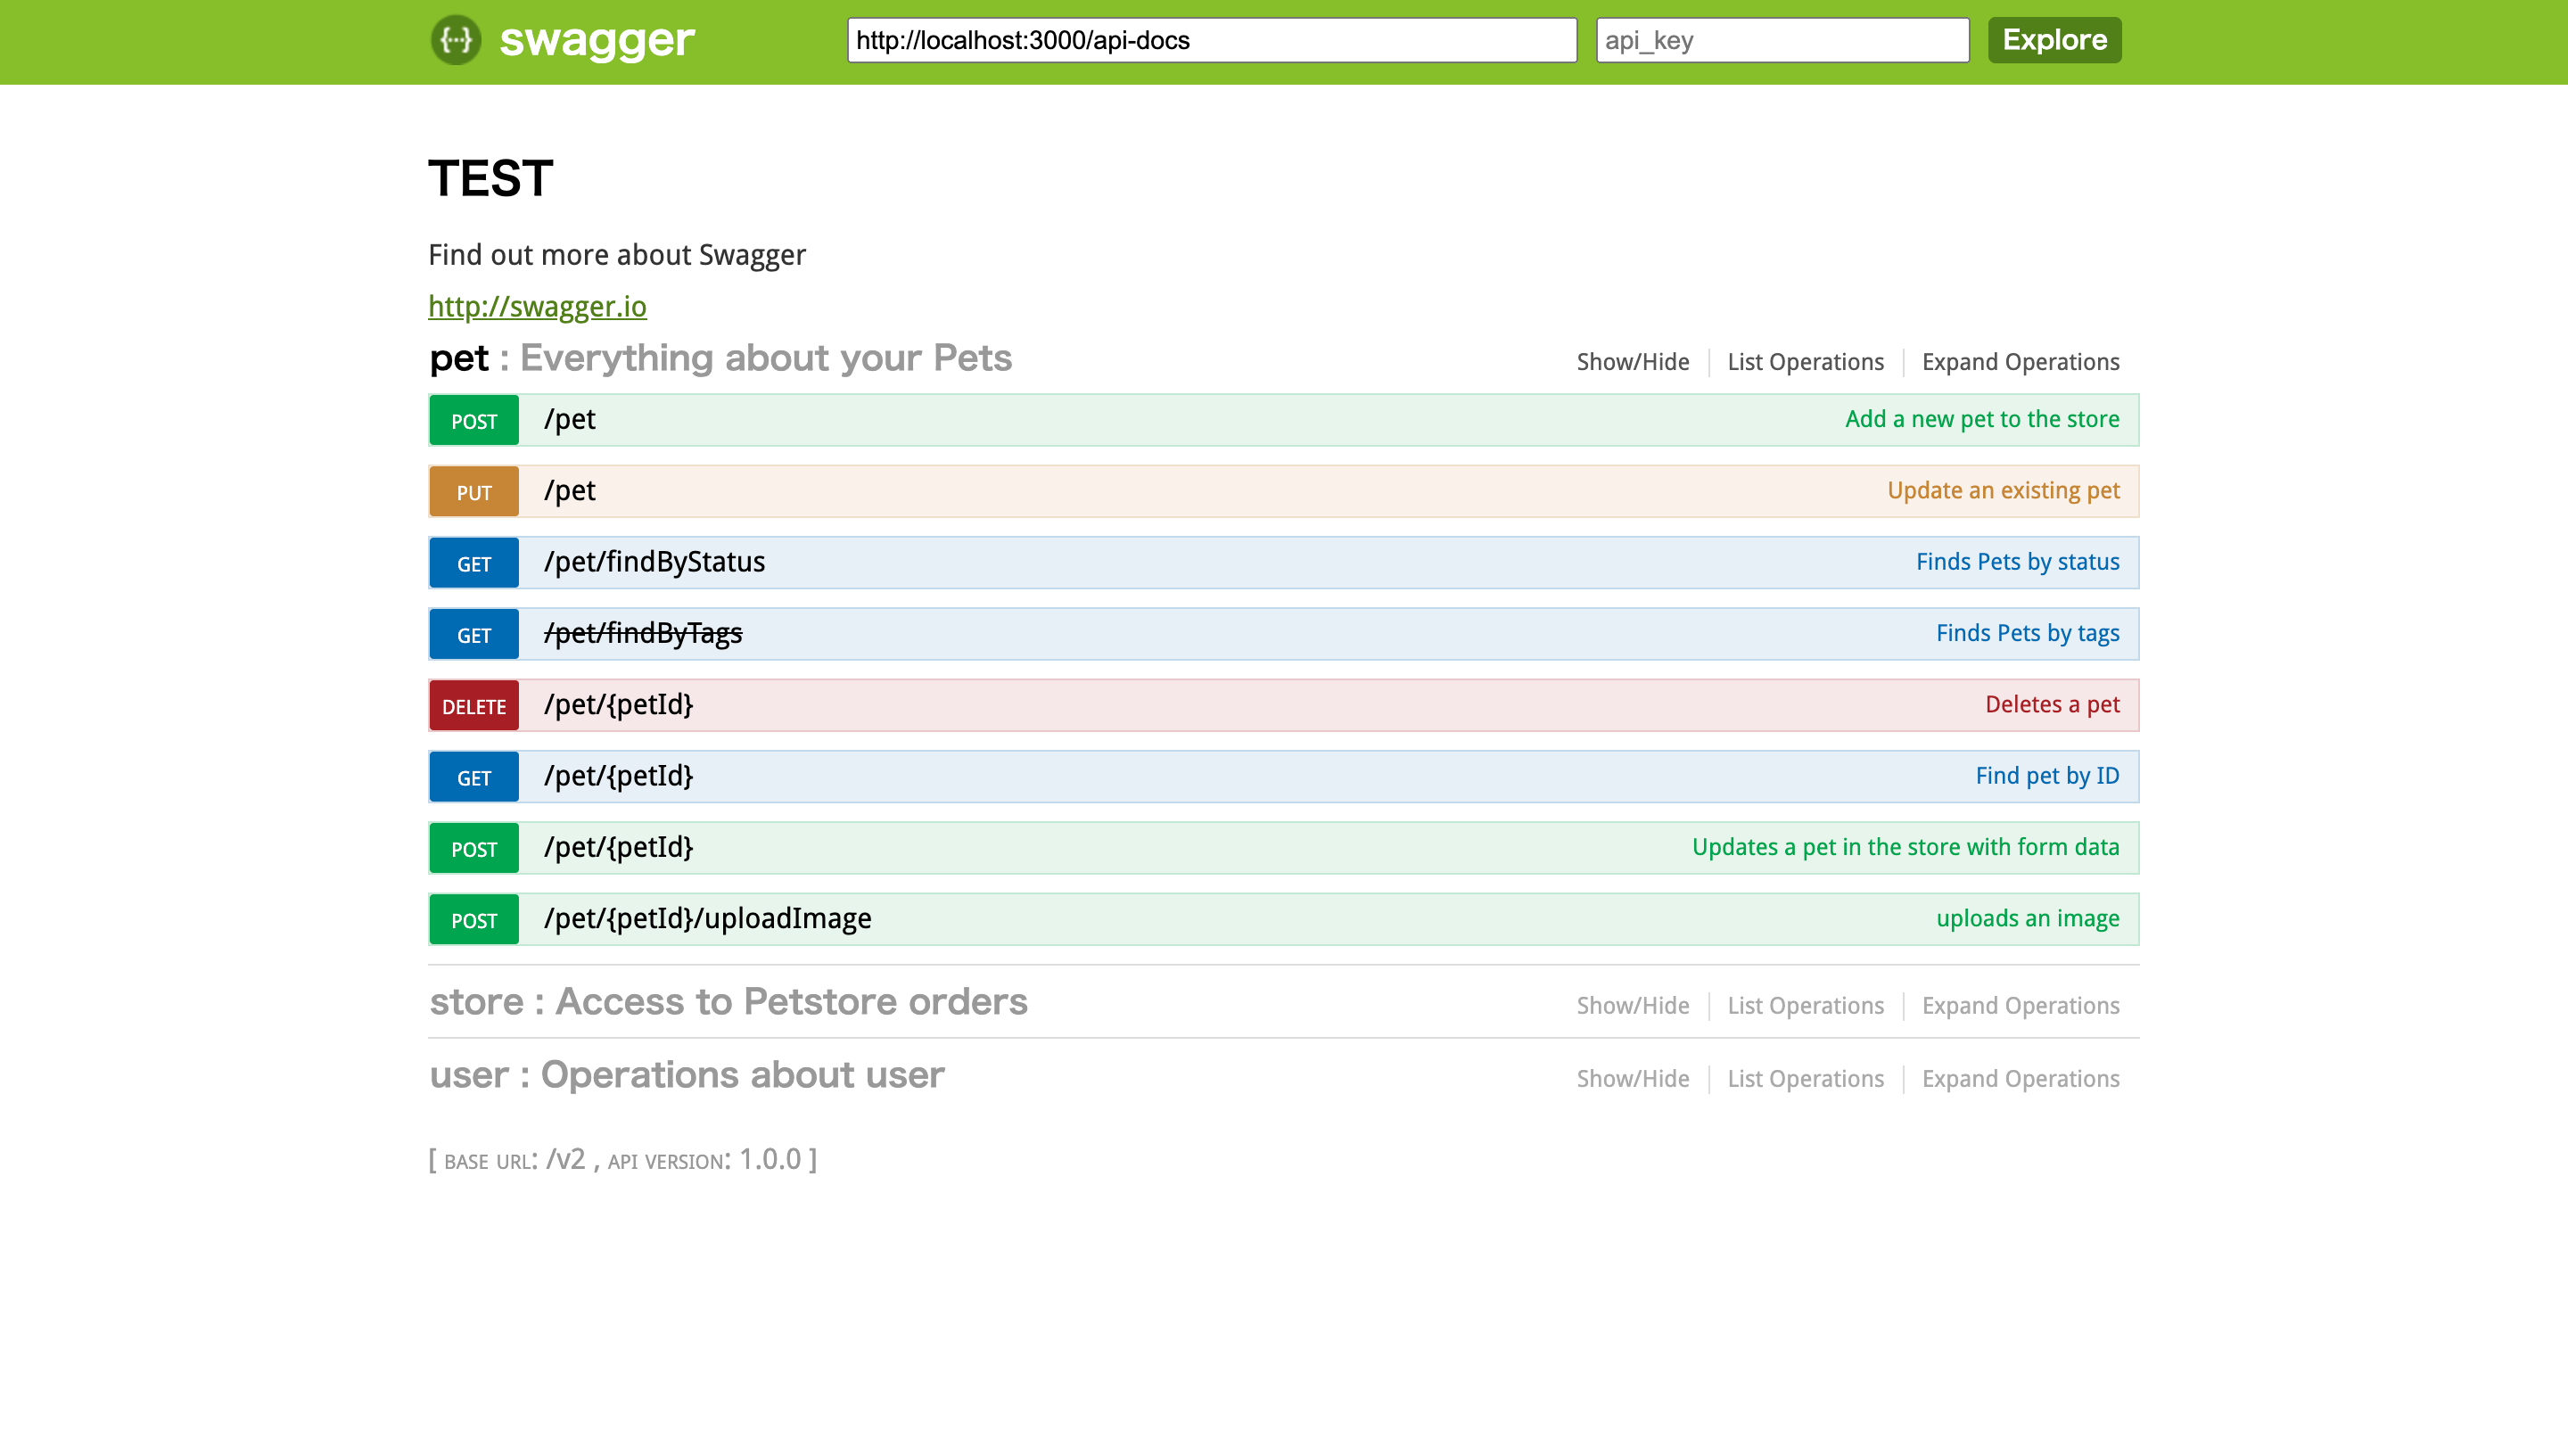
そうすると私の場合は以下のような表示が出ます。
Your server is listening on port 3000 (http://localhost:3000)
Swagger-ui is available on http://localhost:3000/docs
私はyamlにhost: localhost:3000と指定した為、上記のような表示になるわけです。
そして記載されているようにUIを開くにはhttp://localhost:3000/docsを開いてあげればOKです。
できました!
DockerやAPIのこと理解できていないの悔しいので勉強します...
