TD;LR
webサイトの更新履歴をgithubのリリースで管理したら便利だった
releaseの更新に合わせてツイートをするgithub actionsを作った
releaseで管理
よくウェブページについている下みたいな更新履歴を作ろうと思ったけど
20xx/0x/xx xxxxxの内容を更新
20xx/0x/xx xxxxxを追加
20xx/0x/xx xxxxxを更新
ファイルにまとめたりして一々追記していくのが嫌だったのでgithubの機能を使いました。
release機能
releaseはgithubの機能でリリースノートや添付ファイルを付けてユーザーに公開する事ができます。

ここのreleasesと書いてある部分から作成でき、

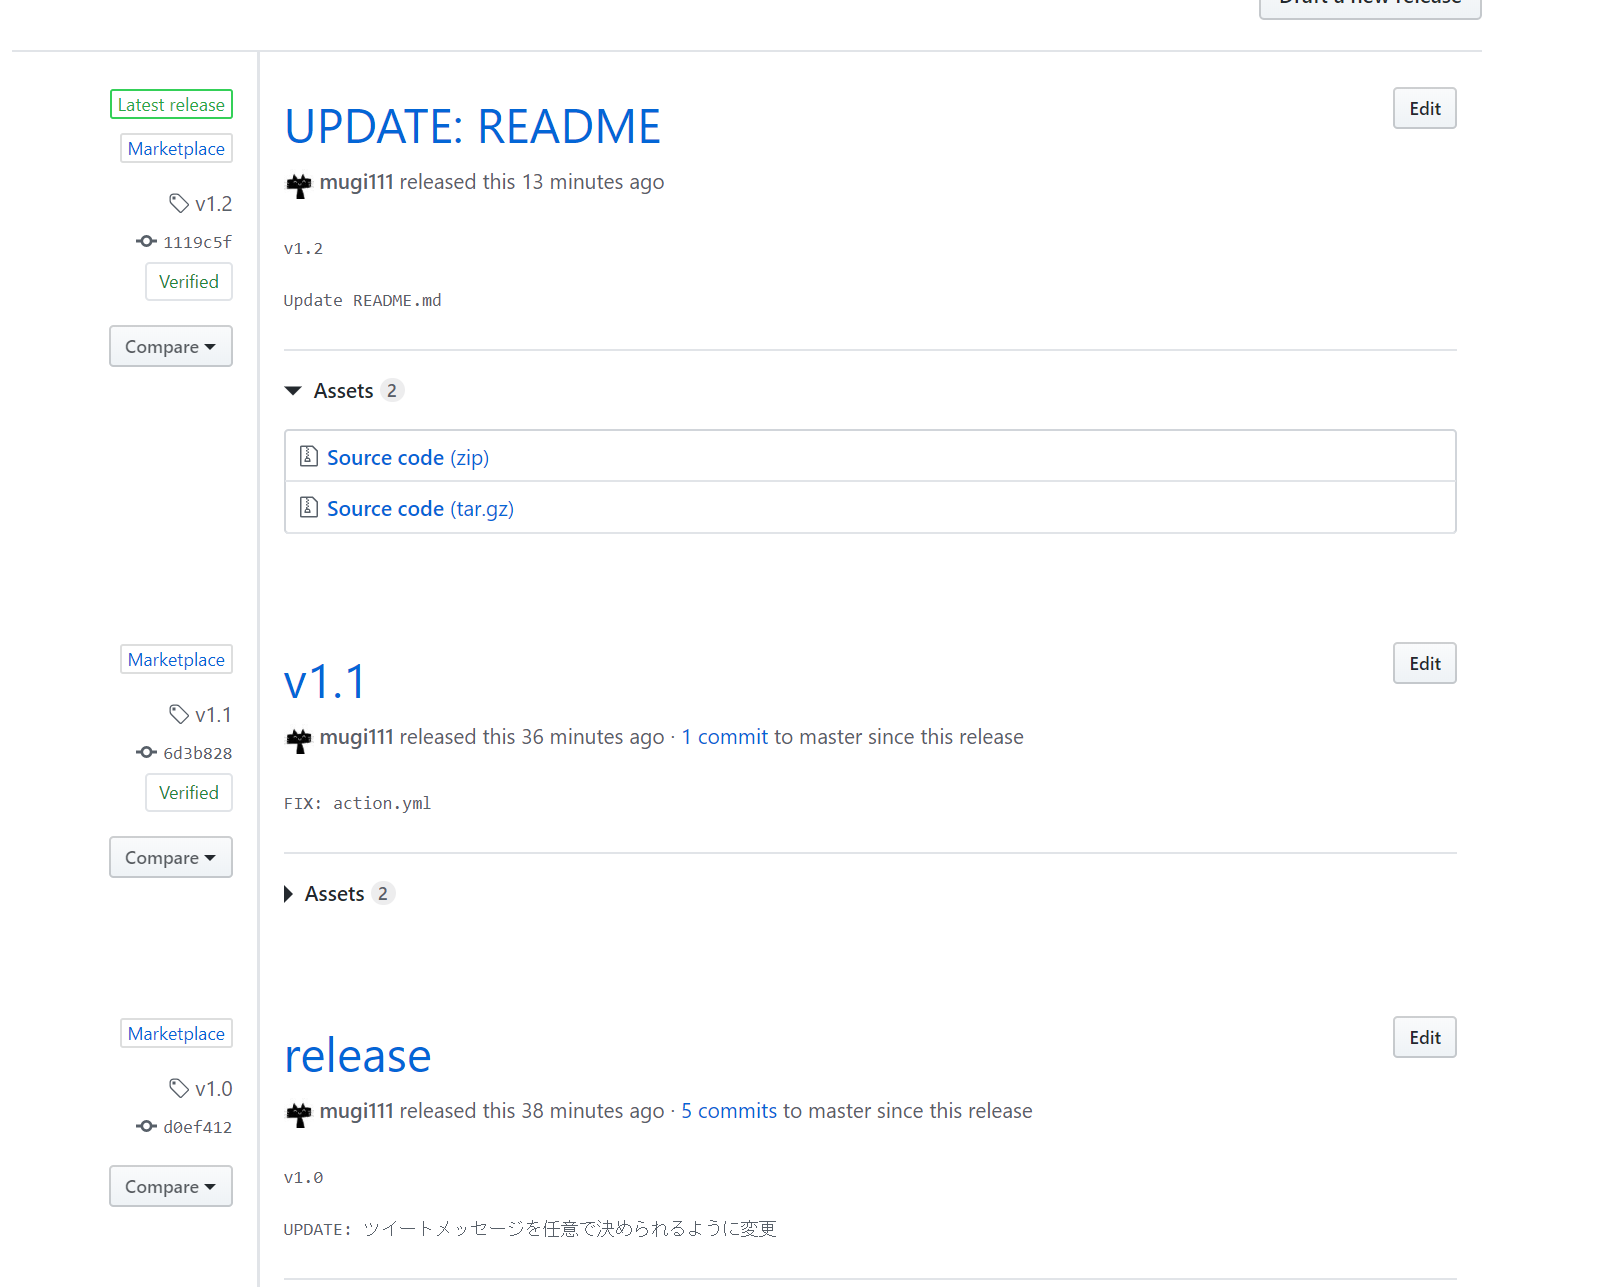
今までの履歴がこのように表示されます。
こんな感じでピッタリな機能だったので今回の更新履歴の実装に使ってみることにしました。
releaseの取得
releaseの取得にはgithubのrest APIクライアントのoctokit/restを使用しました。
npm install @octokit/rest
上のnpmコマンドでパッケージのインストールをしたあとはコードを書いていくだけです。
import Octokit from "@octokit/rest";

let releaseLog = []
const octokit = new Octokit();
取得したreleaseを入れておくリストとOctokitの宣言を済ませたら。
octokit.repos.listReleases({
  owner: "mugi111",
  repo: "my-profile-page",
}).then((res) => {
  if (res.status === 200) {
  // 整形
  }
})
ownerでユーザー名repoでリポジトリ名を指定してlistReleaseでreleaseの一覧を取得します。
一覧が返ってきたら自分の使いやすいように整形して最初に宣言したreleaseLogに入れておきます。
あとはループさせたりして表示させるだけです。
おわり
更新履歴に追加したいところでrelease作成すれば自動的にページに反映されるようになるので楽になった。
githubからの取得も意外と簡単だった。
github actionsについては次のでちゃんと書きます。
更新履歴を実装したページとリポジトリ
https://th-mg-profile.netlify.com/
https://github.com/mugi111/my-profile-page