これはなに?
Firebase Machine LearningをFlutterに導入の仕方について書かれたもの

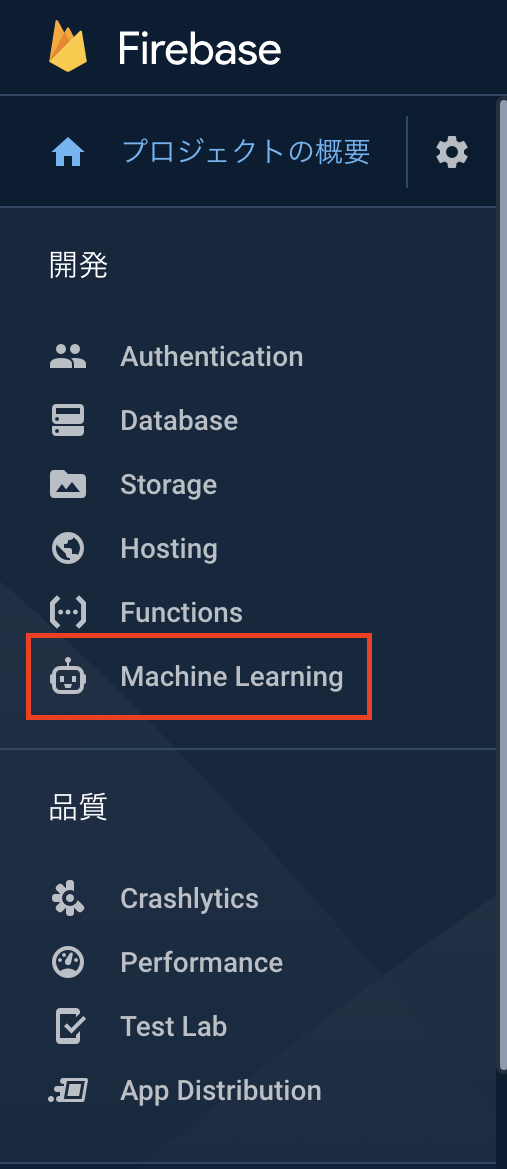
Firebase Machine Learningとは
そもそもFirebase Machine Learningとはなんなのか
ML Kit は、Google の機械学習の機能を Android アプリや iOS アプリとして提供するモバイル SDK です。その強力で使いやすいパッケージは、機械学習の経験の有無を問わず、わずか数行のコードで実装できます。ニューラル ネットワークやモデルの最適化に関する詳しい知識は必要ありません。経験豊富な ML のデベロッパーの方は、ML Kit の便利な API を利用することで、モバイルアプリにおいてカスタム TensorFlow Lite モデルを簡単に採用できます。
~Firebase 向け ML Kit ガイドから引用~
はい、ドキュメントが説明してくれました。
要約すると、
機械学習の経験の有無を問わず、わずか数行のコードで実装できます。
ここに収まります。
機械学習の知識がなくてもGoogleが作った学習モデルを使って数行でモバイルorWebアプリに導入できる、というもの(便利な時代になったな...)。
※自分で学習モデルを作ることも可能なようです。
今回はその中の顔検出を使ってみました。
作ったもの
カメラ撮影した画像を使って顔認識するアプリを作成しました。
顔認識中のローディングを入れた pic.twitter.com/78PUjDxWph
— m.suke / Flutter (@mu__su___) June 15, 2020
導入手順
下の記事以上にうまく説明できないで導入手順についてはコチラを参考にしてください↓
FlutterでFirestoreと連携してみた
パッケージの導入
今回は顔認識をするのでそれに応じたパッケージが必要になります。
具体的には以下になります。
- firebase_core(導入手順で導入していたら不要)
- firebase_ml_vision
- image_picker
実装
以下の手順に沿って説明していきます
①写真撮影機能の実装
②撮影した画像で顔認識をさせて認識した顔の数を表示する
①写真撮影機能の実装
フローティングボタンをタップした時に_onPickImageSelected()を実行し、カメラで撮影しています。
この段階ではカメラで撮影した画像をただそのまま表示させているだけです。
import 'dart:io';
import 'package:flutter/material.dart';
import 'package:image_picker/image_picker.dart';

void main() {
  runApp(MyApp());
}

class MyApp extends StatelessWidget {
  @override
  Widget build(BuildContext context) {
    return MaterialApp(
      title: 'Flutter Demo',
      theme: ThemeData(
        primarySwatch: Colors.blue,
      ),
      home: MyHomePage(title: 'Firebase ML kitで遊んでみた'),
    );
  }
}

class MyHomePage extends StatefulWidget {
  MyHomePage({Key key, this.title}) : super(key: key);
  final String title;

  @override
  _MyHomePageState createState() => _MyHomePageState();
}

class _MyHomePageState extends State<MyHomePage> {
  File _image;
  @override
  Widget build(BuildContext context) {
    return Scaffold(
      appBar: AppBar(
        title: Text(widget.title),
        centerTitle: true,
      ),
      body: Center(
        child: _image == null
            ? Text("画像を撮影してください")
            : Image.file(_image),
      ),
      floatingActionButton: FloatingActionButton(
        onPressed: () {
          _onPickImageSelected();
        },
        child: Icon(
          Icons.camera_alt,
          color: Colors.white,
        ),
      ),
    );
  }

  void _onPickImageSelected() async {
    var imageSource = ImageSource.camera;

    try {
      final file = await ImagePicker().getImage(source: ImageSource.camera);
      setState(() {
        _image = File(file.path);
      });
      if(file == null) {
        throw Exception('ファイルを取得できませんでした');
      }
    } catch (e) {
    }
  }
}
②撮影した画像で顔認識をさせて認識した顔の数を表示する
次に撮影した画像を使って顔認識をさせていきます。
下は全体のコードになります。
import 'dart:io';
import 'package:firebase_ml_vision/firebase_ml_vision.dart';
import 'package:flutter/material.dart';
import 'package:image_picker/image_picker.dart';

void main() {
  runApp(MyApp());
}

class MyApp extends StatelessWidget {
  @override
  Widget build(BuildContext context) {
    return MaterialApp(
      title: 'Flutter Demo',
      theme: ThemeData(
        primarySwatch: Colors.blue,
      ),
      home: MyHomePage(title: 'Firebase ML kitで遊んでみた'),
    );
  }
}

class MyHomePage extends StatefulWidget {
  MyHomePage({Key key, this.title}) : super(key: key);
  final String title;

  @override
  _MyHomePageState createState() => _MyHomePageState();
}

class _MyHomePageState extends State<MyHomePage> {
  File _image;
  bool _loading = false;
  bool _isChecked = false;
  bool _isFaceRecognition = false;
  int _numOfFaces;
  @override
  Widget build(BuildContext context) {
    return Scaffold(
      appBar: AppBar(
        title: Text(widget.title),
        centerTitle: true,
      ),
      body: Center(
        child: Column(
          mainAxisSize: MainAxisSize.min,
          children: [
            _image == null
                ? Text("画像を撮影してください")
                : Image.file(_image),
            Visibility(
              visible: _image != null,
              child: verificationButton(),
            ),
            Visibility(
              visible: _isChecked,
              child: _isFaceRecognition
                  ? Text("$_numOfFaces人の顔が認識されました")
                  : Text("顔が認識できませんでした"),
            ),
          ]
        ),
      ),
      floatingActionButton: FloatingActionButton(
        onPressed: () {
          _onPickImageSelected();
        },
        child: Icon(
          Icons.add_a_photo,
          color: Colors.white,
        ),
      ),
    );
  }
  Widget verificationButton() {
    return RaisedButton(

      child: verificationButtonChild(),
      color: Colors.blue,
      shape: RoundedRectangleBorder(
        borderRadius: BorderRadius.circular(10.0),
      ),
      onPressed: () {
        !_isChecked
            ? _startVerification()
            : _resetVerification();
      },
    );
  }
  Widget verificationButtonChild() {
    if (!_isChecked && _loading) {
      return Container(
        height: 20,
        width: 20,
        margin: EdgeInsets.all(5),
        child: CircularProgressIndicator(
          strokeWidth: 2.0,
          valueColor: AlwaysStoppedAnimation(Colors.white),
        ),
      );
    }else if (!_isChecked) {
      return Text("顔認識", style: TextStyle(color: Colors.white),);
    }else {
      return Text("リセット", style: TextStyle(color: Colors.white),);
    }
  }
  void _onPickImageSelected() async {
    try {
      final file = await ImagePicker().getImage(source: ImageSource.camera);
      setState(() {
        _image = File(file.path);
      });
      if(file == null) {
        throw Exception('ファイルを取得できませんでした');
      }
    } catch (e) {
    }
  }
  void _startVerification() async {
    setState(() {
      _loading = true;
    });
    final FirebaseVisionImage visionImage = FirebaseVisionImage.fromFile(_image);
    final FaceDetector faceDetector = FirebaseVision.instance.faceDetector();
    final List<Face> faces = await faceDetector.processImage(visionImage);
    setState(() {
      _isChecked = !_isChecked;
      _loading = !_loading;
      _numOfFaces = faces.length != null
          ? faces.length
          : 0;
      _isFaceRecognition = faces.length > 0
          ? true
          : false;
    });
    faceDetector.close();
  }
  void _resetVerification() {
    setState(() {
      _image = null;
      _isChecked = false;
      _isFaceRecognition = false;
    });
  }
}
_startVerification()が顔認証の処理部分です。
_numOfFacesで認識した顔の数を取得しています。
  void _startVerification() async {
    setState(() {
      _loading = true;
    });
    final FirebaseVisionImage visionImage = FirebaseVisionImage.fromFile(_image);
    final FaceDetector faceDetector = FirebaseVision.instance.faceDetector();
    final List<Face> faces = await faceDetector.processImage(visionImage);
    setState(() {
      _isChecked = !_isChecked;
      _loading = !_loading;
      _numOfFaces = faces.length != null
          ? faces.length
          : 0;
      _isFaceRecognition = faces.length > 0
          ? true
          : false;
    });
    faceDetector.close();
  }
  void _resetVerification() {
    setState(() {
      _image = null;
      _isChecked = false;
      _isFaceRecognition = false;
    });
  }
まとめ
Firebase Machine Learningは初めて使ってみたけど、これを応用すればSnowみたいなアプリやマッチングアプリの本人認証に支えたりするんじゃないかなーと思いました。
そもそもすごいけどやっぱりFirebaseは偉大だなーと改めて感じました。
顔検出は他にも表情を認識して笑顔かどうかを返せたりするので、引き続き使ってみようかと思います。