はじめに
それまでは図を入れずに (\begin{figure}で始まる文なしに) TeXファイルのコンパイルができていたのに,\begin{figure}で図を挿入しようとしたら次のようなエラーが出てなかなか原因が分からなかったかつ,日本語でまとめている記事を見つけられなかったので,まとめておく.
...
! Too many }'s.
\color@endbox ->\color@endgroup \egroup
先に結論
を知りたければ,まとめのみ見れば良い.
問題例
環境はWindows10で,コンパイルはptex2pdfをVS Codeで次のようにレシピを作成して2回コンパイル.
        {
            "name": "ptex2pdf",
            "command": "ptex2pdf",
            "args": [
                "-l",
                "-ot",
                "-kanji=utf8 -synctex=1",
                "%DOC%"
            ]
        },
これは処理系を (コンパイル方法を) e-pTeXにすることに該当して,当のe-pTeXは次の通り.コマンドはplatexである.ptex2pdfはここでは「pLaTeXというマクロ体系を使って,e-pTeXという処理系による処理=コンパイルを行った結果作られたdviファイルを,dvipdfmxというソフトウェアを使ってPDFファイルに変換する,という一連の流れをまとめたLuaスクリプト」として扱われる (はず...間違っていたら教えて下さい).
C:\Users\UserName>platex -v
e-pTeX 3.14159265-p3.8.0-180226-2.6 (utf8.sjis) (TeX Live 2018/W32TeX)
kpathsea version 6.3.0
ptexenc version 1.3.6
Copyright 2018 D.E. Knuth.
で,次のTeXコードのように,\begin{figure}が記述されたファイルを上記レシピでコンパイルすると,Too many ...エラーが生じる.\begin{figure}から\end{figure}を削除すると,コンパイルは通ってPDFが無事に作成される.当然,tigerはご降臨されない.
\documentclass[twocolumn,a4j,9pt,oneside,final]{jarticle} %platex

\usepackage[dvipdfmx]{graphicx}% for hyperref
\usepackage[dvipdfmx, bookmarkstype=toc, colorlinks=false, pdfborder={0 0 0}, bookmarks=false, bookmarksnumbered=true]{hyperref}
\usepackage{pxjahyper}
\usepackage{color} %校正での目印等に利用 \textcolor{red}{hogehoge}

\usepackage{doublespace}

\begin{document}
    これはサンプルである.
    これはサンプルである.
    これはサンプルである.
    これはサンプルである.
    これはサンプルである.

    \begin{figure}[bt]
        \centering
        \includegraphics[keepaspectratio=true,width=0.47\textwidth]{tiger.eps}
        \caption{This is a tiger.}
    \end{figure}

\end{document}
...
! Too many }'s.
\color@endbox ->\color@endgroup \egroup
ちなみにtigerがご降臨されていないPDFファイルはこんな感じ.

妥協解決案
[TeX のエラーメッセージ - TeX Wiki](https://texwiki.texjp.org/?TeX のエラーメッセージ)で「Too many }'s」を検索しても,「開き括弧 { と閉じ括弧 } の対応がとれていない場合に現れるエラーメッセージ(のひとつ)で, 単に閉じ括弧のほうが多い(というだけの情報しかない)場合に現れます.」とあるだけ.
そこで,StackExchange: Error message: too many }'s [closed]の中のanswerにある
Most probably it is the package
xthesisthat contains some pieces of code to redefine\@xfloatin a bad way. It seems that many university's thesis templates contain such a definition from a file nameddoublespace.sty. The solution is to (re)define\@xfloatin a "good" way, for example: a work around here
で,doublespace.styに言及しているし,試しにと思って\usepackage{doublespace}をコメントアウトしてみたらコンパイルに成功した.tigerがご降臨された.
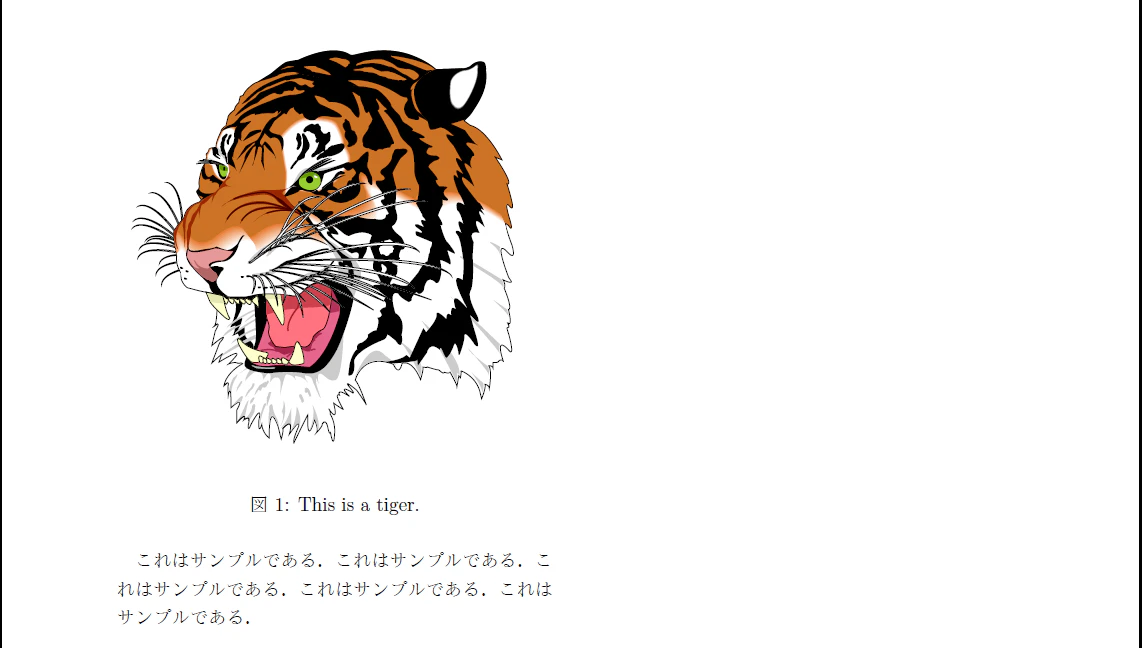
しかし,行間が狭くなってしまう (当然である).それでもよければ\usepackage{doublespace}を削除するのが一番シンプルな解決方法である.
まじめな解決案
先程のStackExchange: Error message: too many }'s [closed]の中のanswerにあるリンク
for example: a work around here
を見ると,サンプルらしきものがある.どうやら\@xfloatなるものを定義し直しているっぽいので,真似てみる.以下の%Save LaTeX kernel version of \@xfloat部分と,% Create a modified copy of \@xfloat using the kernel definition部分がそれである.
%Save LaTeX kernel version of \@xfloat
\makeatletter
\let\my@xfloat\@xfloat
\makeatother

\documentclass[twocolumn,a4j,9pt,oneside,final]{jarticle} %platex

\usepackage[dvipdfmx]{graphicx}% for hyperref
\usepackage[dvipdfmx, bookmarkstype=toc, colorlinks=false, pdfborder={0 0 0}, bookmarks=false, bookmarksnumbered=true]{hyperref}
\usepackage{pxjahyper}
\usepackage{color} %校正での目印等に利用 \textcolor{red}{hogehoge}

\usepackage{doublespace}

% Create a modified copy of \@xfloat using the kernel definition
\makeatletter
\def\@xfloat#1[#2]{
	\my@xfloat#1[#2]%
	\def\baselinestretch{1}%
	\@normalsize \normalsize
}
\makeatother

\begin{document}
    これはサンプルである.
    これはサンプルである.
    これはサンプルである.
    これはサンプルである.
    これはサンプルである.

    \begin{figure}[bt]
        \centering
        \includegraphics[keepaspectratio=true,width=0.47\textwidth]{tiger.eps}
        \caption{This is a tiger.}
    \end{figure}

\end{document}
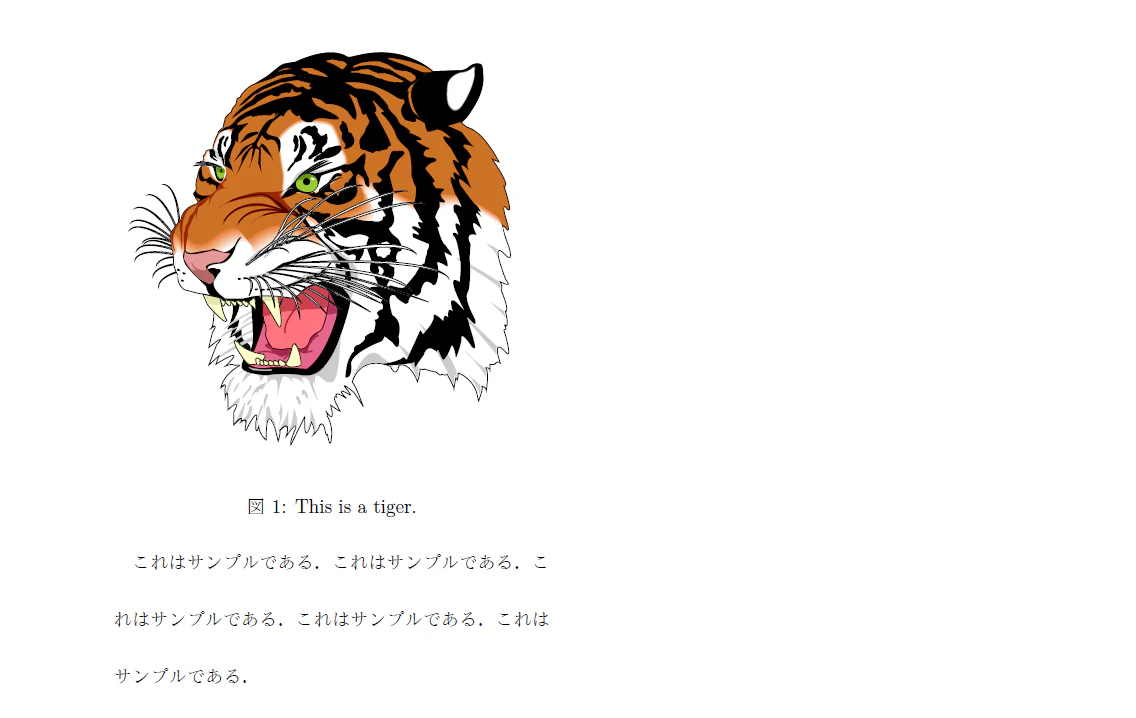
これで無事,行間は2行のまま,tigerがご降臨された.
補足にもならないもの
悪いのはdoublespace.styで,この中で\@xfloatという変数 (...か?) を「bad way」で定義しているのが原因らしい.で,それを「good way」で定義し直したのが,まじめな解決案で示したコードである.
ということがStackExchange: Error message: too many }'s [closed]に書かれていたが,具体的にどう「bad」なのかは分からない (あまり分かる気もないが).ついでにいうと\@xfloatの再定義の中身も分かっていない.いなくても何とかなってしまった.
まとめ
TeXで\begin{figure}コードを入れた際,Too many }'s かつ \color@endbox ->\color@endgroup \egroupエラーが出た場合,2行間隔でなくともよいなら,\usepackage{doublespace}を削除すれば解決する.
より一般的な解決方法としては,LaTeX Community: Re: color package incompatible with figures?にあるように,
%Save LaTeX kernel version of \@xfloat
\makeatletter
\let\my@xfloat\@xfloat
\makeatother
を\documentclassより上に書いて,
% Create a modified copy of \@xfloat using the kernel definition
\makeatletter
\def\@xfloat#1[#2]{
	\my@xfloat#1[#2]%
	\def\baselinestretch{1}%
	\@normalsize \normalsize
}
\makeatother
を\usepackage{doublespace}より下,\begin{document}より上に書く.