STM32L152C-DISCOVERYに元々入っていた、電流をはかって省電力すごいでしょ、というDemoプログラムを、MDK-ARM Liteでビルド。
環境
ここで使ったものです。
"STM32L152C-DISCOVERY + STM32CubeMX + MDK-ARM Lite で、Lチカをやってみた"
その1 http://qiita.com/mt08/items/10c3af50ece52152e2ab
その2 http://qiita.com/mt08/items/853959f86d1051bbe7b8
その3 http://qiita.com/mt08/items/ad95ea94a83c001bbb27
手順: AN3413-Current_consumption_touch_sensing
- ファイル取得 STSW-STM32072 STM32L1 Discovery firmware package (RN0079)
-
stsw-stm32072.zip(Ver 1.0.4) を解凍 => STM32L-Discovery_FW_Packフォルダができる - Projectsの中に、2つのデモコードがある。
- AN3413-Current_consumption_touch_sensing << こっちを試す。
- AN3964-Temperature_sensor
- MDK-ARMで、プロジェクトファイルを開く。
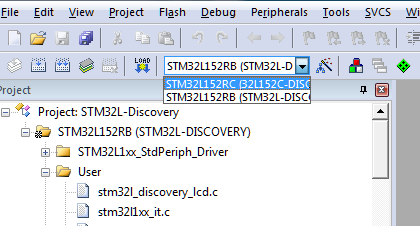
AN3413-Current_consumption_touch_sensing\MDK-ARM\STM32L-Discovery.uvprojxをダブルクリック。 - ターゲットを選ぶ
(STM32L152RCへ)
6. 設定確認
1. Project => Options for Target ... (Alt+F7)で、[Debug]タブで ST-Link Debuggerが選択 2. ジャンパーJP1: ON (Pin2と3をショート) 7. Build: Project => Build target(F7)8. Burn:Flash => Download9. Start:Debug => Start/Stop Debug Session(Ctrl+F5)10. Run:Debug => Run(F5)`
手順: AN3964-Temperature_sensor
1. ジャンパーJP1: OFF (Pin1と2をショート)
2. あとは、上記と同様にビルド、実行。