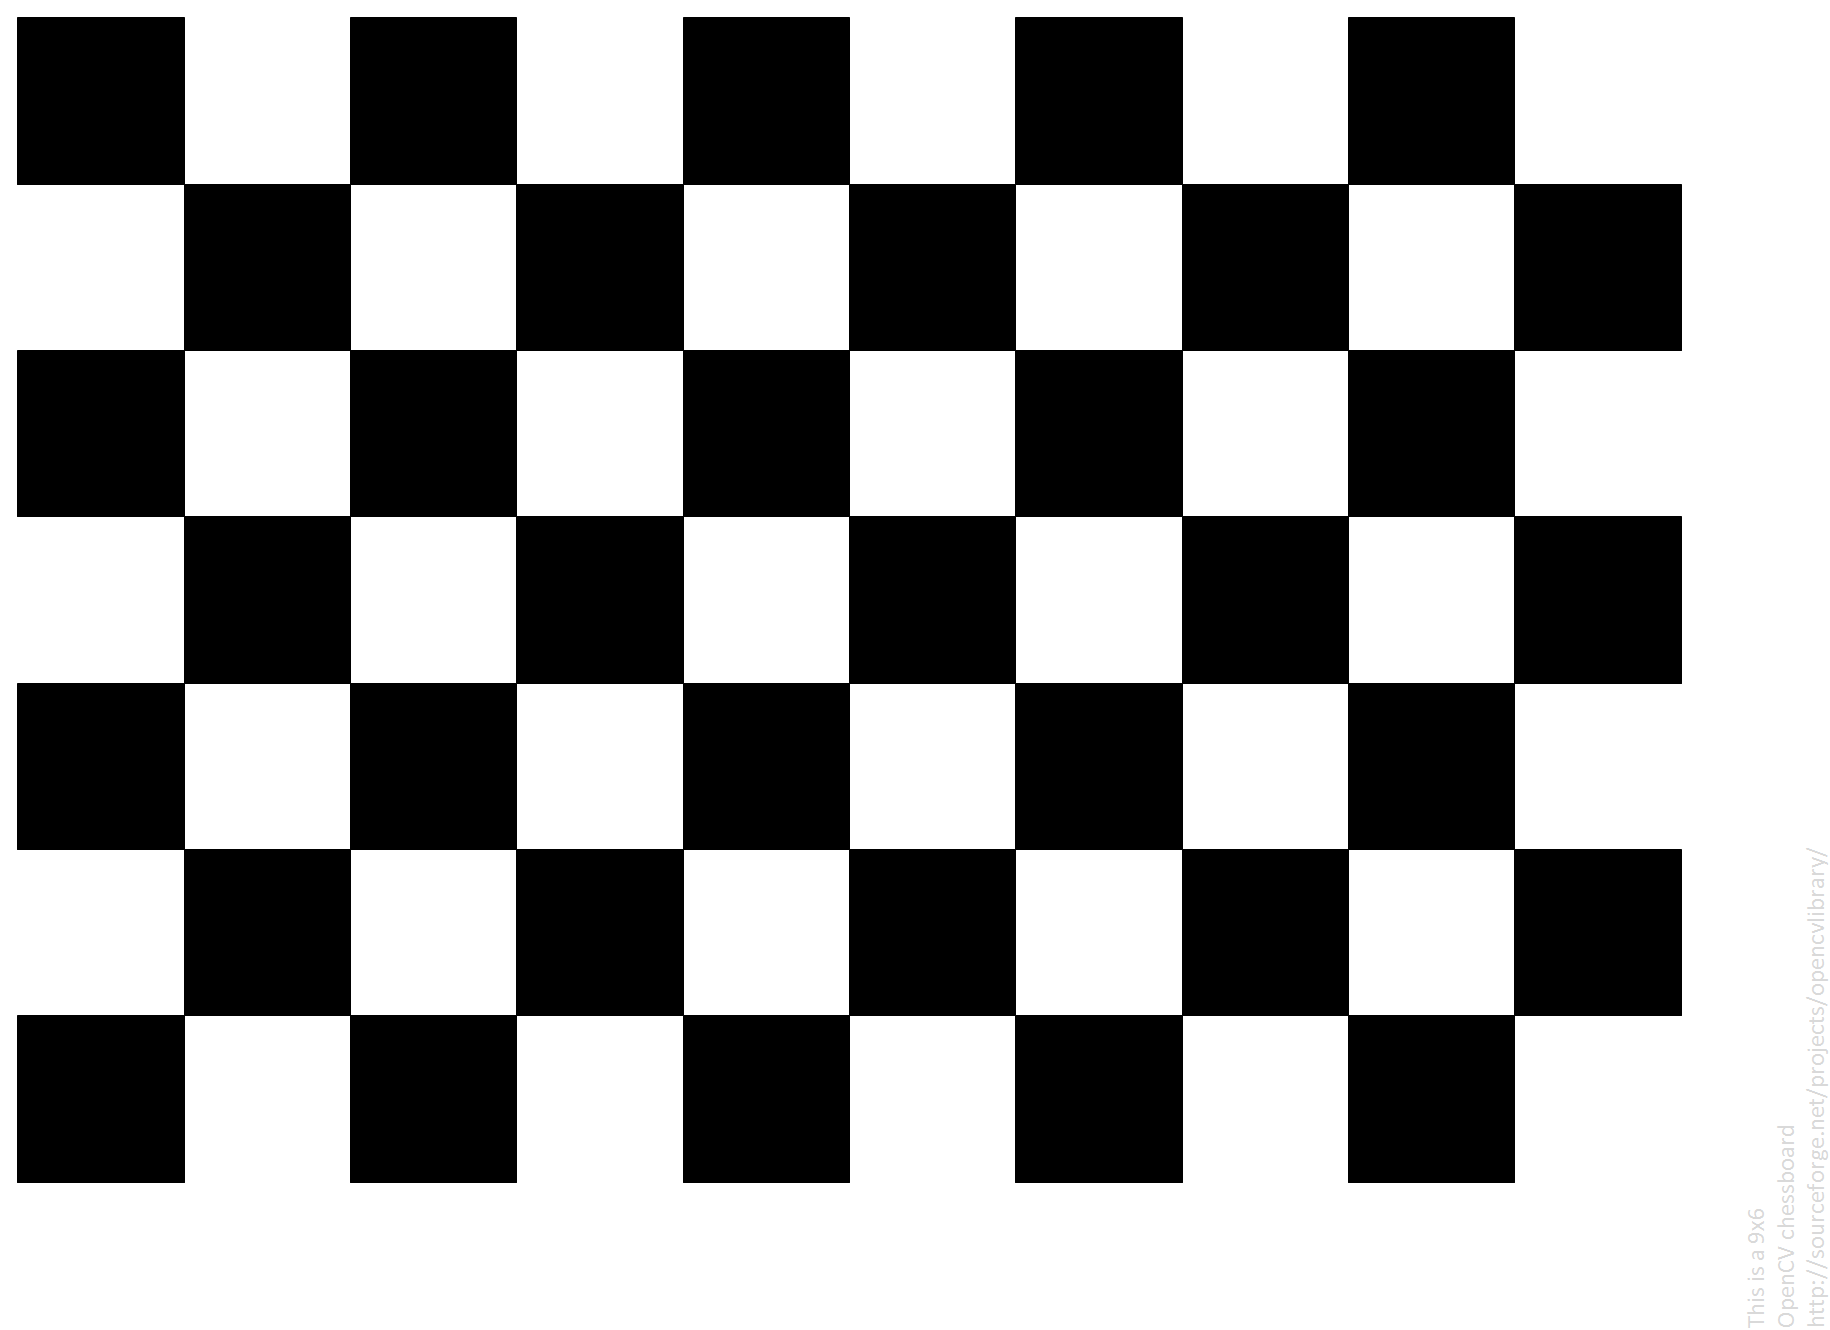
追記
下記のロジックをwebアプリでデプロイしました。良かったらお使いください。
https://checkerboardwebapp.herokuapp.com/
Herokuの無料枠600時間なので使えない時もあるかもですが
まあ大丈夫でしょう。多分、誰も使わないと思いますし。
ほぼ自分用に作ったのでかなり雑です。
そんなにいい出来じゃないので大人しくOpenCV公式のこちらを使ったほうがいいでしょう。
はじめに
こんばんは
いつもはARCADというソフトを使ってキャリブレーション用の白黒タイル(チェスボードパターン)を作るのですが
タイルサイズが変わるごとに作り直すのも面倒なので簡単に作れないか調べてみました。
調べてみたところPDFで簡単に図形を描画できるライブラリがあったのでそれで実装してみました。
実際に印刷して検証したわけではないのでどこまで使えるかは未知数ですが
自分は今後ちょくちょく使う機会がありそうなので
WEBアプリとして公開しとけばどこでも使えていいかなぁとか思ったり。
やりたいこと
環境
python:3.8
使用ライブラリ:reportlab
キャリブレーション用の白黒タイルを作る
↓のコードを実装しました
# ! /usr/bin/python
# -*- coding: utf-8 -*-
from reportlab.pdfgen import canvas
from reportlab.lib.pagesizes import A1, A2, A3, A4,landscape, portrait
from reportlab.lib.units import cm, mm

FILE_NAME = './box_grid_calibration.pdf'
# 縦
VERTICAL_SIZE = 28
# 横
HORIZONTAL_SIZE = 19
# 開始位置
START_X = 10.0*mm
START_Y = 10.0*mm
# 正方形のサイズ
RECT_SIZE = 10.0*mm

if __name__ == '__main__':
    # A4縦向き
    pdf_canvas = canvas.Canvas(FILE_NAME, pagesize=portrait(A4))
    # A4横向き
    # pdf_canvas = canvas.Canvas(FILE_NAME, pagesize=landscape(A4))
    pdf_canvas.saveState()

    cnt_flag = True

    X, Y = START_X, START_Y
    # 縦描画
    for i in range(VERTICAL_SIZE):
        # 横描画
        for j in range(HORIZONTAL_SIZE):
            # 白と黒を交互に描画
            pdf_canvas.setFillColorRGB(255, 255, 255) if cnt_flag else pdf_canvas.setFillColorRGB(0, 0, 0)
            pdf_canvas.rect(X, Y, RECT_SIZE, RECT_SIZE, stroke=0, fill=1)
            # X位置をずらす
            X += RECT_SIZE
            # フラグ反転
            cnt_flag = not cnt_flag

        # 偶数の場合は白黒が交互にならないのでフラグを一度反転
        if HORIZONTAL_SIZE % 2 == 0:
            cnt_flag = not cnt_flag

        # X座標開始点に戻す
        X = START_X
        # Y位置をずらす
        Y += RECT_SIZE

    pdf_canvas.restoreState()
    pdf_canvas.save()
実行するとこちらが作成されます。
FILE_NAME = './box_grid_calibration.pdf'
# 縦
VERTICAL_SIZE = 28
# 横
HORIZONTAL_SIZE = 19
# 開始位置
START_X = 10.0*mm
START_Y = 10.0*mm
# 正方形のサイズ
RECT_SIZE = 10.0*mm
説明も要らないと思いますが上記の項目で行数、列数、描画開始位置、タイルサイズを決定します。
注意点としてはreportlabは原点座標が通常の画像とは異なるらしく、
左下原点の上に向かってY軸がプラスになるみたいです。X軸は同じですが。
イメージは下の感じです。
Y軸
↑
|
|
●ーーー→ X軸
ついでに円版の交互と整列Verも作ってみました。
交互パターン
# ! /usr/bin/python
# -*- coding: utf-8 -*-
from reportlab.pdfgen import canvas
from reportlab.lib.pagesizes import A1, A2, A3, A4,landscape, portrait
from reportlab.lib.units import cm, mm

FILE_NAME = './circle_grid_calibration.pdf'
# 縦
VERTICAL_SIZE = 28
# 横
HORIZONTAL_SIZE = 19
# 開始位置
START_X = 10.0*mm
START_Y = 10.0*mm
# 円半径のサイズ
RADIUS = 5.0*mm

if __name__ == '__main__':
    # A4縦向き
    pdf_canvas = canvas.Canvas(FILE_NAME, pagesize=portrait(A4))
    # A4横向き
    # pdf_canvas = canvas.Canvas(FILE_NAME, pagesize=landscape(A4))
    pdf_canvas.saveState()

    cnt_flag = True

    X, Y = START_X, START_Y
    # 縦描画
    for i in range(VERTICAL_SIZE):
        # 横描画
        for j in range(HORIZONTAL_SIZE):
            # 白と黒を交互に描画
            pdf_canvas.setFillColorRGB(255, 255, 255) if cnt_flag else pdf_canvas.setFillColorRGB(0, 0, 0)
            pdf_canvas.circle(X, Y, RADIUS, stroke=0, fill=1)
            # X位置をずらす
            X += RADIUS * 2
            # フラグ反転
            cnt_flag = not cnt_flag

        # 偶数の場合は白黒が交互にならないのでフラグを一度反転
        if HORIZONTAL_SIZE % 2 == 0:
            cnt_flag = not cnt_flag

        # X座標開始点に戻す
        X = START_X
        # Y位置をずらす
        Y += RADIUS * 2

    pdf_canvas.restoreState()
    pdf_canvas.save()
実行したのがこちらになります
整列パターン
# ! /usr/bin/python
# -*- coding: utf-8 -*-
from reportlab.pdfgen import canvas
from reportlab.lib.pagesizes import A1, A2, A3, A4,landscape, portrait
from reportlab.lib.units import cm, mm

FILE_NAME = './circle_grid2_calibration.pdf'
# 縦
VERTICAL_SIZE = 19
# 横
HORIZONTAL_SIZE = 13
# 開始位置
START_X = 10.0*mm
START_Y = 10.0*mm
# 円半径のサイズ
RADIUS = 5.0*mm

if __name__ == '__main__':
    # A4縦向き
    pdf_canvas = canvas.Canvas(FILE_NAME, pagesize=portrait(A4))
    # A4横向き
    # pdf_canvas = canvas.Canvas(FILE_NAME, pagesize=landscape(A4))
    pdf_canvas.saveState()

    cnt_flag = True

    X, Y = START_X, START_Y
    # 縦描画
    for i in range(VERTICAL_SIZE):
        # 横描画
        for j in range(HORIZONTAL_SIZE):
            # 偶数回なら何もしない
            if not cnt_flag:
                # フラグ反転
                cnt_flag = not cnt_flag
                continue
            # 黒を設定
            pdf_canvas.setFillColorRGB(0, 0, 0)
            pdf_canvas.circle(X, Y, RADIUS, stroke=0, fill=1)
            # X位置をずらす
            X += RADIUS * 3

        # X座標開始点に戻す
        X = START_X
        # Y位置をずらす
        Y += RADIUS * 3

    pdf_canvas.restoreState()
    pdf_canvas.save()
実行したのがこちらになります
参考URL・出典元
https://kuratsuki.net/2018/06/python-3-%E3%81%AE-reportlab-%E3%81%A7-pdf-%E3%83%95%E3%82%A1%E3%82%A4%E3%83%AB%E3%82%92%E7%94%9F%E6%88%90%E3%81%99%E3%82%8B/
https://symfoware.blog.fc2.com/blog-entry-769.html
上記URLに感謝です。
