はじめに
必要なもの
- Mac mini //Mac mini (Late2012)のMac mini Serverを使用
- Ubuntu Server 18.04 LTSのインストールUSB //作り方はリファレンスを参照
インストール
インストール状況のスクリーンショットは、VirtaulBoxで同様にインストールしたものを使用。
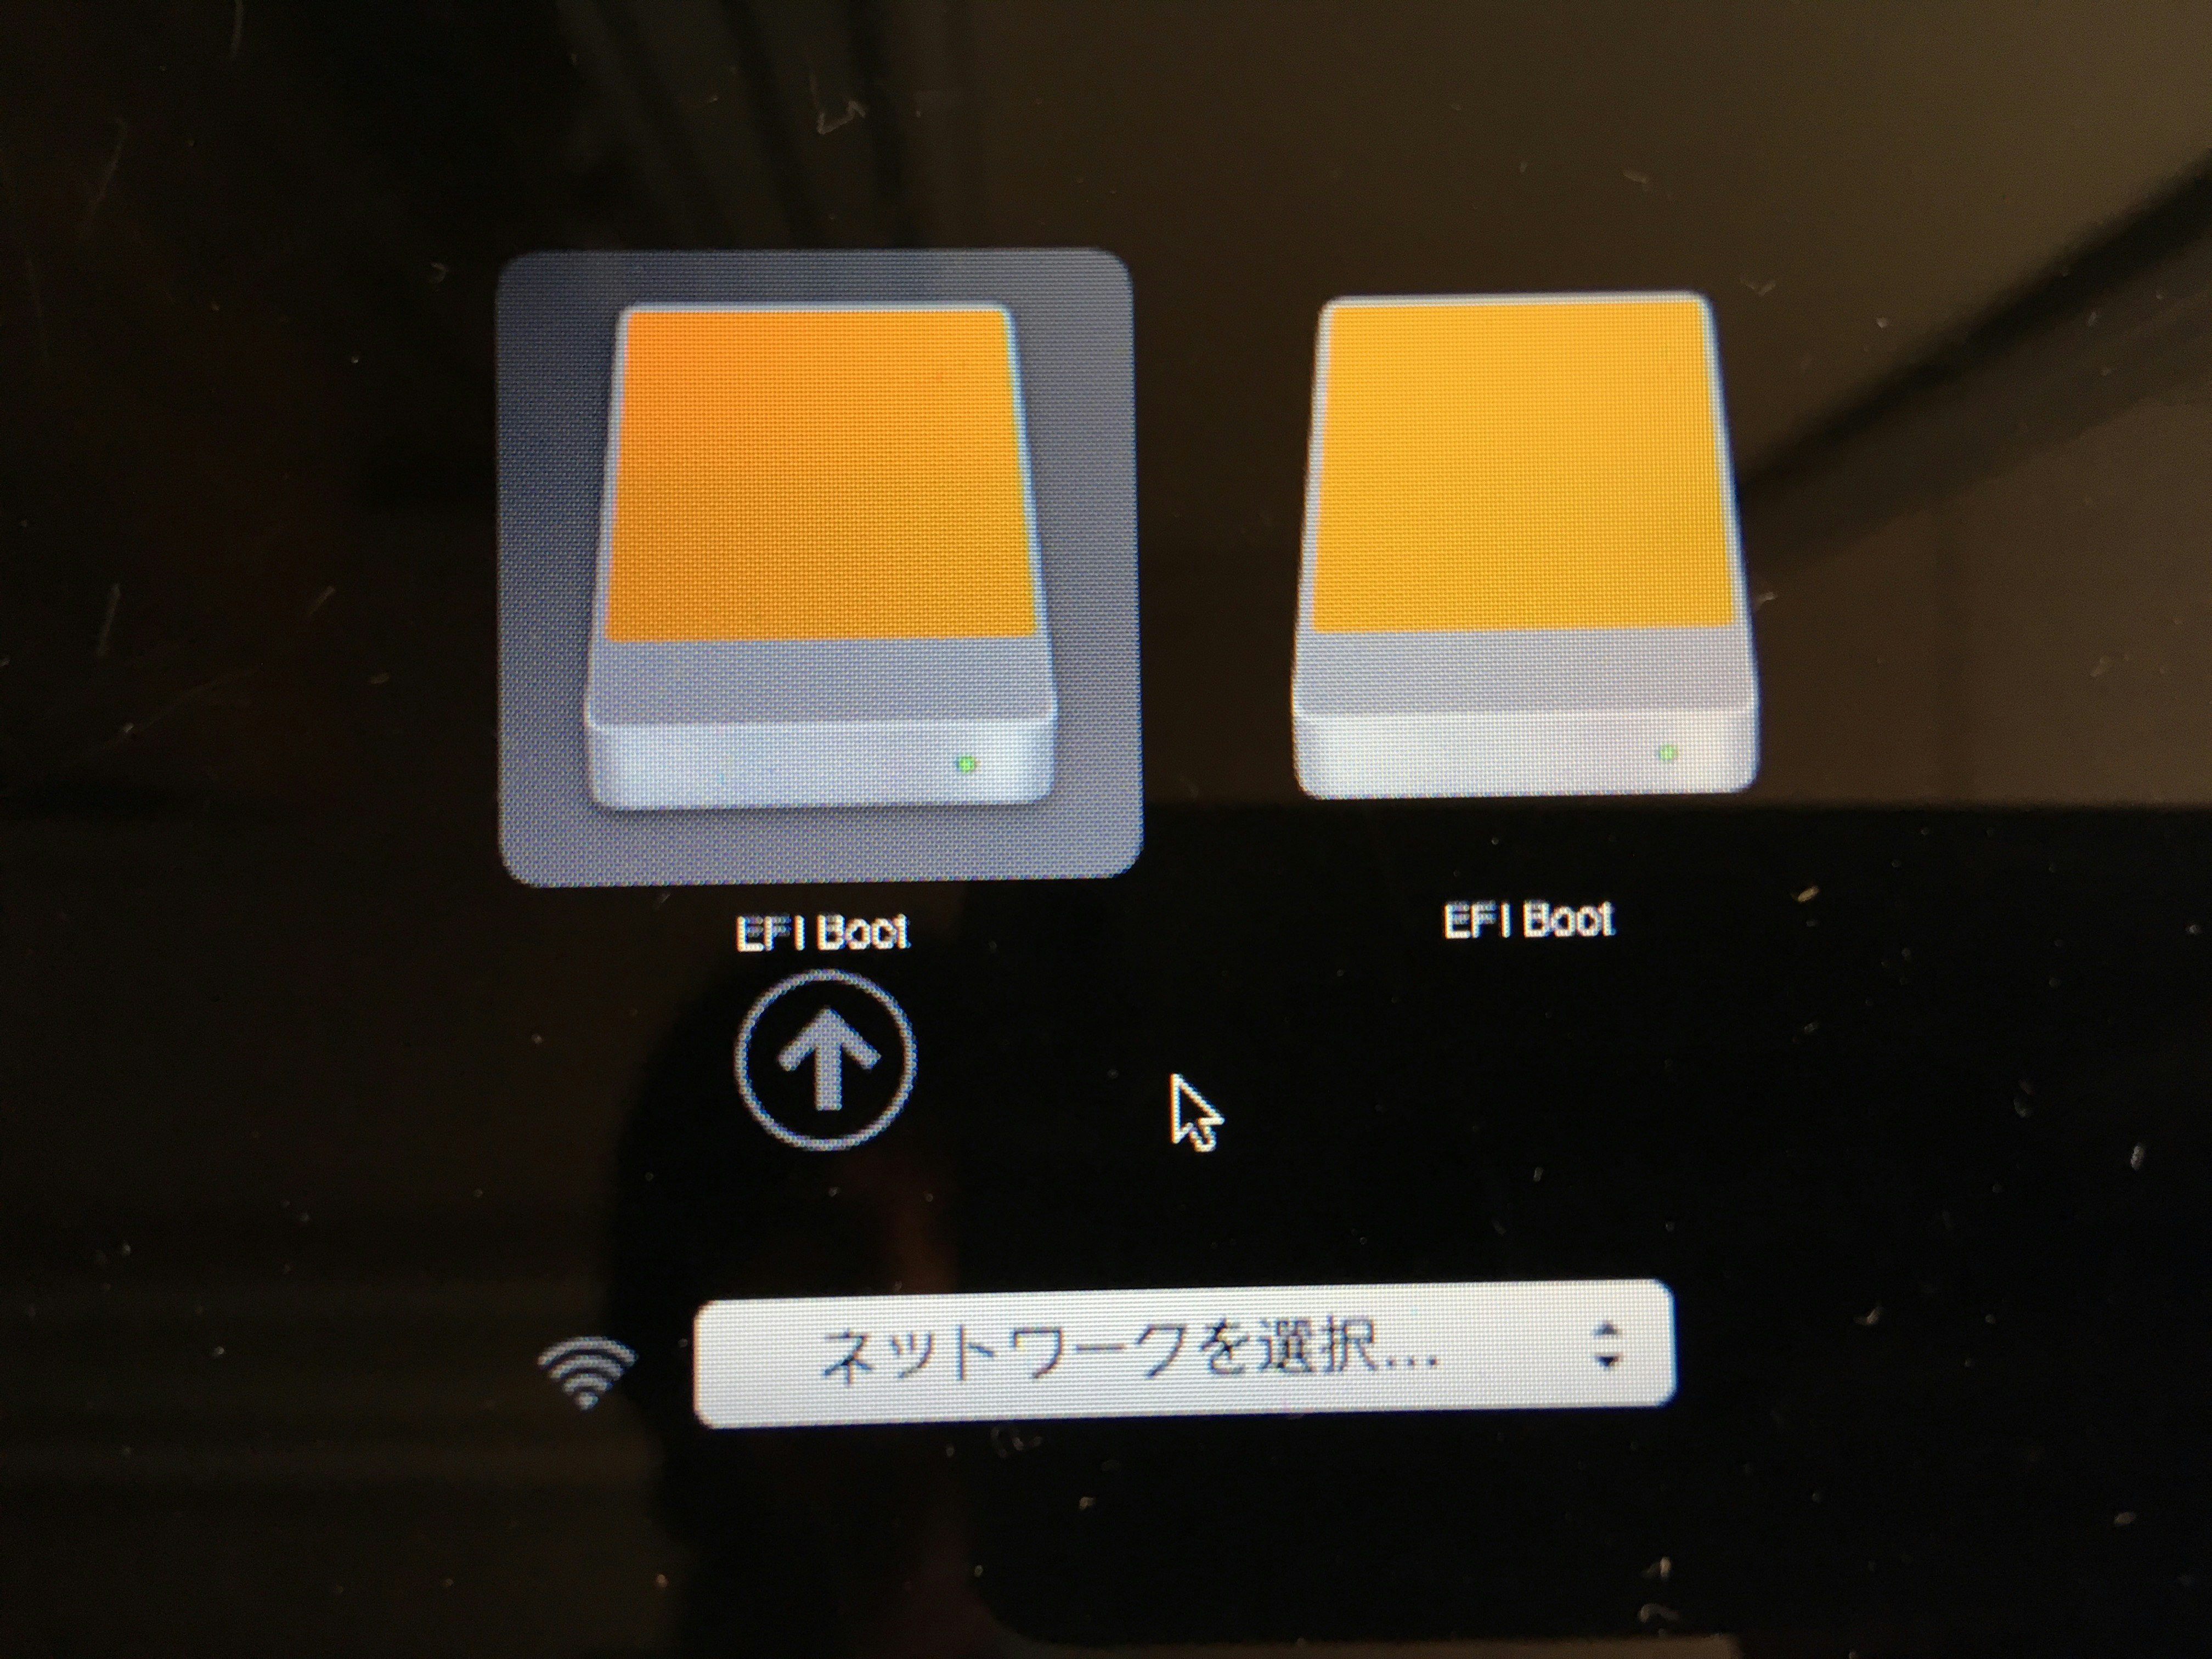
1: Ubuntu Server 18.04 LTSのインストールUSBを刺して、optionキーを押しながら起動する。(なぜか2つのディスクアイコンが出来てどちらをクリックしてもインストール出来た)
2: 言語選択

3: キーボードの設定

4: インストール種別

5: ネットワーク設定

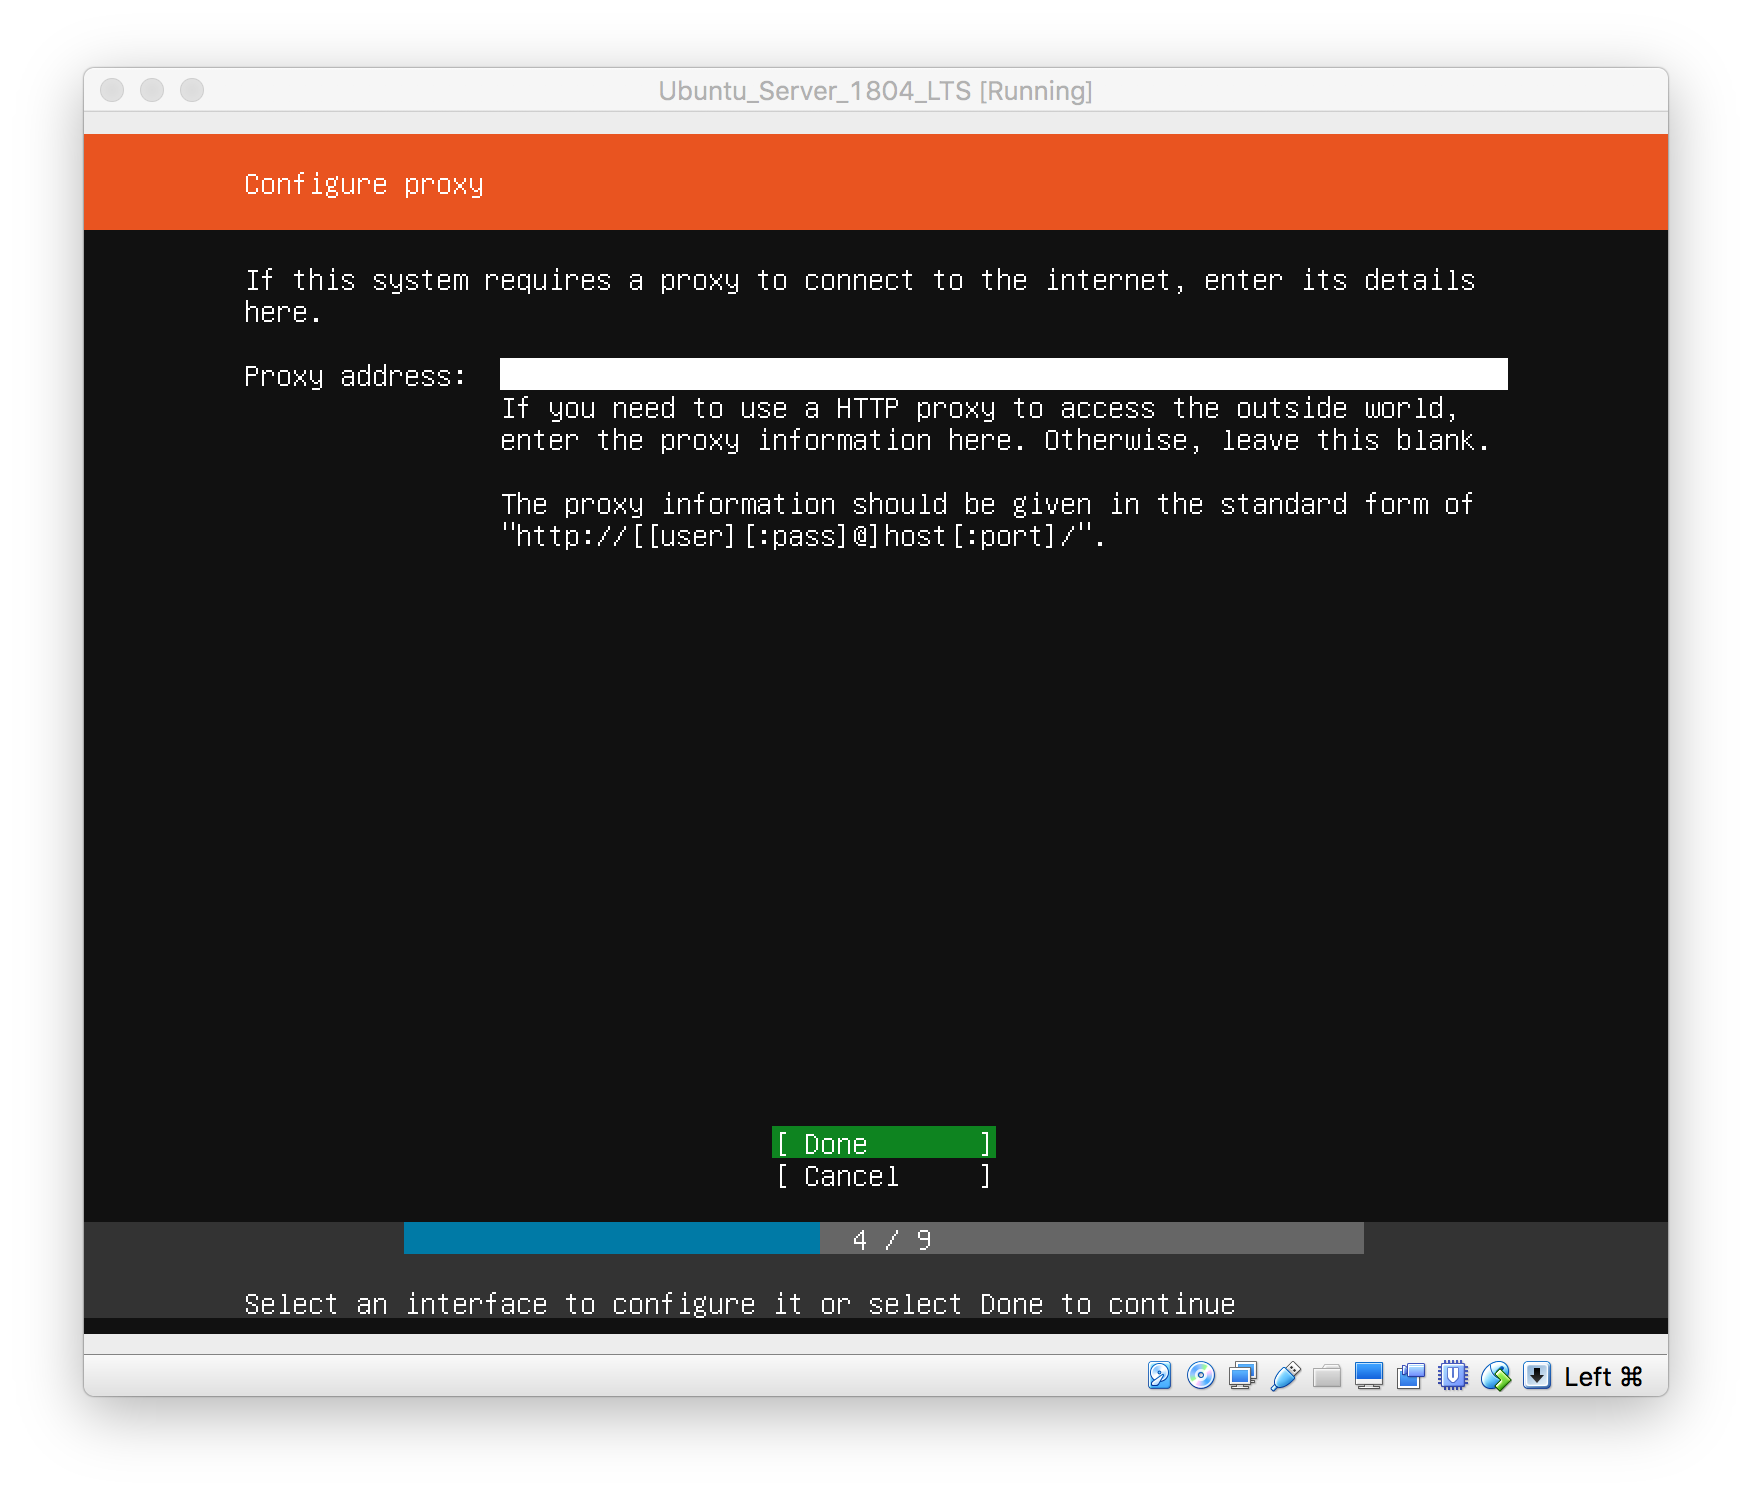
6: プロキシ設定
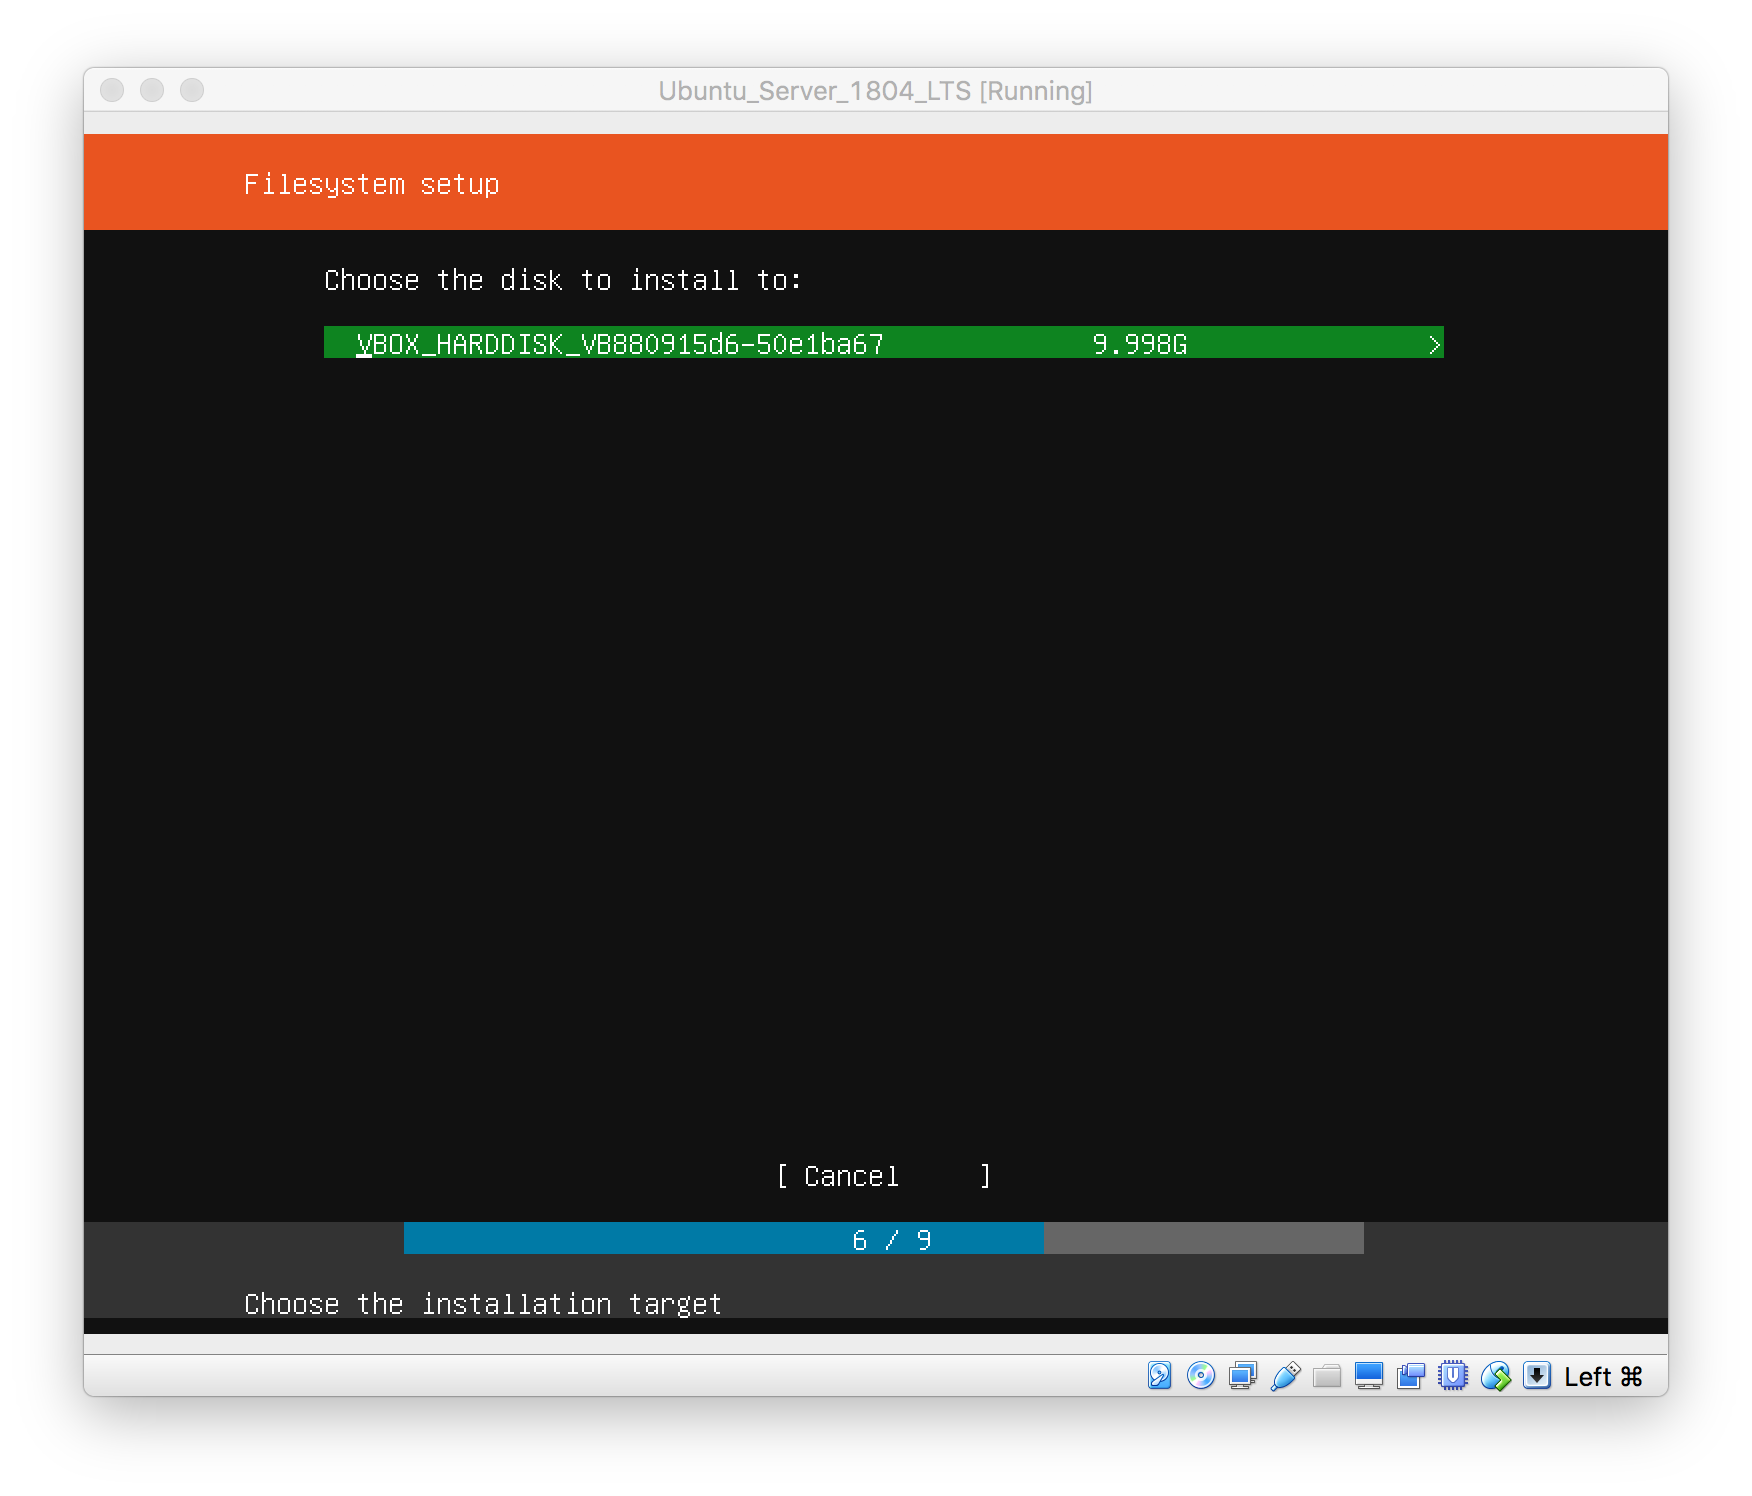
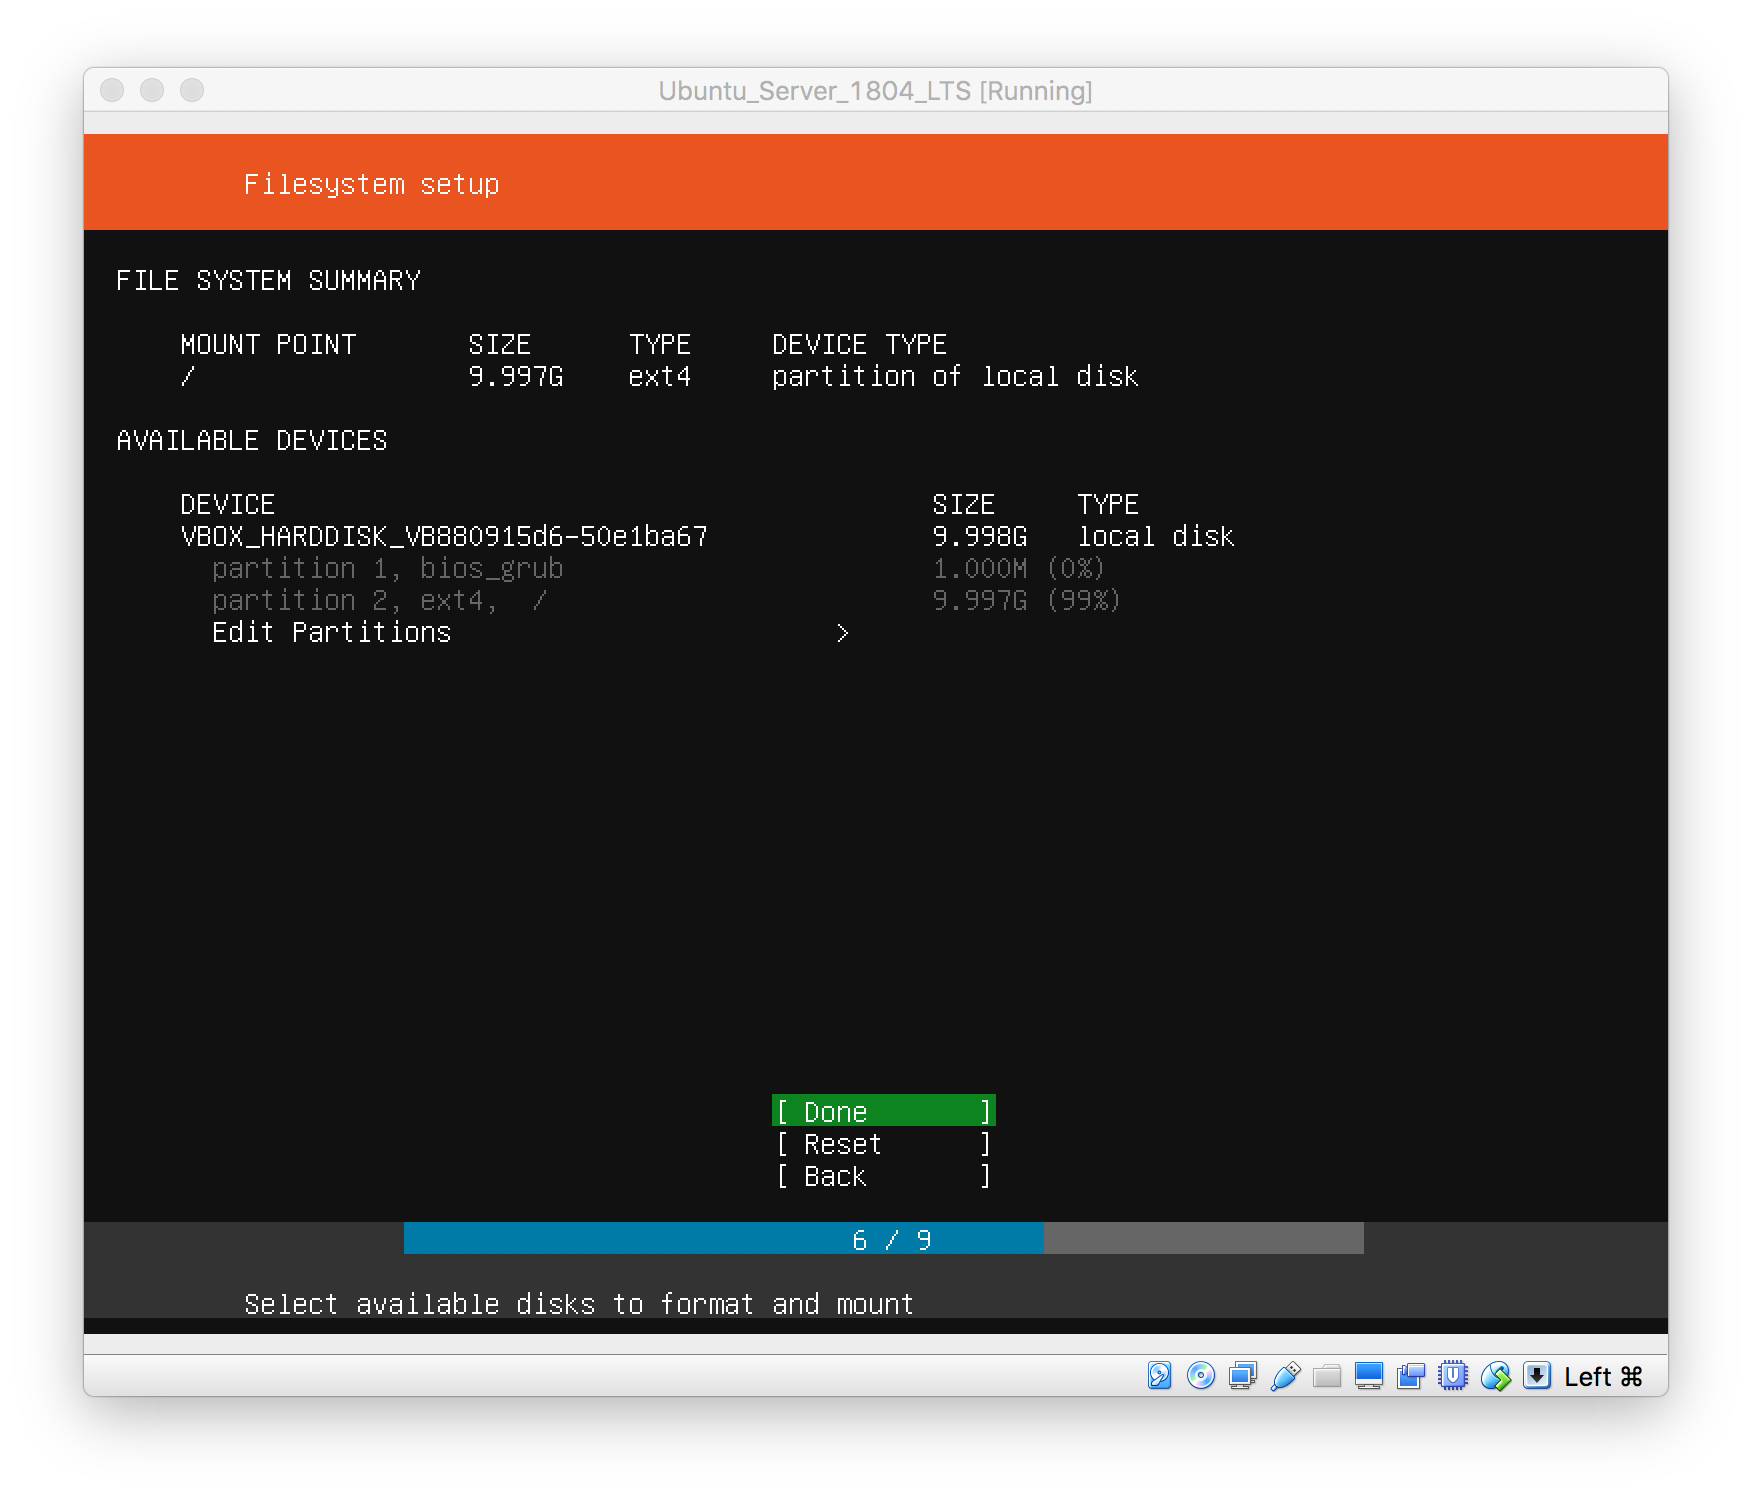
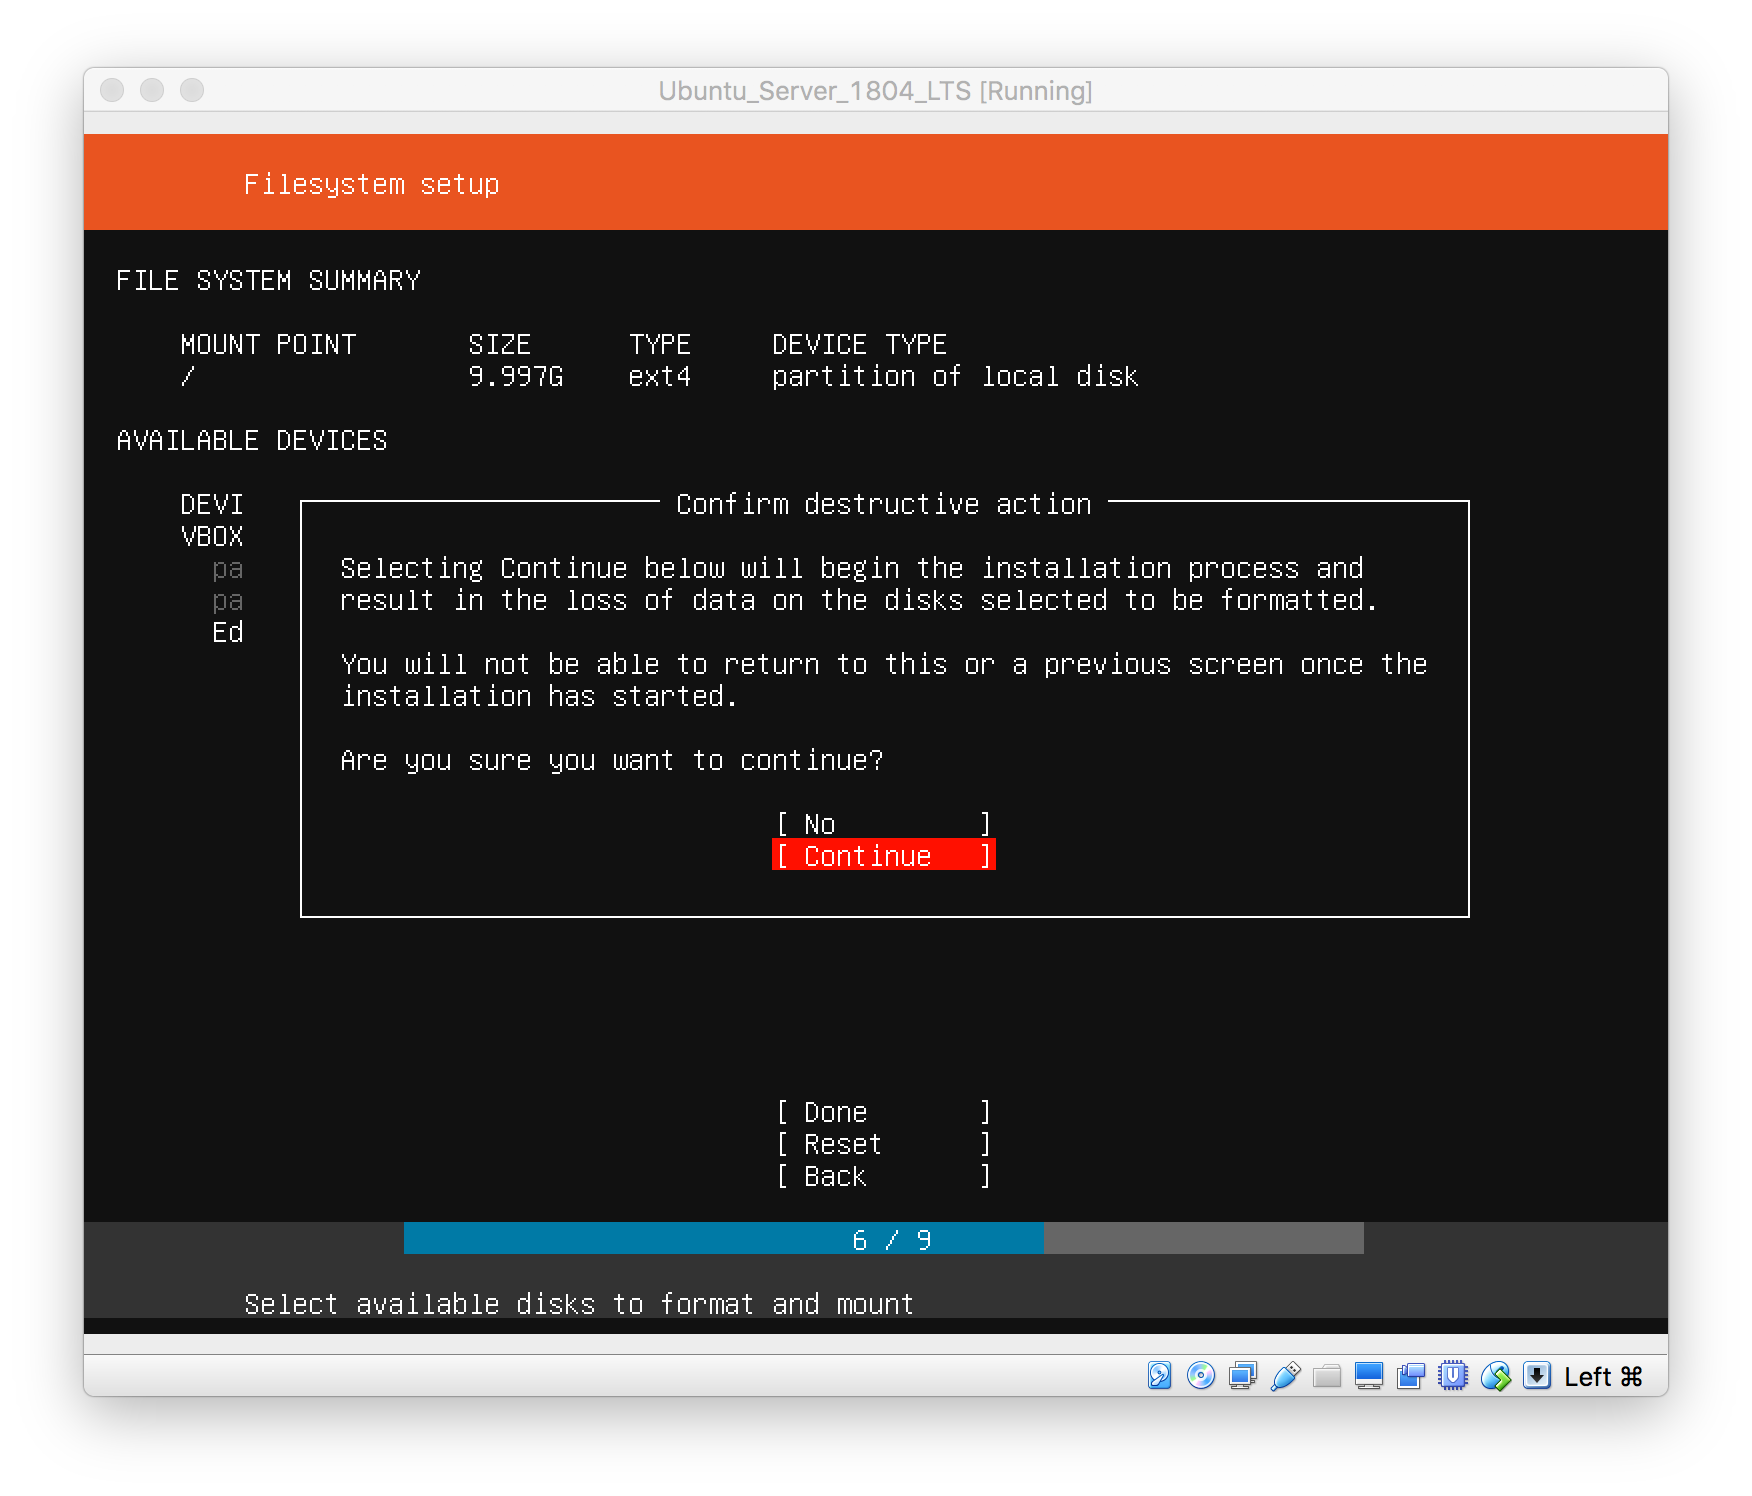
7: ファイルシステムの設定

8: プロファイルの設定


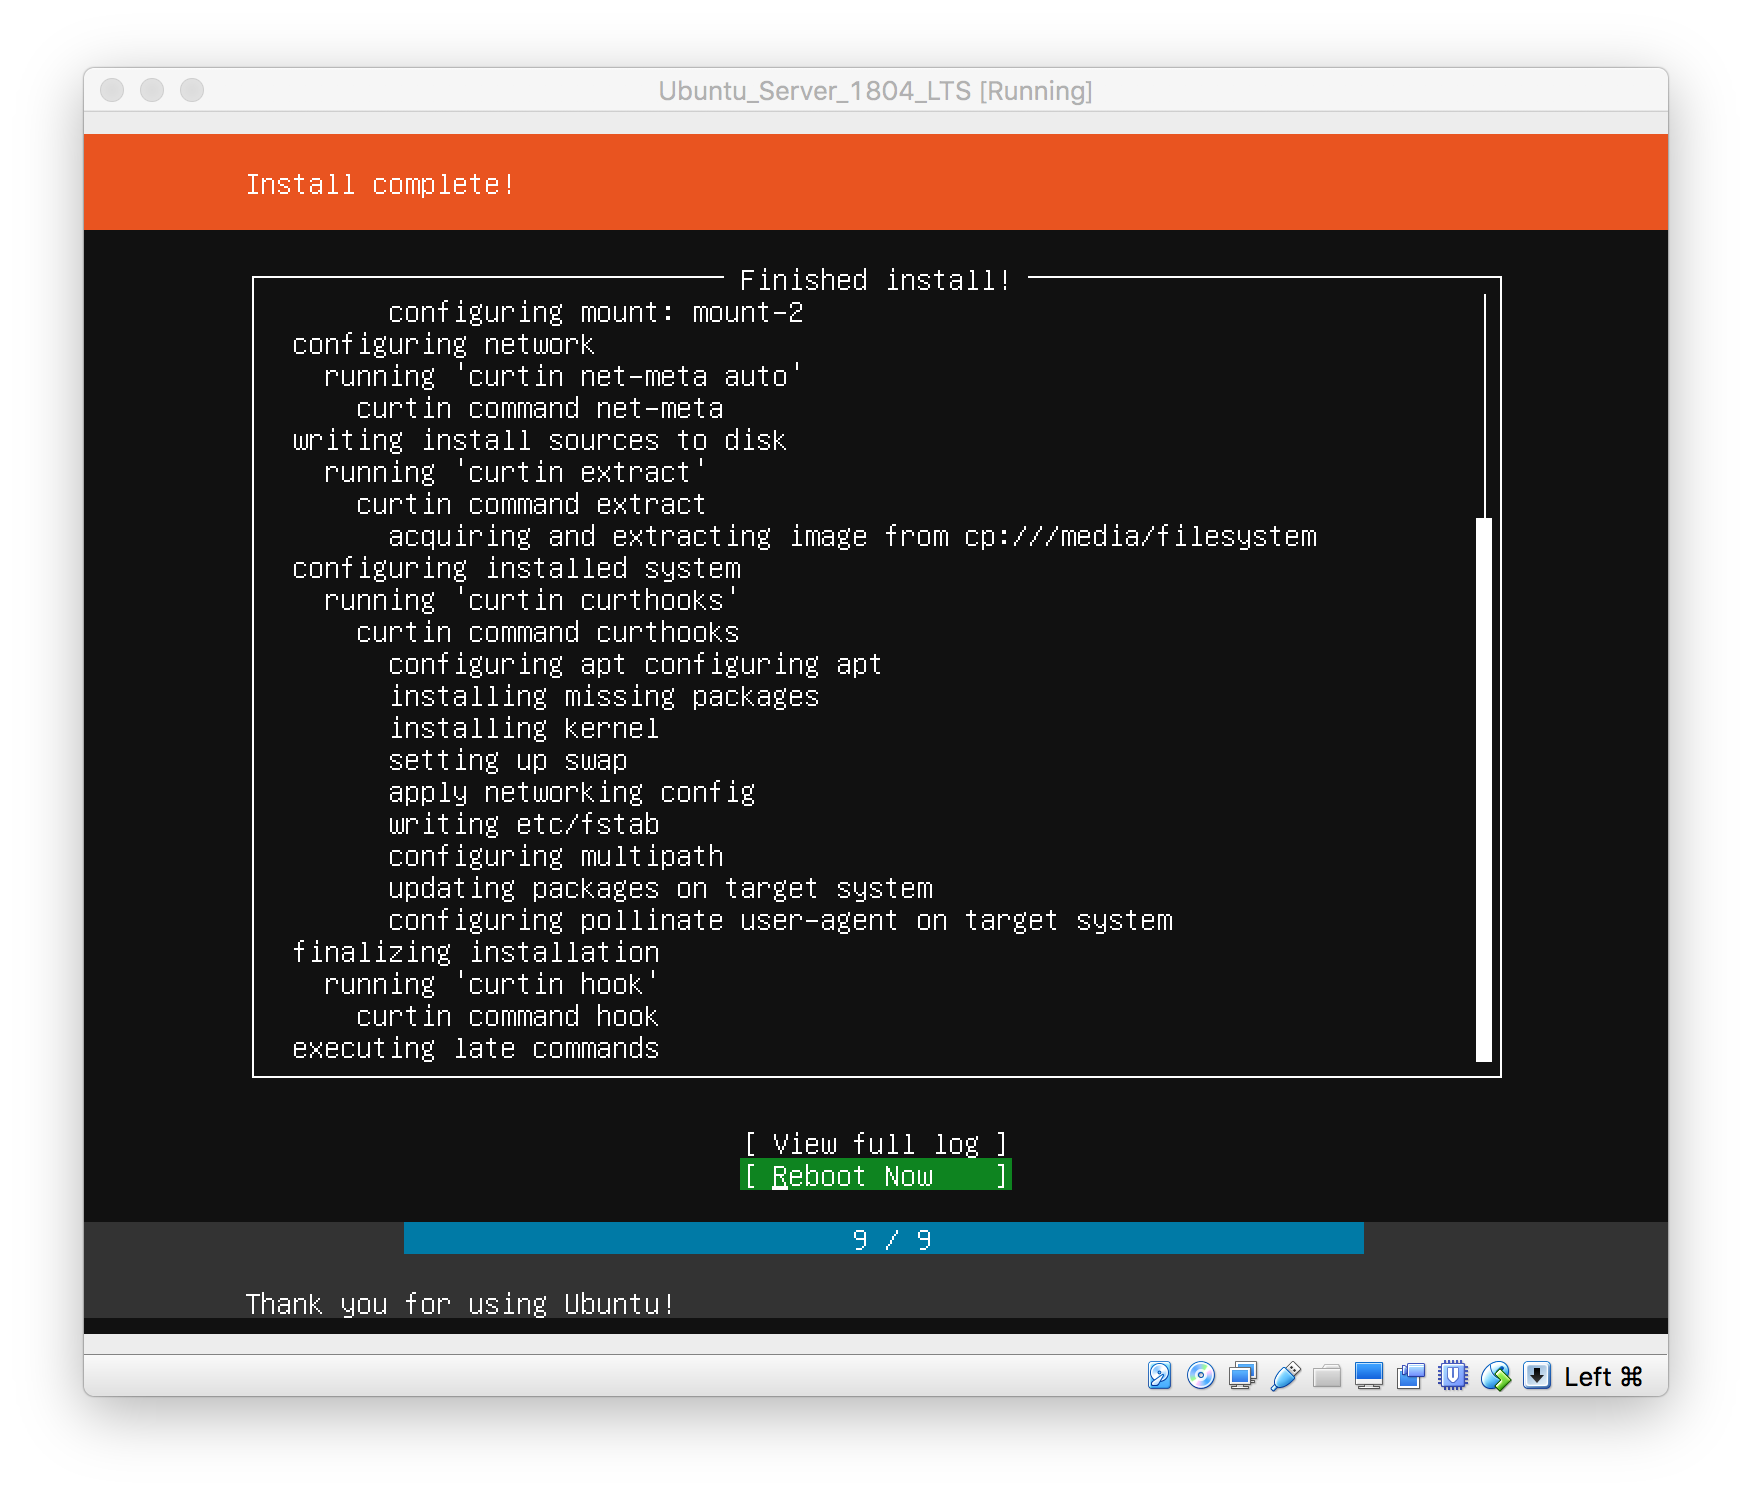
9: 完了
初期設定
ssh接続
ssh接続してリモートで初期設定をする。
$ ssh ユーザ名@サーバのIP
タイムゾーンの設定
タイムゾーンを確認し、現在のロケーションに合わせる。
タイムゾーンの確認
$ timedatectl
                      Local time: Fri 2018-05-11 08:12:56 UTC
                  Universal time: Fri 2018-05-11 08:12:56 UTC
                        RTC time: Fri 2018-05-11 08:12:56
                       Time zone: Etc/UTC (UTC, +0000)
       System clock synchronized: yes
systemd-timesyncd.service active: yes
                 RTC in local TZ: no
タイムゾーンの一覧
$ timedatectl list-timezones
Africa/Abidjan
Africa/Accra
Africa/Addis_Ababa
Africa/Algiers
Africa/Asmara
Africa/Bamako
Africa/Bangui
タイムゾーンの設定(Asia/Tokyo)
$ sudo timedatectl set-timezone Asia/Tokyo
固定IPに変更
/etc/netplan/50-cloud-init.yamlを編集して固定IPにする。ここでは、DHCPから次の設定に変更する。
Static IP: 10.0.251.110/24
Gateway: 10.0.251.1
dns: 10.0,251.1
/etc/netplan/50-cloud-init.yamlの設定
network:
  version: 2
  renderer: networkd
  ethernets:
    enp1s0f0:
      dhcp4: no
      dhcp6: no
      addresses: [10.0.251.110/24]
      gateway4: 10.0.251.1
      nameservers:
        addresses: [10.0.251.1]
設定を反映
$ sudo netplan apply
アップデート
アップデート
$ sudo apt-get update
アップデート
$ sudo apt-get upgrade
初期設定(オプション)
参照NTPサーバをデフォルトの『ntp.ubuntu.com』から『ntp.nict.jp』に変更する。
/etc/systemd/timesyncd.conf
#  This file is part of systemd.
#
#  systemd is free software; you can redistribute it and/or modify it
#  under the terms of the GNU Lesser General Public License as published by
#  the Free Software Foundation; either version 2.1 of the License, or
#  (at your option) any later version.
#
# Entries in this file show the compile time defaults.
# You can change settings by editing this file.
# Defaults can be restored by simply deleting this file.
#
# See timesyncd.conf(5) for details.

[Time]
# NTP=
NTP=ntp.nict.jp
# FallbackNTP=ntp.ubuntu.com
# RootDistanceMaxSec=5
# PollIntervalMinSec=32
# PollIntervalMaxSec=2048
確認
$ systemctl -l status systemd-timesyncd
ロケール確認と変更
確認
$ locale
LANG=en_US.UTF-8
LANGUAGE=
LC_CTYPE="en_US.UTF-8"
LC_NUMERIC="en_US.UTF-8"
LC_TIME="en_US.UTF-8"
LC_COLLATE="en_US.UTF-8"
LC_MONETARY="en_US.UTF-8"
LC_MESSAGES="en_US.UTF-8"
LC_PAPER="en_US.UTF-8"
LC_NAME="en_US.UTF-8"
LC_ADDRESS="en_US.UTF-8"
LC_TELEPHONE="en_US.UTF-8"
LC_MEASUREMENT="en_US.UTF-8"
LC_IDENTIFICATION="en_US.UTF-8"
LC_ALL=
設定できるロケールの一覧
$ locale -a
ja_JP.UTF-8ロケールのインストールと設定
$ sudo apt install language-pack-ja
$ locale -a
$ sudo update-locale LANG=ja_JP.UTF-8
/etc/default/localeファイルの内容
LANG=ja_JP.UTF-8
ufw(ファイアウォール)のセットアップ
現在の状況確認
$ systemctl status ufw
defaultポリシー
$ sudo ufw default deny incoming
$ sudo ufw default allow outgoing
SSHの許可(/etc/servicesを参照のこと)
$ sudo ufw allow ssh
ステイタスを確認
$ sudo ufw status verbose
ufwを有効にする
$ sudo ufw enable