概要
Azureリソースをコードで管理する仕組みとしてAzure Resource Manager Template(以下、ARMテンプレート)があります。定義構文はJSON形式です。
昨年、Azure Bicep(以下、Bicep)が登場することにより、従来のJSON構文からBicep構文が加えられました。
BicepとはAzureリソースをデプロイする作業に特化して設計された言語、ドメイン固有言語(DSL)です。
JSON構文とBicep構文の比較はMicrosoft Docsに纏まっているのでご参考ください。
Let's get an Intro to Bicep 💪.
— DevOps on Azure (@AzureDevOps) June 10, 2021
In today's #AzureFunBytes, we learn how to create a basic template, deploy it to Azure, and look at how quickstart templates are converted in the Bicep Playground using Bicep CLI, the #VSCode plug-in, and Azure CLI. 👀 https://t.co/BQOs4J68EU
デモ
Bicep PlaygroundでJSON構文を比べながら試すことができます。
準備
Windows、MacOS、Linux環境で使えるように Visual Studio Code と Azure CLI をインストールします。
Visual Studio Codeをインストール後、Bicep拡張機能 をインストールすると構文の検証、リソースの視覚化など便利な機能を使えるようになります。
Azure CLIはBicepを使うのにバージョンがv2.20.0以上であることをご確認ください。
学習
Bicepの学習は Microsoft Learn をご参考ください。
形式
公式の Bicep形式 です。
注意しなければいけないのは、Bicepは宣言型言語なので定義されたリソースの要素に対して順序はデプロイの処理に影響しないことです。
リソースAとB順序に書いてもAが終わってからBがデプロイされる処理ではないことです。
ターゲットスコープ、パラメーター、デコレーター、変数、リソース、モジュール、出力の形式で構成されてますが、必要に応じて作成すれば良いと思います。
// ターゲットスコープ
targetScope = '<scope>'

// パラメーターとデコレーター
@<decorator>(<argument>)
param <parameter-name> <parameter-data-type> = <default-value>

// 変数
var <variable-name> = <variable-value>

// リソース
resource <resource-symbolic-name> '<resource-type>@<api-version>' = {
  <resource-properties>
}

// モジュール
module <module-symbolic-name> '<path-to-file>' = {
  name: '<linked-deployment-name>'
  params: {
    <parameter-names-and-values>
  }
}

// 出力
output <output-name> <output-data-type> = <output-value>
実装例
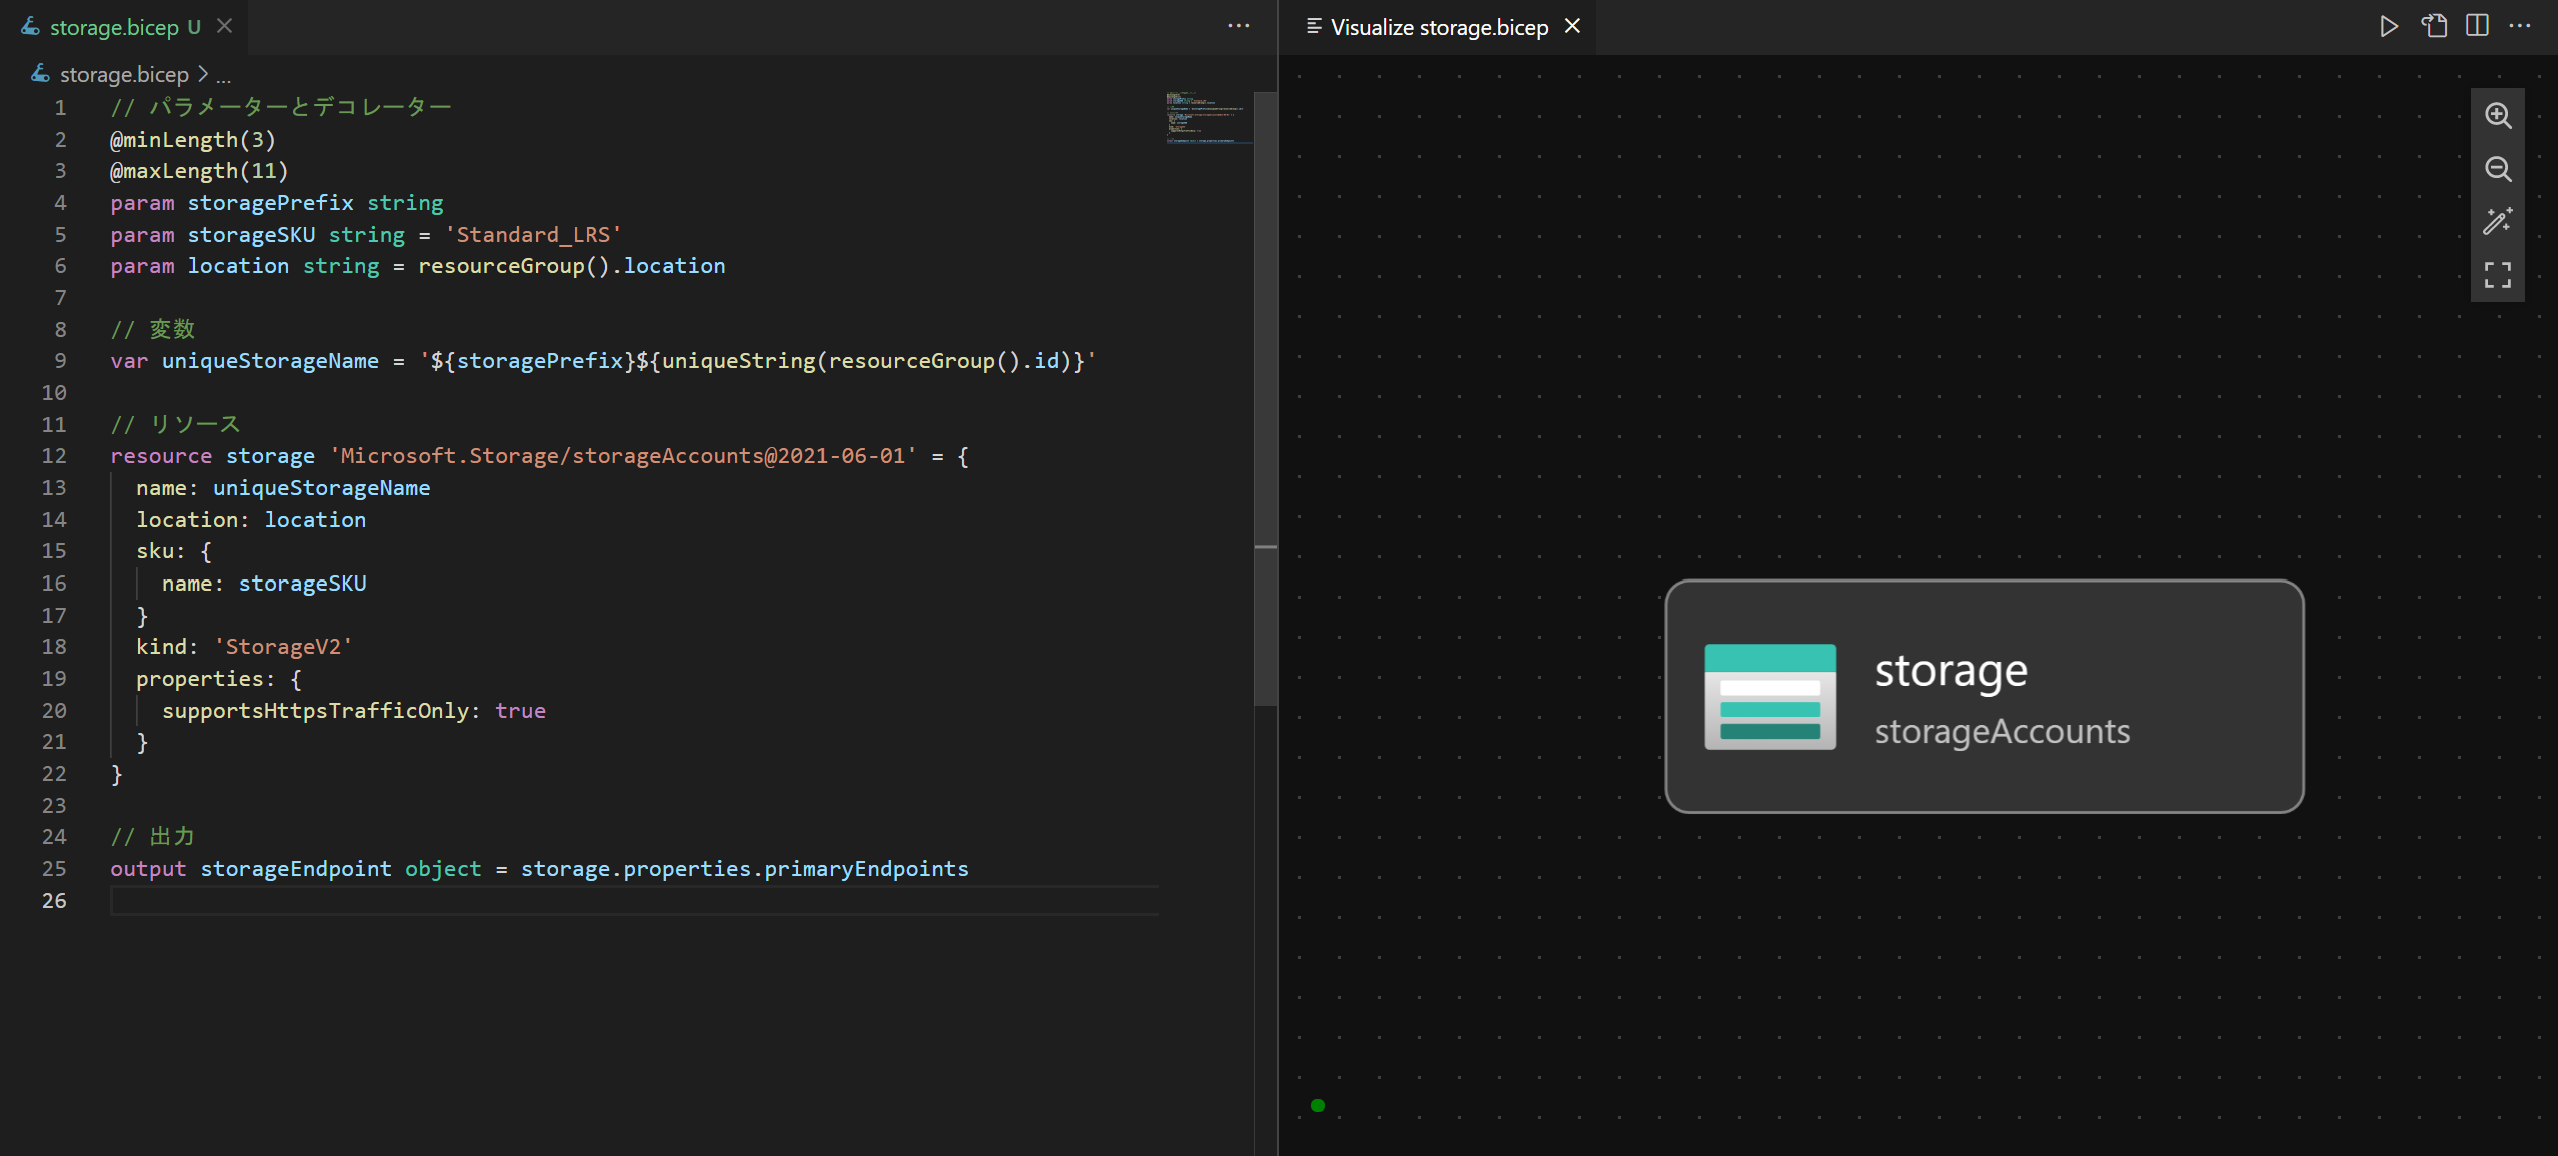
試しにストレージアカウントを作成するためのBicepファイルを作成してみます。
// パラメーターとデコレーター
@minLength(3)
@maxLength(11)
param storagePrefix string
param storageSKU string = 'Standard_LRS'
param location string = resourceGroup().location

// 変数
var uniqueStorageName = '${storagePrefix}${uniqueString(resourceGroup().id)}'

// リソース
resource storage 'Microsoft.Storage/storageAccounts@2021-06-01' = {
  name: uniqueStorageName
  location: location
  sku: {
    name: storageSKU
  }
  kind: 'StorageV2'
  properties: {
    supportsHttpsTrafficOnly: true
  }
}

// 出力
output storageEndpoint object = storage.properties.primaryEndpoints
Visual Studio Codeから作成するとリソース可視化まで確認できます。
関数
resourceGroup()またはuniqueString()はBicepで使える関数となります。
使い方など詳細な内容を Microsoft Docs をご参考ください。
APIバージョン
Microsoft.Storage/storageAccounts@2021-06-01のようにARMテンプレートをデプロイするとAzureではAzure Resource Manager APIを呼び出しますが、同じリソース(例、ストレージアカウント)でもリソースを機能追加などでスキーマが更新されるため、APIバージョンで管理しています。
APIバージョンが変わるとプロパティが変わったりするので、詳細な内容は Microsoft Docs でご確認ください。
ちなみに、もう少し詳細な内容を知りたい方は ARMスキーマリポジトリ と Azure REST APIスペックリポジトリ をご参考ください。
配置(デプロイ)
Bicepファイルを作成できたら、Azure CLIでデプロイします。
# Azure CLIバージョンを確認してアップグレードします。
> az --version
azure-cli    2.32.0
...
> az upgrade

# Azureにログインします。
> az login

# サブスクリプションの一覧を表示します。
> az account list --output table --all
Name              CloudName    SubscriptionId                        State    IsDefault
----------------  -----------  ------------------------------------  -------  -----------
Hello Internal    AzureCloud   xxxxxxxx-1111-2222-3333-xxxxxxxxxxxx  Enabled  False

# サブスクリプションを選択します。
> az account set --subscription "Hello Internal"
# 東日本でリソースグループを作成します。
> az group create --name rg-hello-dev --location japaneast
Bicepファイルは Azure CLIで実行します。
実行結果内容から出力で定義した内容が加えられて出力されることを確認できます。
# Bicepファイルからストレージアカウントのデプロイします。
> az deployment group create --resource-group rg-hello-dev --template-file storage.bicep --parameters storageName=blog
{
  ...
  "properties": {
    ...
    "outputs": {
      "storageEndpoint": {
        "type": "Object",
        "value": {
          "blob": "https://bloghash123456789.blob.core.windows.net/",
          "dfs": "https://bloghash123456789.dfs.core.windows.net/",
          "file": "https://bloghash123456789.file.core.windows.net/",
          "queue": "https://bloghash123456789.queue.core.windows.net/",
          "table": "https://bloghash123456789.table.core.windows.net/",
          "web": "https://bloghash123456789.z11.web.core.windows.net/"
        }
      }
    },
    ...
  },
  ...
}
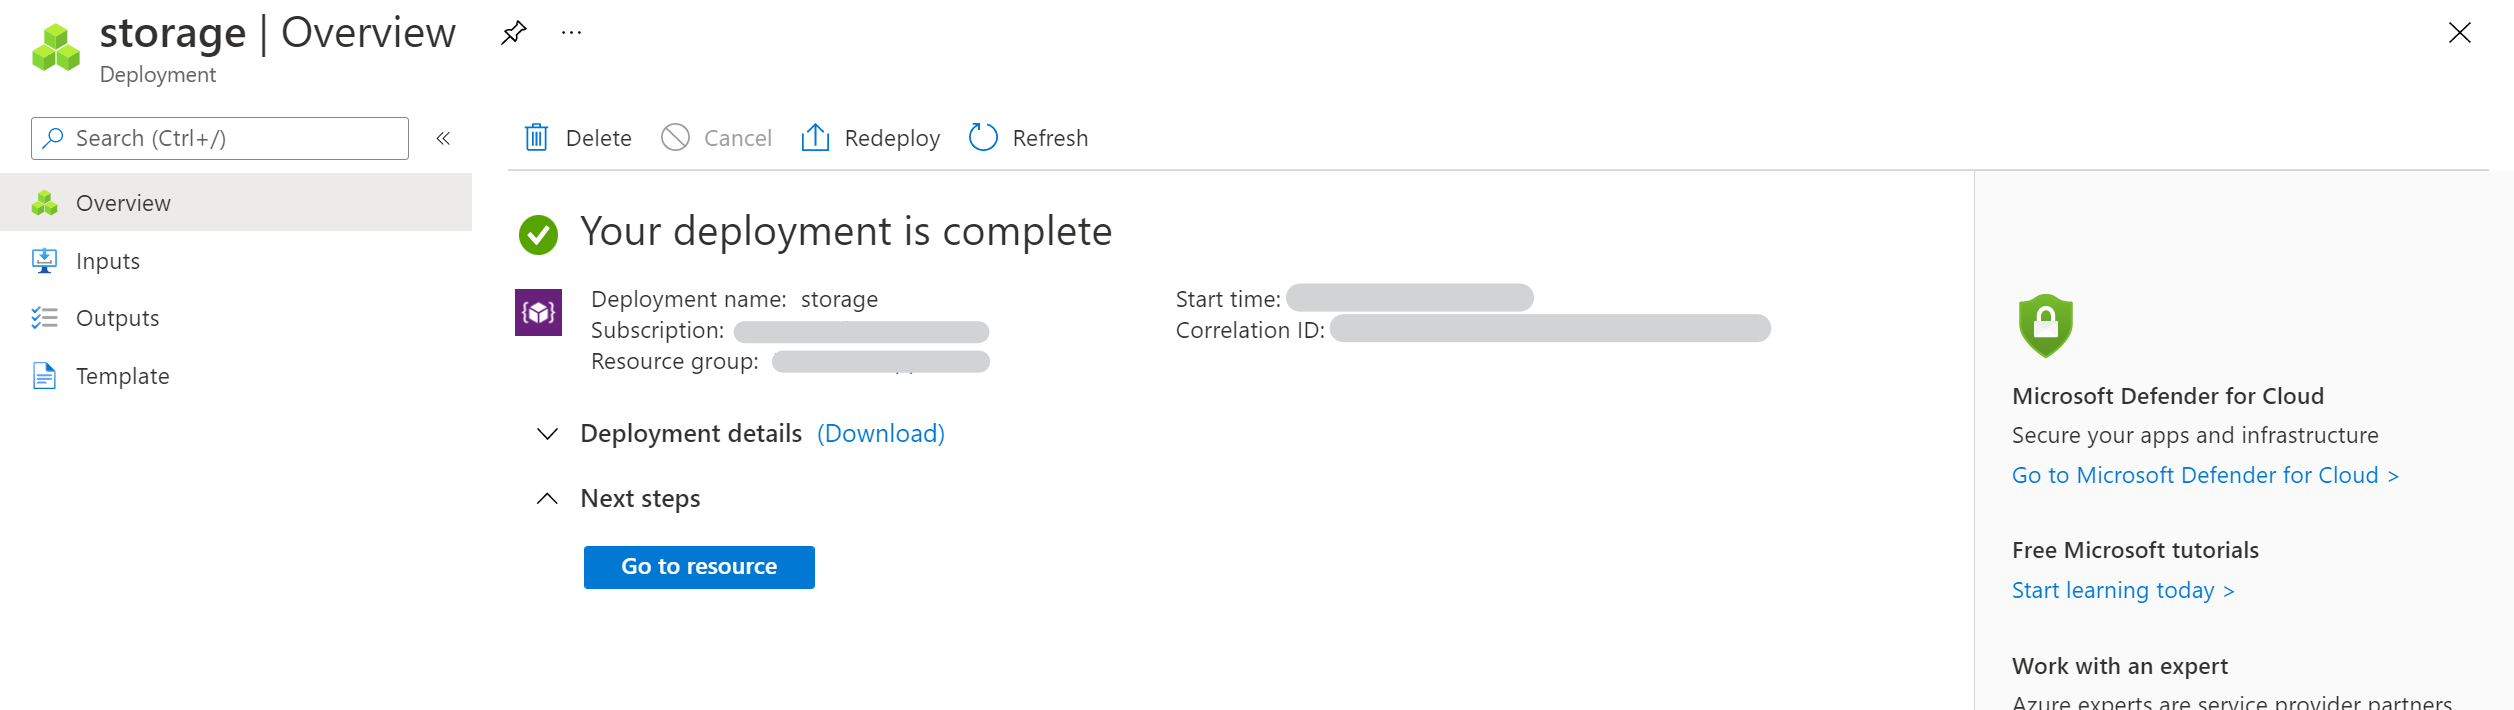
Azureポータルからでもデプロイ結果に対して確認できます。