Bedrock AgentCoreとAmplifyを組み合わせてAIアプリを作りたい場合、こんな構成が思いつくと思います。AI SDK、めっちゃ便利ですよね。
ただ、このアーキテクチャだと、Amplify Histingの制約により ストリーム出力ができません。
我らがHeroもご立腹です。😭😭😭
だがしかし、諦めてはいけません。
これはHeroからの挑戦状なのです!!
AWSにできないわけがありません。だって、ビルディングブロックだもの🧱🧱🧱
ということで、できました🎉🎉🎉
useChatの機能がそのまま使えるので、開発体験はNext.js単体のものと殆ど変わりません。
ポイントはこのあたりです。
- フロントエンドとバックエンドを別々のNext.jsアプリとして構築
- フロントエンドはAmplifyに、バックエンドはそのままコンテナ化しAgentCore Runtimeにデプロイする
- バックエンドはAgentCore Runtimeの仕様に合わせる
- ポート番号は8080
- APIは
/invocations(POST)と/ping(GET)とする
- useChatで
/invocationsを呼び出す - Amplifyの認証機能とAgentCoreのインバウンド認証を連携させる
チャットの見た目はこちらで紹介したAI Elementsを使ってます。おしゃれ~
ソースコードの全体はこちらです。(Starください!そしてこの投稿にいいねください!)
試してないですが同じ構成でNext.js + MastraもAgentCore上で動作させられると思います
11/3 Cognitoのトークンではなく、IAM認証を使うパターンも作成しました。動作的には変わらないです
Cognito未ログイン状態でも動作させたかったのですが、それは難しそうでした😭
https://github.com/moritalous/agentcore-amplify-nextjs/tree/sigv4
バックエンドを構築
バックエンド用のNext.jsプロジェクトを新規作成します。
npx -y create-next-app@latest backend --yes
ライブラリーをインストールします。
cd backend/
npm add ai @ai-sdk/amazon-bedrock @aws-sdk/credential-providers
APIを2つ(/invocations、/ping)作成します。
8080ポートで起動する必要があるのでpackage.jsonのscriptsを修正します。
  "scripts": {
-   "dev": "next dev",
+   "dev": "next dev --port 8080",
    "build": "next build",
    "start": "next start",
    "lint": "eslint"
  },
ローカル環境で動作確認する際に、クロスオリジンになってしまうのでCORSの設定を追加します。
  import type { NextConfig } from "next";

  const nextConfig: NextConfig = {
    /* config options here */
+   async headers() {
+     return [
+       {
+         source: "/invocations",
+         headers: [
+           { key: "Access-Control-Allow-Credentials", value: "true" },
+           { key: "Access-Control-Allow-Origin", value: "*" },
+           { key: "Access-Control-Allow-Methods", value: "GET,DELETE,PATCH,POST,PUT" },
+           { key: "Access-Control-Allow-Headers", value: "X-CSRF-Token, X-Requested-With, Accept, Accept-Version, Content-Length, Content-MD5, Content-Type, Date, X-Api-Version" },
+         ]
+       }
+     ]
+   }
  };

  export default nextConfig;
フロントエンドを構築
続いてフロントエンド用のNext.jsプロジェクトを新規作成します。
npx -y create-next-app@latest frontend --yes
ライブラリーをインストールします。
cd frontend
npm add ai @ai-sdk/react
AI Elementsをインストールします。
npx -y ai-elements@latest
Chatbotコンポーネントを作成します。useChatのオプションで明示的にバックエンドAPIのURLを指定します。
未指定の場合は、デフォルトでフロントエンドと同じホストの/api/chatが使われます
const transportOptions: HttpChatTransportInitOptions<UIMessage> = {
    api: 'http://localhost:8080/invocations',
}

const { messages, sendMessage, status } = useChat({
    transport: new DefaultChatTransport(transportOptions),
})
Chatbot.tsxの全体はこんな感じです。
app/page.tsxでChatbotコンポーネントを呼び出します。
ローカル環境で動作確認
それではローカル環境で動作確認します。まずはバックエンドを起動します。バックエンドAPIは8080ポートを使用します。
# backendディレクトリで実行
npm run dev
> nextjs-agentcore-server@0.1.0 dev
> next dev --port 8080

   ▲ Next.js 16.0.0 (Turbopack)
   - Local:        http://localhost:8080
   - Network:      http://172.17.0.2:8080

 ✓ Starting...
 ✓ Ready in 675ms
続いてフロントエンドを立ち上げます。フロントエンドは3000ポートを使用します。
# frontendディレクトリで実行
npm run dev
> nextjs-agentcore-client@0.1.0 dev
> next dev

   ▲ Next.js 16.0.0 (Turbopack)
   - Local:        http://localhost:3000
   - Network:      http://172.17.0.2:3000

 ✓ Starting...
 ✓ Ready in 1293ms
ブラウザでhttp://localhost:3000にアクセスしてみましょう。チャットの入力に対して、ストリーミング形式で応答があれば成功です。
フロントエンドにAmplify Gen2を追加
フロントエンドにAmplify Gen2を追加します。
npm create amplify@latest
✔ Where should we create your project? .
ライブラリーを追加します。
npm add @aws-amplify/ui-react
Amplify Gen2のサンドボックスを起動します。これでCognitoが作成されます。
npx ampx sandbox
Cognitoさえ作成できればいいので、ここでサンドボックスを停止して大丈夫です。
バックエンドをAgentCore Runtimeへデプロイ
コンテナイメージをECRへ登録
AgentCore Runtimeへデプロイするために、コンテナ化します。
Next.jsアプリをDockerコンテナとしてデプロイする場合は、standaloneを指定すると良いそうです。
参考
https://nextjs.org/docs/app/getting-started/deploying#docker
https://github.com/vercel/next.js/tree/canary/examples/with-docker
  import type { NextConfig } from "next";

  const nextConfig: NextConfig = {
    /* config options here */
+   output: "standalone",
  };

  export default nextConfig;
コンテナをビルドしてECRにプッシュします。
AgentCoreの要件に合わせ、arm64アーキテクチャでコンテナイメージを作成します。
ACCOUNT_ID=$(aws sts get-caller-identity --query Account --output text)
AWS_REGION=us-west-2

AGENT_NAME=agentcore-amplify-nextjs-backend

docker buildx create --use

aws ecr create-repository --repository-name ${AGENT_NAME} --region ${AWS_REGION}
aws ecr get-login-password --region ${AWS_REGION} | docker login --username AWS --password-stdin ${ACCOUNT_ID}.dkr.ecr.${AWS_REGION}.amazonaws.com

docker buildx build --platform linux/arm64 -t ${ACCOUNT_ID}.dkr.ecr.${AWS_REGION}.amazonaws.com/${AGENT_NAME}:latest --push .
これでECRにコンテナイメージが登録されました。
AgentCore Runtimeにバックエンドを登録
マネジメントコンソールで登録します。
インバウンドIDの設定を行います。
- インバウンドIDのタイプは「JSON Web Tokens(JWT)を使用」を選択
- JWTスキーマ設定は「既存のIDプリバイダーの設定を使用」を選択
- 検出URLは
https://cognito-idp.{リージョン名}.amazonaws.com/{CognitoのユーザープールID}/.well-known/openid-configurationを入力 - 許可されたクライアントは、Cognitoのクライアント IDを入力
Cognitoの設定はfrontend/amplify_outputs.jsonにあります
フロントエンドに認証機能を実装
page.tsxにAmplifyの認証を追加します。ログインしたらアクセストークンを取得し、Chatbotへ渡すようにします。
Chatbotコンポーネントでは、トークンを受けとり、環境変数にAgentCore Runtimeの設定がある場合はAgentCore宛に、ない場合はlocalhost宛に送信するよう修正します。
headersも追加します。
function buildApiUrl() {
  if (process.env.NEXT_PUBLIC_AGENT_ARN) {
    const agentArn = process.env.NEXT_PUBLIC_AGENT_ARN!
    const region = process.env.NEXT_PUBLIC_AWS_REGION!
    const escapedArn = encodeURIComponent(agentArn)
    const qualifier = process.env.NEXT_PUBLIC_QUALIFIER
    return `https://bedrock-agentcore.${region}.amazonaws.com/runtimes/${escapedArn}/invocations?qualifier=${qualifier}`
  } else {
    return 'http://localhost:8080/invocations'
  }
}

const ChatBot = ({ token }: { token: string }) => {
  const [input, setInput] = useState('')
  const [model, setModel] = useState<string>(models[0].value)
  const [reasoning, setReasonings] = useState(reasonings[1].value)

  const [sessionId] = useState(() => `session-${Date.now()}-${Math.random().toString(36)}`);

  const transportOptions: HttpChatTransportInitOptions<UIMessage> = {
    api: buildApiUrl(),
    headers: {
      'Authorization': `Bearer ${token}`,
      'X-Amzn-Trace-Id': `trace-${Date.now()}`,
      'Content-Type': 'application/json',
      'X-Amzn-Bedrock-AgentCore-Runtime-Session-Id': sessionId,
    },
  }
.env.localファイルを作成し、AgentCore Runtimeの設定を記述します。
NEXT_PUBLIC_AGENT_ARN=arn:aws:bedrock-agentcore:{リージョン名}:{アカウントID}:runtime/{ランタイム名}
NEXT_PUBLIC_AWS_REGION=us-west-2
NEXT_PUBLIC_QUALIFIER=DEFAULT
AgentCore Runtimeのバックエンドをローカル環境のフロントエンドから呼び出す動作確認
フロントエンドを起動します。
# frontendディレクトリで実行
npm run dev
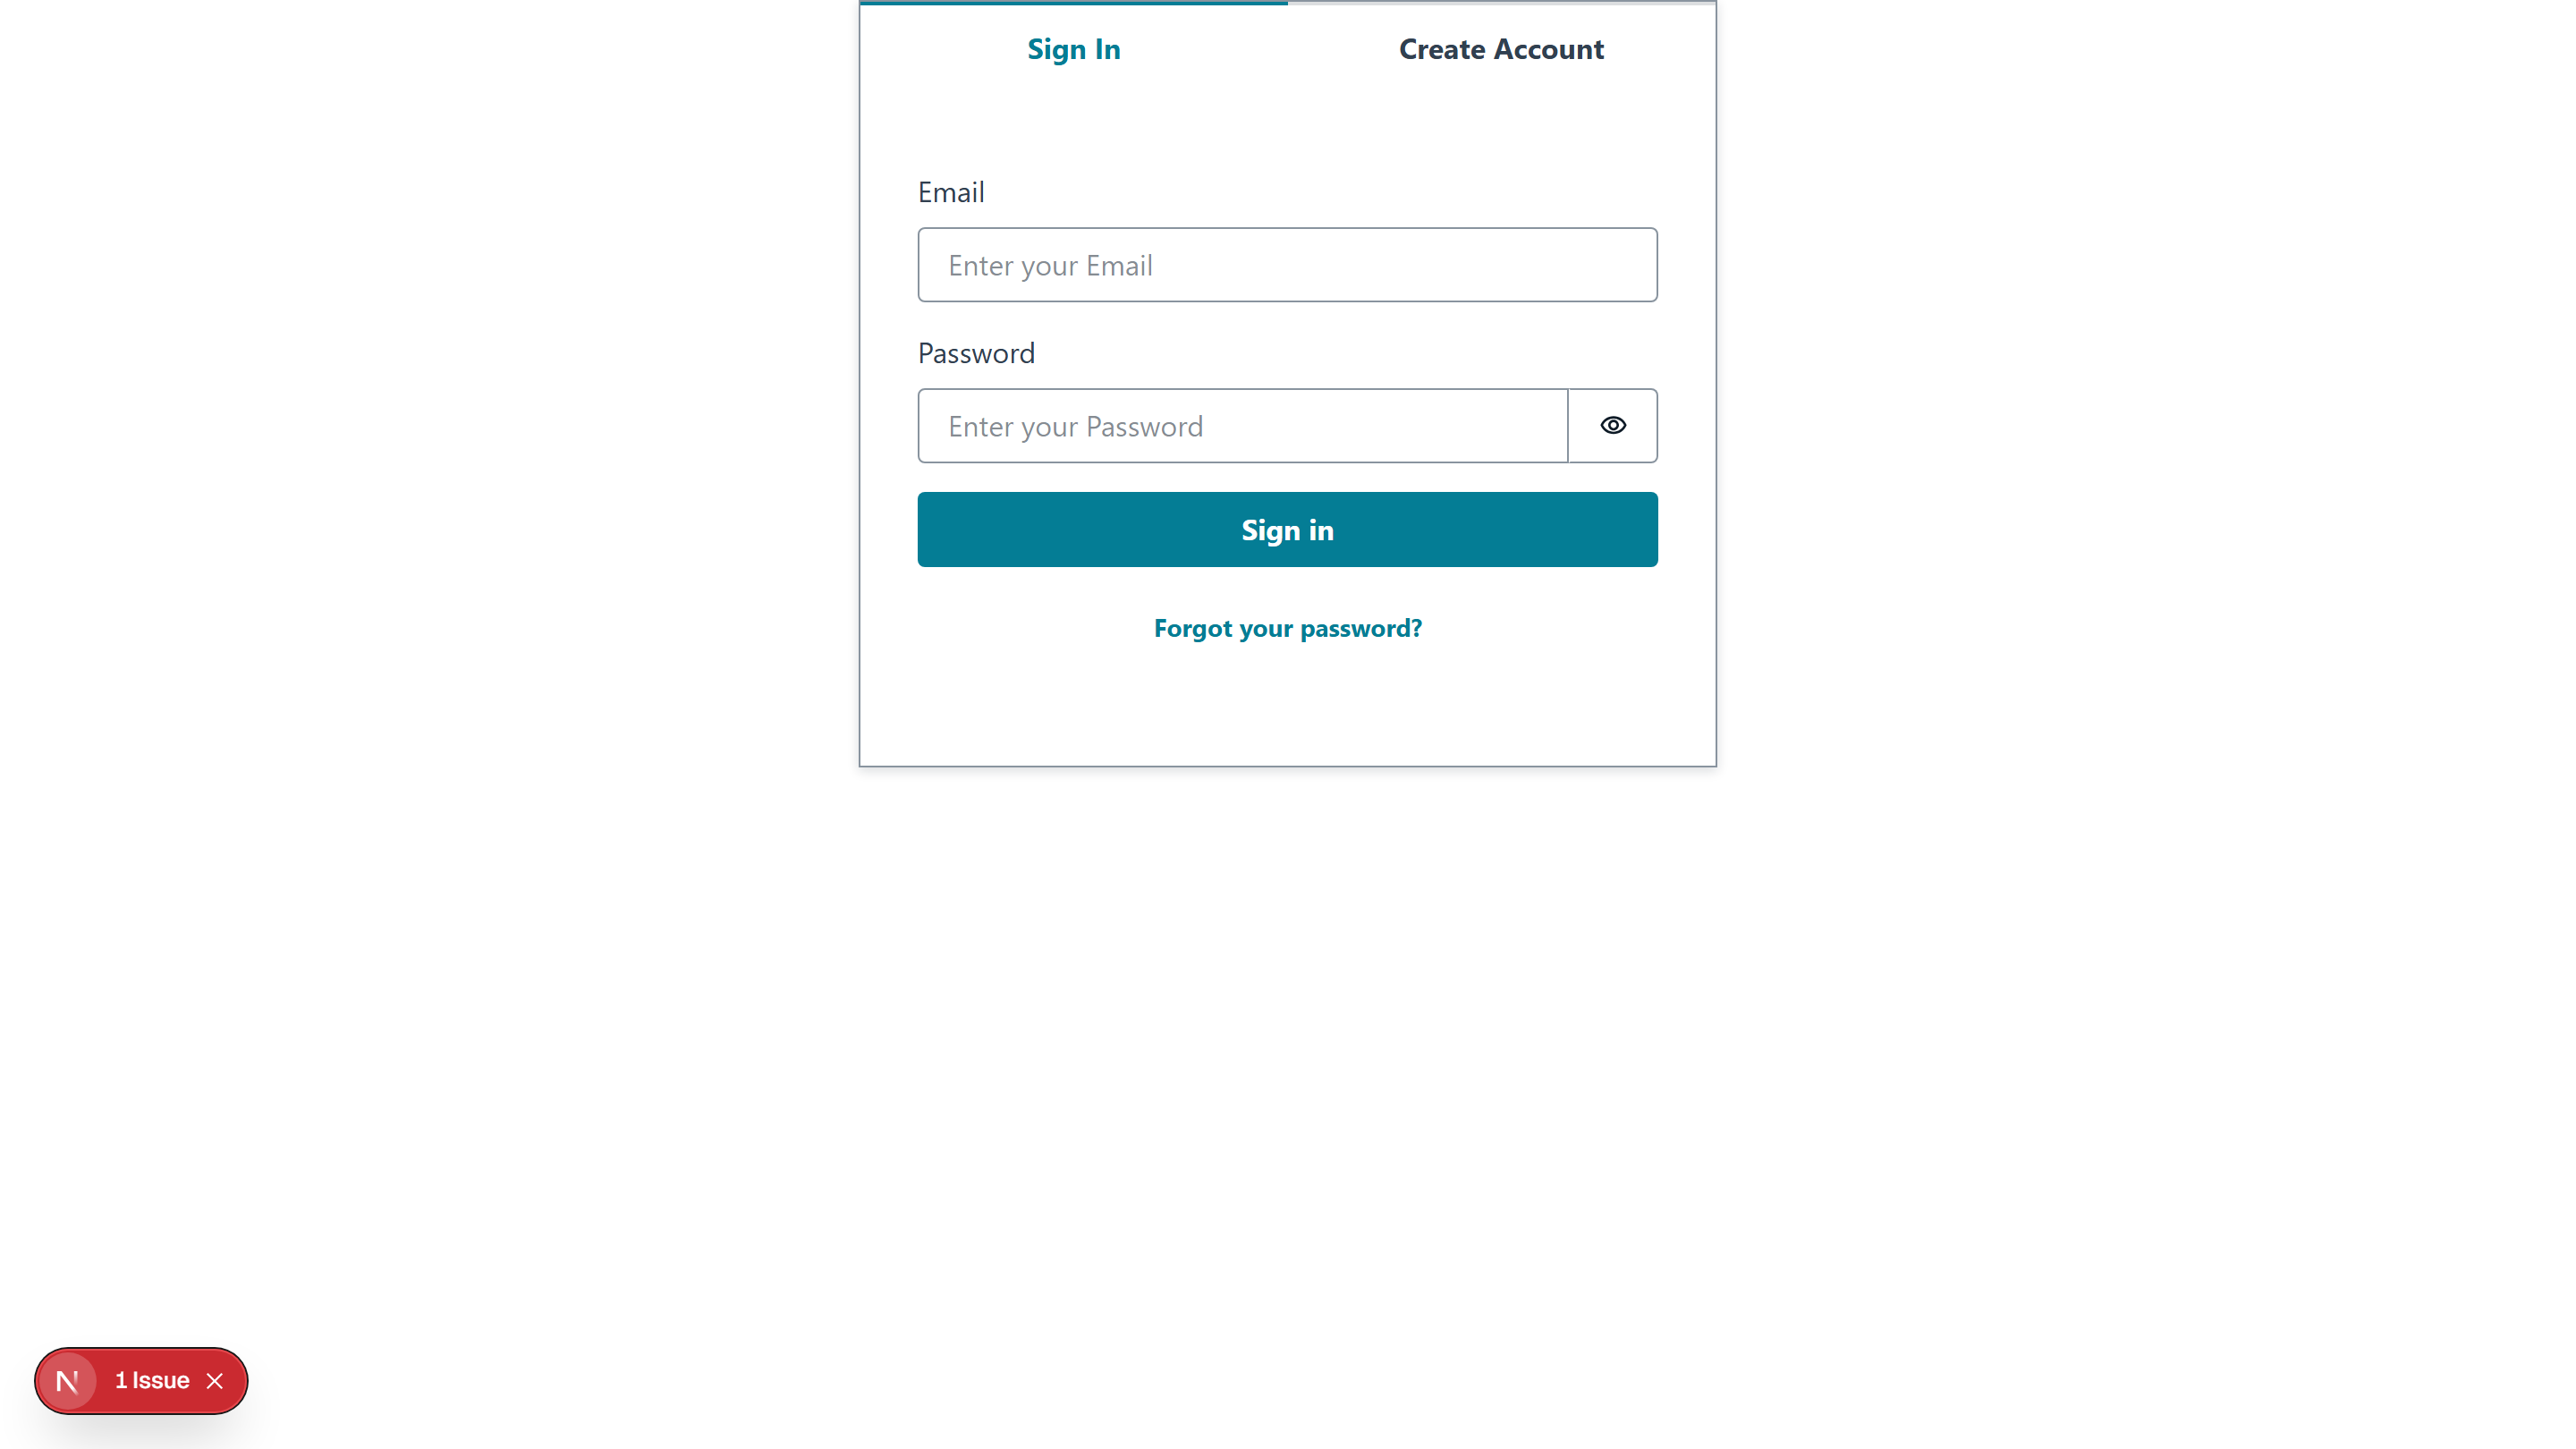
Cognitoのサインイン画面が出るので、新しくアカウントを作成します。サインイン後、先ほどと同じチャットが動作すると思います。
フロントエンドをAmplify Hostingへデプロイ
AI Elementsのバージョンアップに巻き込まれ、本日時点でそのままではnpm run buildが通りません。なので、Q Developerにビルドが通るように細工をしてもらいました。
GitHubからデプロイします。
今回のディレクトリ構成の場合、モノレポを選びfrontendと入力します。
アプリケーション設定の下の方に「詳細設定」があるのでこれを開きます。
3つの環境変数を入力します。
- NEXT_PUBLIC_AGENT_ARN
- NEXT_PUBLIC_AWS_REGION
- NEXT_PUBLIC_QUALIFIER
デプロイを進めます。
デプロイ完了後、作成されるCognitoのリソースを特定します。
Cognitoの管理画面にアクセスし、ユーザープールIDとクライアントIDを取得します。そして、AgentCoreのインバウンドIDの設定を上書きします。
これで、Amplify + AgentCore環境が完成です!
まとめ
いい勉強になりました!ありがとう、Hero!
AgentCore SDKを使うと、ストリームレスポンスの「data: を取り除く」という謎コードが必要でしたが、Next.jsをホスティングした場合はもとのフォーマットのままでした。
また、ずっとやりたかったCognitoのトークンでAgentCoreのインバウンド認証をするものも、意外とあっさりでした。
AgentCore、奥が深いです
(再掲)
ソースコードの全体はこちらです。(Starください!そしてこの投稿にいいねください!)


