2024/9/30 21:30時点の情報です。
おそらくアップデートされると思いますので、最新情報をご確認ください。
Llama 3.2のリリースと合わせて、Llama Stackが発表されました。
合ってるかわからないのですが、「Llama特化のLangChain的なもの」のような気がしました。
LLM、メモリー、エージェントなどの各パーツを組み合わせて、それぞれの環境にあった一式を整えるもののようです。
例えば、LLMはローカルで動作するもの、Bedrock、Ollamaなどから選択できます。
iOS上で動作するPyTorch ExecuTorchというものもあるようです
詳細はこちらをご確認ください。
発表されて間もないので、発展途上の印象ですが、「Bedrockを呼び出してHello, Worldする」ぐらいまでなんとかこぎつけましたので、備忘録を残します。
環境
devcontainerにAWS CLI、miniconda、Dockerを導入した状態でスタートです。(Dockerは結局使用しませんでした)
// For format details, see https://aka.ms/devcontainer.json. For config options, see the
// README at: https://github.com/devcontainers/templates/tree/main/src/ubuntu
{
	"name": "Ubuntu",
	// Or use a Dockerfile or Docker Compose file. More info: https://containers.dev/guide/dockerfile
	"image": "mcr.microsoft.com/devcontainers/base:jammy",
	"features": {
		"ghcr.io/devcontainers/features/aws-cli:1": {},
		"ghcr.io/devcontainers/features/conda:1": {},
		"ghcr.io/devcontainers/features/docker-in-docker:2": {}
	}

	// Features to add to the dev container. More info: https://containers.dev/features.
	// "features": {},

	// Use 'forwardPorts' to make a list of ports inside the container available locally.
	// "forwardPorts": [],

	// Use 'postCreateCommand' to run commands after the container is created.
	// "postCreateCommand": "uname -a",

	// Configure tool-specific properties.
	// "customizations": {},

	// Uncomment to connect as root instead. More info: https://aka.ms/dev-containers-non-root.
	// "remoteUser": "root"
}
まずはAWSの認証情報をセットしてください。IAMユーザーでもSSOでも何でもいいので、デフォルトプロファイルでBedrockが呼び出せる状態にしてください。
condaの専用環境を作成します。
conda create -n stack python=3.10
conda activate stack
llama-stackのソースを取得し、インストールします。
git clone git@github.com:meta-llama/llama-stack.git
cd llama-stack
$CONDA_PREFIX/bin/pip install -e .
$CONDA_PREFIX/bin/pip install boto3
これでllamaというコマンドが利用できるようになります。
boto3が必要な理由は不明ですが、ないと後でコケるのでインストールしておきます
Stackを立ち上げる
Stackを立ち上げる手順は3ステップです
- Build
- Configure
- Run
わかりやすい!
ですが、Llama 3.2を使用するためには、ソースコードの修正が必要です。
対応モデルを追加するのですが、
- キー側の接頭辞「Meta-」をつけるとうまくいかない
- BedrockもLlama 3.2がクロスリージョン推論にしか対応していないので
us.meta.***の形式で指定する必要がある
という点に注意です。
  # mapping of Model SKUs to ollama models
  BEDROCK_SUPPORTED_MODELS = {
      "Meta-Llama3.1-8B-Instruct": "meta.llama3-1-8b-instruct-v1:0",
      "Meta-Llama3.1-70B-Instruct": "meta.llama3-1-70b-instruct-v1:0",
      "Meta-Llama3.1-405B-Instruct": "meta.llama3-1-405b-instruct-v1:0",
+     "Llama3.2-1B-Instruct": "us.meta.llama3-2-1b-instruct-v1:0",
+     "Llama3.2-3B-Instruct": "us.meta.llama3-2-3b-instruct-v1:0",
+     "Llama3.2-11B-Vision-Instruct": "us.meta.llama3-2-11b-instruct-v1:0",
+     "Llama3.2-90B-Vision-Instruct": "us.meta.llama3-2-90b-instruct-v1:0",
  }
また、torchライブラリーが不足するようなので、以下のように記述を追加します。
        remote_provider_spec(
            api=Api.inference,
            adapter=AdapterSpec(
                adapter_id="bedrock",
                pip_packages=[
                    "boto3",
+                   "torch",
                ],
                module="llama_stack.providers.adapters.inference.bedrock",
                config_class="llama_stack.providers.adapters.inference.bedrock.BedrockConfig",
            ),
        ),
このあたりはおそらくそのうち修正されると思います。(追加位置の正解は多分ここじゃない。。。)
ソース修正はこれで終了です。
では、ビルドします。
llama stack build --template local-bedrock-conda-example --name local-bedrock-conda-example
テンプレートファイル「llama_stack/distribution/templates/local-bedrock-conda-example-build.yaml」の設定に従って、「local-bedrock-conda-example」というconda環境を生成します。
ビルドに成功するとこうなります。
conda env list
# conda environments:
#
base                     /opt/conda
llama-stack-client       /opt/conda/envs/llama-stack-client
llamastack-local-bedrock-conda-example     /opt/conda/envs/llamastack-local-bedrock-conda-example
stack                 *  /opt/conda/envs/stack
続いてConfigureします。
ウィザード形式で質問されます。
ほとんど未指定でも良いのですが、以下だけ気をつけてください。
- モデル名を聞かれるところを修正(以下の例ではLlama3.2-1B-Instruct。前述の手順でソースコードに指定したもの)
- llama_guard_shieldとprompt_guard_shieldは「n」で回答
AWSの認証情報などはここに入れても良さそうです。
llama stack configure local-bedrock-conda-example
Could not find local-bedrock-conda-example. Trying conda build name instead...
Configuring API `inference`...
=== Configuring provider `remote::bedrock` for API inference...
Enter value for aws_access_key_id (optional):
Enter value for aws_secret_access_key (optional):
Enter value for aws_session_token (optional):
Enter value for region_name (optional):
Enter value for profile_name (optional):
Enter value for total_max_attempts (optional):
Enter value for retry_mode (optional):
Enter value for connect_timeout (default: 60) (optional):
Enter value for read_timeout (default: 60) (optional):
> Please enter the supported model your provider has for inference: Llama3.2-1B-Instruct # ココ

Configuring API `memory`...
=== Configuring provider `meta-reference` for API memory...
> Please enter the supported memory bank type your provider has for memory: vector

Configuring API `safety`...
=== Configuring provider `meta-reference` for API safety...
Do you want to configure llama_guard_shield? (y/n): n  # ココ
Do you want to configure prompt_guard_shield? (y/n): n  # ココ

Configuring API `agents`...
=== Configuring provider `meta-reference` for API agents...
Enter `type` for persistence_store (options: redis, sqlite, postgres) (default: sqlite):

Configuring SqliteKVStoreConfig:
Enter value for namespace (optional):
Enter value for db_path (existing: /home/vscode/.llama/runtime/kvstore.db) (required):

Configuring API `telemetry`...
=== Configuring provider `meta-reference` for API telemetry...

> YAML configuration has been written to `/home/vscode/.llama/builds/conda/local-bedrock-conda-example-run.yaml`.
You can now run `llama stack run local-bedrock-conda-example --port PORT`
あとは起動します。
llama stack run local-bedrock-conda-example --port 3000
router_api Api.inference
router_api Api.safety
router_api Api.memory
Resolved 8 providers in topological order
  Api.models: routing_table
  Api.inference: router
  Api.shields: routing_table
  Api.safety: router
  Api.memory_banks: routing_table
  Api.memory: router
  Api.agents: meta-reference
  Api.telemetry: meta-reference

Serving GET /healthcheck
Serving GET /memory_banks/get
Serving GET /memory_banks/list
Serving POST /agents/create
Serving POST /agents/session/create
Serving POST /agents/turn/create
Serving POST /agents/delete
Serving POST /agents/session/delete
Serving POST /agents/session/get
Serving POST /agents/step/get
Serving POST /agents/turn/get
Serving POST /inference/chat_completion
Serving POST /inference/completion
Serving POST /inference/embeddings
Serving POST /memory/create
Serving DELETE /memory/documents/delete
Serving DELETE /memory/drop
Serving GET /memory/documents/get
Serving GET /memory/get
Serving POST /memory/insert
Serving GET /memory/list
Serving POST /memory/query
Serving POST /memory/update
Serving GET /shields/get
Serving GET /shields/list
Serving POST /safety/run_shield
Serving GET /models/get
Serving GET /models/list
Listening on :::3000
INFO:     Started server process [29099]
INFO:     Waiting for application startup.
INFO:     Application startup complete.
INFO:     Uvicorn running on http://[::]:3000 (Press CTRL+C to quit)
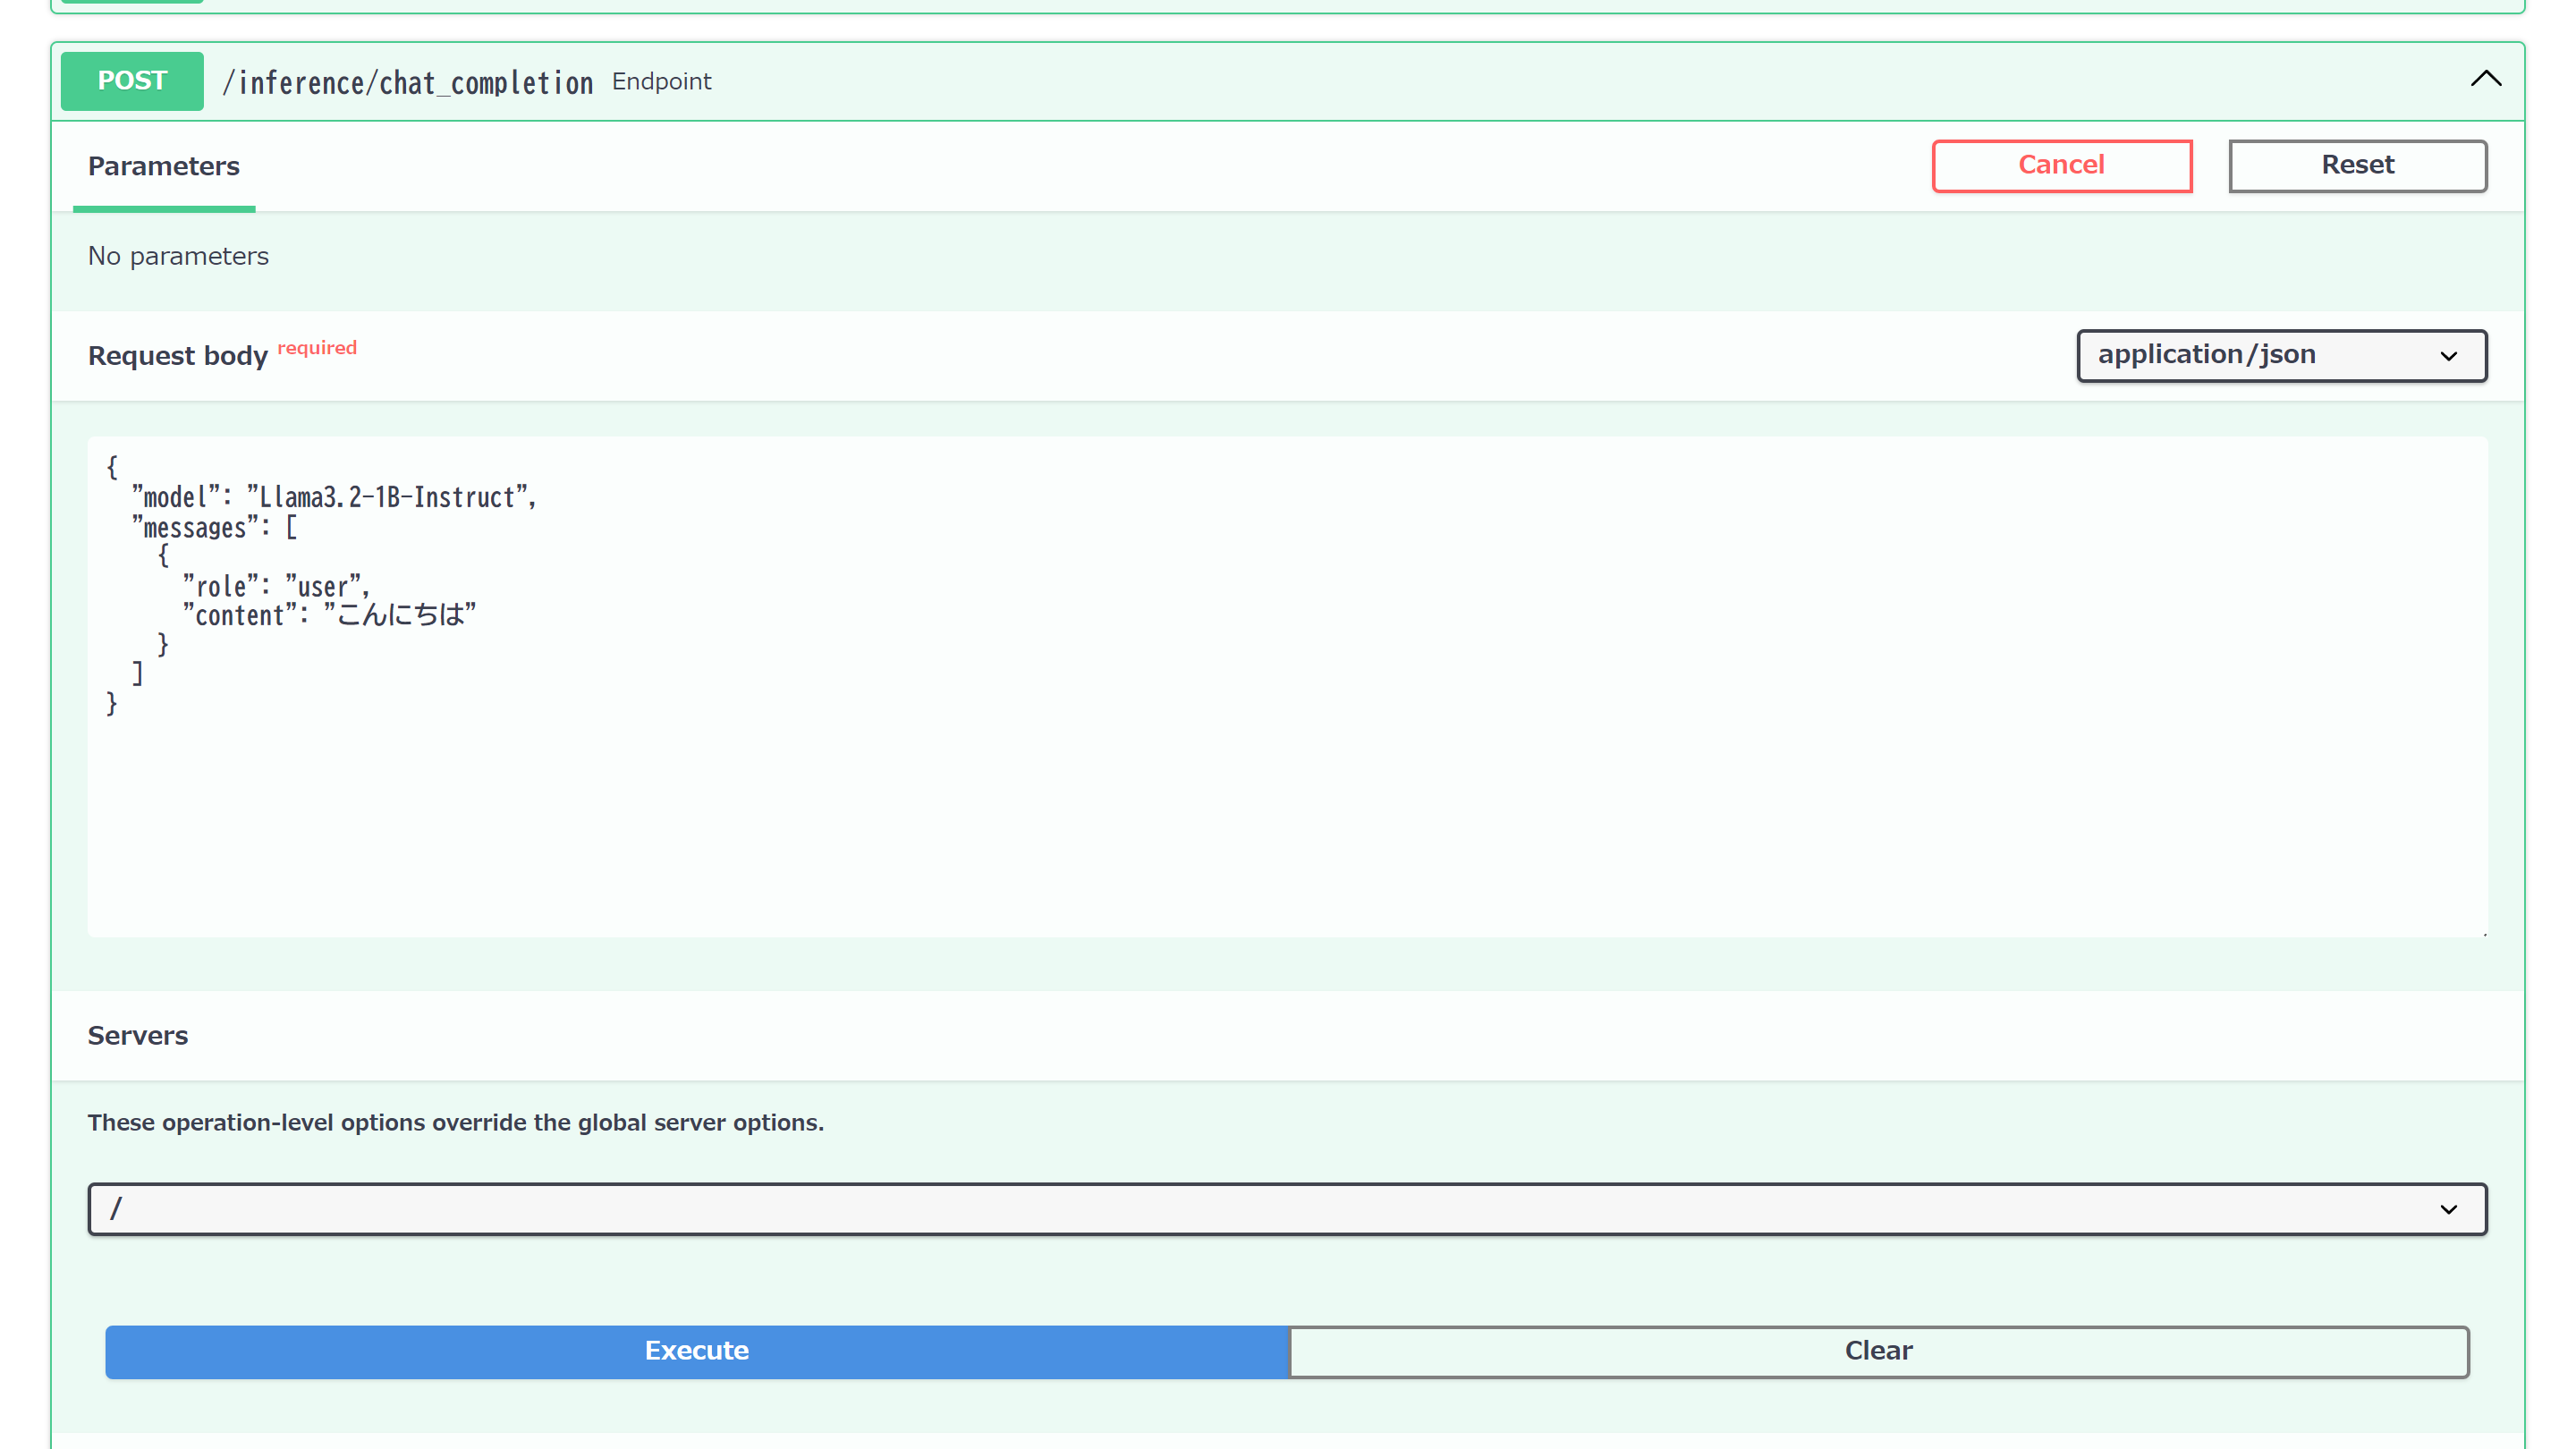
内部的にはFastAPIが使われていまして、「http://localhost:3000/docs」にアクセスするとOpenAPIスキーマが確認できます。

試しに「/inference/chat_completion」APIを呼び出してみましょう。
リクエストメッセージ(JSON)
{
  "model": "Llama3.2-1B-Instruct",
  "messages": [
    {
      "role": "user",
      "content": "こんにちは"
    }
  ]
}

こんにちは!どうすごですか?日本語でどうしますか?
なかなか奇抜な回答ですが、動作は確認できました。
クライアントSDKからアクセスする
Llama Stackのクライアント用のSDKも用意されています。
Python用のSDKを使ってアクセスしてみます。
pip install llama-stack-client
from llama_stack_client import LlamaStackClient
from llama_stack_client.types import UserMessage

client = LlamaStackClient(
    base_url=f"http://localhost:3000",
)

response = client.inference.chat_completion(
    messages=[
        UserMessage(
            content="こんにちは",
            role="user",
        ),
    ],
    model="Llama3.2-1B-Instruct",
    stream=False,
)
print(response)
data: {"completion_message":{"role":"assistant","content":["こんにちは。どうですか。"],"stop_reason":"end_of_turn","tool_calls":[]},"logprobs":null}
他の生成AIのような感じで使えそうです。
(逆に言うと、LangChainで良くない??という思いは払拭できませんでした)