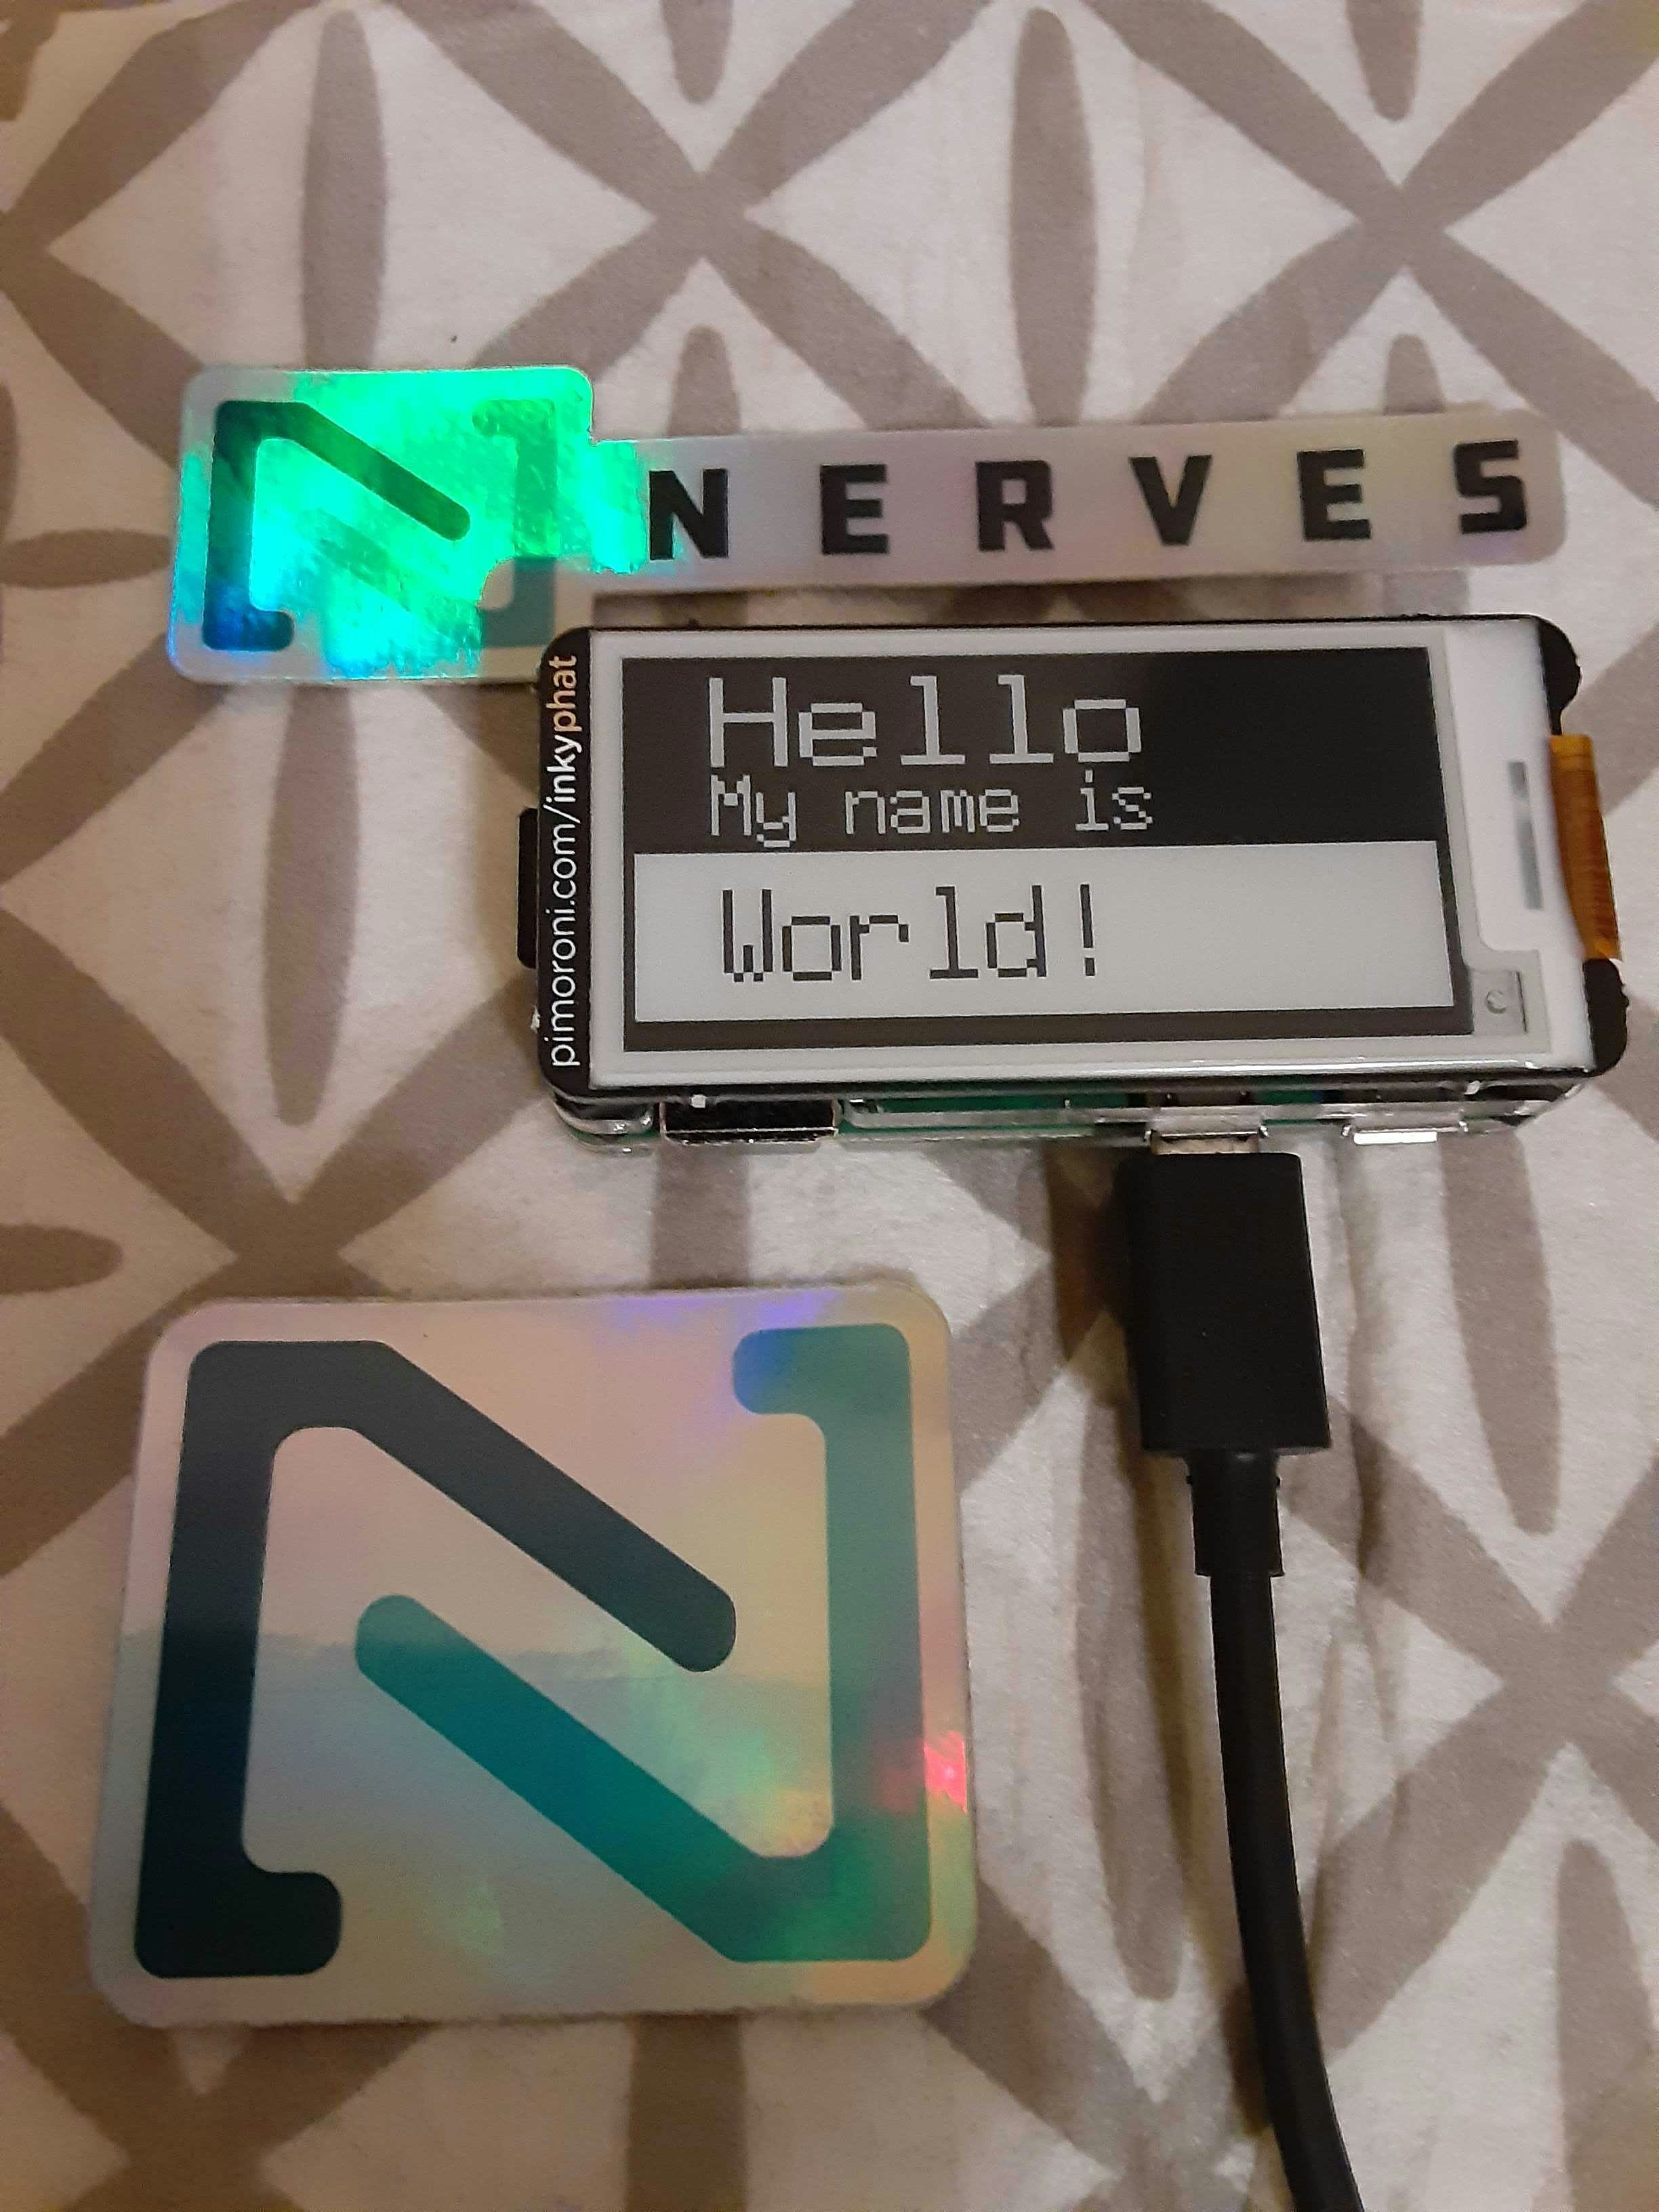
本記事は「NervesJP Advent Calendar 2021」の1日目です。
はじめに
世の中には様々な「Hello World!」プログラムがあり、まずはそうして成功体験をすることが多いと思います
Nervesの世界ではよくLチカで練習したりしますが、今日はNervesでのHello World!をひとつご提案させていただこうと思います
やること
- nerves_livebookにちょっと手を加えて、Raspberry Pi Zeroに最適なサイズの電子ペーパーInky pHATで遊べるようにする
参考資料
必要なもの
-
Inky pHAT
- Raspberry Pi Zeroに最適なサイズの電子ペーパー
-
Raspberry Pi Zero WH
- ヘッダーピン付き
- 名前は似てますが、Raspberry Pi Zero Wはヘッダーピンがついていないので注意
- 古いRaspberry Pi ZeroはWiFiがついていないので注意
- おそらく他のラズパイでもOK、しらんけど
- microSDカード (スピードクラス10)
- microSDカード リーダーライター
- USBケーブル(microB端子)
- ラズパイの電源用
- また、USBガジェットモードでラズパイ<->ホストマシン間で直接通信が可能
準備
- 動作確認はMacOSで行ってます
elixir          1.13.0-rc.0-otp-24
erlang          24.1.4
nerves_livebookプロジェクトをクローンする
$ git clone https://github.com/livebook-dev/nerves_livebook.git
$ cd nerves_livebook
依存関係
nerves_livebookのUI上で必要な依存関係をインストールできれば理想的なのですが現時点(2021年11月)ではできないようですので、ファームウエアをビルドする前に予めお手元のPCで依存関係をインストールする方針です
-
pappersverk/inky
- Inkyディスプレイドライバー
- あいにくInky pHAT現行機種(pHAT SSD1608)に対応していないため、代わりに僕のフォークmnishiguchi/inkyを使います
-
luisgabrielroldan/chisel
- ビットマップフォント処理
Elixir Circuitsの各種ライブラリーはpappersverk/inky内部で使用されているものと衝突するので、override: trueオプションを付与します
mix.exsファイルに依存関係を追加
defp deps do
  [
    # ...

-   {:circuits_uart, "~> 1.3", targets: @all_targets},
-   {:circuits_gpio, "~> 1.0 or ~> 0.4", targets: @all_targets},
-   {:circuits_i2c, "~> 1.0 or ~> 0.3", targets: @all_targets},
-   {:circuits_spi, "~> 1.0 or ~> 0.1", targets: @all_targets},
+   {:circuits_uart, "~> 1.3", targets: @all_targets, override: true},
+   {:circuits_gpio, "~> 1.0 or ~> 0.4", targets: @all_targets, override: true},
+   {:circuits_i2c, "~> 1.0 or ~> 0.3", targets: @all_targets, override: true},
+   {:circuits_spi, "~> 1.0 or ~> 0.1", targets: @all_targets, override: true},
    # ...
+   {:chisel, "~> 0.2.0", targets: @all_targets},
+   {:inky, git: "git@github.com:mnishiguchi/inky.git", branch: "mnishiguchi/ssd1608", targets: @all_targets},
    # ...
  ]
end
nerves_livebookファームウェアをmicroSDカードに焼く
microSDカードをリーダーライターにセットしてお手元のPCに接続します
# ターゲットマシンの機種を指定(Raspberry Pi Zeroは`rpi0`)
$ export MIX_TARGET=rpi0

# 依存関係のインストール
$ mix deps.get

# ファームウエアをビルド
$ mix firmware

# ファームウエアをmicroSDカードに焼く
$ mix burn
電源ONして接続してみる
Pingコマンドを実行して接続確認
SSHしてみる
- パスワードは
nervesです
ウェブブラウザーでnerves_livebookのUIを開いてみる
- http://nerves.local
- パスワードは
nervesです
nerves_livebookのUIからInky pHATを操作する
- nerves_livebookのUI()、もしくはIExからInky pHATを操作できます
- 「Livebook Lチカをイゴかす (Elixir)」 by @torifukukaiou を併せて読むと良いかも
Inkyサーバーを起動
display_type = :phat_ssd1608
accent = :black

{:ok, inky_pid} = Inky.start_link(display_type, accent)
フォントを読み込む
- フォントデータはolikraus/u8g2からダウンロードします
- 今回は便宜上フォントはインターネットから都度ダウンロードする方式にしましたが、使うフォントが決まっているのであればファームウエアに予め焼いておいたほうが良いかもしれません
- 例、
rootfs_overlay/fonts/7x14.bdf
- 例、
font_name = "7x14"
fonts_dir = "/data/fonts" |> tap(&File.mkdir_p/1)
font_path = Path.join([fonts_dir, "#{font_name}.bdf"])

font_url =
  "https://raw.githubusercontent.com/olikraus/u8g2/master/tools/font/bdf/#{font_name}.bdf"

if File.exists?(font_path) do
  IO.puts("Already exists #{font_path}")
else
  {:ok, {{_, 200, _}, _headers, body}} = :httpc.request(font_url)
  IO.puts("Downloaded font #{font_name}")
  File.write(font_path, List.to_string(body))
end

IO.puts("Loading font to #{font_path}")
{:ok, chisel_font} = Chisel.Font.load(font_path)
Inkyにピクセルをプリントする
- luisgabrielroldan/chiselを用いてフォントをXYの座標に変換してもらいます
- pappersverk/inkyに各座標を色を教えることにより、それがInkyにプリントされます
person_name = "World!"

# 背景をプリントする関数
print_badge_fun = fn ->
  Inky.set_pixels(
    inky_pid,
    # 各座標を色を指定する
    fn _x, y, _w, h, _pixels ->
      name_field_top = div(h, 2)
      name_field_bottom = trunc(h * 0.9)

      cond do
        y < name_field_top -> :black
        y < name_field_bottom -> :white
        true -> :black
      end
    end,
    push: :skip
  )
end

# 文字をプリントする関数
print_text_fun = fn text, {x, y}, color, opts ->
  put_pixel_fun = fn x, y -> Inky.set_pixels(inky_pid, %{{x, y} => color}, push: :skip) end
  Chisel.Renderer.draw_text(text, x, y, chisel_font, put_pixel_fun, opts)
end

# ピクセルをInkyサーバーにセットする
print_badge_fun.()
print_text_fun.("Hello", {24, 1}, :white, size_x: 4, size_y: 3)
print_text_fun.("My name is", {24, 36}, :white, size_x: 2, size_y: 2)
print_text_fun.(person_name, {24, 72}, :black, size_x: 3, size_y: 3)

# ピクセルをまとめてプッシュする
Inky.set_pixels(inky_pid, %{}, push: :await)
nerves_livebookの使い方の一例
問題点
- 画像の表示がElixirではむつかしかった
- メーカーのPythonライブラリーでPILを用いて比較的簡単にできるようだが
- PNG-8の画像をピクセルに変換するのに使えるElixirライブラリーが見つからなかった
- 自力でPNGをElixirで解読しようと思ったが最後のフィルターの部分が面倒そうだったので諦めた
-
Inky pHATのバージョン
- 見た目が同じでもバージョンにより内部が全く異なる
- Elixirライブラリーpappersverk/inkyが現行機種に対応していない
- 何故かPythonライブラリーとElixirライブラリーとで印刷される向きが異なる
- 僕のフォークmnishiguchi/inkyでPythonライブラリーに合わせて向きを調整した
- プルリクエストは出してはいるがマージされるかは未定
さいごに
文字で「Hello World!」ができましたね
おかげでいろいろ電子ペーパーの特性が観察できました
- 電源OFFでも最後にプリントされた状態を保持
- ピクセルごとに(RGBではなく)デバイスがサポートする具体的な色を指定する
- プリントの実行が遅い(頻繁の画面更新には向いてない)
Pythonでできることがいくつか(僕の能力では)Elixirで完コピすることができませんでしたが、人それぞれ、言語それぞれ得意不得意があると割り切って前に進むことにしました
今日は「Elixir Advent Calendar 2021」にも参加したので、もしよろしければそちらも御覧ください
明日は@takasehidekiさんです。


