はじめに
-
Elixir楽しんでいますか


- fhunleth/nerves_livebook を使って、Raspberry Pi 4でLチカをしてみます
- 本記事は2021/07/10(土) 00:00〜 2021/07/12(月) 23:59開催の純粋なもくもく会でのautoracex #36成果です
- 2021/05/07(金)に開催されたNerves JP #17 GWやってみた会で@takasehideki先生にデモをみせていただいたのが、私にとってfhunleth/nerves_livebookとの最初の出逢いです
- ありがとうございました〜
- 出逢いからずいぶん時間が経ってようやくイゴかしてみました
必要なもの
- Raspberry Pi 4, microSD, 電源
- LANケーブル
- LED
- 抵抗
- ジャンパーワイヤー
- ブレッドボード
ついでに温度・湿度を測定してみます
- Grove AHT20 I2C温度および湿度センサー 工業用グレード - Grove AHT20 I2C Industrial Grade Temperature and Humidity Sensor
- Raspberry Pi用Grove Base Hat
準備
- ファームウェアを焼くツールをPCにインストールします
-
Burning the Firmware を参考に
fwuporetcherをインストールします - 私が使っているPCは、macOS 10.15.7を使っています
-
Homebrewで
fwupをインストールしました
$ brew install fwup
ファームウェアをダウンロードする
- https://github.com/fhunleth/nerves_livebook/releases
-


 からお手持ちのターゲットに合致する
.fwをPCにダウンロードします- Raspberry Pi 4の場合は、
nerves_livebook_rpi4.fwです
- Raspberry Pi 4の場合は、
ファームウェアを焼く
- PCにてダウンロードしたファームウェアをmicroSDに焼きます
- こんな感じです
$ fwup nerves_livebook_rpi4.fw
電源ON
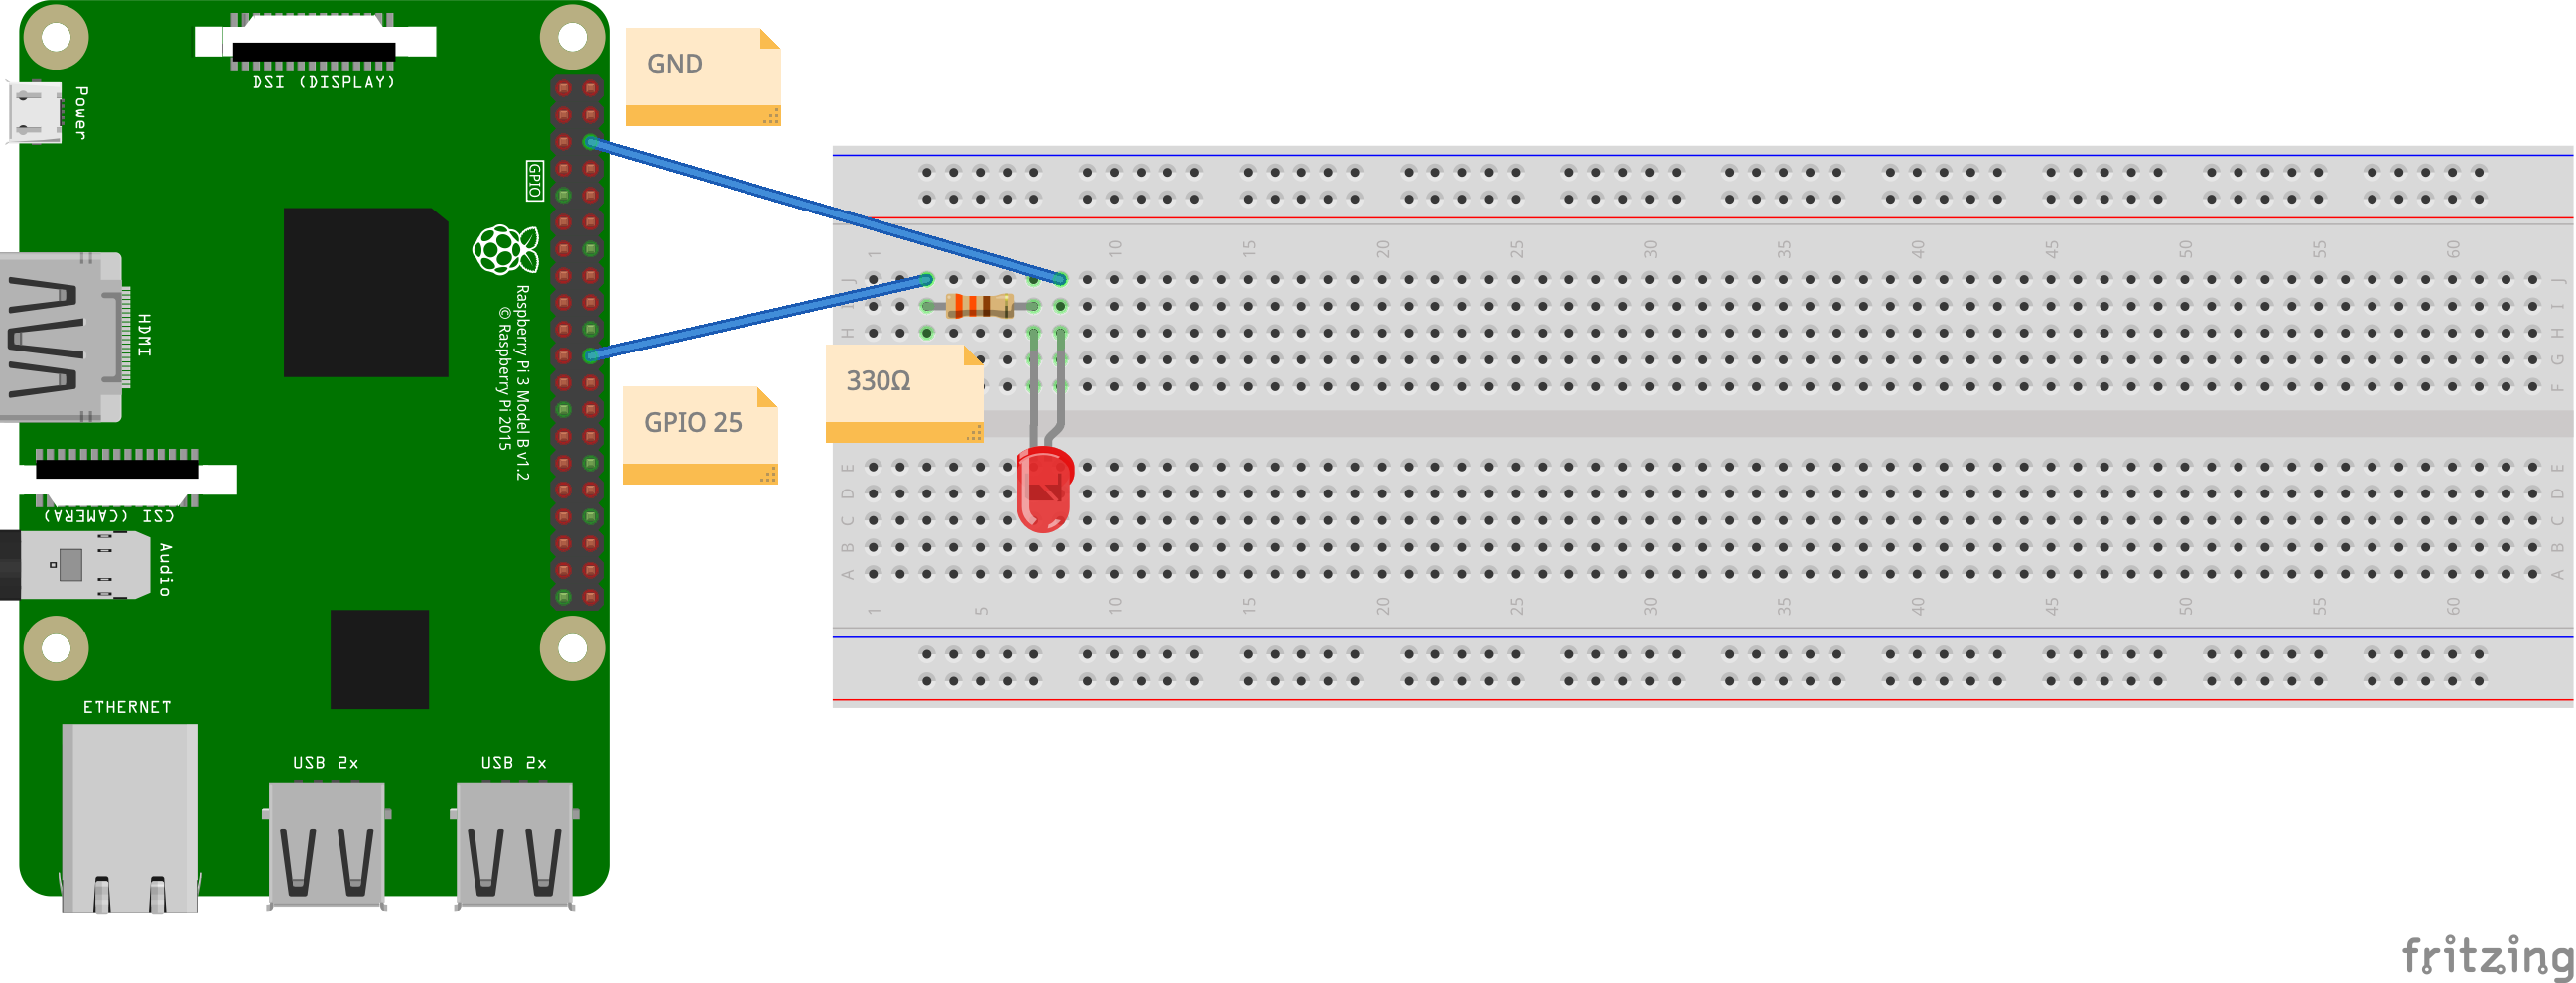
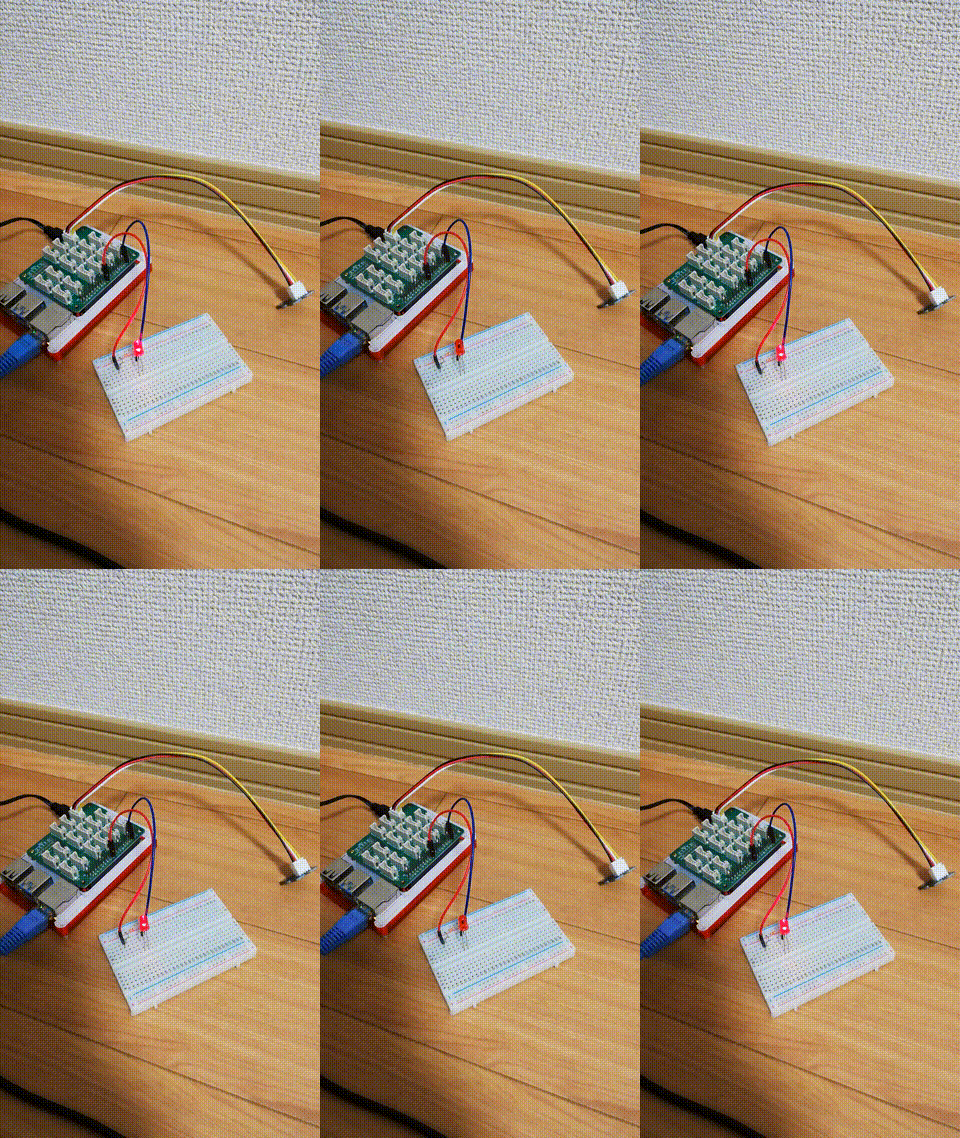
- 下図のような感じでLEDを接続しておきます
- 「Raspberry Piで学ぶ電子工作 超小型コンピュータで電子回路を制御する」という
 を参考にしました
- 「Raspberry Piで学ぶ電子工作 超小型コンピュータで電子回路を制御する」という
- microSDカードをRaspberry Pi 4に差し込んで、LANケーブルを接続して、電源ON!!!
- 15秒ほど待ちましょう

-
ping nerves.localで応答があることを確かめておきましょう
ssh接続(任意)
- Livebookを動かすには不要な手順です
- もしPCからNervesにsshで入りたい場合は以下のようにします
$ ssh livebook@nerves.local
or
$ ssh root@nerves.local
github.com/fhunleth/nerves_livebook/blob/v0.2.14/config/target.exs
config :nerves_ssh,
  user_passwords: [{"livebook", "nerves"}, {"root", "nerves"}],
  daemon_option_overrides: [
    {:auth_method_kb_interactive_data,
     {'Nerves Livebook',
      'https://github.com/fhunleth/nerves_livebook\n\nssh livebook@nerves.local # Use password "nerves"\n',
      'Password: ', false}}
  ]
Run
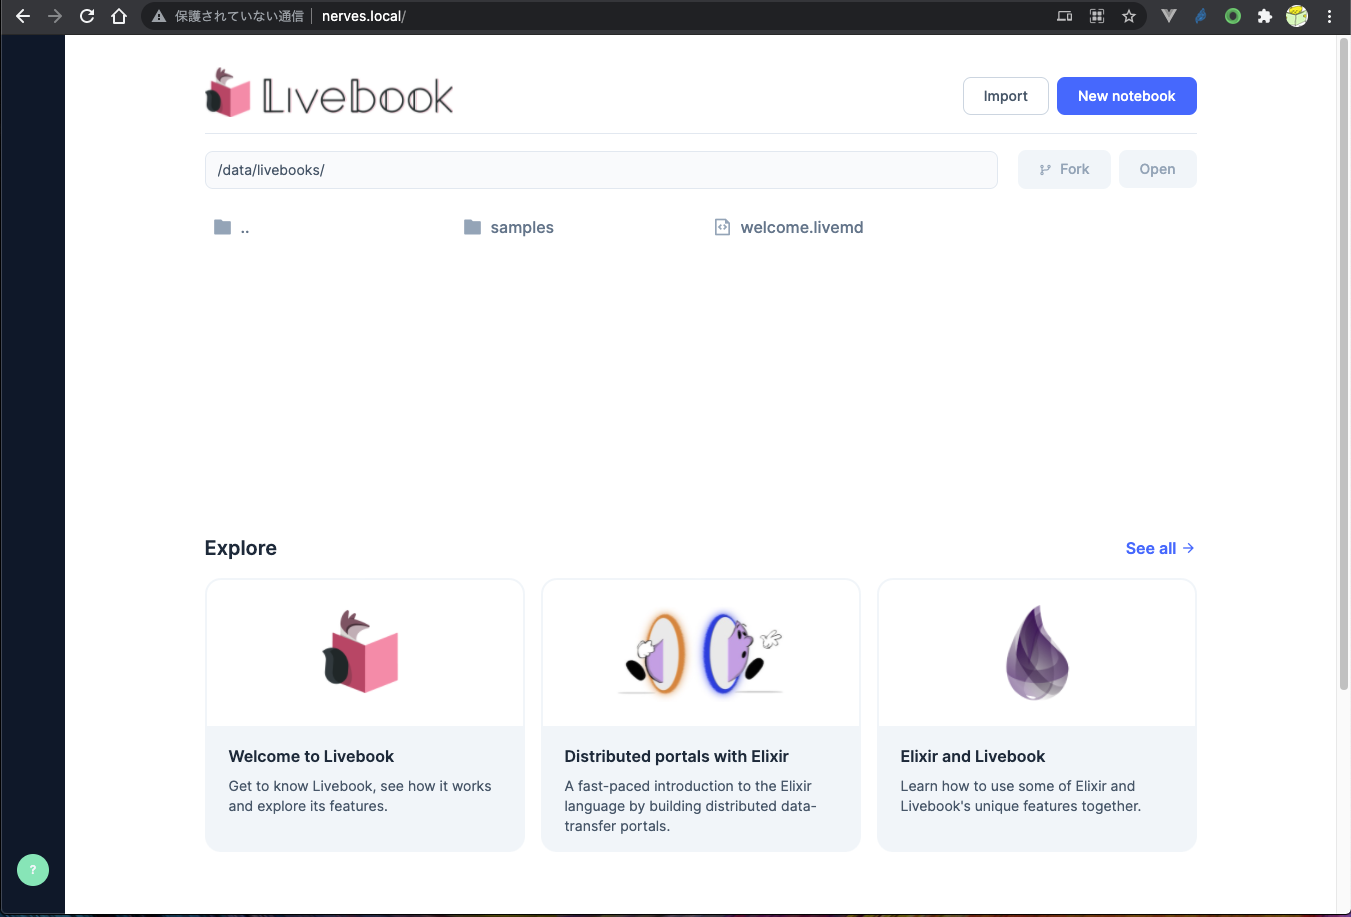
- visit: http://nerves.local/
- パスワードは、
nervesです
- パスワードは、
- 右上の[New notebook]という青のボタンを押します
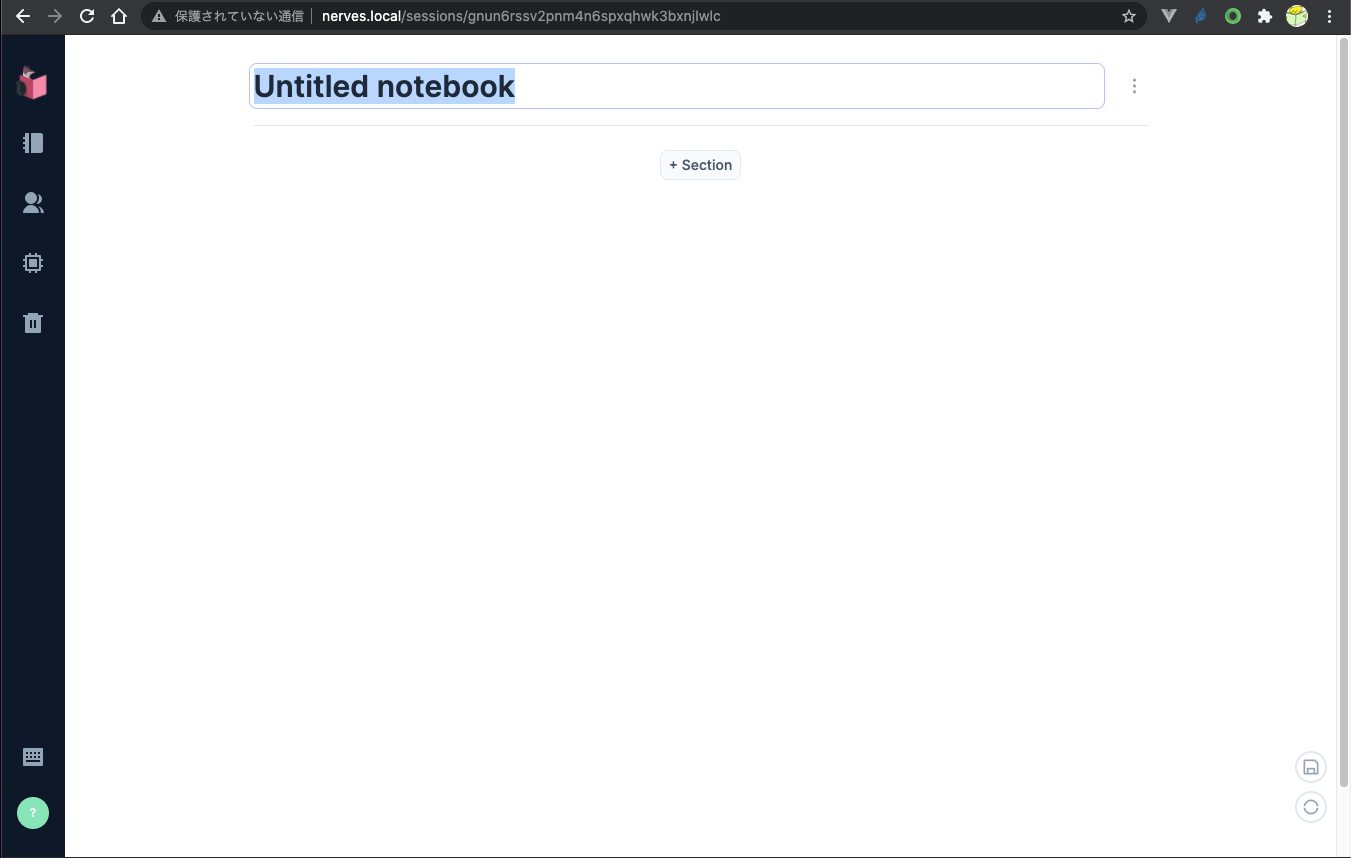
- そうするとこんなページが表示されます
- タイトルを
Awesomeとでもつけて -
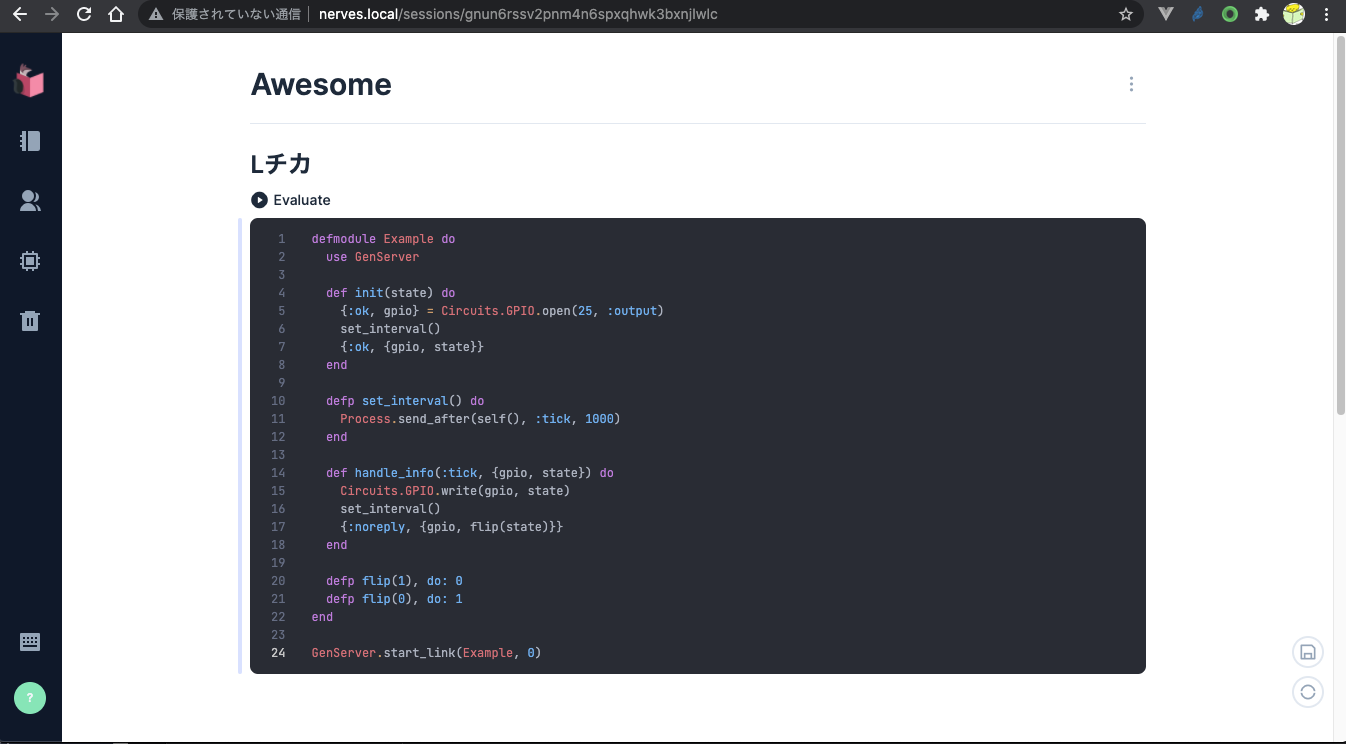
+ Sectionを押下して、Lチカとでも名前をつけておきましょう - そうすると、
+ Elixirというボタンが押せるので押しましょう - そこにプログラムを書きます
defmodule Example do
  use GenServer

  def init(state) do
    {:ok, gpio} = Circuits.GPIO.open(25, :output)
    set_interval()
    {:ok, {gpio, state}}
  end

  defp set_interval() do
    Process.send_after(self(), :tick, 1000)
  end

  def handle_info(:tick, {gpio, state}) do
    Circuits.GPIO.write(gpio, state)
    set_interval()
    {:noreply, {gpio, flip(state)}}
  end

  defp flip(1), do: 0
  defp flip(0), do: 1
end

GenServer.start_link(Example, 0)
- ソースコードのちょっと上くらいにマウスカーソルをあわせると
> Evaluateというボタンがでてくるので、迷わずおしましょう - 1秒間隔でチカチカ点滅します


温度・湿度を測る
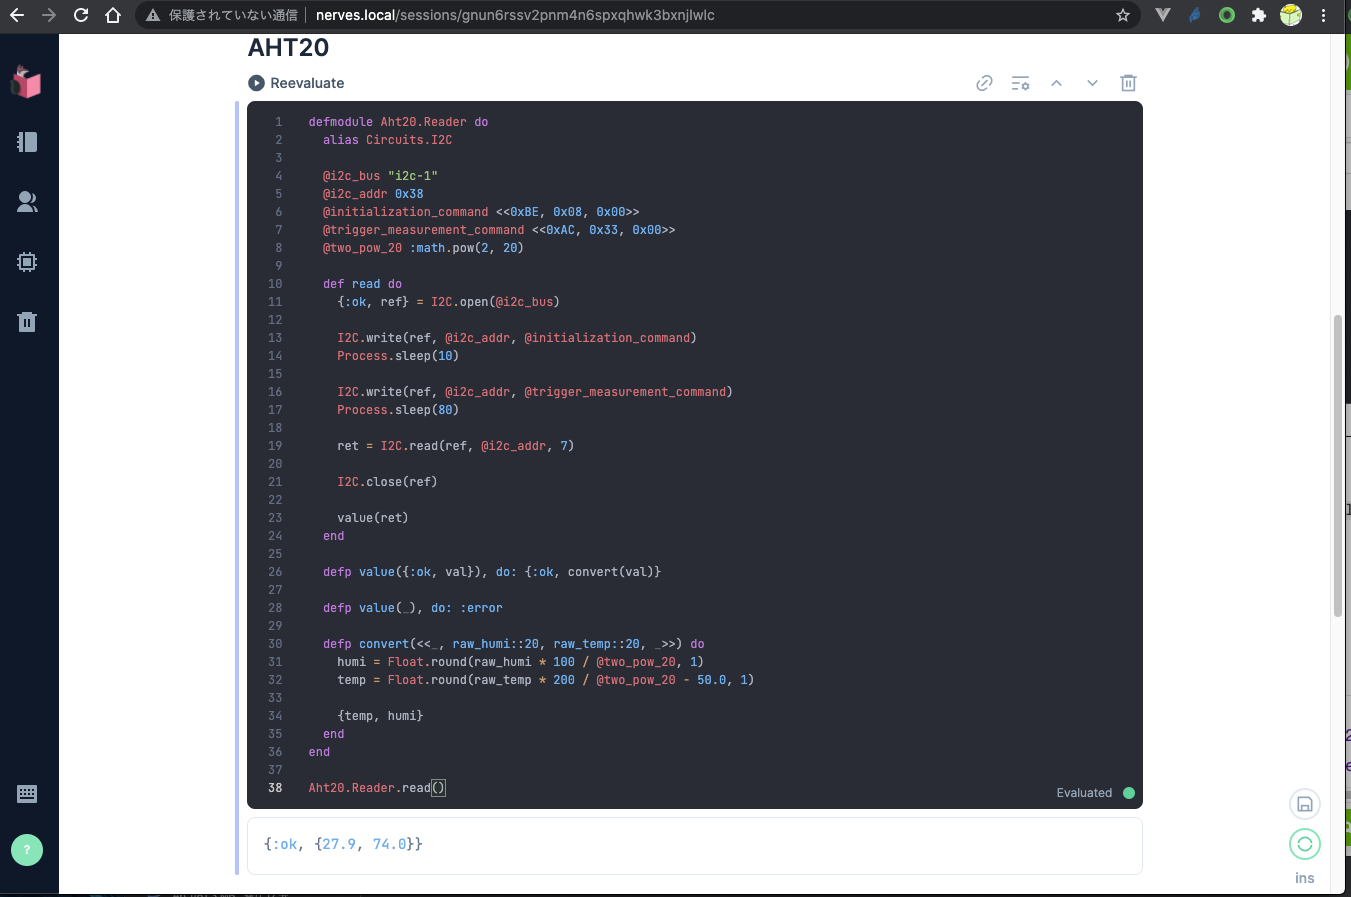
- Grove AHT20 I2C温度および湿度センサー 工業用グレード - Grove AHT20 I2C Industrial Grade Temperature and Humidity SensorとRaspberry Pi用Grove Base HatをRaspberry Pi 4に接続した状態で、Lチカのところでやったのと同じような手順でElixirのプログラムを書きます
defmodule Aht20.Reader do
  alias Circuits.I2C

  @i2c_bus "i2c-1"
  @i2c_addr 0x38
  @initialization_command <<0xBE, 0x08, 0x00>>
  @trigger_measurement_command <<0xAC, 0x33, 0x00>>
  @two_pow_20 :math.pow(2, 20)

  def read do
    {:ok, ref} = I2C.open(@i2c_bus)

    I2C.write(ref, @i2c_addr, @initialization_command)
    Process.sleep(10)

    I2C.write(ref, @i2c_addr, @trigger_measurement_command)
    Process.sleep(80)

    ret = I2C.read(ref, @i2c_addr, 7)

    I2C.close(ref)

    value(ret)
  end

  defp value({:ok, val}), do: {:ok, convert(val)}

  defp value(_), do: :error

  defp convert(<<_, raw_humi::20, raw_temp::20, _>>) do
    humi = Float.round(raw_humi * 100 / @two_pow_20, 1)
    temp = Float.round(raw_temp * 200 / @two_pow_20 - 50.0, 1)

    {temp, humi}
  end
end

Aht20.Reader.read()
- 温度・湿度を測ることができています


Wrapping up 


追伸
- そういえば、Elixir Digitalization Implementors#6:LiveView夏祭り 2021/07/14(水) 19:30〜で
about Livebookと題したLTの予定です
Livebook v0.2 is out! I have recorded a video with our latest features: https://t.co/jvbL5lNrjX
— José Valim (@josevalim) June 17, 2021
After the initial announcement, we have added user profiles, notebook importing, inputs, charts, and interactive widgets with Kino!
Thread 👇 with a TL;DW [1/6] #MyElixirStatus
- 私がやっていることって、ただLivebookを素のまま用意したサーバーでイゴかしているだけで、実はちっとも詳しいわけではないのですが、LT申し込んじゃったのでJosé Valimさんのツイートの内容を理解して、派手めなところのデモを中心に発表してみようとおもっています
- 私が全世界に向けて公開しているLivebook
- https://livebook.torifuku-kaiou.tokyo/
- パスワード:
enjoyelixirwearethealchemists
- 私が全世界に向けて公開しているLivebook
- 時間があればfhunleth/nerves_livebookのことも話そうとおもっています
NervesJP
- ここでNervesJPの紹介です
- 月1回程度、ワイワイガヤガヤ オンラインで集まっています
- 愉快なfolksたちがあなたの参加を待っています
- れっつじょいな〜す
- https://join.slack.com/t/nerves-jp/shared_invite/enQtNzc0NTM1OTA5MzQ1LTg5NTAyYThiYzRlNDRmNDIwM2ZlZTJiZDc1MmE5NTFjYzA5OTE4ZTM5OWQxODFhZjY1NWJmZTc4NThkMjQ1Yjk
- ぜひぜひSlackにご参加ください


