1. 目的
- 知識0からKafkaの学習をしている。公式チュートリアルを実施して、基本構成やKafka用語についてざっくり理解できるようにする。
2. やったこと
- 以下2つの公式チュートリアルを実施し、構築手順や処理の流れを確認する。
-
Getting Started Using Amazon MSK
- 通常版(Kafkaクラスタの構成時にインスタンスの数やサイズを指定するタイプ。ECSやAuroraのような感じ)
-
Getting started using MSK Serverless clusters
- Serverless版(KafkaクラスタのインフラがAWS任せでスケールするタイプ。FargateやAurora Serverlessのような感じ)
-
Getting Started Using Amazon MSK
- 内容としては以下が含まれる。
- Kafkaクラスター作成
- Topicの作成
- Producerからのメッセージ送信
- Consumerからのメッセージ取得
3. Amazon Managed Streaming for Apache Kafka (MSK) とは(自分の理解)
- Kafkaクラスター(自分で構築する場合、インストール、冗長化設定、バージョンアップなど煩雑)をAWS Managedで提供してくれるサービス。
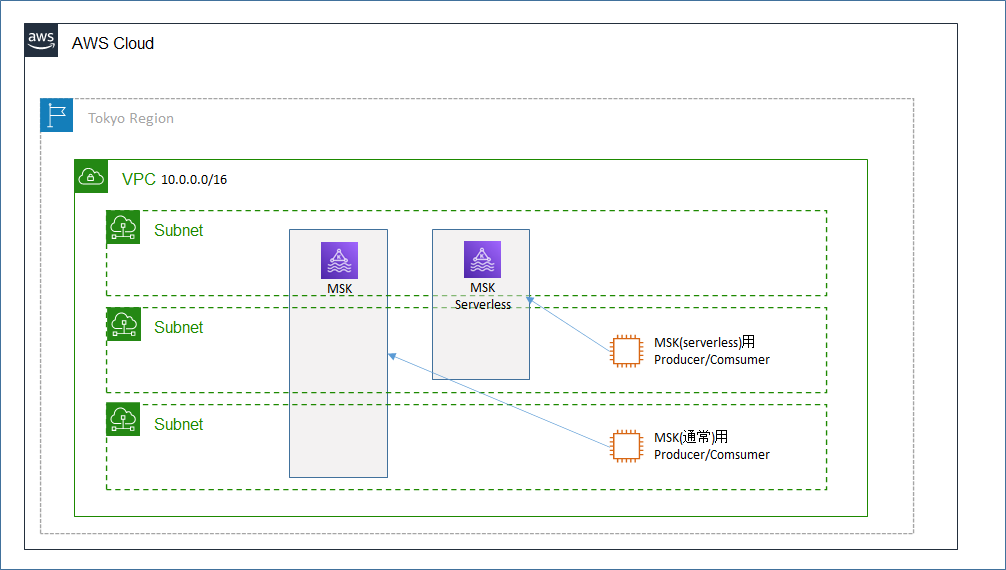
4. 構成図
5. 手順
基本的にチュートリアルの手順通りに実施する。詰まった点や補足的に実施したコマンドなどを記載する。
5.1 事前準備
- 3つのsubnet(全て別AZ)を持つVPCを作成しておく。(通常版のKafkaクラスターは3AZでの冗長が基本構成のため)
5.2 Getting Started Using Amazon MSK (通常版Kafkaクラスター)
Step 1: Create an Amazon MSK Cluster
-
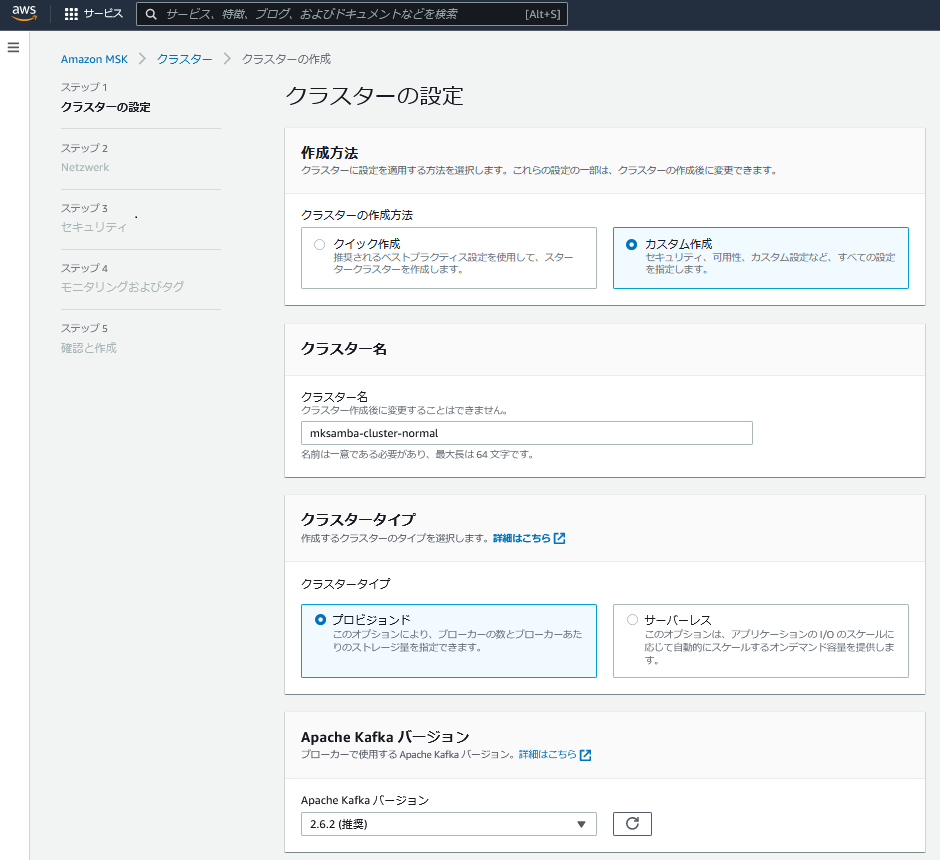
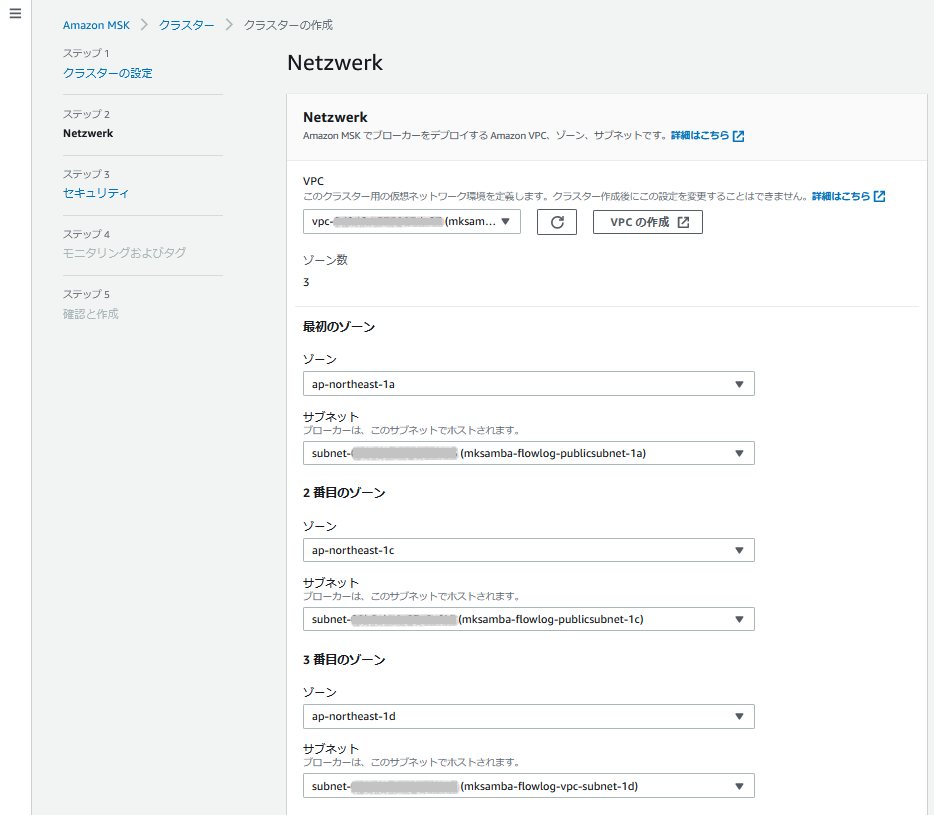
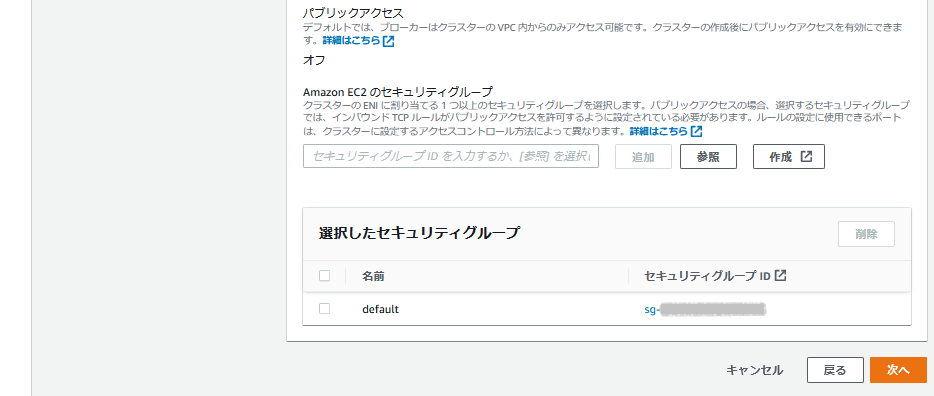
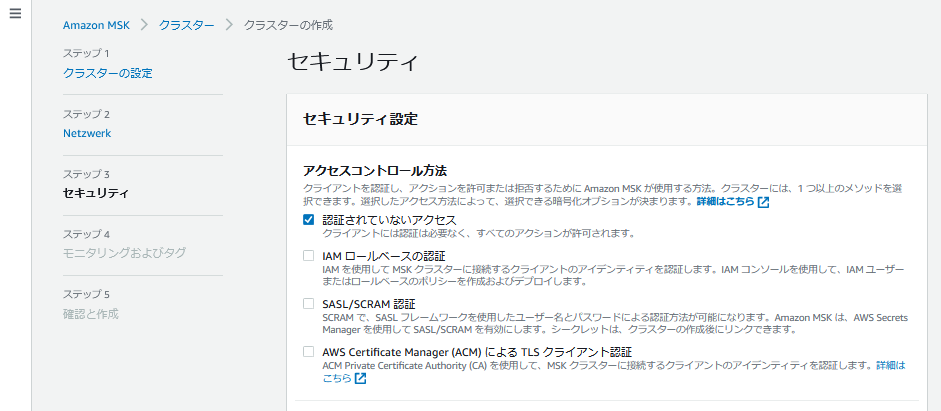
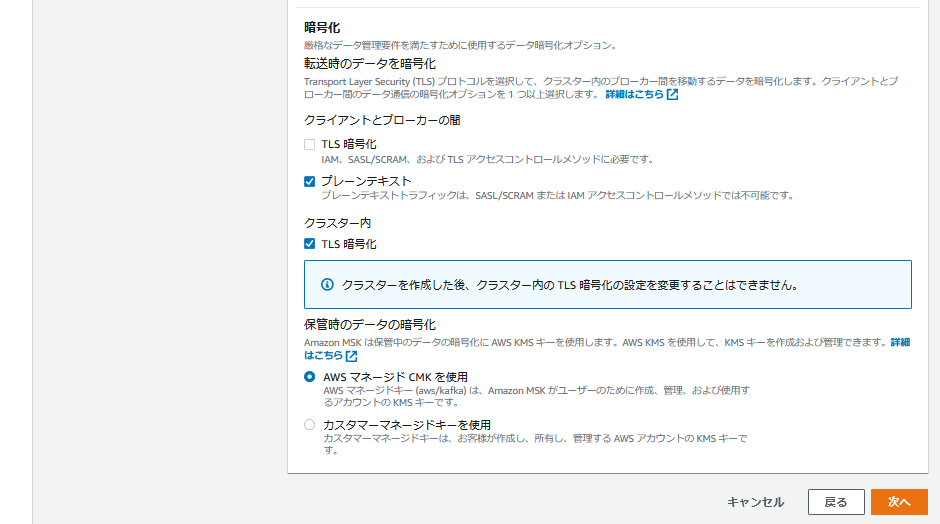
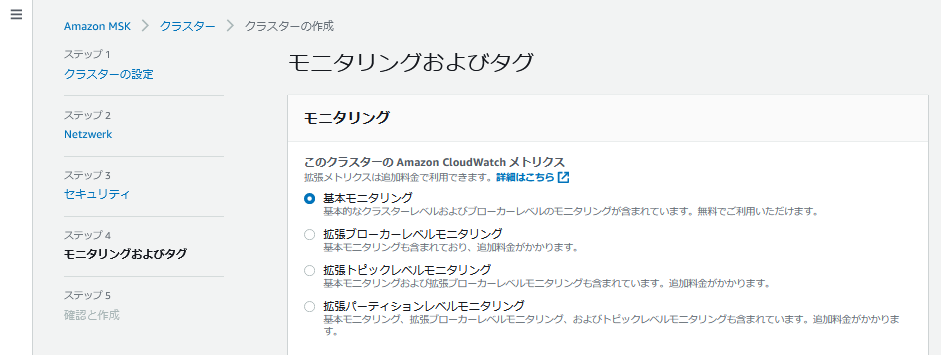
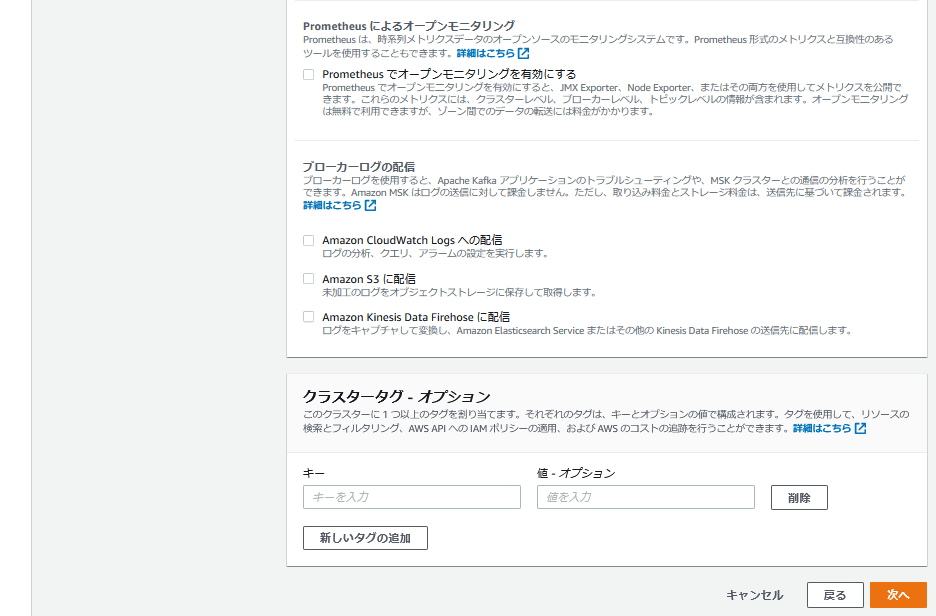
「Amazon MSK - クラスター - クラスターの作成」 からKafkaクラスターを作成する。以下がデフォルト値から変更しているところ。
- 作成方法: 「カスタム作成」を選択 (「クイック作成」だとDefaultVPCに作成されてしまう)
- クラスタータイプ: 「プロビジョンド」を選択 (「プロビジョンド」が通常版、「サーバーレス」がServerless版)
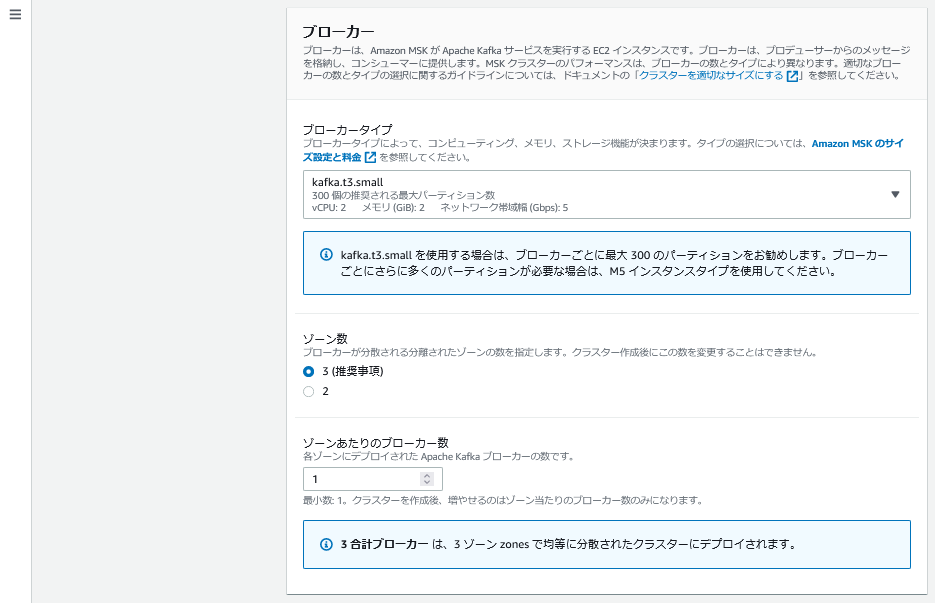
- ブローカータイプ: 「kafka.t3.small」を選択 (検証用のため一番小さいインスタンスタイプ)
- VPC: あらかじめ作成した、subnetが3つあるVPCを選択
- アクセスコントロール方法: 「認証されていないアクセス」を選択 (認証なしでシンプルにインスタンスから読み書きを行うため)
- 暗号化: 「プレーンテキスト」を選択 (追加の設定をしなくてよいようにするため)
Step 2: Create a Client Machine
- Kafkaクラスターと同一VPC内にAmazon Linux 2 のインスタンスを起動する。負荷をかける作業は行わないため、インスタンスタイプはt2.microにする。
Step 3: Create a Topic
- Kafkaのアプリケーションをインストールし、topicを作成する。
[ec2-user@ip-10-0-0-54 ~]$ sudo yum install java-1.8.0
[ec2-user@ip-10-0-0-54 ~]$ wget https://archive.apache.org/dist/kafka/2.6.2/kafka_2.12-2.6.2.tgz
[ec2-user@ip-10-0-0-54 ~]$ tar -xzf kafka_2.12-2.6.2.tgz

# Topicの作成
[ec2-user@ip-10-0-0-54 ~]$ bin/kafka-topics.sh --create --zookeeper [ZookeeperConnectString] --replication-factor 3 --partitions 1 --topic MSKTutorialTopic
OpenJDK 64-Bit Server VM warning: If the number of processors is expected to increase from one, then you should configure the number of parallel GC threads appropriately using -XX:ParallelGCThreads=N
Created topic MSKTutorialTopic.

# Topicのリスト表示
[ec2-user@ip-10-0-0-54 kafka_2.12-2.6.2]$ bin/kafka-topics.sh --list --zookeeper [ZookeeperConnectString]
OpenJDK 64-Bit Server VM warning: If the number of processors is expected to increase from one, then you should configure the number of parallel GC threads appropriately using -XX:ParallelGCThreads=N
MSKTutorialTopic
__amazon_msk_canary
__consumer_offsets
[ec2-user@ip-10-0-0-54 kafka_2.12-2.6.2]$
- [ZookeeperConnectString]は、マネージメントコンソールの以下の箇所を参照する。
Step 4: Produce and Consume Data
- 通信方式をPLAINTEXTに設定する。(Kafkaクラスター作成時も暗号化なしにしているため)
[ec2-user@ip-10-0-0-54 bin]$ cat client.properties
security.protocol=PLAINTEXT
- bootstrap-server を指定して、Producerとしてメッセージの送信を行う。(「aaaaa」などの文字列をメッセージとして手入力する)
[ec2-user@ip-10-0-0-54 bin]$ ./kafka-console-producer.sh --broker-list [endpoint] --producer.config client.properties --topic MSKTutorialTopic
OpenJDK 64-Bit Server VM warning: If the number of processors is expected to increase from one, then you should configure the number of parallel GC threads appropriately using -XX:ParallelGCThreads=N
>aaaaa
>bbbbb
>ccccc
>^C
- EC2インスタンスでもう1つ別のターミナルを開き、Consumerとしてメッセージの取得を行う。Producer側で入力した文字列がリアルタイムに取得できる。
[ec2-user@ip-10-0-0-54 bin]$ ./kafka-console-consumer.sh --bootstrap-server [endpoint] --consumer.config client.properties --topic MSKTutorialTopic --from-beginning
OpenJDK 64-Bit Server VM warning: If the number of processors is expected to increase from one, then you should configure the number of parallel GC threads appropriately using -XX:ParallelGCThreads=N
aaaaa
bbbbb
ccccc
^CProcessed a total of 3 messages
[ec2-user@ip-10-0-0-54 bin]$
- broker-list/bootstrap-serverのendpointは、マネージメントコンソールの以下の場所を参照。
5.3 Getting started using MSK Serverless clusters (Serverless版Kafkaクラスター)
Step 1: Create an MSK Serverless cluster
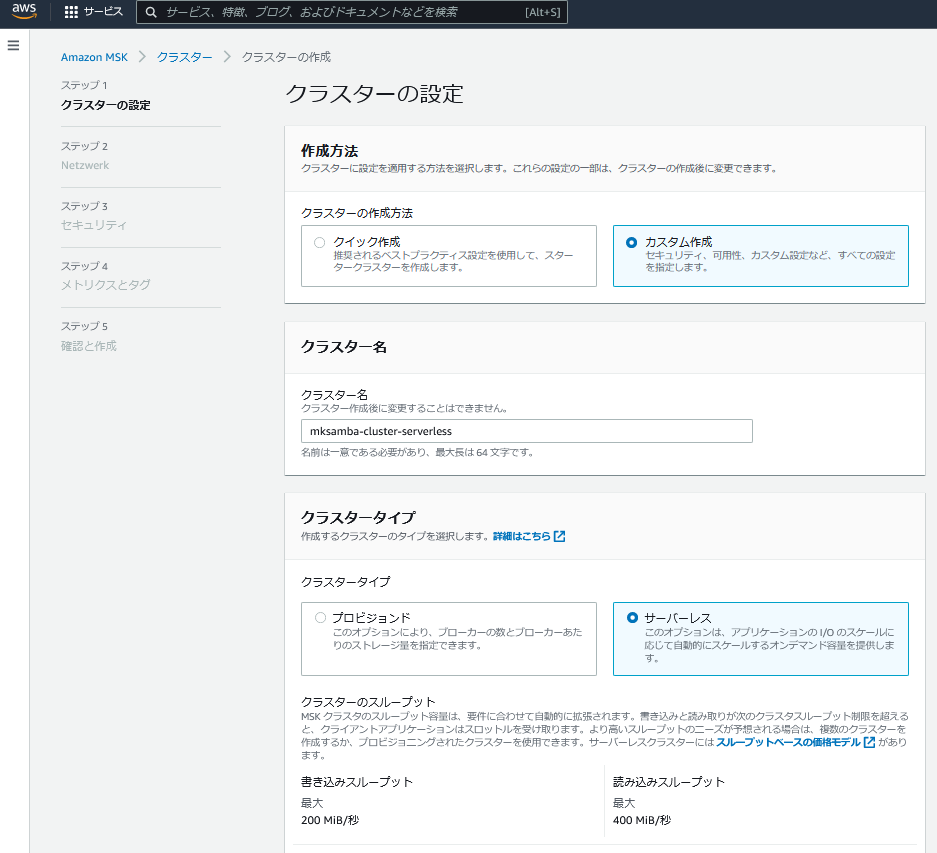
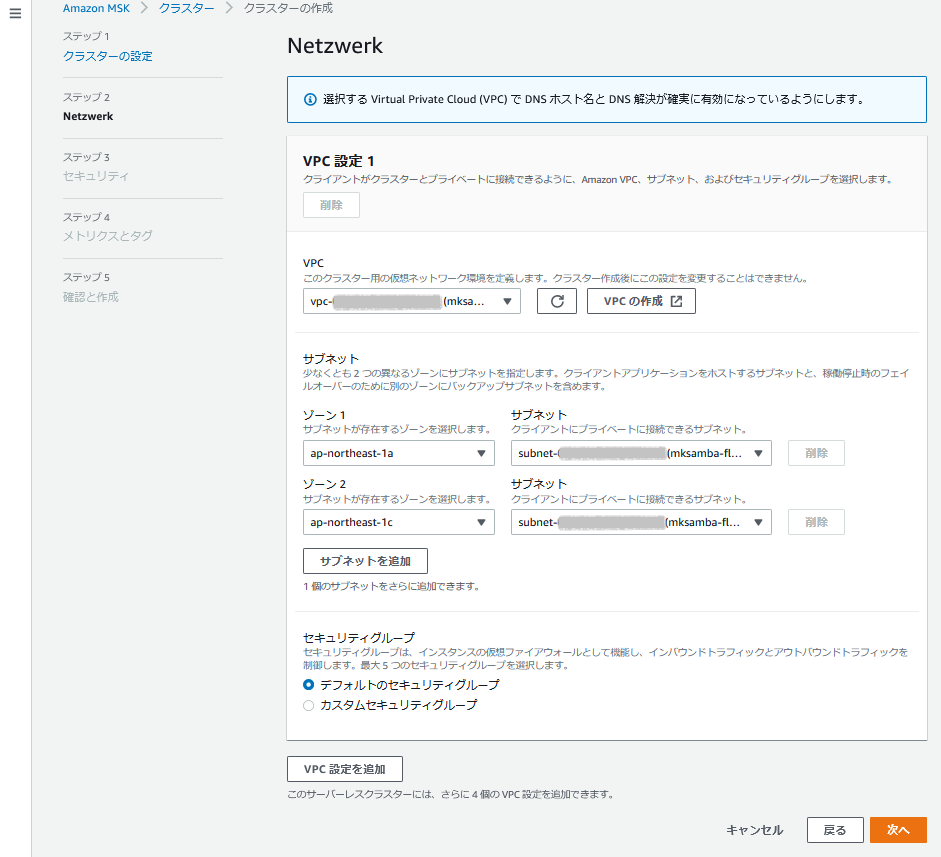
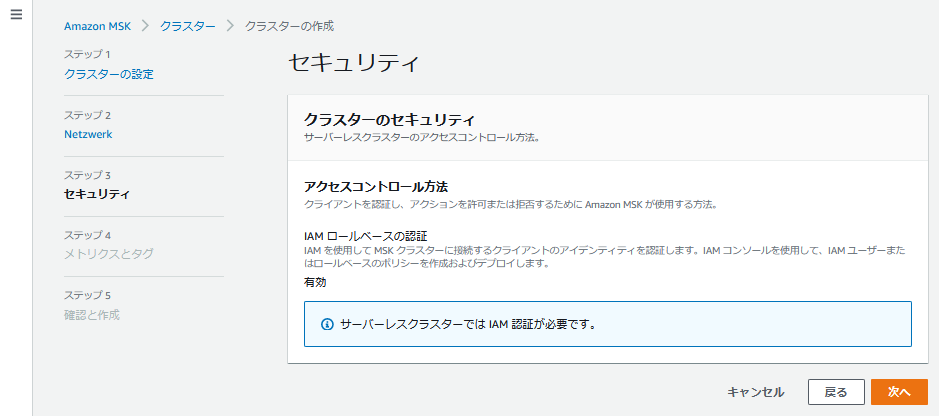
- 「Amazon MSK - クラスター - クラスターの作成」 からKafkaクラスターを作成する。以下がデフォルト値から変更しているところ。
- 作成方法: 「カスタム作成」を選択 (「クイック作成」だとDefaultVPCに作成されてしまう)
- クラスタータイプ: 「サーバーレス」を選択 (「プロビジョンド」が通常版、「サーバーレス」がServerless版)
- VPC: あらかじめ作成したVPCを使用する。Subnetは2つのみ選択する。
Step 2: Create an IAM role
- EC2インスタンス(Producer/Consumer)からKafkaクラスターへアクセスするためのIAMポリシー/IAMロールを作成する。
- 今回は作業簡略化のため、チュートリアルのIAMポリシー/IAMロールは作成せず、既存のPowerUser権限のあるIAMロールを使用する。
Step 3: Create a client machine
- Kafkaクラスターと同一VPC内にAmazon Linux 2 のインスタンスを起動する。負荷をかける作業は行わないため、インスタンスタイプはt2.microにする。
- PowerUser権限のあるIAMロールをインスタンスに付与する。
- アプリケーションのインストール、設定を行う。
[ec2-user@ip-10-0-0-130 ~]$ sudo yum -y install java-11
[ec2-user@ip-10-0-0-130 ~]$ wget https://archive.apache.org/dist/kafka/2.8.1/kafka_2.12-2.8.1.tgz
[ec2-user@ip-10-0-0-130 ~]$ tar -xzf kafka_2.12-2.8.1.tgz
[ec2-user@ip-10-0-0-130 libs]$ wget https://github.com/aws/aws-msk-iam-auth/releases/download/v1.1.1/aws-msk-iam-auth-1.1.1-all.jar
[ec2-user@ip-10-0-0-130 bin]$ cat client.properties
security.protocol=SASL_SSL
sasl.mechanism=AWS_MSK_IAM
sasl.jaas.config=software.amazon.msk.auth.iam.IAMLoginModule required;
sasl.client.callback.handler.class=software.amazon.msk.auth.iam.IAMClientCallbackHandler
Step 4: Create an Apache Kafka topic
- Topicを作成する。
# Topicを作成
[ec2-user@ip-10-0-0-130 bin]$ ./kafka-topics.sh --bootstrap-server [endpoint] --command-config client.properties --create --topic msk-serverless-tutorial --partitions 6
Created topic msk-serverless-tutorial.

# Topicのリスト表示
[ec2-user@ip-10-0-0-130 bin]$ ./kafka-topics.sh --bootstrap-server [endpoint] --command-config client.properties --list
msk-serverless-tutorial

# (参考) IAM権限が不足している場合のTopic作成時のエラー
[ec2-user@ip-10-0-0-130 bin]$ ./kafka-topics.sh --bootstrap-server [endpoint] --command-config client.properties --create --topic msk-serverless-tutorial --partitions 6
Error while executing topic command : Authorization failed.
[2022-06-20 01:10:42,909] ERROR org.apache.kafka.common.errors.TopicAuthorizationException: Authorization failed.
 (kafka.admin.TopicCommand$)
- bootstrap-serverのendpointは、マネージメントコンソールの以下を参照する。
Step 5: Produce and consume data
- Producerとしてメッセージの送信を行う。
[ec2-user@ip-10-0-0-130 bin]$ ./kafka-console-producer.sh --broker-list [endpoint] --producer.config client.properties --topic msk-serverless-tutorial
>11111
>22222
>33333
>^C
- ターミナルをもう1個開き、Consumerとしてメッセージの受信を行う。
[ec2-user@ip-10-0-0-130 bin]$ ./kafka-console-consumer.sh --bootstrap-server [endpoint] --consumer.config client.properties --topic msk-serverless-tutorial --from-beginning
11111
22222
33333
^CProcessed a total of 3 messages
- broker-list/bootstrap-server のendpointの値は、Topic作成時のものと同じものを使用する。
6. 所感
- Producer --> Kafkaクラスター --> Consumer とメッセージを伝送する、Kafkaの最も基本的なところの動作確認ができた。引き続き、使いい方など深堀していきたい。
