はじめに
次のタスクが、久しぶりにLaravel+APIをさわるので復習を兼ねて備忘録として残します。
補足
開発環境
- Mac
- PHP:version 8.2.11
- Laravel:version 10.42.0
- Composer:version 2.2.4
実装
プロジェクトを作成する
- composerを使用してプロジェクトを作成する
$ composer create-project laravel/laravel laravel-api-test
- サーバーを起動できるか確認
$ cd laravel-api-test
$ php artisan serve
$ php artisan make:model Blog -m
- 下記のようにマイグレーションに失敗する場合
- Laravelとmysqlの接続が上手くいっていないので、.envファイルの設定を見直す
.env
DB_CONNECTION=mysql
DB_HOST=127.0.0.1
DB_PORT=3306
DB_DATABASE=laravel
DB_USERNAME=xxx
DB_PASSWORD=xxx
- 見直したあとにマイグレーションコマンド実行
$ php artisan migrate
- createできていることを確認
コントローラーを作成
$ php artisan make:controller ApiBlogController --model=Blog
- 処理を追加
ApiBlogController.php
<?php

namespace App\Http\Controllers;

use App\Http\Requests\StoreBlogRequest;
use App\Models\Blog;
use Illuminate\Http\Request;

class ApiBlogController extends Controller
{
    /**
     * Display a listing of the resource.
     */
    public function index()
    {
        $blogs = Blog::all();
        return response()->json([
            'status' => true,
            'blogs' => $blogs
        ], 200);
    }

    /**
     * Store a newly created resource in storage.
     */
    public function store(StoreBlogRequest $request)
    {
        $blog = Blog::create($request->all());
        return response()->json([
            'status'=> true,
            'message'=>'Blog Created successfully!',
            'blog'=> $blog
        ], 201);
    }

    /**

     * Display the specified resource.
     */
    public function show($id)
    {
        $blogs = Blog::find($id);
        if($blogs){
            return response()->json([
                'message'=> 'Blog found',
                'data' => $blogs
            ], 200);
        } else {
            return response()->json([
                'message'=> 'Blog not found',
            ], 404);
        }

    }

    /**
     * Update the specified resource in storage.
     */
    public function update(Request $request, $id)
    {
        $update = [
            'title' => $request->title,
            'article' => $request->article
        ];
        $blog =  Blog::where('id', $id)->update($update);
        $blogs = Blog::all();
        if ($blog) {
            return response()->json([
                'message'=> 'Blog update',
                'data' => $blogs
            ], 200);
        } else {
            return response()->json([
                'message' => 'Blog not found',
            ], 404);
        }
    }

    /**
     * Remove the specified resource from storage.
     */
    public function destroy($id)
    {
        $blog = Blog::where('id', $id)->delete();
        if ($blog) {
            return response()->json([
                'message' => 'Blog deleted successfully',
            ], 200);
        } else {
            return response()->json([
                'message' => 'Blog not found',
            ], 404);
        }
    }
}
バリデーション追加のため、StoreBlogRequest作成
$ php artisan make:request StoreBlogRequest
StoreBlogRequest.php
<?php

namespace App\Http\Requests;

use Illuminate\Foundation\Http\FormRequest;
use Illuminate\Validation\ValidationException;
use Illuminate\Contracts\Validation\Validator;
use Illuminate\Http\Exceptions\HttpResponseException;

class StoreBlogRequest extends FormRequest
{
    /**
     * Determine if the user is authorized to make this request.
     */
    public function authorize(): bool
    {
        return true;
    }

    /**
     * Get the validation rules that apply to the request.
     *
     * @return array<string, \Illuminate\Contracts\Validation\ValidationRule|array<mixed>|string>
     */
    public function rules(): array
    {

        return [
            'title' => 'required|string|max:20',
            'article' => 'required|string|max:255'
        ];
    }

    /**
     * Get error messages for defined validation rules
     *
     * @return array<string, string>
     */
    public function messages(): array
    {
        return [
            'title.required' => 'タイトルは必須です',
            'article.required' => '記事は必須です',
            'title.max' => 'タイトルは20文字以内です',
            'article.max' => '記事255文字以内です',
        ];
    }


    protected function failedValidation(Validator $validator)
    {
        $errors = (new ValidationException($validator))->errors();
        throw new HttpResponseException(response()->json([
            'message' => 'Failed validation',
            'errors' => $errors,
        ], 400, [], JSON_UNESCAPED_UNICODE));
    }
}
route作成
api.php
<?php

use Illuminate\Http\Request;
use Illuminate\Support\Facades\Route;
use app\Http\Controllers\ApiBlogController;

/*
|--------------------------------------------------------------------------
| API Routes
|--------------------------------------------------------------------------
|
| Here is where you can register API routes for your application. These
| routes are loaded by the RouteServiceProvider and all of them will
| be assigned to the "api" middleware group. Make something great!
|
*/

Route::middleware('auth:sanctum')->get('/user', function (Request $request) {
    return $request->user();
});

Route::apiResource('blogs', ApiBlogController::class);
- 確認
$ php artisan route:list
動作確認
- 下記でサーバー起動させた状態で、Postmanで動作確認する
$ php artisan serve
新規作成
- 下記の内容を作成する
| key | value |
|---|---|
| title | 記事タイトル |
| article | 記事の内容 |
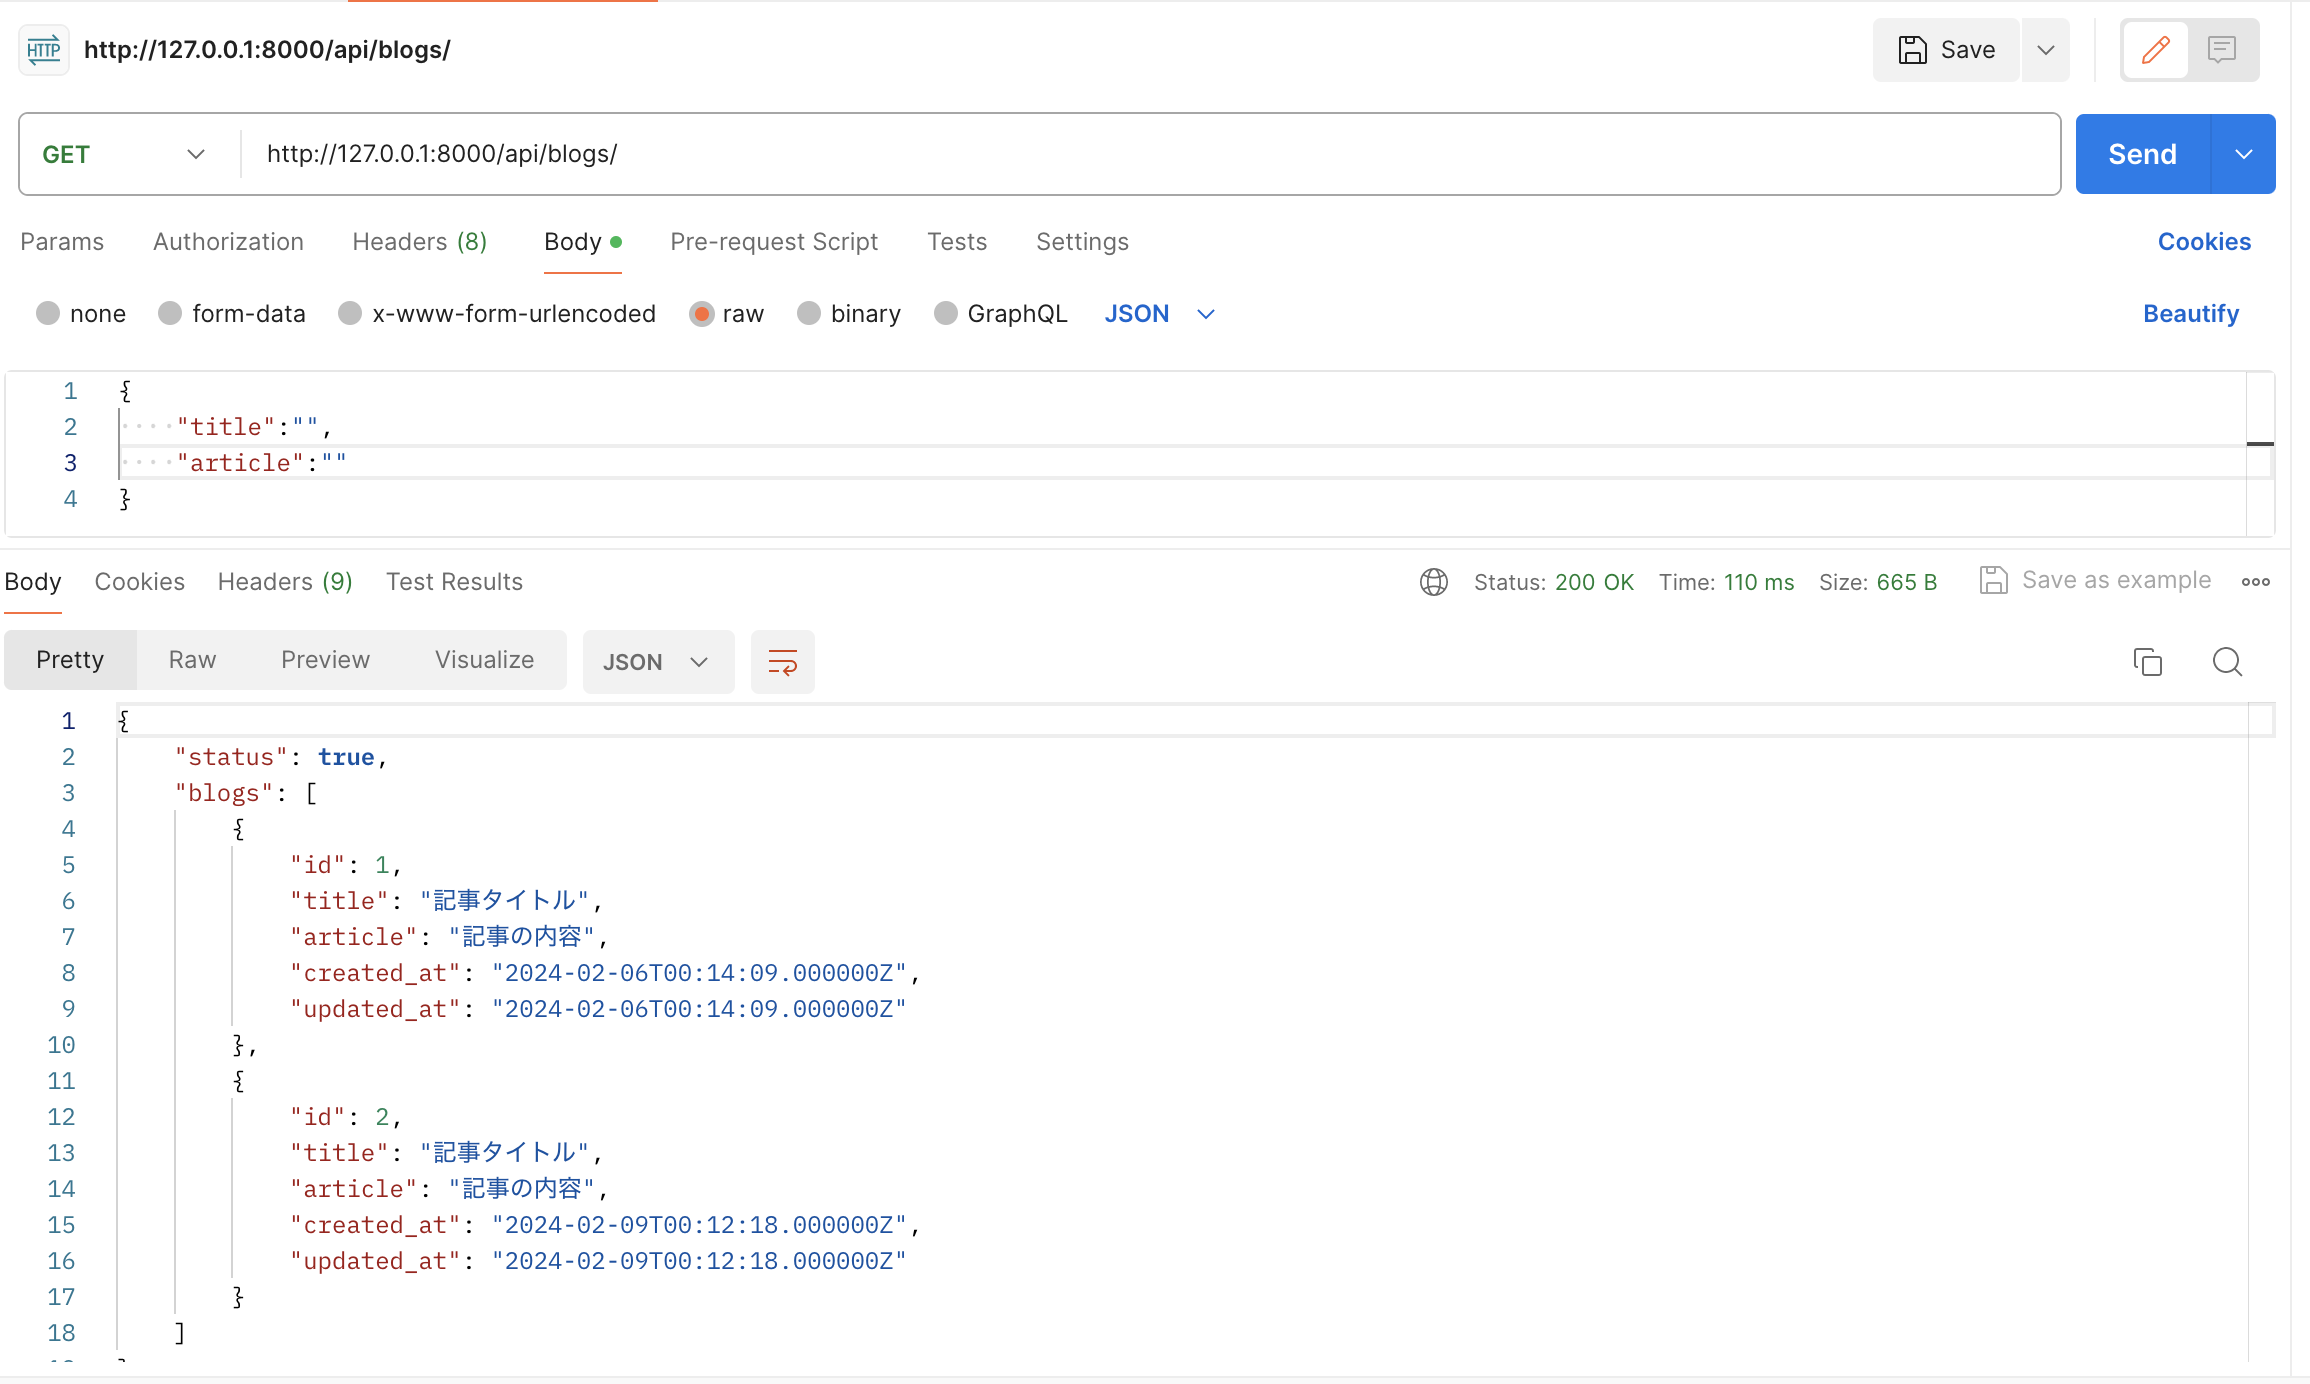
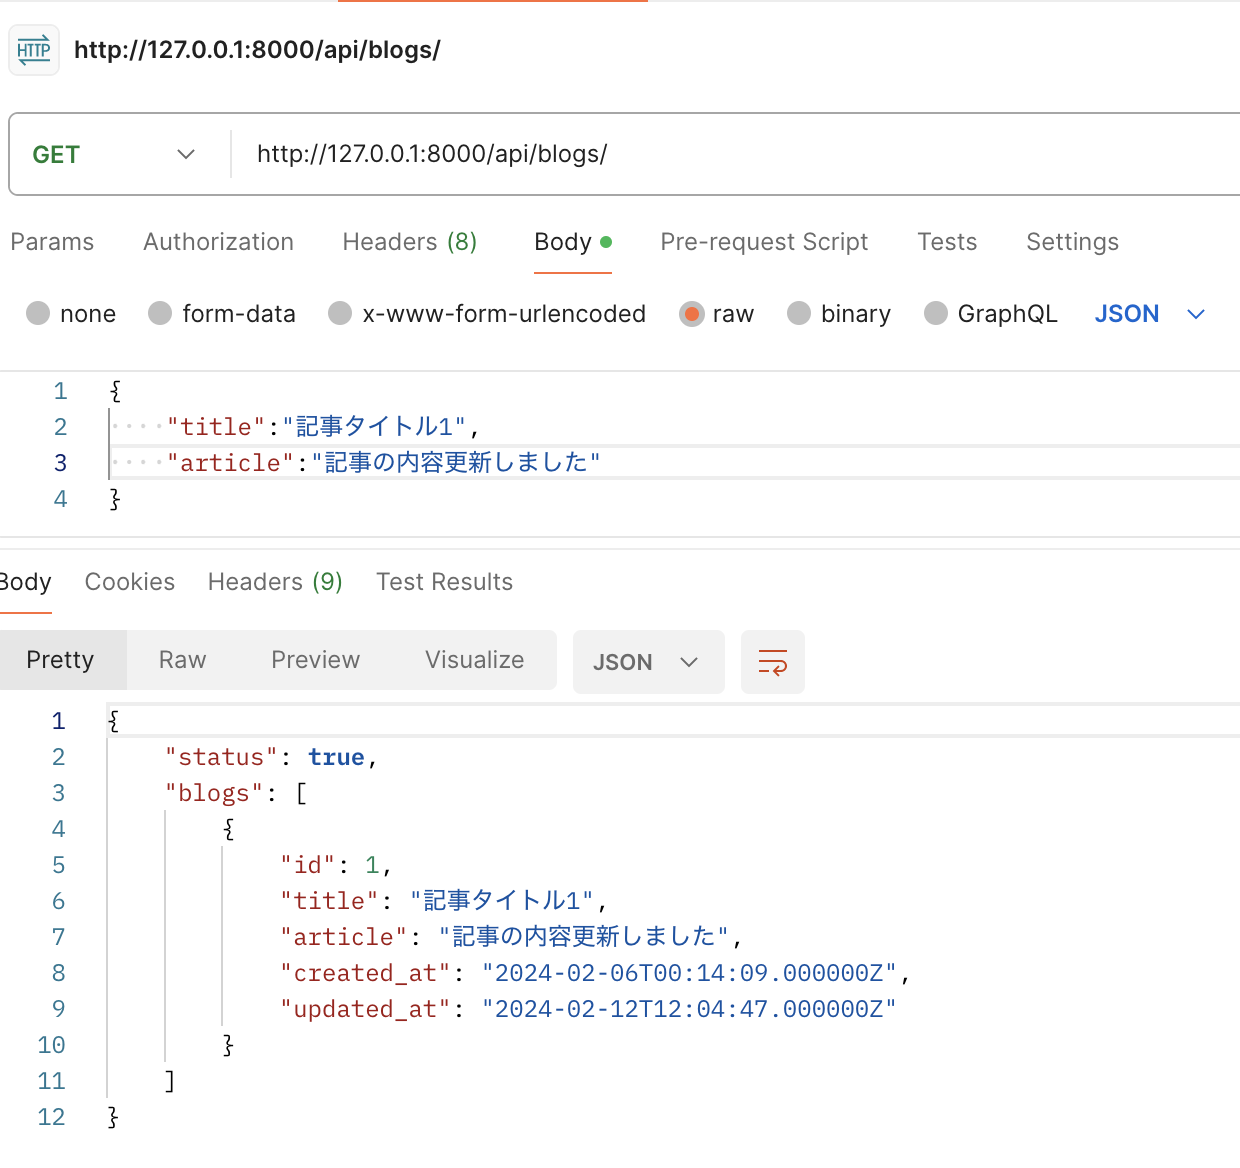
一覧を確認
- 下記のように入力し、GETで取得
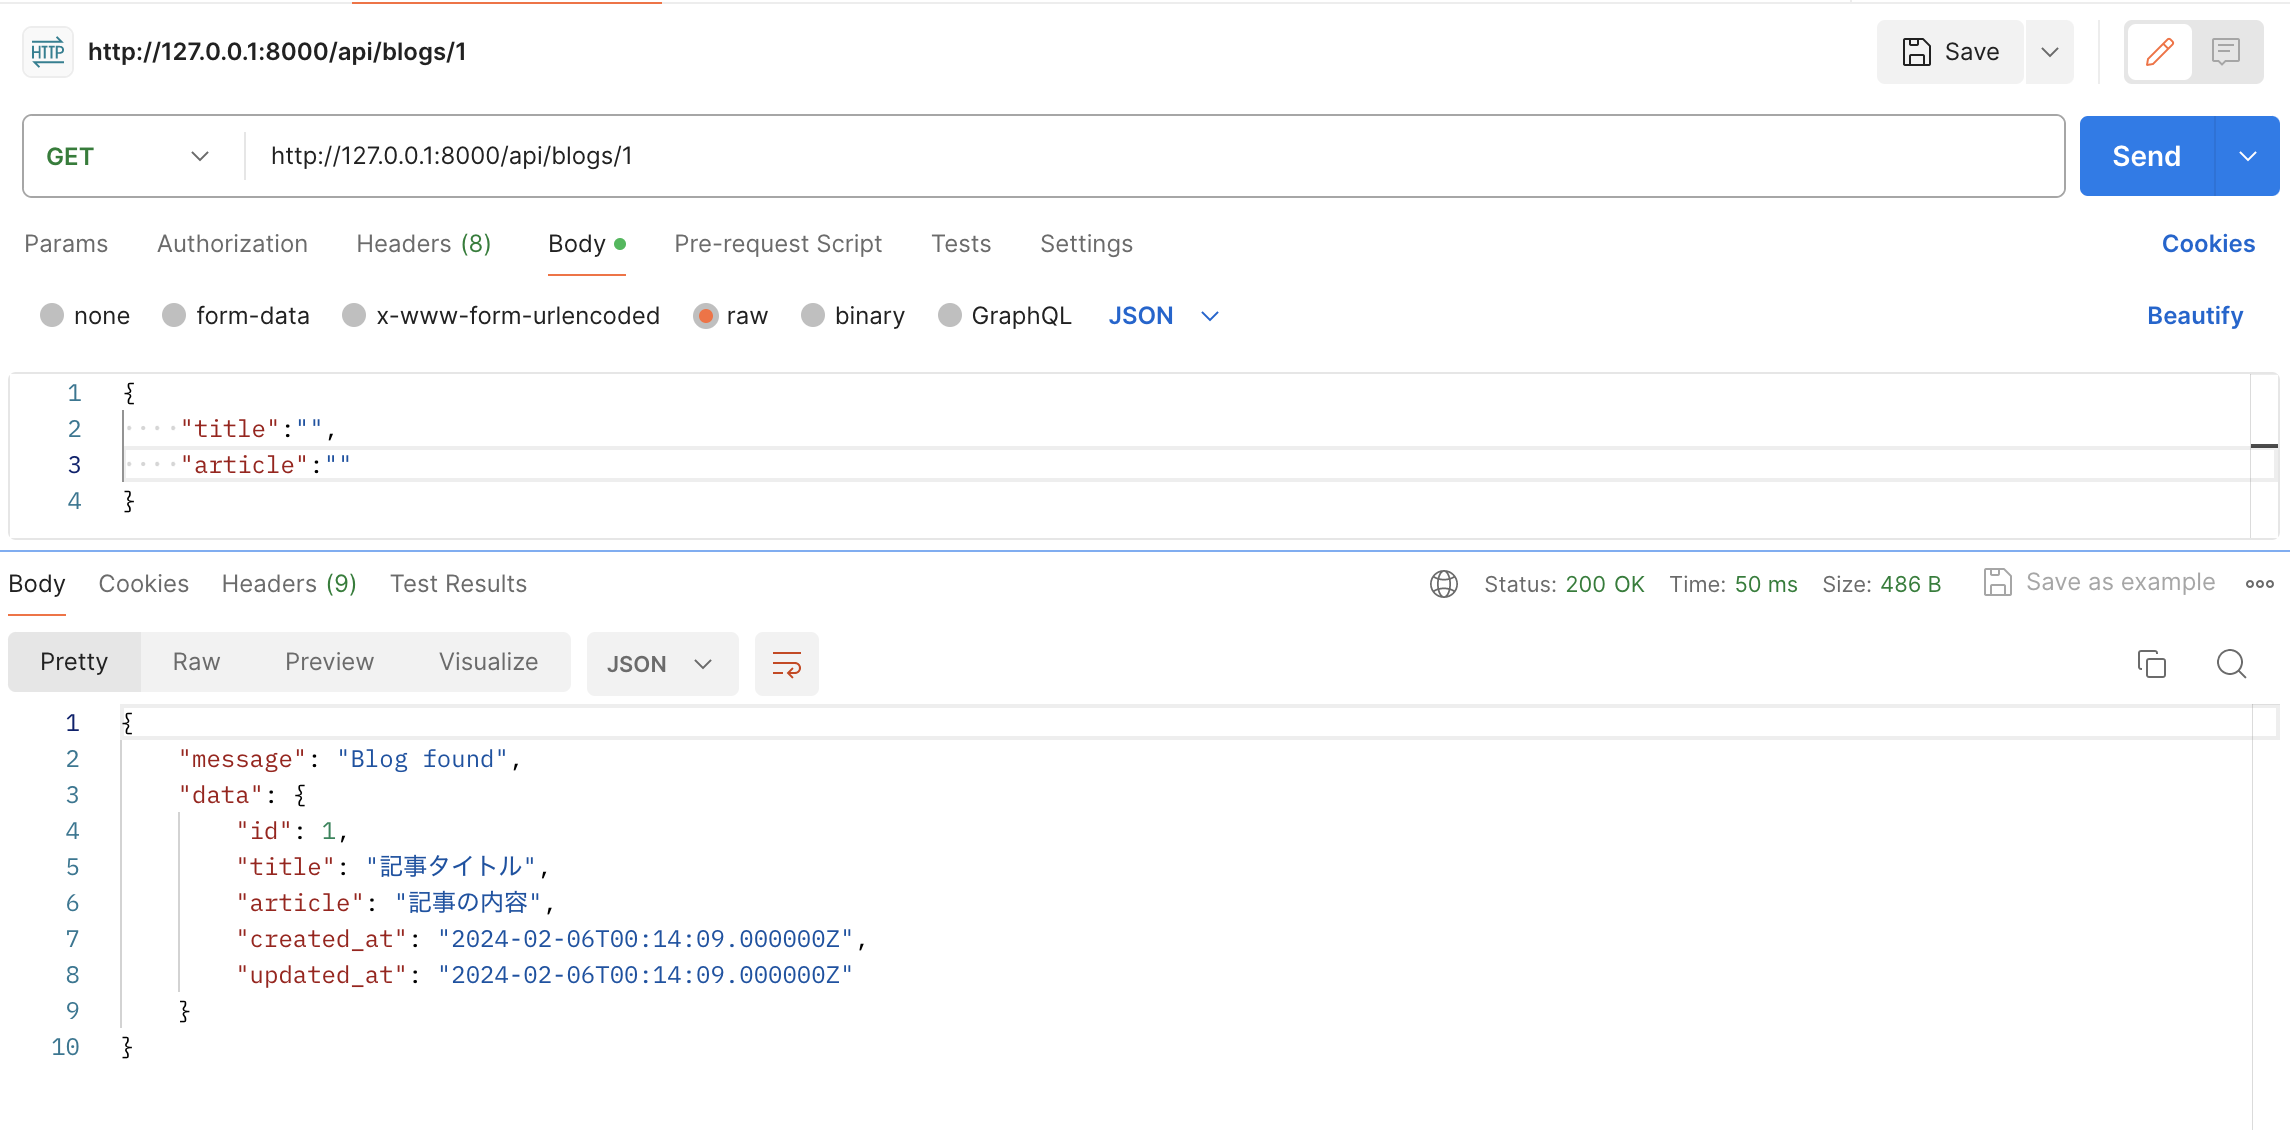
特定のidを取得
特定のidの情報を更新
- PUTでidを指定し、内容更新されているのを確認
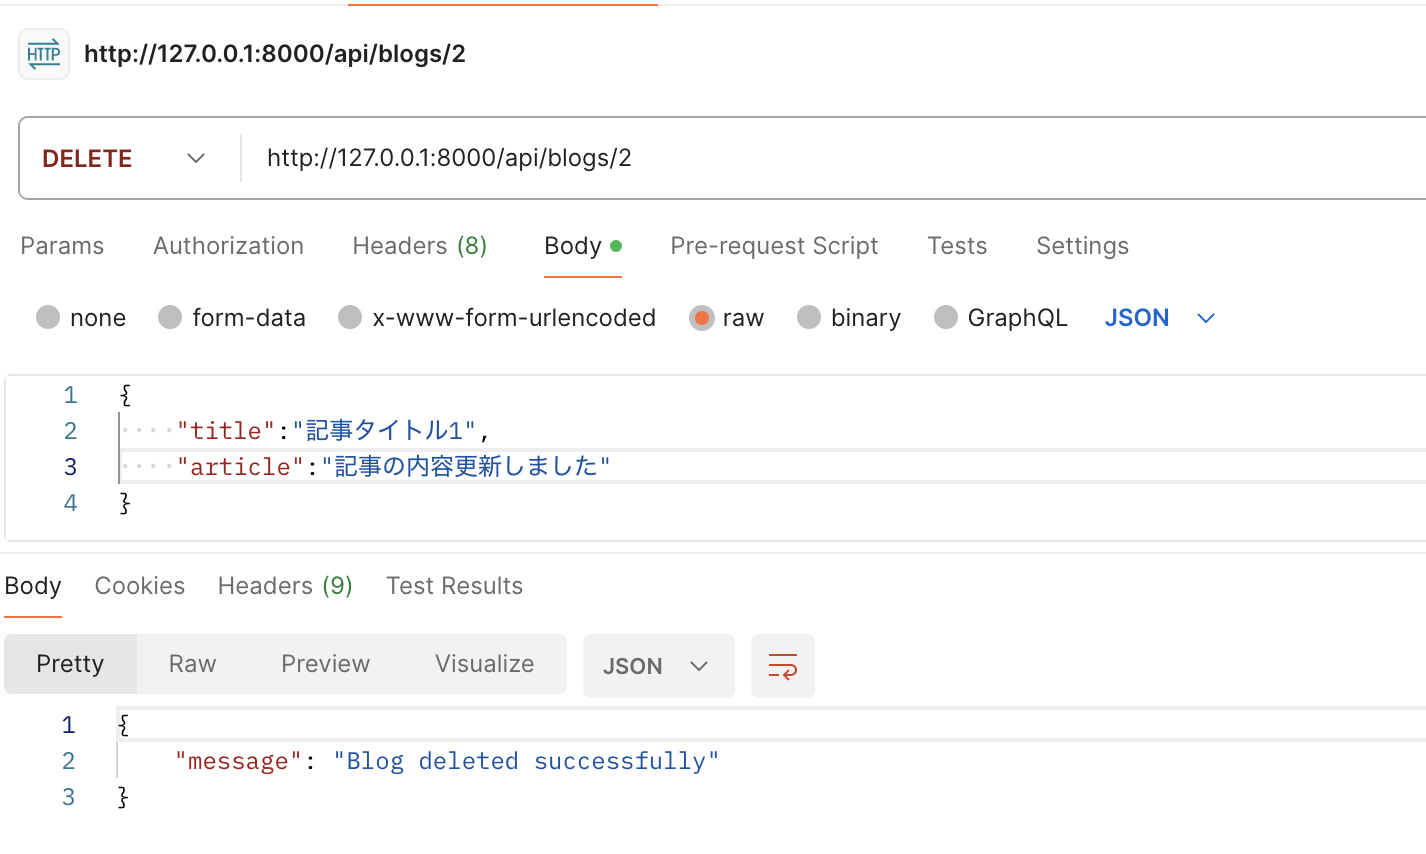
レコードの削除
- id2が削除されているのを確認
ステータスコードについて補足
| ステータスコード | 説明 |
|---|---|
| 200 | リクエストが成功したことを示す。 (操作の結果を表すリソースがメッセージ本文で送信される) |
| 201 | リクエストは成功し、その結果新たなリソースが作成されたことを示す。 |
| 204 | リクエストに対して送信するコンテンツはありませんが、ヘッダーは有用であることを示す。リクエスト成功して、返す値がない場合はこちらの方が適切 |
| 400 | 構文が無効であるためサーバーがリクエストを理解できないことを示す。 |
| 404 | サーバーがリクエストされたリソースを発見できないことを示す。 通信先が有効であるものの、リソース自体が存在しないことを意味することがある。 |
Eloquentリソースを使用してみる
- APIの実装で一覧と詳細のデータを返す時にこのリソースを使用すると楽みたいなので、実装して検証する。リソースクラスを作成
$ php artisan make:resource BlogResource
- BlogResourceへ追記
BlogResource.php
<?php

namespace App\Http\Resources;

use Illuminate\Http\Request;
use Illuminate\Http\Resources\Json\JsonResource;

class BlogResource extends JsonResource
{
    /**
     * Transform the resource into an array.
     *
     * @return array<string, mixed>
     */
    public function toArray(Request $request): array
    {
        return [
            'id' => $this->id,
            'title' => $this->title,
            'article' => $this->article,
            'created_at' => $this->created_at,
            'updated_at' => $this->updated_at,
        ];    }
}
- コントローラー編集
<?php

namespace App\Http\Controllers;

use App\Http\Requests\StoreBlogRequest;
use App\Models\Blog;
use Illuminate\Http\Request;
use App\Http\Resources\BlogResource;

class ApiBlogController extends Controller
{
    /**
     * Display a listing of the resource.
     */
    public function index()
    {
    $blogs = Blog::all();
    return response()->json([
        'status' => true,
        'blogs' => BlogResource::collection($blogs)
    ], 200);
    }

(略)

    /**

     * Display the specified resource.
     */
    public function show($id)
    {
        $blog = Blog::find($id);
        if ($blog) {
            return response()->json([
                'status' => true,
                'blog' => new BlogResource($blog)
            ], 200);
        } else {
            return response()->json([
                'message' => 'Blog not found',
            ], 404);
        }
    }
    (略)
}
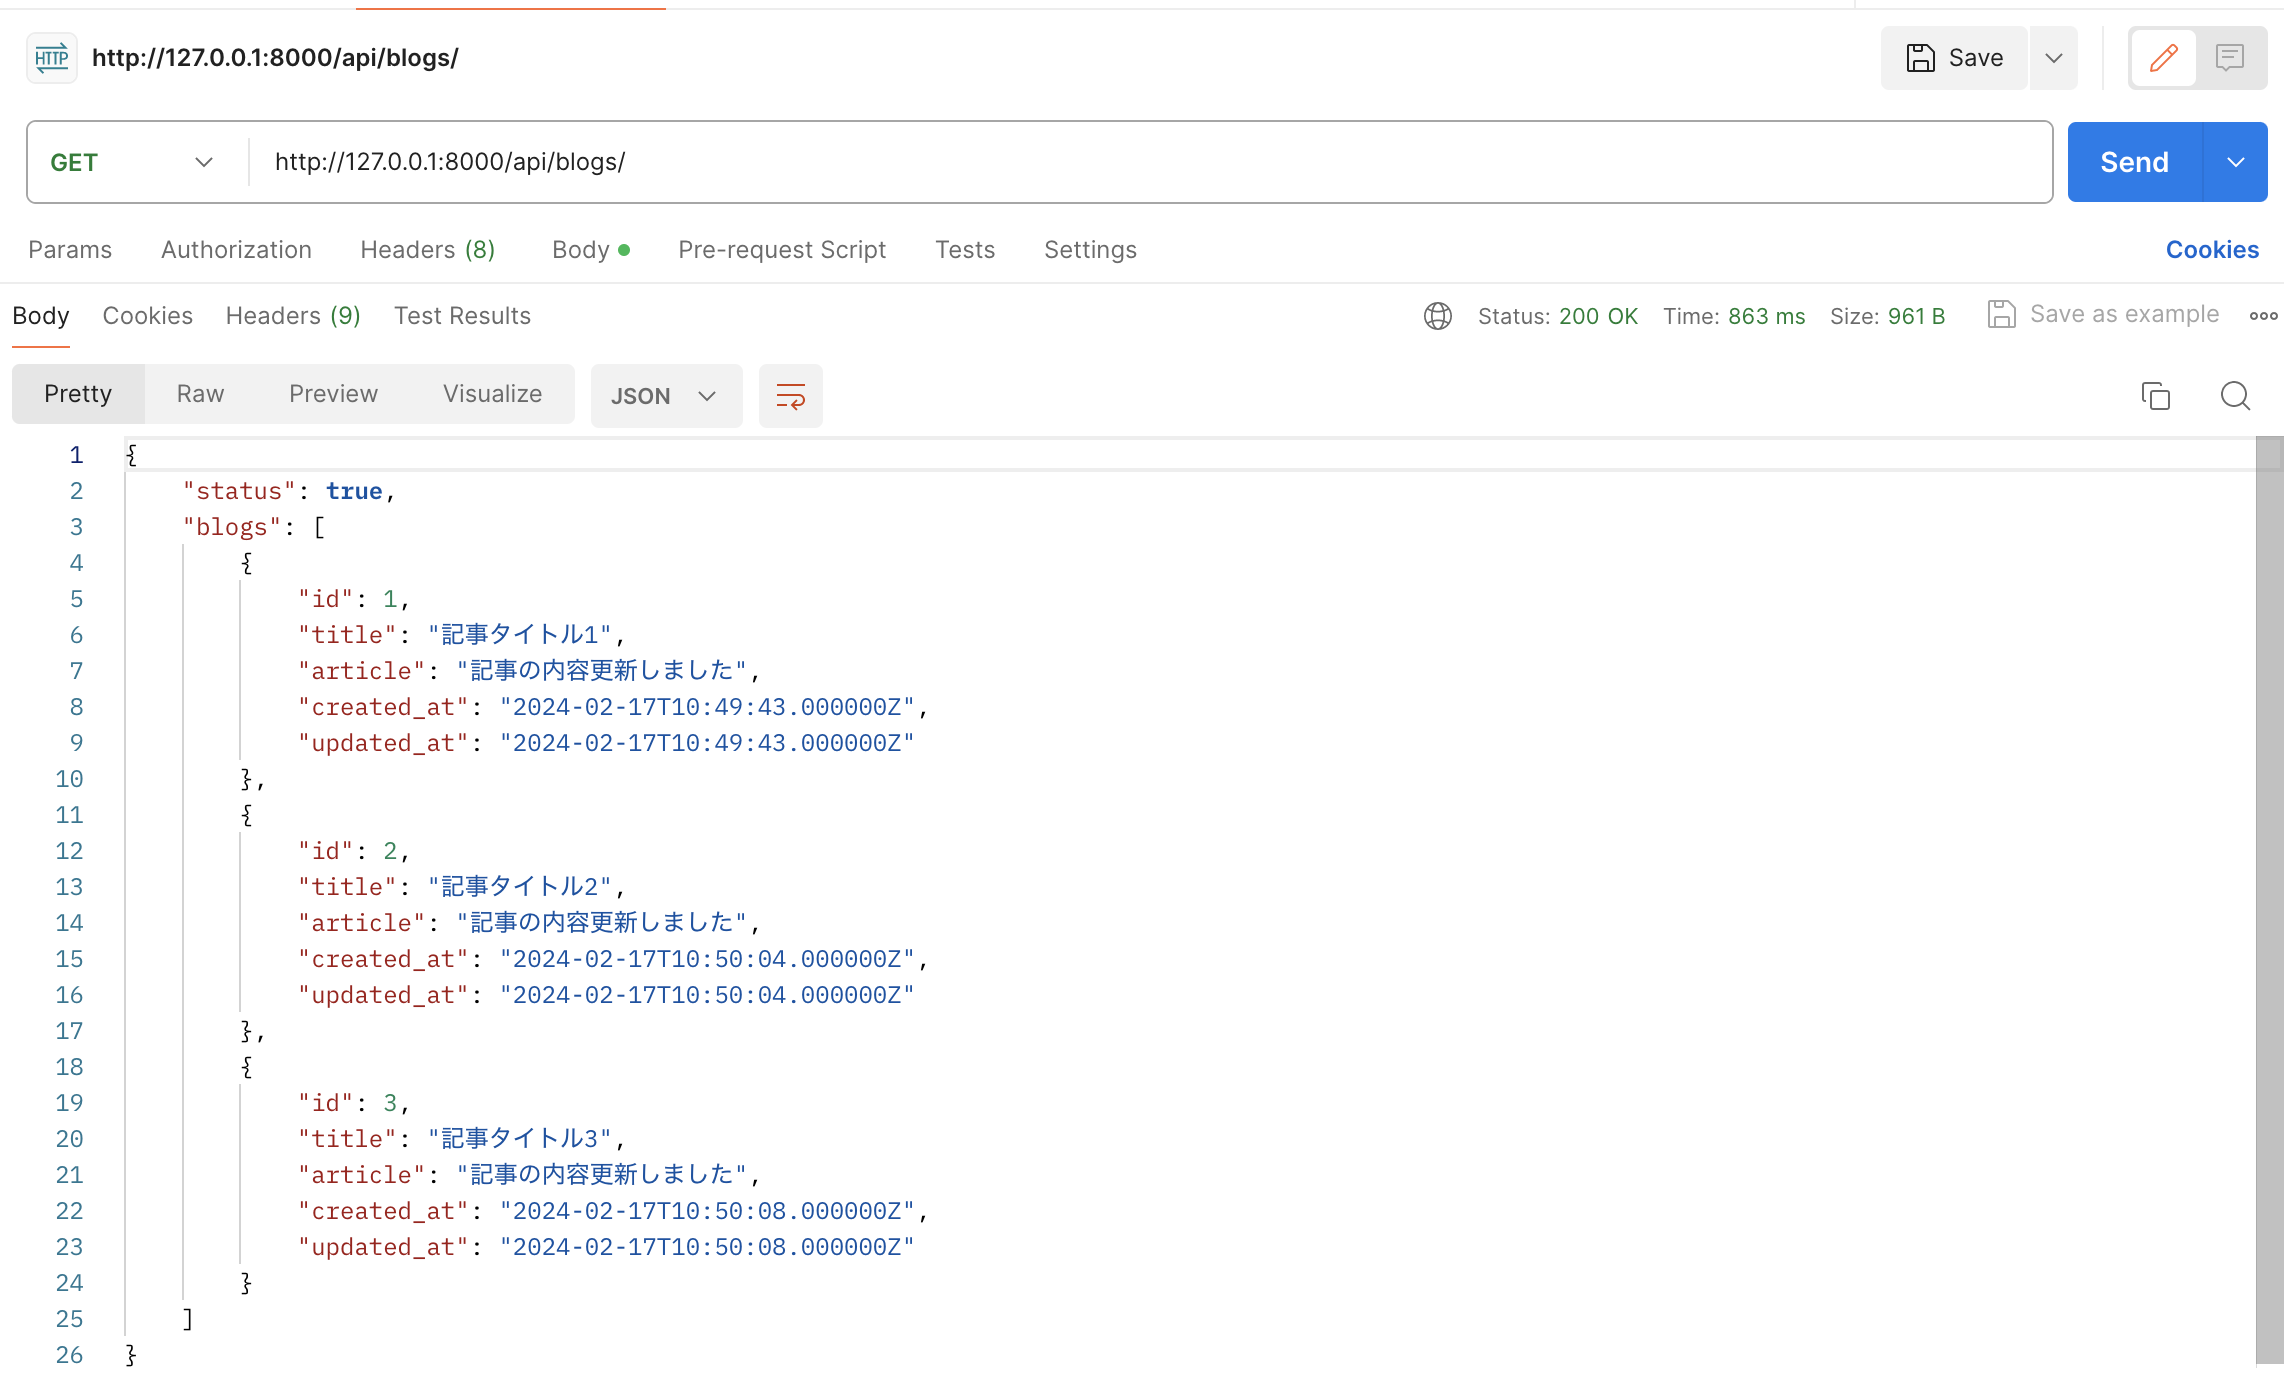
- 一覧取得
- 詳細取得
どちらも取得できていること確認。Eloquentリソース使用したことなかったけど、使い勝手はよさそう。
まとめ
Web APIの設計のベストプラクティスなど、色々考慮することもありますが、今回は簡単にLaravel+APIの実装を復習しました!今後テストコードやAPI認証の実装も追加していく予定です。
追記
- 2024/2/21 【Laravel】APIテスト
