はじめに
この記事は「Qiita Advent Calendar 2023 Go言語」の20日目の記事です
ゴール
Windows11上でGo言語で開発したHello Worldアプリケーションをexeとして他の方に使ってもらえる形を目指します
全体の流れ
- WSL2 のインストール
- Ubuntu の初期設定
- Windows Terminalの設定
- Docker のインストール
- VSCode のインストール
- WSL から VSCode を起動する
- Go 開発環境を構築する
- VSCode拡張の自動インストール
- Gitのインストール
- Goアプリケーションのビルド
WSL2 のインストール
- 管理者権限でターミナルを開く
-
wsl --installを実行する- デフォルトだと Ubuntu がインストールされる
- インストールが完了したら、PCを再起動する
-
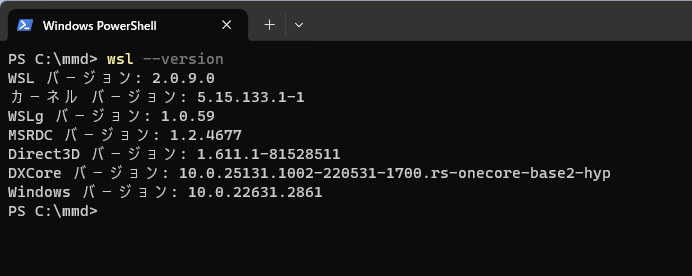
wsl --versionでバージョン情報が出てきたらインストール成功
Ubuntu の初期設定
- Ubuntu を起動する
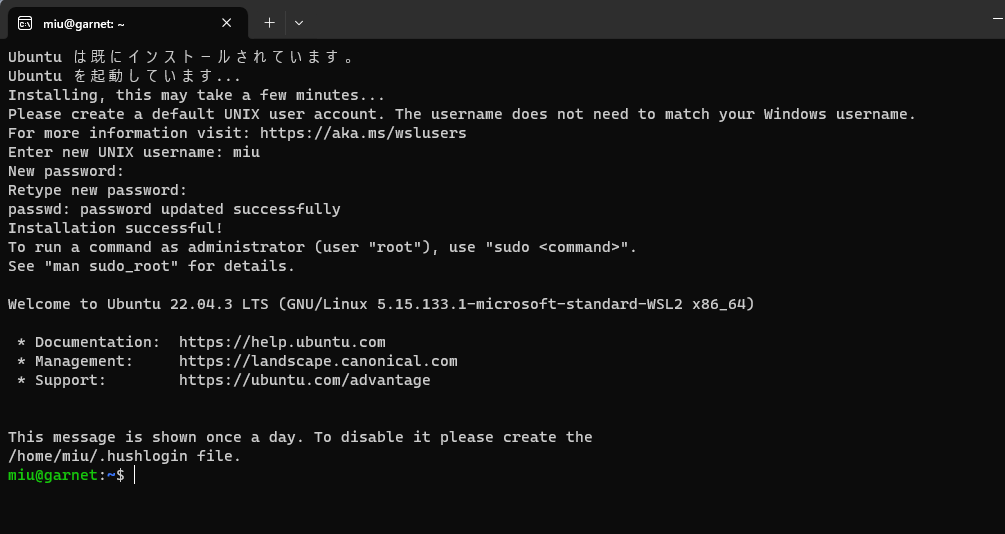
- ユーザー名とパスワードを入力してログインする
- パッケージを更新する
sudo apt update && sudo apt upgrade
Windows Terminal の設定(任意)
- Ubuntu のターミナルを既定のプロファイルにする
Docker のインストール
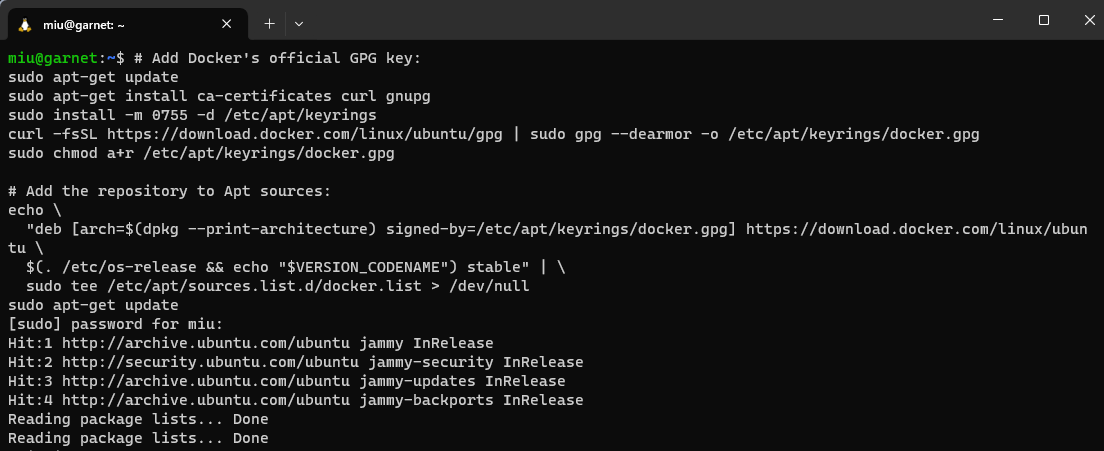
- 公式のスクリプトを実行
# Add Docker's official GPG key:
sudo apt-get update
sudo apt-get install ca-certificates curl gnupg
sudo install -m 0755 -d /etc/apt/keyrings
curl -fsSL https://download.docker.com/linux/ubuntu/gpg | sudo gpg --dearmor -o /etc/apt/keyrings/docker.gpg
sudo chmod a+r /etc/apt/keyrings/docker.gpg

# Add the repository to Apt sources:
echo \
  "deb [arch=$(dpkg --print-architecture) signed-by=/etc/apt/keyrings/docker.gpg] https://download.docker.com/linux/ubuntu \
  $(. /etc/os-release && echo "$VERSION_CODENAME") stable" | \
  sudo tee /etc/apt/sources.list.d/docker.list > /dev/null
sudo apt-get update
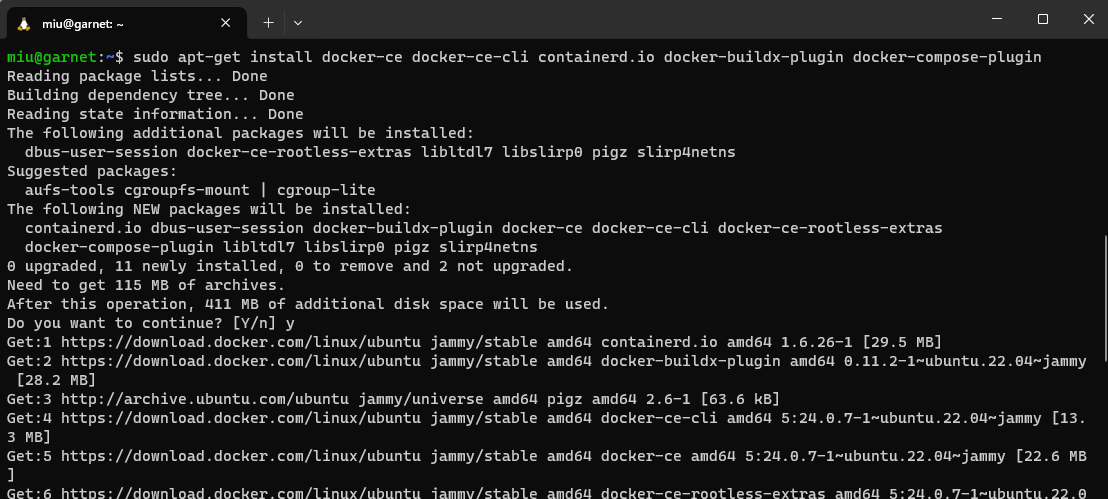
sudo apt-get install docker-ce docker-ce-cli containerd.io docker-buildx-plugin docker-compose-plugin
- ログインユーザーでDockerを動かせるように、ログインユーザーをdockerグループに追加
sudo usermod -aG docker $USER
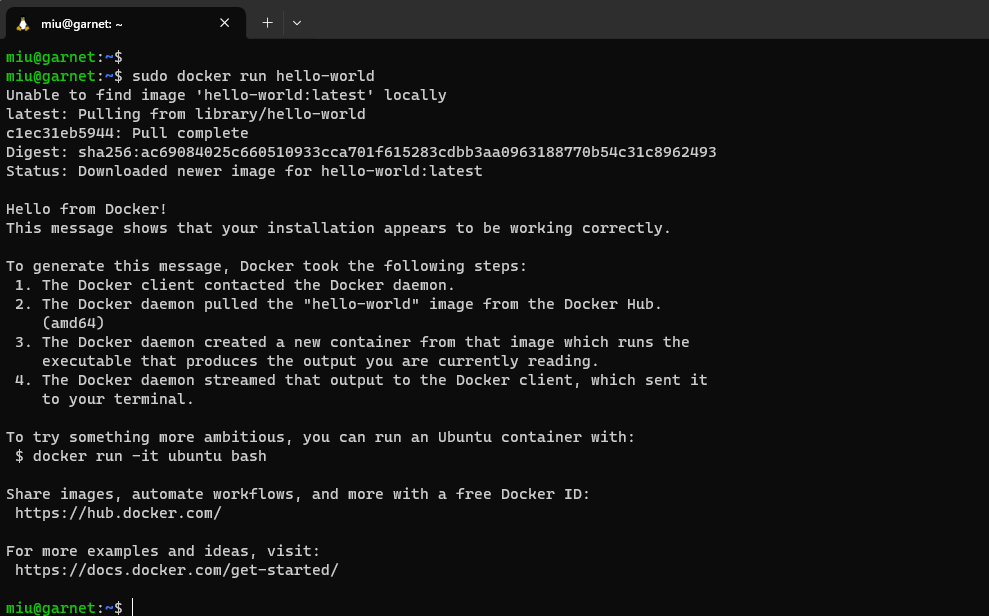
- 動作確認用Dockerを動かす
sudo docker run hello-world
- Ubuntuのターミナルを閉じて、PowerShellからWSLを落とす
wsl --shutdown
- もう一度、ターミナルでUbuntuタブを開くとWSLが立ち上がる
VSCodeのインストール
- 公式 からWindows用 VSCode をインストールする
-
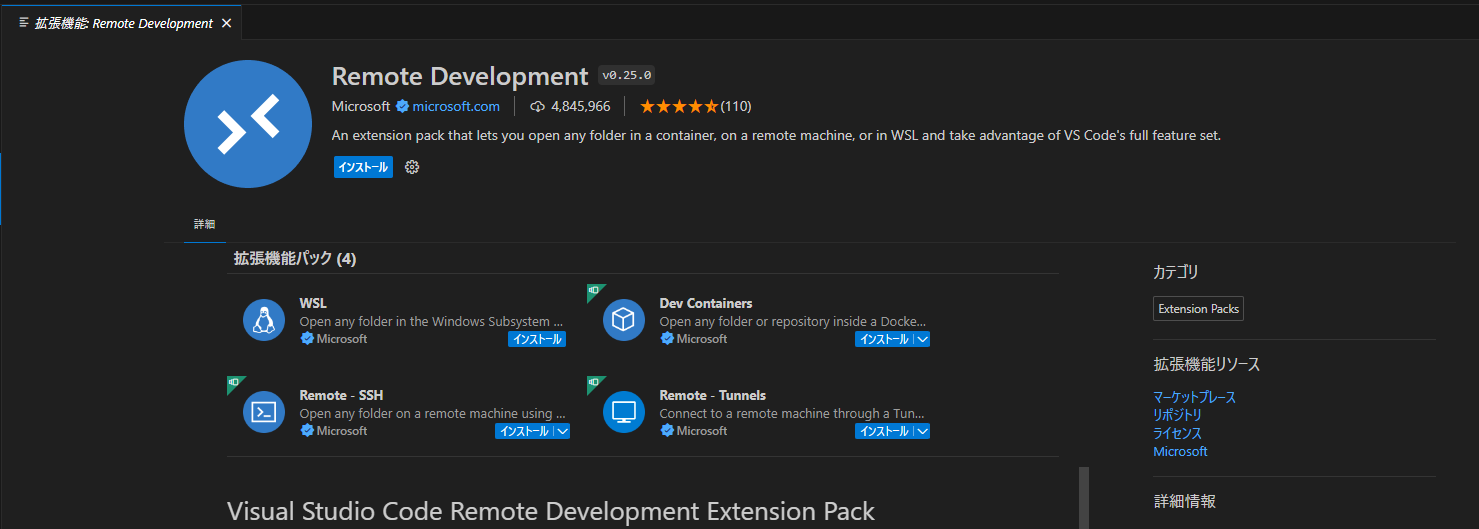
Remote Development (ID:
ms-vscode-remote.vscode-remote-extensionpack) をVSCodeの拡張機能からインストールする
(「Remote Development」は「Dev Containers」を含んだ拡張機能パック)
WSL から VSCode を起動する
- 開発を行いたい任意のディレクトリを作成して、WSL から VSCode を起動する
※ Windows上のディレクトリ(/mnt/...)を開いていると、Dockerの構築でパスがWindowsの方を見に行ってしまうので、Ubuntu管理下のディレクトリで作業する
mkdir mmd
cd mmd/
code .
Go 開発環境を構築する
- (念のため上で開いたVSCodeからそのまま作業をすすめる)
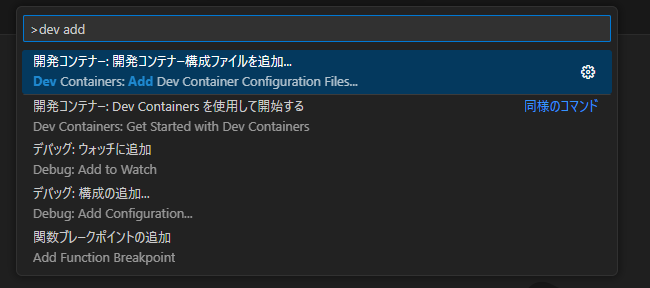
- コマンドパレットから
dev addで開発コンテナー構成ファイルを追加する
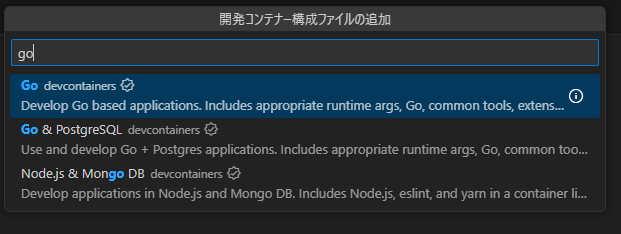
- Go は最初のピックアップされた定義には含まれていないので、「すべての定義を表示」を選択する
- すべての定義を表示すると Go 定義が選べるようになる
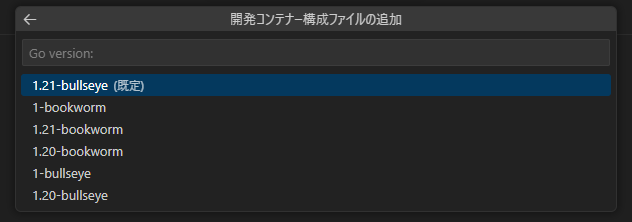
- 既定の最新バージョンを選ぶ
- 機能の選択は一旦何も選択しないで「OK」
- 「コンテナーで再度開く」を選択
- 右下のメッセージが消えてしまった場合には、コマンドパレットで「コンテナーでリビルドして再度開く」を選ぶ
- 構築完了
VSCode拡張の自動インストール
好きなVSCode拡張機能があれば、自動でコンテナー構築時に入るよう、.devcontainer/devcontainer.json の customizations に拡張機能IDを追加する
(下記は私の例)
	// Configure tool-specific properties.
	"customizations": {
		"vscode": {
			"extensions": [
				"golang.go",
				"mhutchie.git-graph",
				"streetsidesoftware.code-spell-checker",
				"usernamehw.errorlens",
				"oderwat.indent-rainbow",
				"mechatroner.rainbow-csv",
				"shardulm94.trailing-spaces"
			]
		}
	}
Git のインストール
- Git for Windows もしくは GitHub Desktop をインストールする
- 適当なリポジトリをcloneして、Gitの認証を通す
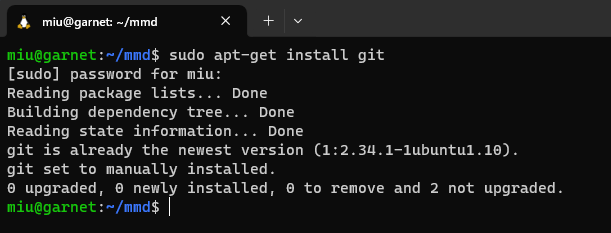
- WSLに Git をインストール
sudo apt-get install git
- Git構成ファイルのセットアップ
git config --global user.name "Your Name"
git config --global user.email "youremail@domain.com"
git config --global credential.helper "/mnt/c/Program\ Files/Git/mingw64/bin/git-credential-manager.exe"
- Windowsで認証を通していれば、WSL側で個別に認証を行わなくてもgitコマンドが使えるようになる
Goアプリケーションのビルド
- go.mod を作成する
go mod init github.com/<Githubアカウント名>/go_hello
- main.goを作成する
package main

import (
	"fmt"
)

func main() {
	fmt.Println("Hello World!")
}
-
go run .で起動を確認する
- Windows 用に exe としてビルドする
GOOS=windows GOARCH=amd64 go build main.go
- 出来上がったexeをコマンドプロンプトから実行する(pauseとか入れてないので)
おわりに
これでGo言語での開発ができるようになりました!
これから色々と遊んでいきたいと思います。
Merry Christmas & Happy New Year !!!
参考URL
- Windows11+VSCode+Dev ContainersでGo言語開発環境構築
- WSL を使用して Windows に Linux をインストールする方法
- Ubuntu on WSL2でのDocker Engineの最短インストール手順
- WSL(Ubuntu)にDocker環境を構築する
- Ubuntu on WSL2でのDocker Engineの最短インストール手順
- Windows への Visual Studio Code のインストール方法
- 【WSL / WSL2】VSCode×WSLでWindows上にLinux開発環境を構築
- WindowsのWSLのみでDockerを動かし、Dockerデーモンを常駐させ、VS Codeからコンテナを開く
- AWSを用いたGoの開発環境構築でWindowsユーザがMacユーザに歩み寄るナレッジ

