3
3

Delete article

Deleted articles cannot be recovered.

Draft of this article would be also deleted.

Are you sure you want to delete this article?

More than 5 years have passed since last update.

WindowsにPHPの環境を作る(XAMPPのインストール)

Posted at

はじめに

WEBアプリケーションの開発にも挑戦したいと思い、PHPの勉強を始めました。
その実行環境を作った際の、備忘録として書きます。
(ほとんど参考サイトの通りです。)

XAMPPのインストール

PHPの環境を作る際に、XAMPPというものをインストールしました。

まず、以下のサイトから、XAMPPのインストーラをダウンロードして実行します。
XAMPP Installers and Downloads for Apache Friends
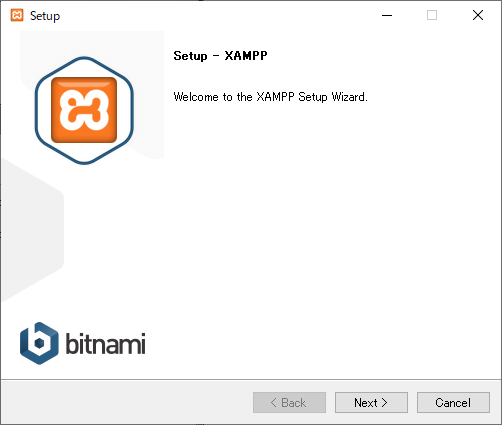
1.png
「Next>」を押します。
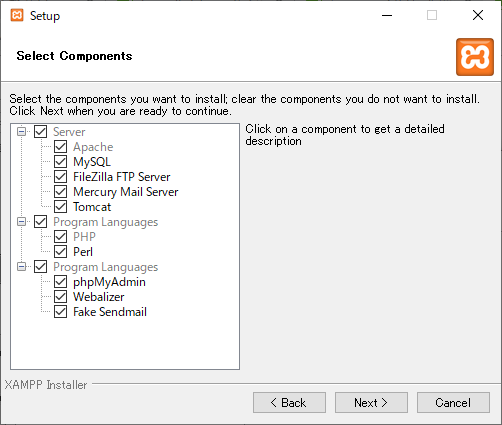
2.png
インストールしたいものにチェックをつけます。私はひとまずすべてインストールしました。
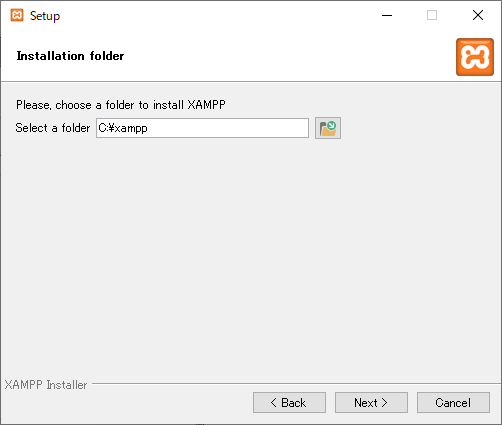
3.png
インストールする場所を選びます。基本的に変えなくて大丈夫です。
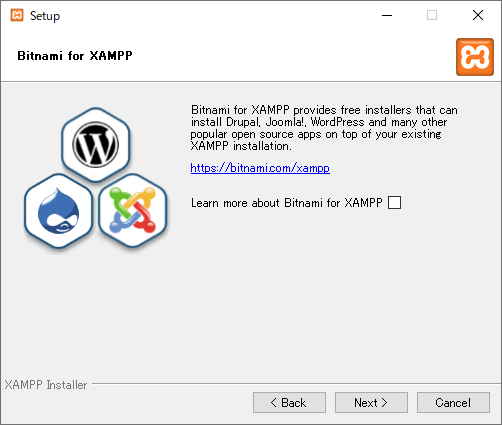
4.png
これはチェックを外します。

後は、「Next>」を押していくだけでインストールできます。

以下のサイトを参考にしました。
XAMPPをインストールする方法【超初心者向け】 | TechAcademyマガジン

実行確認

x.png
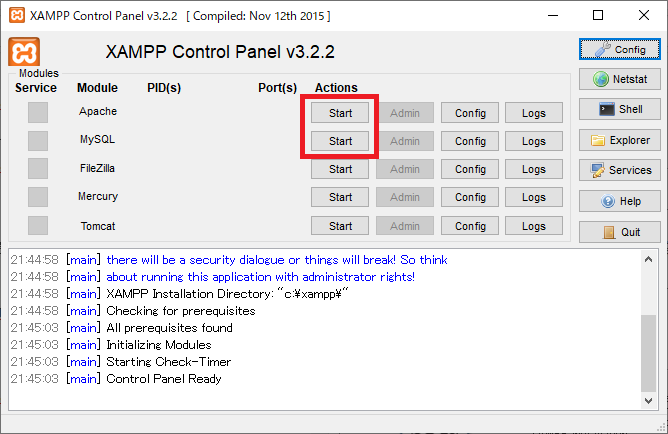
「XAMPP Controll Panel」を起動します。
x3.png
「Apache」と「MySQL」のStartボタンを押します。以下のようになります。
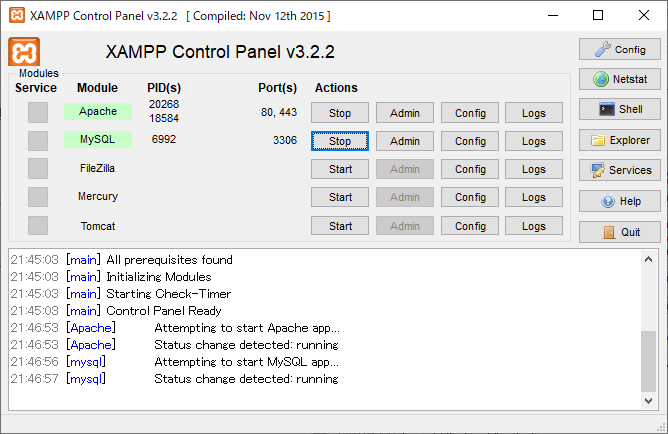
x4.png

x5.png
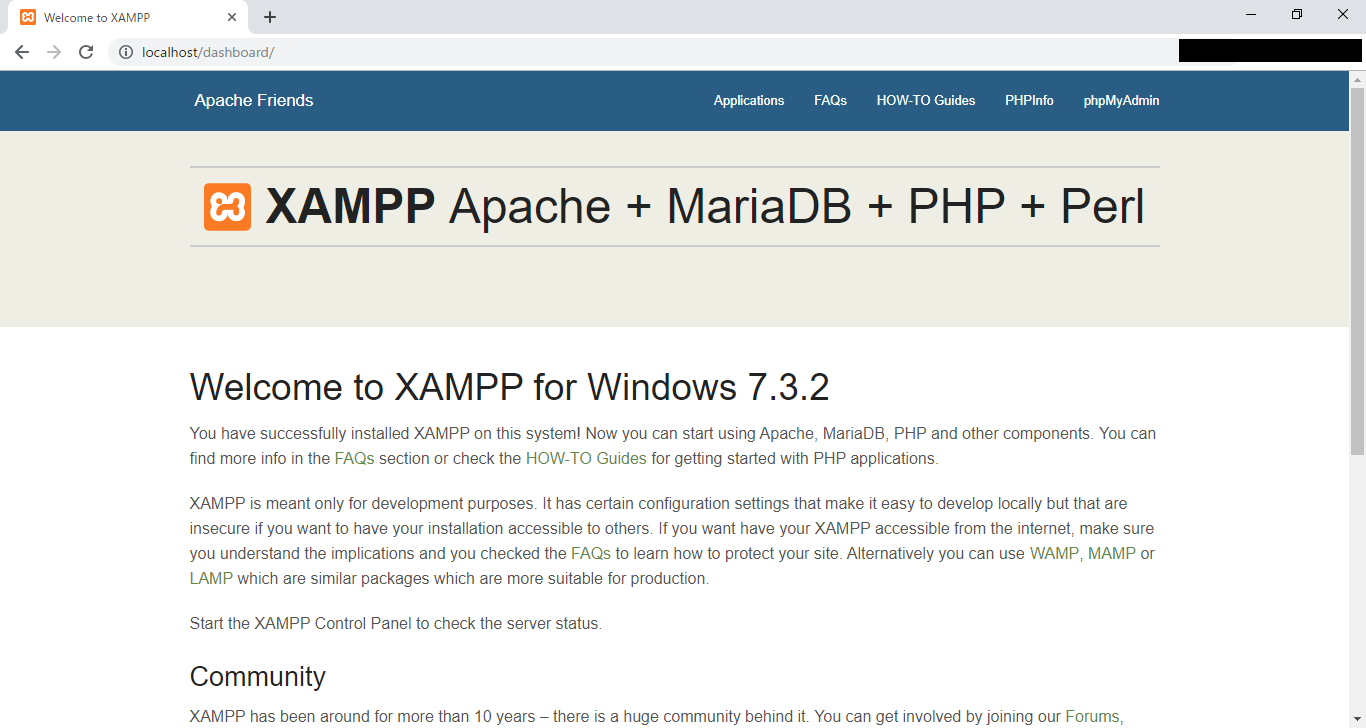
上記のアドレスにアクセスすると、以下のような画面が開きます。
x6.png
これで成功です。

また、xampp内の「htdocs」というフォルダにファイルを置くと開くことができます。
デフォルトでは、「C:\xampp\htdocs」です。
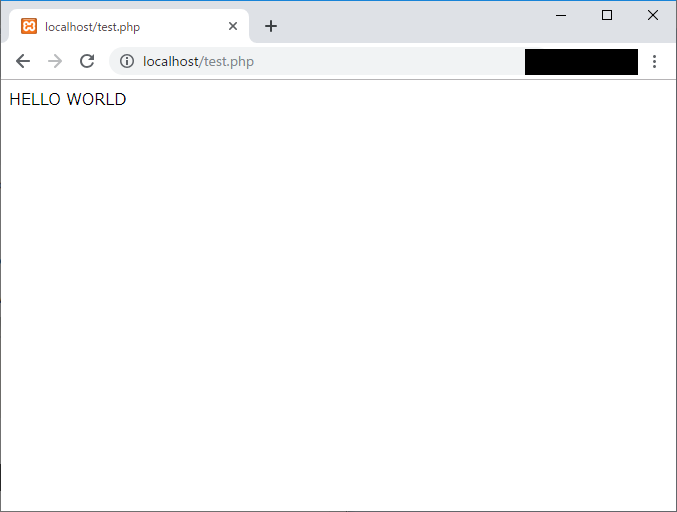
以下のファイルを作成して置きます。

test.php
<?php
	echo "HELLO WORLD";

x7.png
上記のアドレスにアクセスします。

x8.png
無事、表示されました。

おわりに

ひとまず、PHPの環境を作成しました。
次は、フレームワークの環境を作りたいと思います。

3
3
0

Register as a new user and use Qiita more conveniently

  1. You get articles that match your needs
  2. You can efficiently read back useful information
  3. You can use dark theme
What you can do with signing up
3
3

Delete article

Deleted articles cannot be recovered.

Draft of this article would be also deleted.

Are you sure you want to delete this article?