👀概要
- この記事はOpenTelemetryの概要と実装体験について触れた体験記です。
関連記事
- オブザーバビリティツールをカテゴライズする試み
- OpenTelemetry + Flask + Jaeger で始める、最小構成の分散トレーシング【OpenTelemetryサクッと入門】
- オブザーバビリティの3本柱|ログ・メトリクス・トレース【OpenTelemetryサクッと入門】
- OpenTelemetryを汚さず入れる。Pythonゼロコード実装【OpenTelemetryサクッと入門】
- OpenTelemetry Collector を導入するメリットと構成の勘所【OpenTelemetryサクッと入門】
👨👩👧👦対象者(Who)
- オブザーバビリティツールを検討している方
- OpenTelemetryに興味がある方
📌関連リンク
📝 内容
OpenTelemetryとは?
OpenTelemetry は API、SDK、ツールのコレクションです。 テレメトリーデータ(メトリクス、ログ、トレース)の計装、生成、収集、エクスポートに使用し、ソフトウェアのパフォーマンスや動作の分析に役立てましょう。
引用 : OpenTelemetry jp
SaaS製のオブザーバビリティツールを導入しようとした時に(NewRelic, DataDogなど)課題となるのがベンダーロックです。
特定の製品で用意されているオブザーバビリティツールの導入を行ったあとで、
別の製品に切り替えようと思ってもスムーズにはいきません。(この現象をベンダーロックインとここで呼称します。)
OpenTelemetryはこの課題を解決する、非ベンダーロックインを目指すツールコレクションです。
Opentelemetryの信頼性
OpenTelemetryはCNCFへ採択され、実験的なツールではなく企業が安心してメインシステムに組み込める信頼を得ています。
OpenTelemetry was accepted to CNCF on May 7, 2019 and moved to the Incubating maturity level on August 26, 2021.
(OpenTelemetryは、2019年5月7日にCNCF(クラウドネイティブコンピューティング財団)へ採択され、2021年8月26日には「インキュベーティング(Incubating)」という成熟度レベルに移行しました。)
OTLP (OpenTelemetry Protocol):
The OpenTelemetry Protocol (OTLP) specification describes the encoding, transport, and delivery mechanism of telemetry data between telemetry sources, intermediate nodes such as collectors and telemetry backends.
(OpenTelemetry Protocol(OTLP)仕様は、テレメトリデータをテレメトリの送信元、Collector などの中間ノード、および テレメトリバックエンド の間でやり取りするための、エンコーディング方式・転送方法・配送メカニズムを定義している。)OTLP is a general-purpose telemetry data delivery protocol designed in the scope of the OpenTelemetry project.
(OTLP は、OpenTelemetry プロジェクトの枠組みの中で設計された、汎用的なテレメトリデータ配送プロトコルである。)
OTLPとは一言でいうと、「テレメトリーデータ(トレース、メトリクス、ログ)を、どういう形式で、どうやって送受信するか」というルールを定義したものです。
基本はgRPCプロトコルをベースにしてます。
OTLPはほぼすべての主要オブザーバビリティベンダーが「標準」として認識し、公式にサポートしています。
以下はOpenTelemetryをネイティブサポートしているベンダーの一覧です。
これを見ると NewRelic,Datadog,Dynatrace等々の主要なベンダーがOTLPをサポートしているのがわかります。
OpenTelemetryのツール群
ここでは OpenTelemetryのツール群を以下の二つの要素に分けて説明します。
- OpenTelemetry Instrumentation
- OpenTelemetry Collector
OpenTelemetry Instrumentation
アプリケーション側に導入するツール群です。
- SDK
from opentelemetry import trace, metrics, context
from opentelemetry.exporter.otlp.proto.grpc.trace_exporter import OTLPSpanExporter
from opentelemetry.exporter.otlp.proto.grpc.metric_exporter import OTLPMetricExporter
from opentelemetry.sdk.trace import TracerProvider
from opentelemetry.sdk.trace.export import BatchSpanProcessor
from opentelemetry.sdk.metrics import MeterProvider
from opentelemetry.sdk.metrics.export import PeriodicExportingMetricReader
from opentelemetry.instrumentation.flask import FlaskInstrumentor
from opentelemetry.instrumentation.requests import RequestsInstrumentor

# ===== OpenTelemetry トレース設定 =====
otlp_trace_exporter = OTLPSpanExporter(endpoint="otel-collector:4317", insecure=True)
trace.set_tracer_provider(TracerProvider())
trace.get_tracer_provider().add_span_processor(BatchSpanProcessor(otlp_trace_exporter))
tracer = trace.get_tracer(__name__)

# ===== OpenTelemetry メトリクス設定 =====
otlp_metric_exporter = OTLPMetricExporter(endpoint="otel-collector:4317", insecure=True)
metric_reader = PeriodicExportingMetricReader(otlp_metric_exporter)
metrics.set_meter_provider(MeterProvider(metric_readers=[metric_reader]))
meter = metrics.get_meter(__name__)
- Auto Instrumentation (動作確認未実施です。)
from flask import Flask
import requests

app = Flask(__name__)

@app.route("/")
def hello():
    # 外部へのリクエストも自動でトレースされる
    requests.get("https://www.google.com")
    return "Hello, OpenTelemetry!"

if __name__ == "__main__":
    app.run(port=5000)
起動時のスクリプト
export OTEL_SERVICE_NAME="my-python-app"
export OTEL_TRACES_EXPORTER="console" # テスト用にコンソールへ出力

opentelemetry-instrument python app.py
OpenTelemetry Collector
メリット : アプリケーションから送られてきたデータを受け取る「中継サーバー」
- アプリケーション側は「とりあえずCollectorに送る」だけで済みます。
- テレメトリデータの送信先を、コードをいじらずに後から変更可能です。「実装後、やはりDatadogにも送りたい。自前のS3にも保存したい」といった変更をCollectorの設定ファイル(YAML)を書き換えるだけで完結できます。
最小構成のサンプルプロジェクト
OpenTelemetryの効果を実感するために、コンテナを使用したサンプルプロジェクトを実装してみます。
- プロジェクトツリー
|--docker-compose.yaml
|--flask
|  |--app.py
|  |--Dockerfile
|  |--requirements.txt
|--otel-collector-config.yaml
|--README.md
サンプルアプリケーション
サンプルアプリケーションのURLは以下の通り。
-
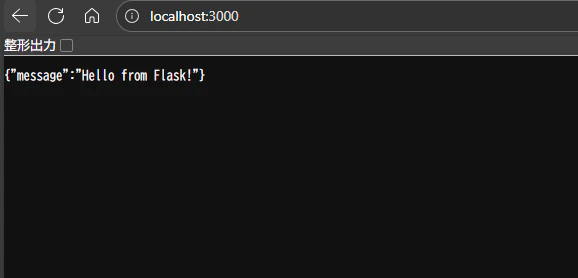
http://localhost:3000 :
{"message": "Hello from Flask!"}と表示されるだけの画面 -
http://localhost:3000/health :
{"status": "ok"}と表示されるだけの画面
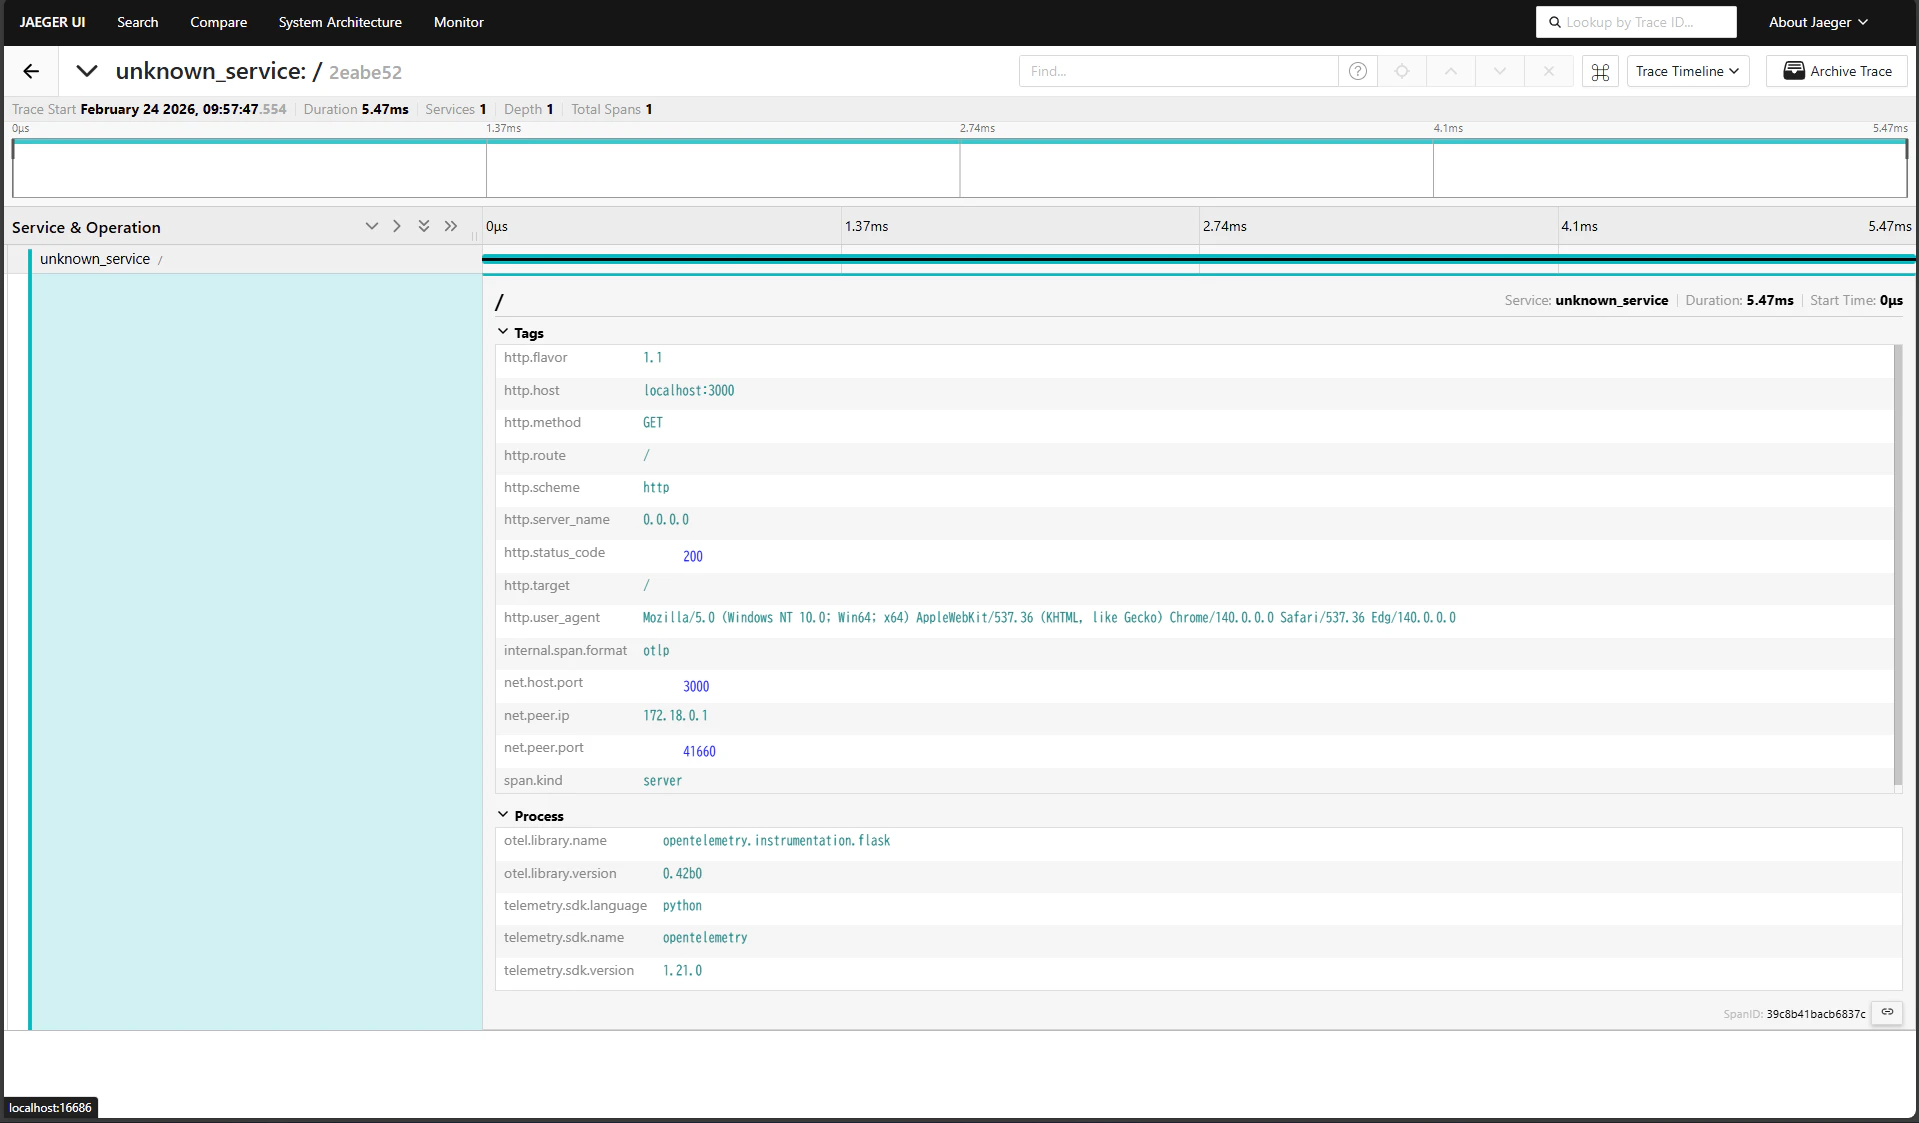
サンプルJaeger UI
Jaeger UIでトレースデータを確認することが可能です。
コマンド
別章の「サンプルコード」のファイルをすべて作成した上で、以下のコマンドを実行することでサンプルアプリケーション/サンプルJager画面が確認できます。
docker-compose up --build
サンプルコード
docker-compose.yaml
version: "3"

services:
  jaeger:
    image: "jaegertracing/all-in-one:1.52"
    ports:
      - "16686:16686"
    expose:
      - 4317
      - 4318
    environment:
      - COLLECTOR_ZIPKIN_HOST_PORT=:9411
      - COLLECTOR_OTLP_ENABLED=true
  # Collector
  otel-collector:
    image: otel/opentelemetry-collector:0.91.0
    command: ["--config=/etc/otel-collector-config.yaml"]
    volumes:
      - ./otel-collector-config.yaml:/etc/otel-collector-config.yaml
    ports:
      - 4317:4317 # OTLP gRPC receiver
    depends_on:
      - jaeger
  # Flask アプリケーション
  flask-app:
    build:
      context: ./flask
    ports:
      - "3000:3000"
    environment:
      - OTEL_EXPORTER_OTLP_ENDPOINT=http://otel-collector:4317
    depends_on:
      - otel-collector
otel-collector-config.yaml
receivers:
  otlp:
    protocols:
      grpc:
      http:

processors:
  batch:

exporters:
  otlp:
    endpoint: jaeger:4317
    tls:
      insecure: true

extensions:
  health_check:
  pprof:
  zpages:

service:
  pipelines:
    traces:
      receivers: [otlp]
      processors: [batch]
      exporters: [otlp]
    metrics:
      receivers: [otlp]
      processors: [batch]
      exporters: [otlp]
flask/Dockerfile
FROM python:3.11-slim

WORKDIR /app

COPY requirements.txt .
RUN pip install --no-cache-dir -r requirements.txt

COPY app.py .

CMD ["python", "app.py"]
flask/requirements.txt
Flask==3.0.0
opentelemetry-api==1.21.0
opentelemetry-sdk==1.21.0
opentelemetry-exporter-otlp==1.21.0
opentelemetry-instrumentation-flask==0.42b0
opentelemetry-instrumentation-requests==0.42b0
flask/app.py
from flask import Flask
from opentelemetry import trace
from opentelemetry.exporter.otlp.proto.grpc.trace_exporter import OTLPSpanExporter
from opentelemetry.sdk.trace import TracerProvider
from opentelemetry.sdk.trace.export import BatchSpanProcessor
from opentelemetry.instrumentation.flask import FlaskInstrumentor
from opentelemetry.instrumentation.requests import RequestsInstrumentor

# OpenTelemetry の設定
otlp_exporter = OTLPSpanExporter(endpoint="otel-collector:4317", insecure=True)
trace.set_tracer_provider(TracerProvider())
trace.get_tracer_provider().add_span_processor(BatchSpanProcessor(otlp_exporter))

# Flask アプリケーション
app = Flask(__name__)

# Flask インストルメンテーション
FlaskInstrumentor().instrument_app(app)
RequestsInstrumentor().instrument()

@app.route("/")
def hello():
    return {"message": "Hello from Flask!"}

@app.route("/health")
def health():
    return {"status": "ok"}

if __name__ == "__main__":
    app.run(host="0.0.0.0", port=3000)
アクセスしてみる
flaskで作成したサンプルサイト ( http://localhost:3000 )にアクセスしてみます。
↓↑サイトにはアクセスできました。
続けて、Jaeger UI ( http://localhost:16686/search ) にアクセスしてみます。
↓Jaeger UI にアクセスできました。

Find Trace ボタンを押して、トレースを見てみます。
↓ トレースの一覧が確認できました。

任意のサービスをクリックして、詳細を確認します。
まとめ
今回は、OpenTelemetryの概要から、Dockerコンテナを用いた最小構成でのハンズオンまでをご紹介しました。
実際に動かしてみることで、以下のポイントが実感できたのではないでしょうか。
- ベンダーに依存しない柔軟性: コード側はOTLP形式で出力し、Collectorの設定一つで送信先(今回はJaeger)を自由に変えられる。
- 導入のハードル低下: SDKやインストルメンテーション(計装)ツールが充実しており、既存のFlaskアプリケーションなどにも数行の追加で導入できる。
- 運用性の向上: Collectorを中継させることで、アプリケーションに負荷をかけずにテレメトリデータのフィルタリングやマルチドメインへの転送が可能になる。
オブザーバビリティ(可観測性)は、複雑化するマイクロサービスやクラウドネイティブな開発において欠かせない要素です。OpenTelemetryという「標準規格」を採用することは、将来的なツールの乗り換えコストを抑え、チームがより本質的なパフォーマンス改善に集中できる環境づくりに繋がります。