APIキー認証でBacklogAPIを動かしている記事は多くあったのですが、OAuth認証は少なかっため記載してみました。
ちなみに、GAS書くのは初めてなのでお手柔らかにお願いいたします。
この記事のゴール
・スプレッドシートに認証メニューを作る
・認可リクエスト投げるところから、アクセストークン取得まで自動で処理する
流れ
・アプリケーション登録(client_idとclient_secretの取得)
・apps-script-oauth2インストール
・GASコード記述
・挙動確認
参考
Google Apps Script + OAuthライブラリで、freee APIの操作を行う
→コードの大部分を参照しています
プロジェクト管理ツール backlog の API の使い方
→BacklogのOAuth認証APIの理解に役立ちました
Backlog公式のAPIリスト
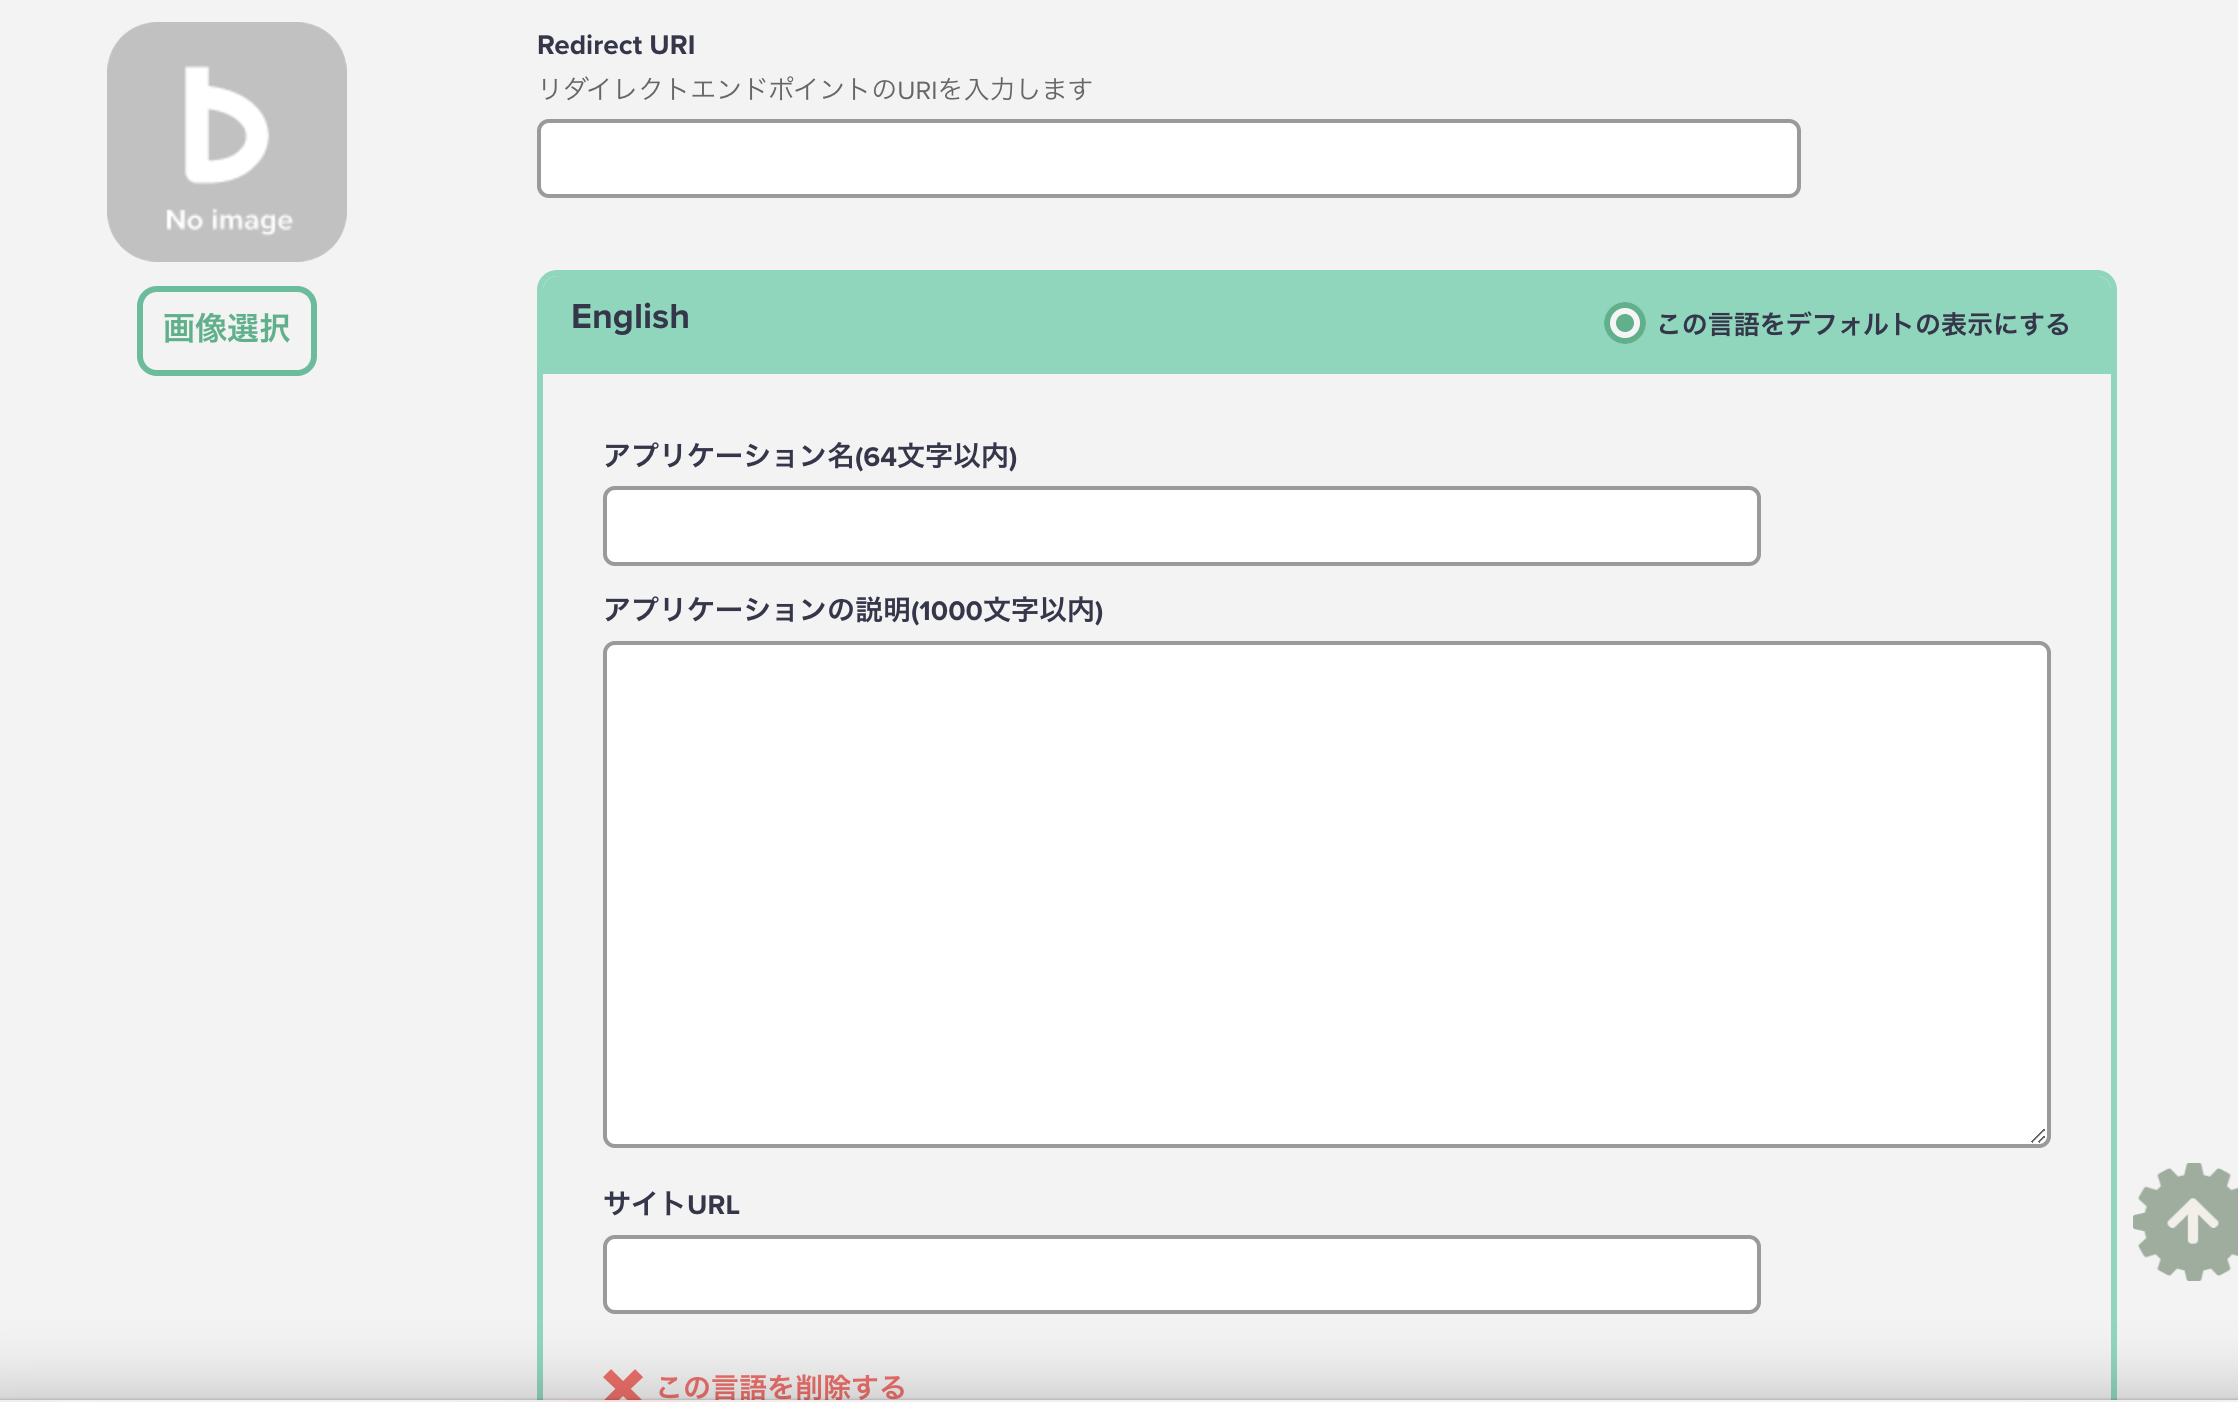
アプリケーション登録
以下のURLからclient_idとclient_secretを取得する
https://backlog.com/developer/applications/
Nulabアカウントでの認証が必要です
Backlogアカウントのみの場合は、OAuth認証使えません
| 入力項目 | 例 |
|---|---|
| Redirect URI(必須) | https://script.google.com/macros/d/{スクリプトID}/usercallback |
| アプリケーション名(必須) | 任意 |
| アプリケーション説明 | 任意 |
| サイトURL | 任意 |
※Redirect URIは、後述のapps-script-oauth2の設定値
apps-script-oauth2 のインストール
OAuth2.0処理ライブラリであるapps-script-oauth2をインストールします
参照:https://qiita.com/TakeshiNickOsanai/items/62810b0e96bf37bd0eca#apps-script-oauth2-%E3%81%AE%E3%82%A4%E3%83%B3%E3%82%B9%E3%83%88%E3%83%BC%E3%83%AB
GASコード記述
const space_id = '{Backlogのスペースキー}';
const sheet_id = '{記述するシートID}';
const Properties = PropertiesService.getScriptProperties();
// プロパティサービスにデータを登録する
function registKeys() {
Properties.setProperty('ClientId', '{取得したClientId}');
Properties.setProperty('ClientSecret', '{取得したClientSecret}');
}
const driveService = getDriveService ();
function getDriveService () {
return OAuth2.createService ('BacklogAPI')
// 認可リクエスト
.setAuthorizationBaseUrl (
'https://' + space_id + '.backlog.jp/OAuth2AccessRequest.action?'
)
// アクセストークンリクエスト
.setTokenUrl ('https://' + space_id + '.backlog.jp/api/v2/oauth2/token')
.setClientId (
Properties.getProperty('ClientId')
)
.setClientSecret (
Properties.getProperty('ClientSecret')
)
// コールバック関数
.setCallbackFunction ('authCallback')
// 認可済みトークンの保持
.setPropertyStore (PropertiesService.getUserProperties ());
}
// 認可メニュー作成
function onOpen () {
SpreadsheetApp.getUi ()
.createMenu ('Backlog API連携')
.addItem ('認可処理', 'showAuth')
.addItem ('ログアウト', 'logout')
.addToUi ();
}
// 認可モーダル作成処理
function createModelessDialog (html, title) {
const htmlOutput = HtmlService.createHtmlOutput (html)
.setWidth (360)
.setHeight (120);
SpreadsheetApp.getUi ().showModelessDialog (htmlOutput, title);
}
// 認可URL呼び出し
function showAuth () {
if (!driveService.hasAccess ()) {
const authorizationUrl = driveService.getAuthorizationUrl ();
const template = HtmlService.createTemplate (
'<a href="<?= authorizationUrl ?>" target="_blank">Authorize</a>. ' +
'Backlog APIの認可をします。'
);
template.authorizationUrl = authorizationUrl;
const page = template.evaluate ();
const title = 'BacklogAPI認可処理';
createModelessDialog (page, title);
} else {
// 既に認可済みの場合はユーザー情報を取得
showUser ();
}
}
// 認可フロー後のコールバック関数
function authCallback (request) {
const isAuthorized = driveService.handleCallback (request);
if (isAuthorized) {
return HtmlService.createHtmlOutput ('Success! You can close this tab.');
} else {
return HtmlService.createHtmlOutput ('Denied. You can close this tab');
}
}
// 認証ユーザー情報の取得
function showUser () {
const response = UrlFetchApp.fetch (
'https://' + space_id + '.backlog.jp/api/v2/users/myself',
{
headers: {
Authorization: 'Bearer ' + driveService.getAccessToken (),
},
}
);
const myJson = JSON.parse (response);
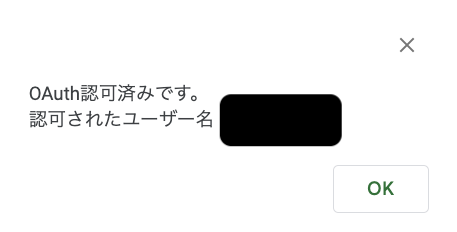
Browser.msgBox ('OAuth認可済みです。\\n認可されたユーザー名:' + myJson.name);
}
// ログアウト処理
function logout () {
driveService.reset ();
const mes = 'Backlogからログアウトしました。';
const logoutTitle = 'ログアウト終了';
createModelessDialog (mes, logoutTitle);
}
実際の挙動
・該当スプレッドシートに、「Backlog API連携」メニューが作られ「認可処理」「ログアウト」が追加されている
・未認証時に「認可処理」をクリックすると、認可モーダルが表示される
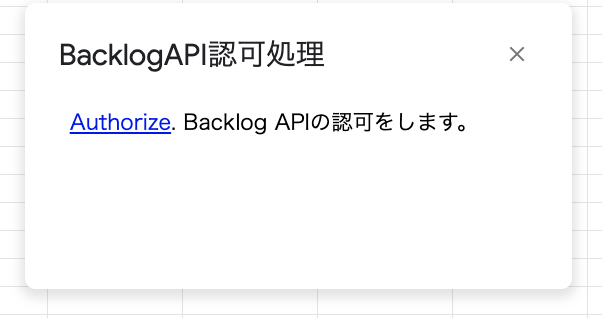
・「Authorize」をクリックし、画面の指示通りに許可すると以下の画面が表示され認証成功

・認証済みの際に、「認可処理」をクリックすると認証ユーザー名が表示される