この記事は、Web API アドベントカレンダーの6日目の記事です。
Google Apps Script を利用して、freee API の操作を行いたいというニーズをよく聞きます。
いろいろなハウトゥ記事が公開されていますが、「OAuth2.0」の認可操作が一つの壁になっているようです。
今回は、Googleが配布しているOAuth2.0ライブラリ「apps-script-oauth2」を利用して、freee API の操作を行うまでをまとめてみました。
行うこと
- Googleスプレッドシート + Google Apps Script で、freee API の認可・情報取得を行う。
- OAuth2.0 の処理は、「apps-script-oauth2」を使う
- スプレッドシートのメニューに「認可」「ログアウト」の操作メニューを追加する。
- 「認可」をクリックすると、OAuth処理が始まる。成功したあともう一度「認可」を押すと、認可ユーザーの情報が表示される
- 「ログアウト」をクリックすると、freeeアプリからログアウト処理される
流れ
- freee アプリの作成
- Googleスプレッドシートの準備とapps-script-oauth2のインストール
- コード作成
- 実際の動作
freee アプリの作成
契約しているfreeeアカウントを利用して始めます。
freeeアカウントがない場合は「freee API スタートガイド」 を見ながらテスト用の事業所を作ると良いでしょう。
freee API を操作するためには、最初に「freeeアプリ」を作る必要があります。
作成の手順は、公式サイトの「チュートリアル」に詳しくまとまっています。
このチュートリアル見ながら進めれば、迷うことはないでしょう。順番としては
- freee アプリストアの開発者ページにアクセス
- freeeアカウントでログイン
- 事業所を選ぶ
- アプリ管理のページから、アプリを新規追加する
の流れでアプリを作成します。
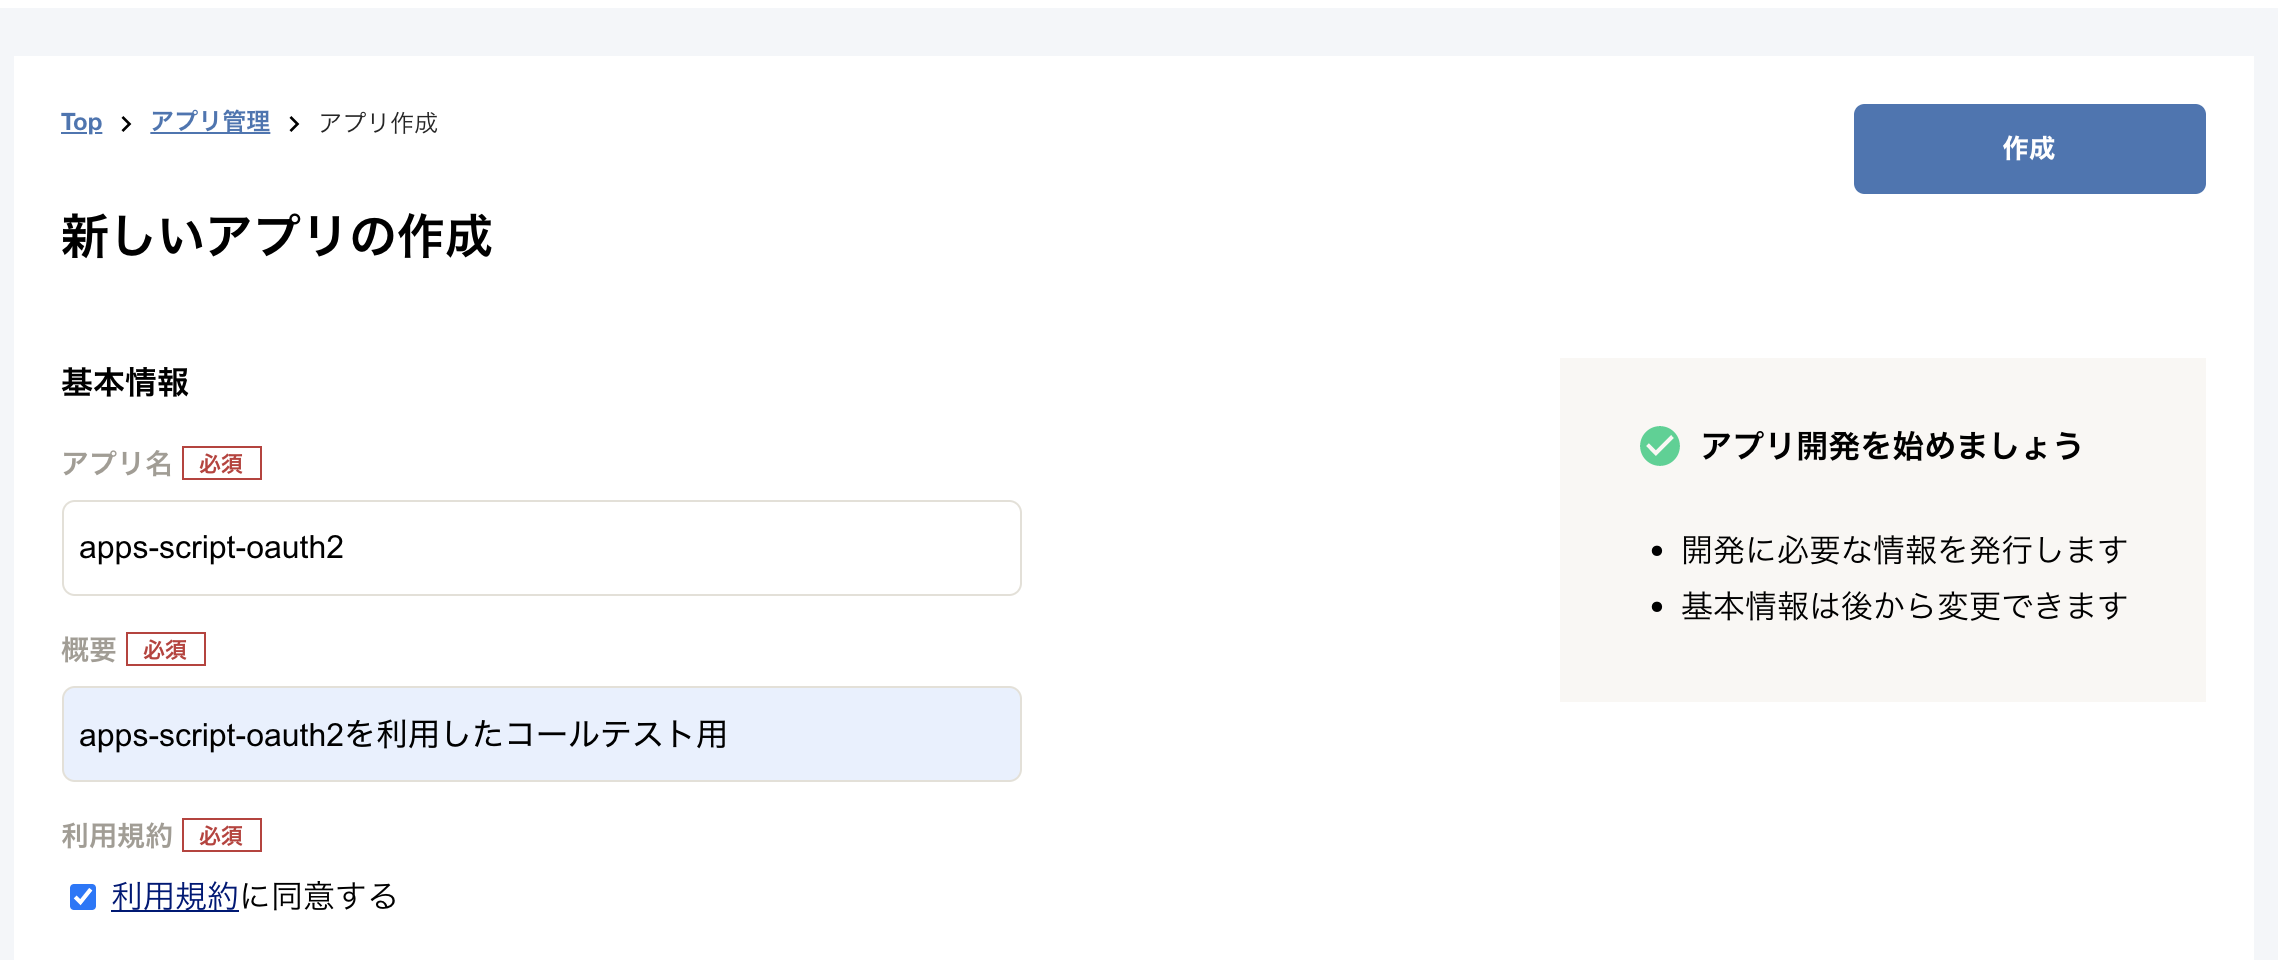
アプリ名、説明、利用規約のチェックを行い、新規作成
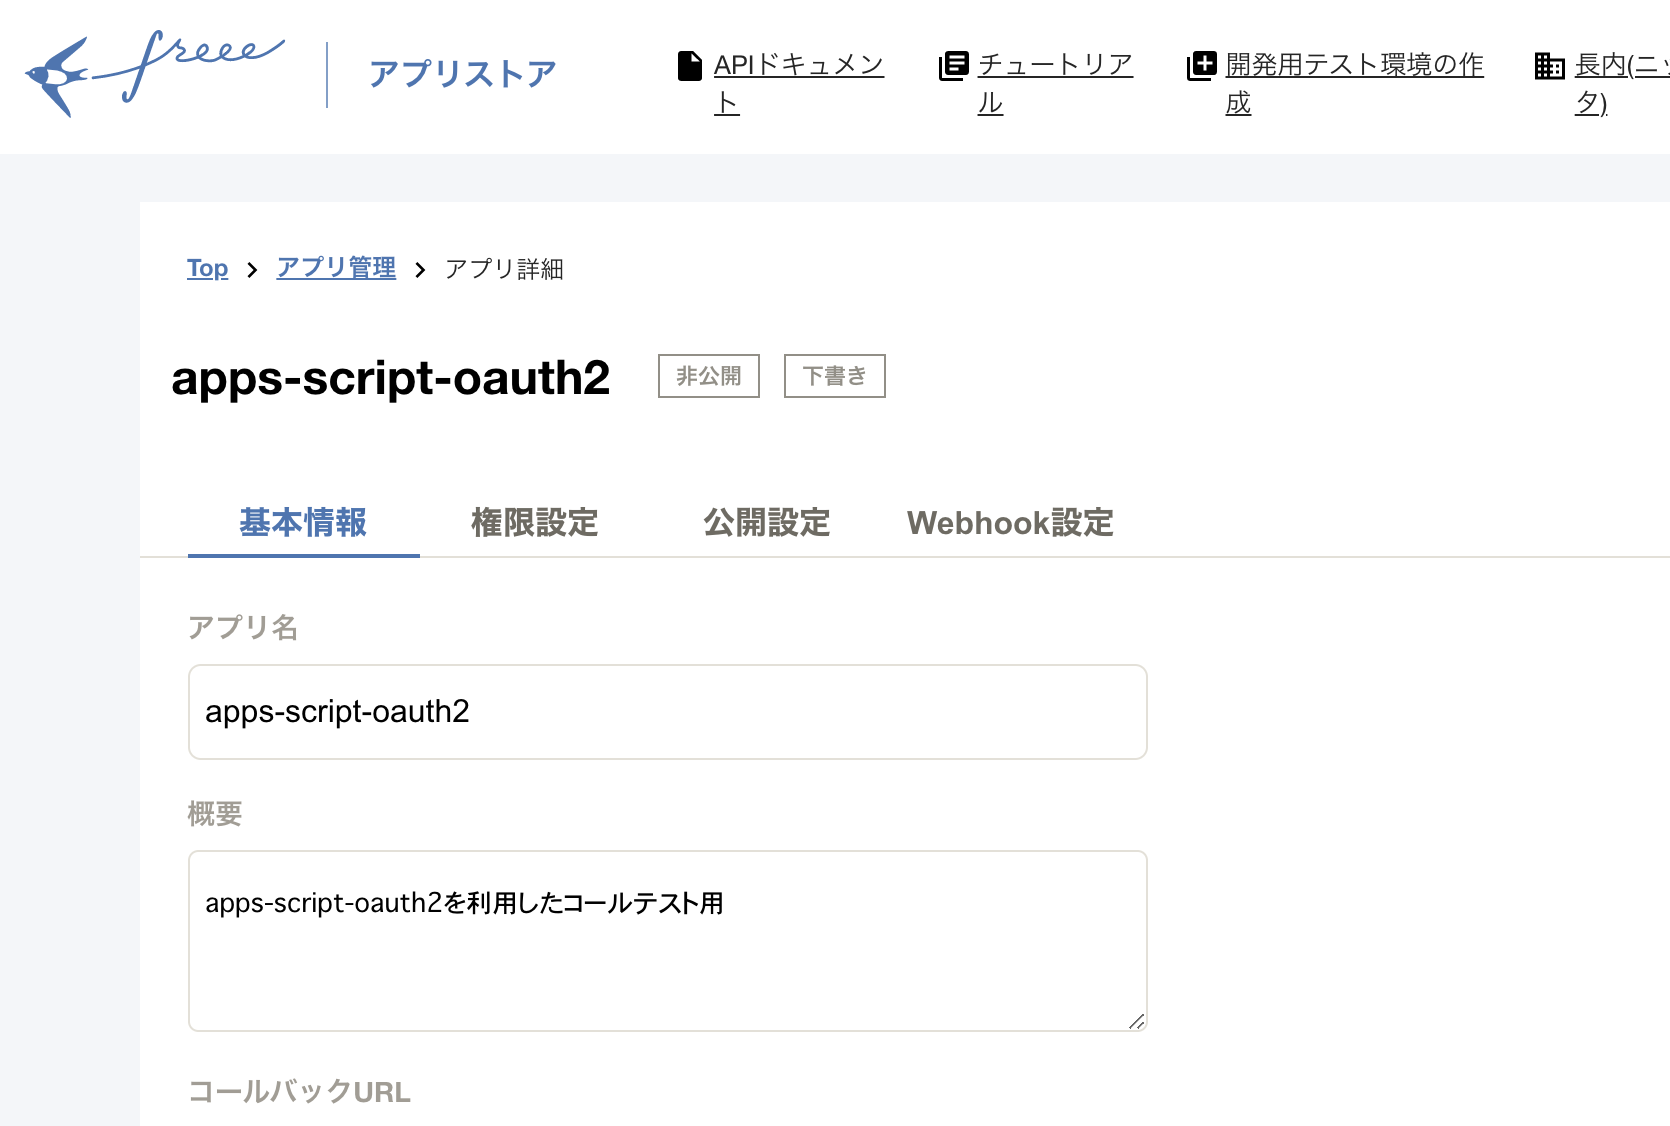
アプリを下書き保存しておきます。
「コールバックURL」
「Client ID」
「Client Secret」
は、後の設定で利用します。
Googleスプレッドシートの準備とapps-script-oauth2のインストール
次に、Googleスプレッドシートの準備をします。
apps-script-oauth2 とは何か
apps-script-oauth2 は、Google Apps Script用の OAuth2.0処理ライブラリです。Googleが管理するGitHubの 「Google Workspace」 内で配布されています。
Google Workspace は、Google APIのためのサンプルコード集です。オープンソースライセンスを採用しており、誰でも自由に利用ができます。
Googleが管理しているライブライということで、安心して使える印象がありますね(サンプル+OSSなのでノーサポートではありますが)。
apps-script-oauth2 のインストール
GSuiteから新しいGoogle スプレッドシートを作成し、「ツール」→「スクリプトエディタ」を選んで、GASのエディタを開きます。
エディタ画面が開いたら、「ライブラリ」を選び、apps-script-oauth2 のインストール準備をします。
「Add a library」欄に、apps-script-oauth2のスクリプトIDを入力して追加します。IDは一意に決まっており
1B7FSrk5Zi6L1rSxxTDgDEUsPzlukDsi4KGuTMorsTQHhGBzBkMun4iDF
を入力。最新バージョンを選んで保存します。
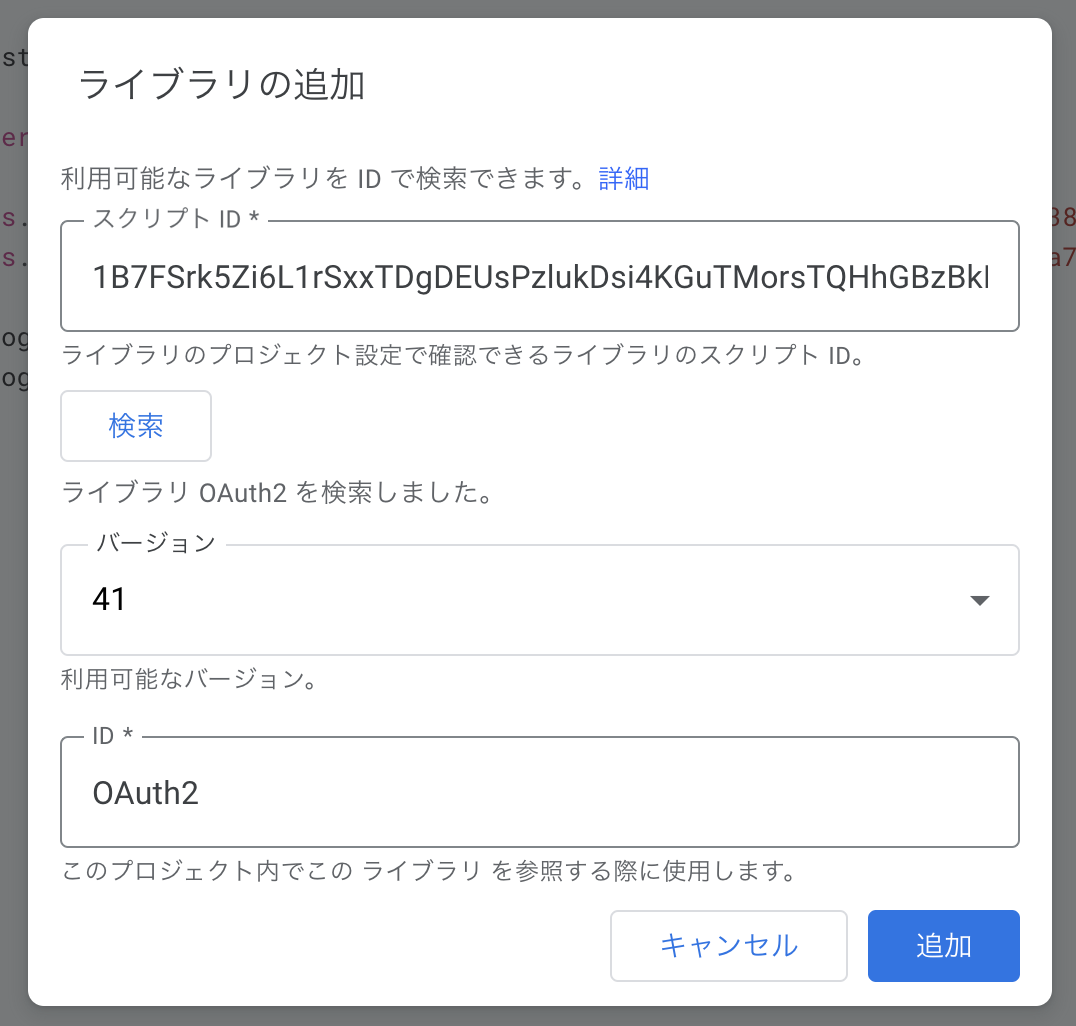
保存ができたら、インストールは完了です。
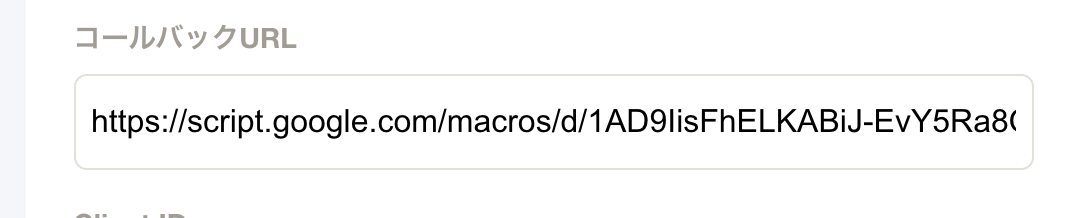
freeeアプリの コールバックURLを設定する
次に、先ほど作成したfreee アプリのコールバックURLを修正します。
OAuth2.0認可処理後の遷移先を設定します。
apps-script-oauth2を使った場合、コールバックURLは必ず
https://script.google.com/macros/d/{SCRIPT ID}/usercallback
になります。「script ID」は、エディタ画面の「プロジェクトの概要」→「ID(スクリプトID)」で確認できます。
コールバックURLのSCRIPT IDを書き換え、freeeアプリの「コールバックURL」に入力し、下書き保存します。
Client ID と Client Secret を プロパティに保存する
freeeのOAuth認証に必要な情報を、GASの プロパティサービス に保存します。プロパティサービスとは、Google Apps Script で使う情報をクラウドサーバー上に保存して、環境変数のように使える領域のことです。ブラウザでいうウェブストレージに近い感覚で利用できます。
プロパティサービスにデータを登録するコードは以下のとおりです。
function registKeys() {

    const Properties = PropertiesService.getScriptProperties();

    Properties.setProperty('ClientId', '${freeeアプリのClient ID文字列}');
    Properties.setProperty('ClientSecret', '${freeeアプリのClient ID文字列}');

    console.log(Properties.getProperty('ClientId'));
    console.log(Properties.getProperty('ClientSecret'));
}
上記を実行すると、freeeの OAuth アプリの Client ID、Client Secret が保存・ログに表示されます。
一度保存したClientID、ClientSecret は、以下のコードで取り出すことができます。
const Properties = PropertiesService.getScriptProperties();

// ClientID を取得

Properties.getProperty('ClientId');

//Client Secret を取得

Properties.getProperty('ClientSecret');
コード作成
Google Apps Script のコードを記述します。 apps-script-oauth2のReadmeに書かれているコードを流用し、freeeアプリに合わせて書き換えました。
const Properties = PropertiesService.getScriptProperties();
const driveService = getDriveService ();
function getDriveService () {
return OAuth2.createService ('freeeAPI')
.setAuthorizationBaseUrl (
'https://accounts.secure.freee.co.jp/public_api/authorize'
)
.setTokenUrl ('https://accounts.secure.freee.co.jp/public_api/token')
.setClientId (
Properties.getProperty('ClientId')
)
.setClientSecret (
Properties.getProperty('ClientSecret')
)
.setCallbackFunction ('authCallback')
.setPropertyStore (PropertiesService.getUserProperties ());
}
function onOpen () {
SpreadsheetApp.getUi ()
.createMenu ('freee API連携')
.addItem ('認可処理', 'showAuth')
.addItem ('ログアウト', 'logout')
.addToUi ();
}
function createModelessDialog (html, title) {
const htmlOutput = HtmlService.createHtmlOutput (html)
.setWidth (360)
.setHeight (120);
SpreadsheetApp.getUi ().showModelessDialog (htmlOutput, title);
}
function showAuth () {
if (!driveService.hasAccess ()) {
const authorizationUrl = driveService.getAuthorizationUrl ();
const template = HtmlService.createTemplate (
'<a href="<?= authorizationUrl ?>" target="_blank">Authorize</a>. ' +
'freee APIの認可をします。'
);
template.authorizationUrl = authorizationUrl;
const page = template.evaluate ();
const title = 'freeeアプリの認可処理';
createModelessDialog (page, title);
} else {
showUser ();
}
}
function authCallback (request) {
const isAuthorized = driveService.handleCallback (request);
if (isAuthorized) {
return HtmlService.createHtmlOutput ('Success! You can close this tab.');
} else {
return HtmlService.createHtmlOutput ('Denied. You can close this tab');
}
}
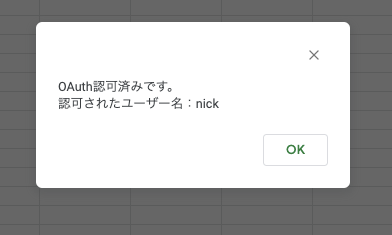
function showUser () {
const response = UrlFetchApp.fetch (
'https://api.freee.co.jp/api/1/users/me',
{
headers: {
Authorization: 'Bearer ' + driveService.getAccessToken (),
},
}
);
const myJson = JSON.parse (response);
Browser.msgBox ('OAuth認可済みです。\\n認可されたユーザー名:' + myJson.user.display_name);
}
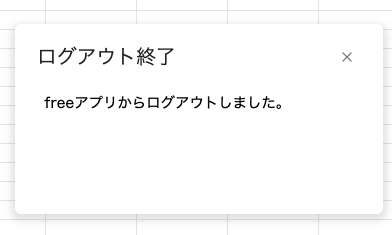
function logout () {
driveService.reset ();
const mes = 'freeeアプリからログアウトしました。';
const logoutTitle = 'ログアウト終了';
createModelessDialog (mes, logoutTitle);
}
実際の挙動
スプレッドシートのメニューに「認可」「ログアウト」の操作メニューが追加されています。
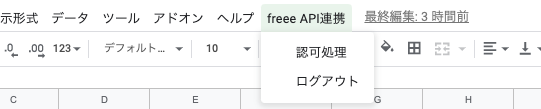
- 「認可処理」をクリックすると、OAuth処理が始まリます。

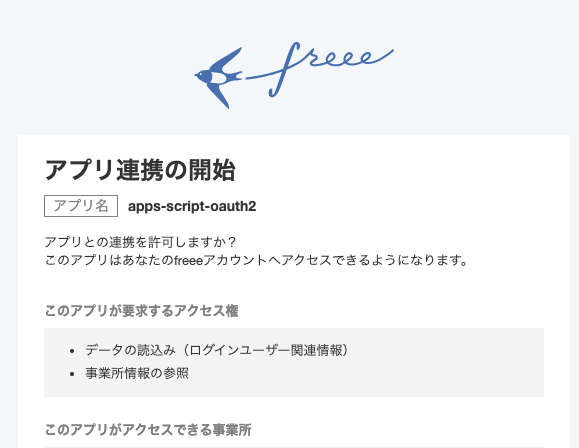
成功したあともう一度「認可」を押すと、認可ユーザーの情報が表示されます。
「ログアウト」をクリックすると、freeeアプリからログアウト処理されます。