本記事は,サムザップ Advent Calendar 2019 #1 の12/21の記事です.
はじめに
株式会社サムザップのとあるプロジェクトでCI環境(jenkins)の構築を担当しています.
Unityプロジェクトのスマホ向けビルド,各種配信プラットフォームへのアップロードなど対応しています.
ストアへのアップロード作業は,頻度が少なくGUIでもなんとかなるので,自動化が先延ばしされがちです.
ただ意外と作業コストがかかったりするので,早めに対応しておくに越したことはないです.
また,属人化を避けるという意味でも,GUIでの設定や操作は減らしたほうが良いでしょう.
この記事では,コマンドラインからAppStoreConnectおよびGooglePlayConsoleへのアップロードする方法例を紹介します.
環境
Mac mini(2018)
macOS Mojave 10.14.4
Xcode 11.0
ipaをAppStoreConnectへアップロードする
コマンドラインでipaをTestFlightへアップロードするには,altoolを使用します.
準備
・Xcodeのインストール
・AppStoreConnectにAppを用意
・ipaファイルのビルド
(・XcodeやApplication LoaderなどからAppへのビルドアップロードを試しておく)
アップロード
shellコードは,下記のような感じになります.
# !/bin/bash

readonly FILE_PATH="ipaパス"
readonly APPLE_ID="Apple ID"
readonly APPLE_ID_PASSWORD="App用パスワード"

xcrun altool --upload-app -f ${FILE_PATH} -t -ios -u ${APPLE_ID} -p ${APPLE_ID_PASSWORD}
altoolのオプションは下記です.
-f:ファイルパス
-t:プラットフォーム(osx | ios | appletvos)
-u:Apple ID
-p:パスワード.Apple IDのページから,App用パスワードを取得します
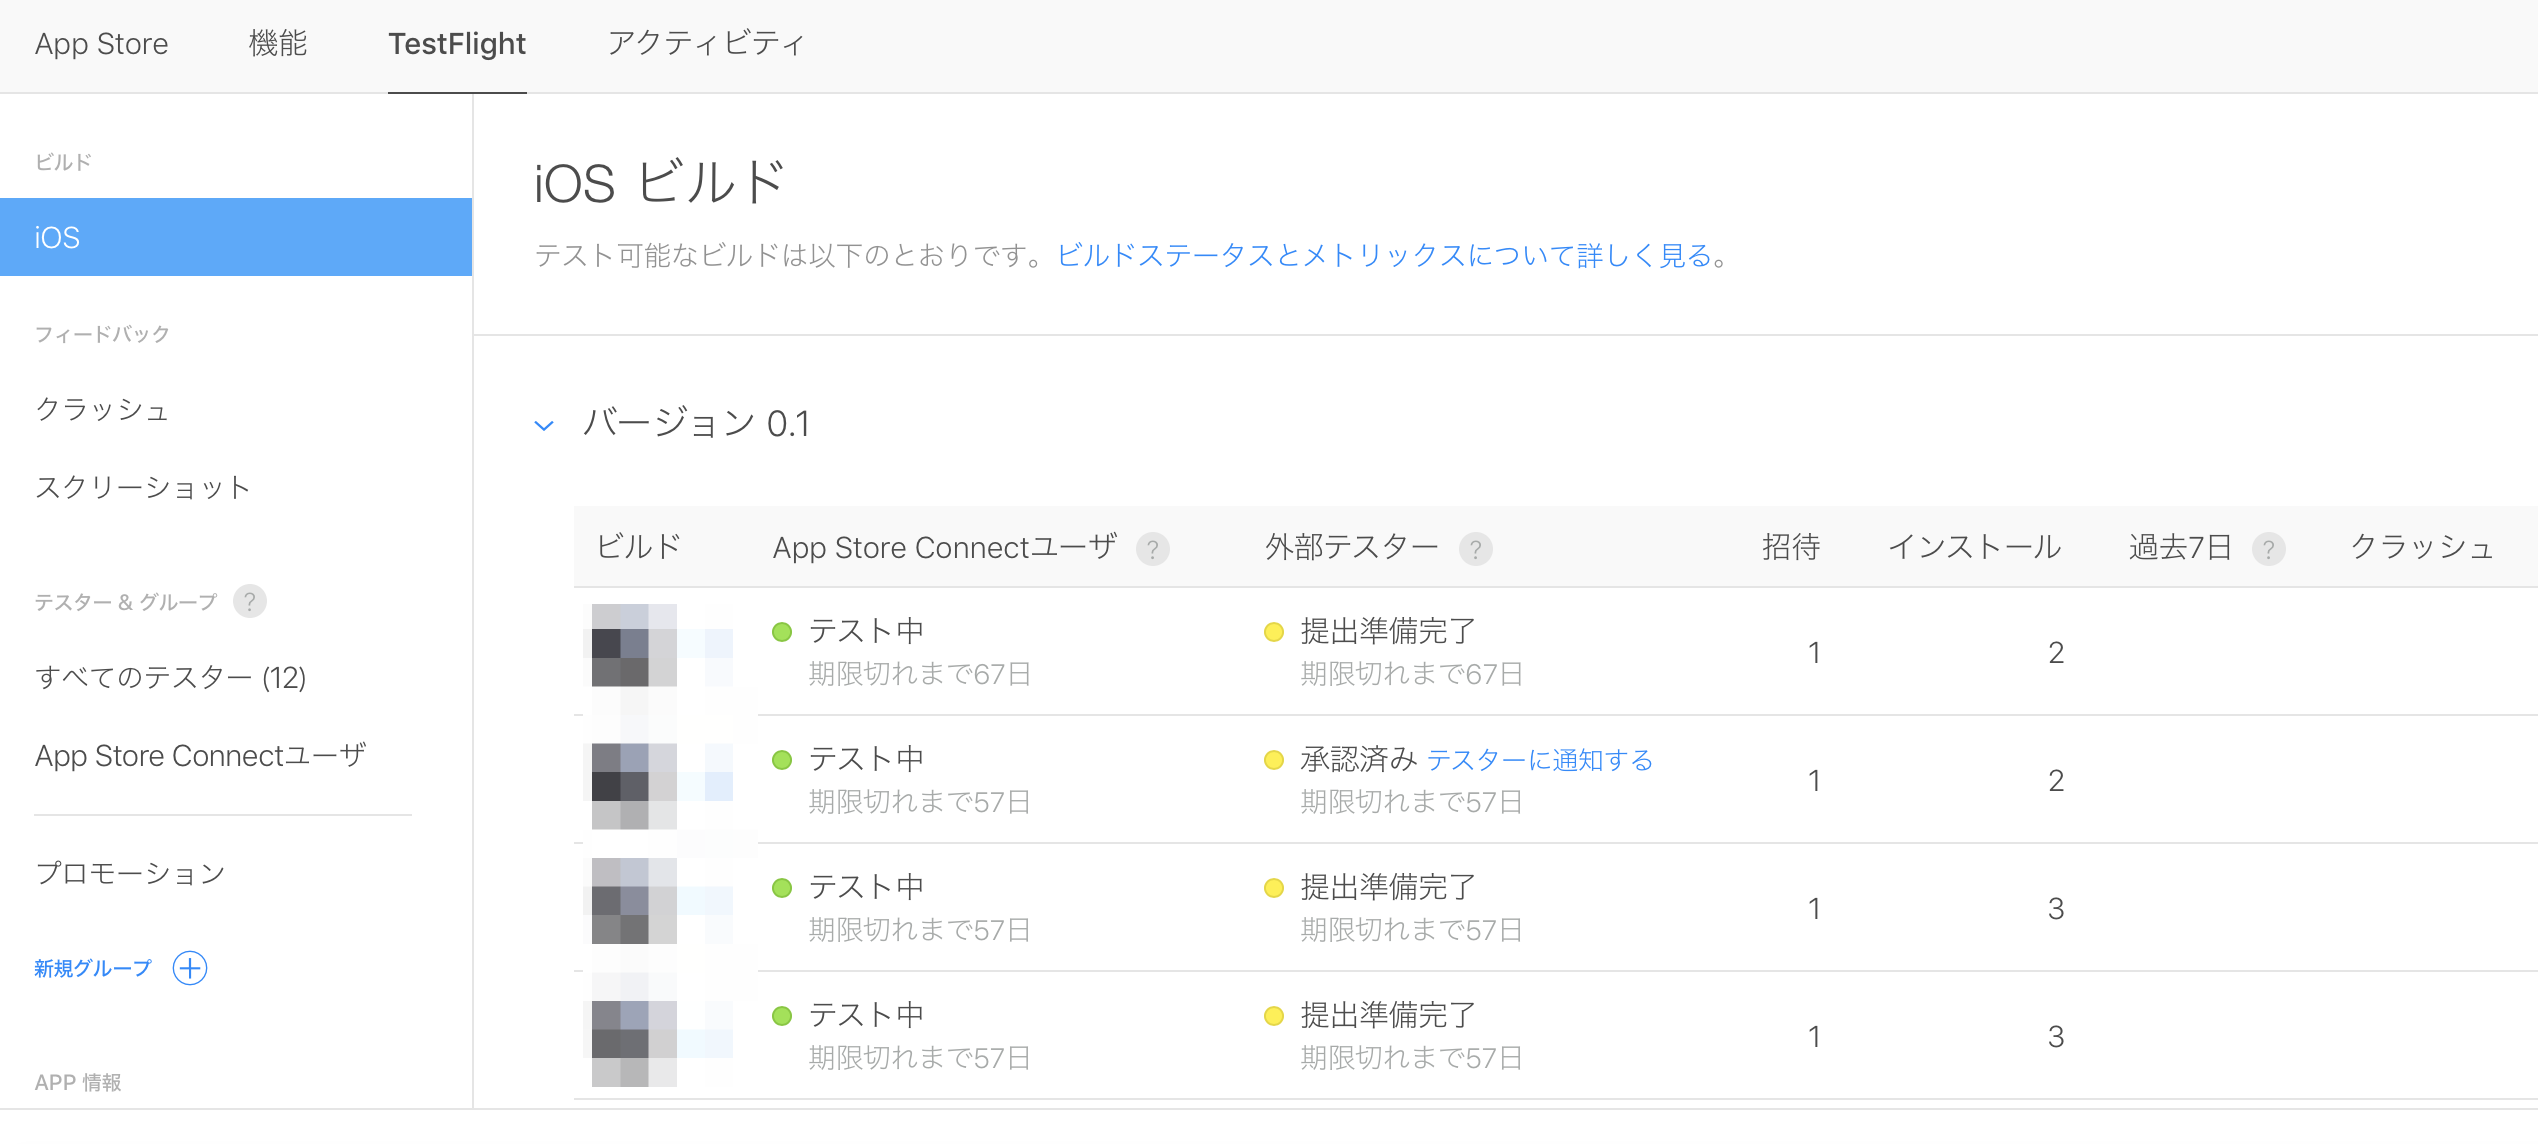
sample_apple.shを実行すると,AppStoreConnectのTestFlightのページにビルドがアップロードされます.

アップロード後,ビルド情報画面から輸出コンプライアンスを提出すれば,TestFlightからインストールできるようになります.

apkをGooglePlayConsoleへアップロードする
コマンドラインからapkをGooglePlayConsoleへアップロードするにはいくつか手段がありますが,今回はオーソドックスなgoogle-api-python-clientを使った方法を紹介します.
準備
・GooglePlayConsoleにアプリを用意
・サービスアカウントを作成して,EMAILとKEYファイルを取得する
・apkファイルのビルド
・pythonとgoogle-api-python-clientのインストール
$ brew install python
$ pip3 install google-api-python-client
$ pip3 install oauth2client
$ pip3 install PyOpenSSL
※ google-api-python-clientは,Python3以降がサポートされているので,そちらに準拠します(20191218現在).
アップロード
pythonコードは,ライブラリを利用したサンプルや,こちらの記事を参考にして,下記のような感じにしてみました.
# !/usr/bin/python
# -*- coding: utf-8 -*-
#
# Copyright 2014 Google Inc. All Rights Reserved.
#
# Licensed under the Apache License, Version 2.0 (the "License");
# you may not use this file except in compliance with the License.
# You may obtain a copy of the License at
#
#      http://www.apache.org/licenses/LICENSE-2.0
#
# Unless required by applicable law or agreed to in writing, software
# distributed under the License is distributed on an "AS IS" BASIS,
# WITHOUT WARRANTIES OR CONDITIONS OF ANY KIND, either express or implied.
# See the License for the specific language governing permissions and
# limitations under the License.

"""Lists all the apks for a given app."""

import argparse

from apiclient.discovery import build
from oauth2client.service_account import ServiceAccountCredentials

import httplib2

SERVICE_ACCOUNT_EMAIL = ('ENTER_YOUR_SERVICE_ACCOUNT_EMAIL_HERE@developer.gserviceaccount.com')
SERVICE_ACCOUNT_KEY = ('ENTER_YOUR_SERVICE_ACCOUNT_KEY_FILE_PATH')

argparser = argparse.ArgumentParser(add_help=False)
argparser.add_argument('package_name',
                       help='The package name. Example: com.android.sample')

argparser.add_argument('apk_file',
                       help='The path to the APK file to upload.')

argparser.add_argument('track_name',
                       help='The track name to upload.')

def main():
  credentials = ServiceAccountCredentials.from_p12_keyfile(
      SERVICE_ACCOUNT_EMAIL,
      SERVICE_ACCOUNT_KEY,
      scopes=['https://www.googleapis.com/auth/androidpublisher'])
  http = httplib2.Http()
  http = credentials.authorize(http)

  service = build('androidpublisher', 'v3', http=http)

  flags = argparser.parse_args()

  package_name = flags.package_name
  apk_file = flags.apk_file
  track_name = flags.track_name

  try:

    edit_request = service.edits().insert(body={}, packageName=package_name)
    result = edit_request.execute()
    edit_id = result['id']

    apk_response = service.edits().apks().upload(
        editId=edit_id,
        packageName=package_name,
        media_body=apk_file).execute()

    print ('Version code {0} has been uploaded'.format(apk_response['versionCode']))

    track_response = service.edits().tracks().update(
        editId=edit_id,
        track=track_name,
        packageName=package_name,
        body={u'releases': [{
            u'versionCodes': [str(apk_response['versionCode'])],
            u'status': u'completed',
        }]}).execute()

    print ('Track {0} is set with releases: {1}'.format(track_response['track'], str(track_response['releases'])))

    commit_request = service.edits().commit(
        editId=edit_id,
        packageName=package_name).execute()

    print ('Edit {0} has been committed'.format(commit_request['id']))

  except Exception as e:
    print (e)

if __name__ == '__main__':
  main()
Pythonを実行するshellコードは下記のような感じになります.
# !/bin/bash

readonly BUNDLE_ID="バンドルID"
readonly FILE_PATH="apkパス"
readonly TRACK_NAME="アップロードするトラック名"

python3 sample_goole.py ${BUNDLE_ID} ${FILE_PATH} ${TRACK_NAME}
sample_google.shを実行すると,GooglePlayConsoleの指定のトラックにapkがアップロードされます.
GooglePlayConsoleの方は,テスターを設定しておけば,これでストアからインストールできるようになります.

まとめ
コマンドラインでビルドをストアへアップロードする手法を紹介しました.
必要最低限の機能ですが,リリース前の開発段階であれば事足りるかと思います.
明日は @sumchun さんの記事です.