前置き
AutoLayoutでViewのサイズやUIレイアウトをパーセント指定する方法 でpercentレイアウトする方法が記述されてておおーってなりました。
記事内ではダミービューを使った手順がメインに解説されていたので、実験の意味を込めて自分なりに手順をまとめてみました。
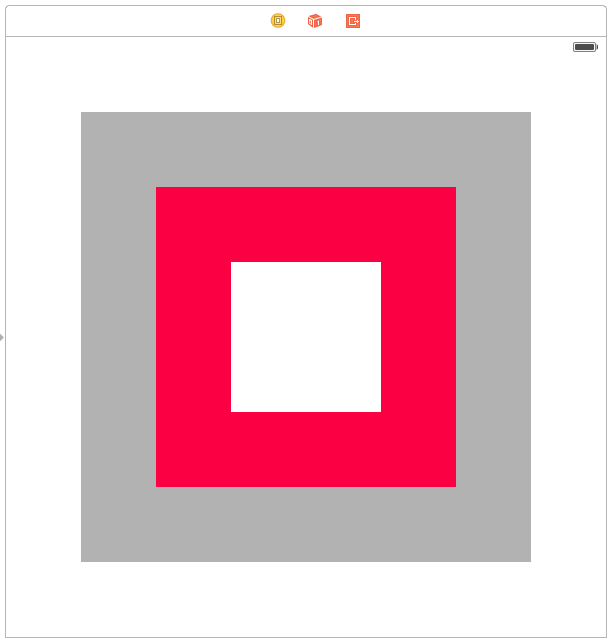
作成するレイアウト
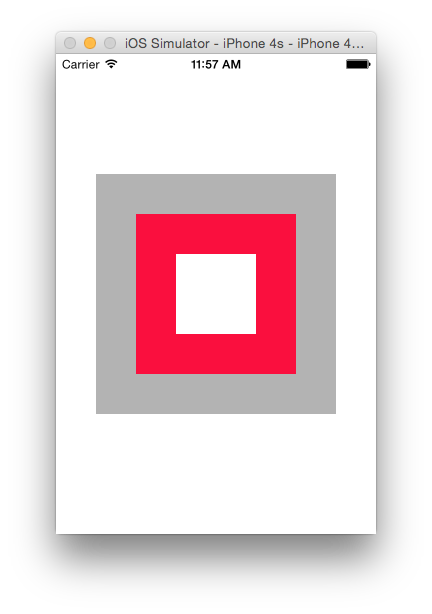
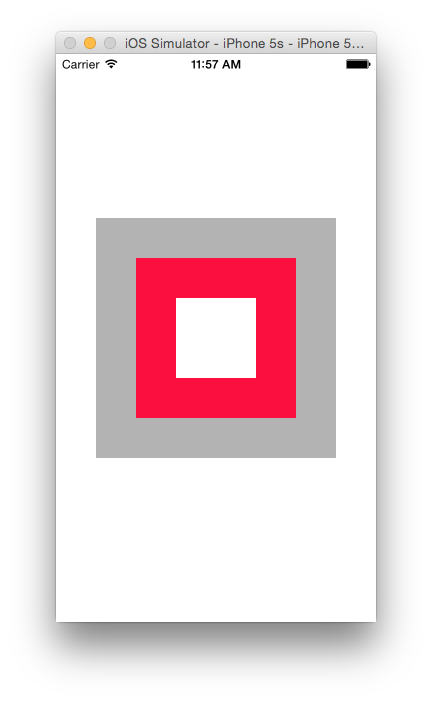
横幅に対して75%, 50%, 25%の正方形を配置するレイアウトです。
見た目のズレのわかりやすさから3つ配置しました。
手順では省いていますが、正確にこのレイアウトを作るには別途中央寄せとAspectRatioの制約を設定してください。
Proportional Widthの設定の仕方
要約
AutoLayoutには、Equal Width というconstraintsが設定できるのですが、この設定内のMultiplier値を1 から任意の数に変更することで、親のViewに対して1/4のサイズにするなどの等倍以外の制約を設定できます。
手順
順に手順を見ていきます。
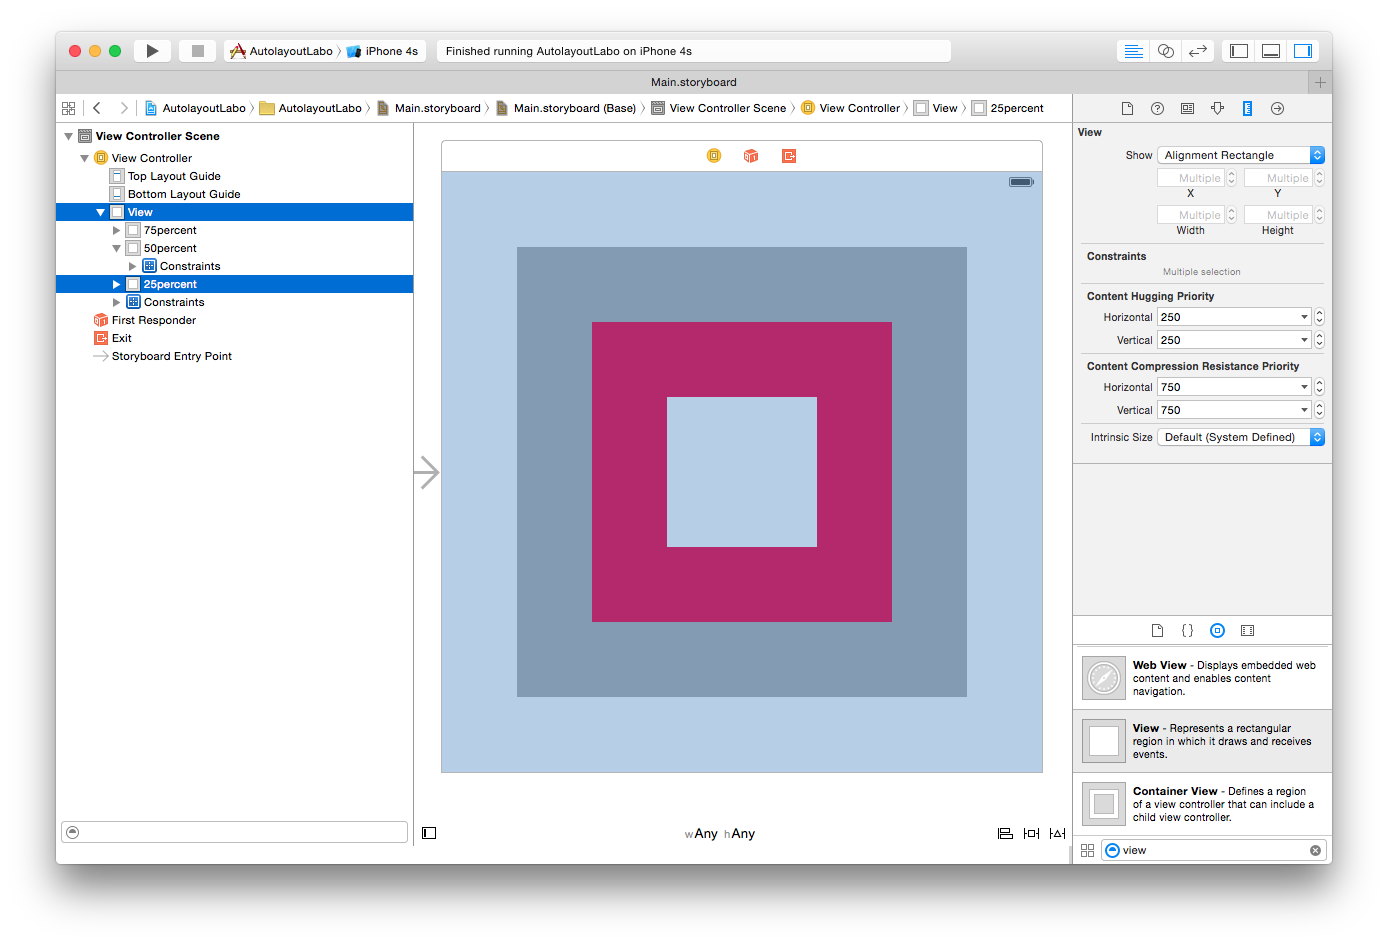
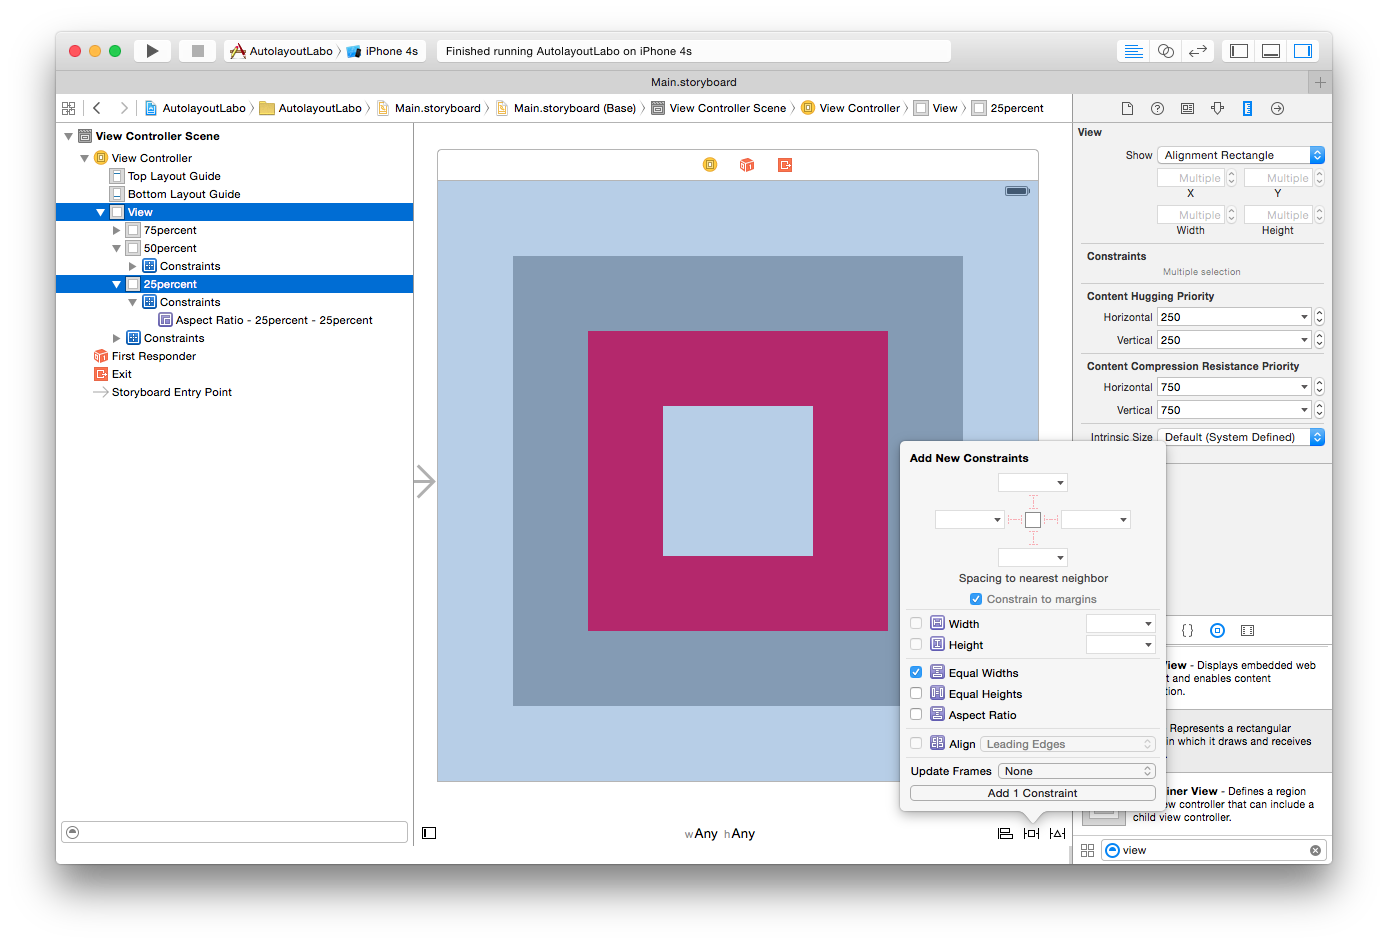
- 親のViewとViewを選択
- Add New ContstraintsからEqualWidthを選択
- 対象のViewの
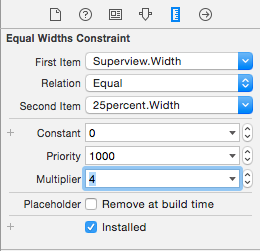
Equal Widths Contstraintを選択して項目値のMultiplierを親のViewに対する目的の比に設定する
例えば25%にしたいのであれば、4倍すると親のViewのサイズになるので、子のViewのMultiplierを4に設定します。
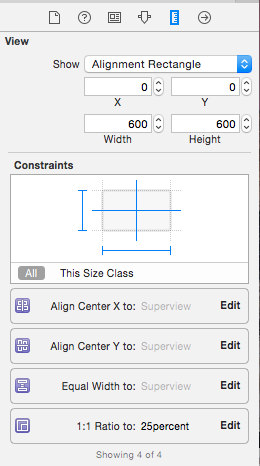
対象のViewを選択した時のContstraintsの一覧を見た時に、 Equal Width to: Superview が Proportional Width to: Superview に変更されていればOKです。
| Multipler設定前 | Multipler設定後 |
|---|---|
 |
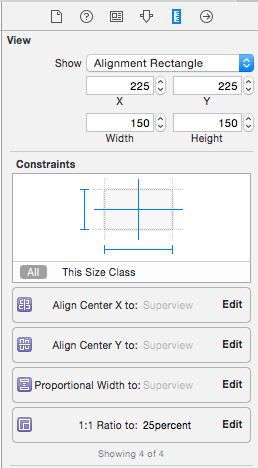 |
Multiplierが1以外になると、Xcodeの表示が Equal Width から Proportional Width に変更になります。
動作確認
| iphone4s | iphone5s | iphone6 | iphone6p |
|---|---|---|---|
 |
 |
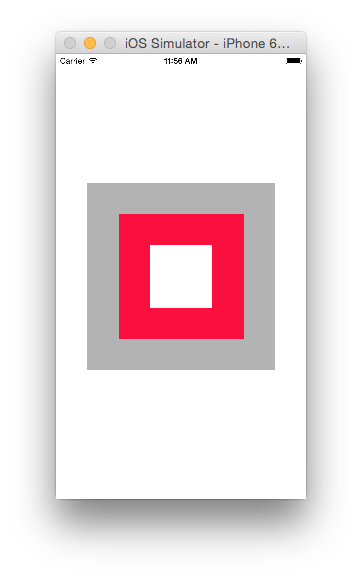 |
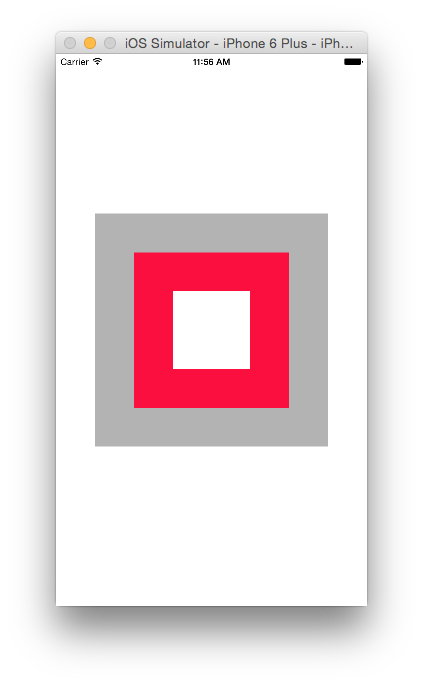 |
すべてのサイズで期待どおりのサイズで配置できました。
