Windows Subsystem for Linux(以下、WSL)の導入方法について、
自分用の覚書として残しておきます。
WSLのGithubリポジトリ( Github WSL )にて
ユーザーからissueを収集している。
1. 環境構築
1.1. Windows上でWSLを有効にする
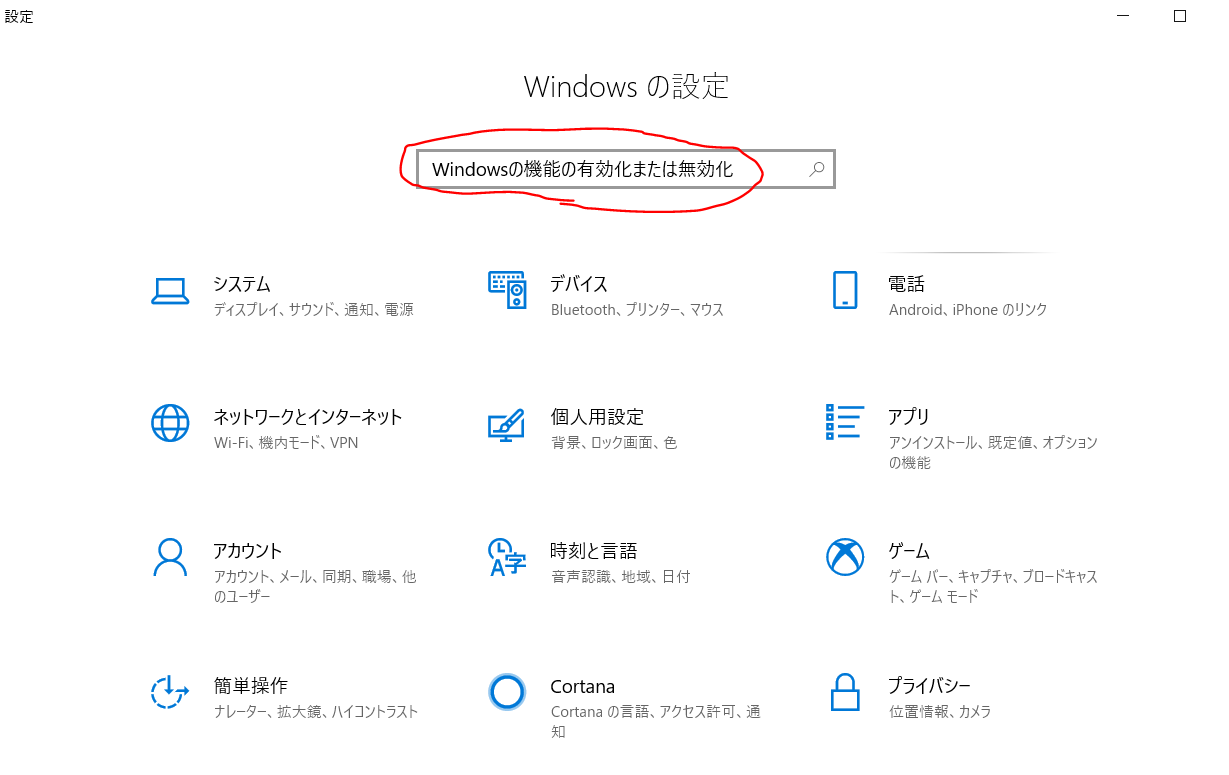
- Windowsの設定画面で「Windowsの機能の有効化または無効化」を検索
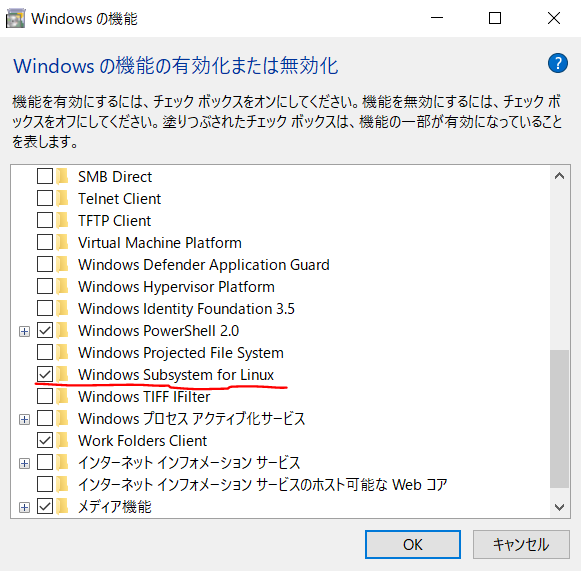
- Windowsの機能 ダイアログにて WSLのチェックボックスをONにする
一度PCを 再起動 する
1.2. Ubuntuをインストールする
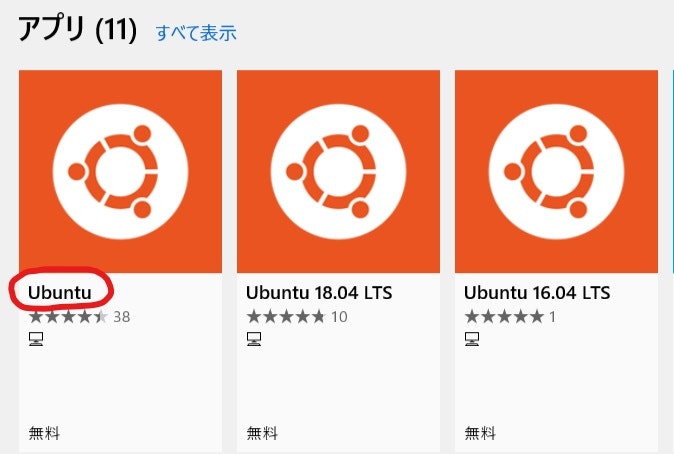
- Microsoft Store で Ubuntu を検索
- Ubuntu, Ubuntu 18.04, Ubuntu 16.04 の三種類が表示されるがUbuntuを選ぶ
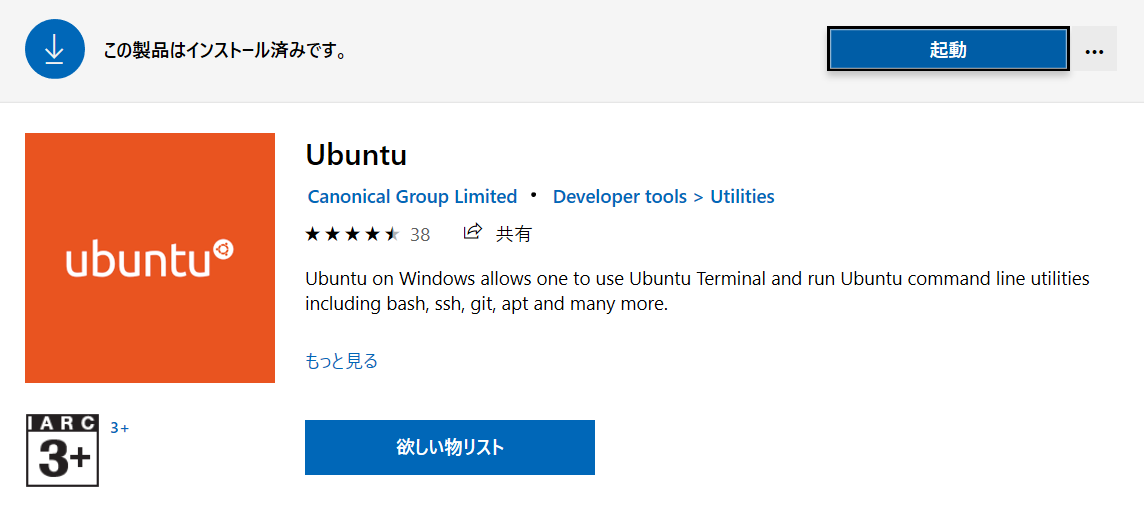
- 起動ボタンを押下
1.3. ユーザーを作成する
- ユーザー名とパスワードを登録する
$ Please enter a UNIX user name: ubuntu_user # ユーザー名を入力(Windowsのユーザではない)
$ Enter new UNIX password:     # パスワードを入力
1.4. パッケージ更新
$ sudo apt update
$ sudo apt upgrade -y
2. 起動方法
- Ubuntuアプリを起動する
2. Ubuntuアプリ用のターミナルが開く - コマンドプロンプトで
wslと入力
3. コマンドプロンプト上でWSLが起動する
3. Windowsとフォルダを共有する方法
Windows上の C:\dir にはUbuntu上で /mnt/c/dir でアクセス可能
ショートカットを作っておくと楽
$ ln -s /mnt/c/dir ~/dir
注意
- Ubuntu上のファイルは文字コードUTF-8
- Windows上のエディタで操作するときはUTF-8で保存する
4. WSLの実体がある場所(直接さわらない!)
C:\Users{user_name}\AppData\Local\Packages \CanonicalGroupLimited.UbuntuonWindows_{random_string}\LocalState\rootfs
5. コマンドプロンプトからLinux操作
やり方は簡単で、wsl コマンドの引数にLinuxコマンドを入力する。
C:\Users\user> wsl sudo apt update
C:\Users\user> wsl sudo apt upgrade -y
Windows起動時にUbuntu上でルーティンワークを実行するときのスクリプトなんかで役に立つ


