1
0

Delete article

Deleted articles cannot be recovered.

Draft of this article would be also deleted.

Are you sure you want to delete this article?

More than 3 years have passed since last update.

@angular/cliのインストールからAngularプロジェクト作成まで

Last updated at Posted at 2020-10-08

#はじめに
今回は@angular/cliのインストールをしてから実際にAngularプロジェクトを実行するまでを書いていきます!
Node.jsがインストールされている必要があるので、
まだインストールできていない人はNode.jsのインストール方法(Windows)を見てね!

#目次

  1. @angular/cliのインストール
  2. ng new コマンドでAngularプロジェクトの作成
  3. 実際にブラウザで確認してみよう!

#1. @angular/cliのインストール

  • 「npm install -g @angular/cli」を実行するだけです
$ npm install -g @angular/cli
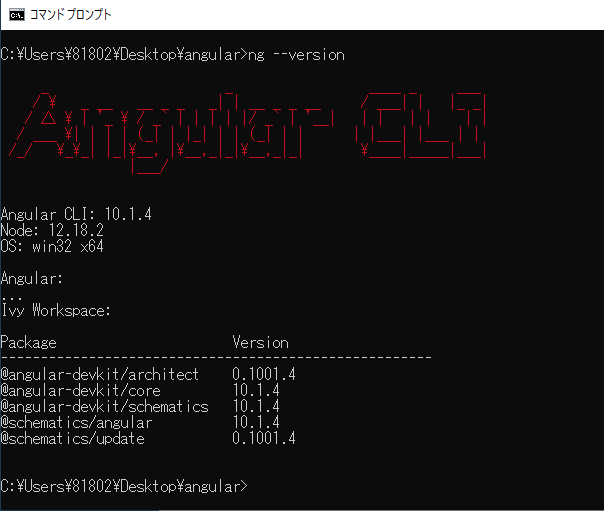
  • インストールされているかを確認するには「ng --version」を実行し、下図のように表示されていれば成功!
$ ng --version

angularcli_01.png

#2. ng new コマンドでAngularプロジェクトの作成

  • 「ng new project-name」を実行すると作成されます(project-nameは自分の好きな名前で作れます)
$ ng new sample
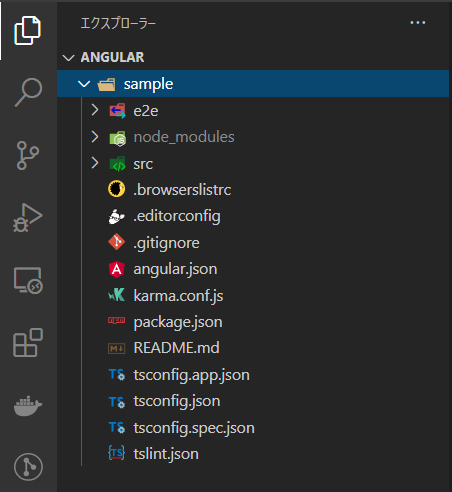
  • 下図のようにproject-name(今回はsample)のフォルダが作成されて、その中にAngularのプロジェクトが出来上がります

angularcli_02.png

#3. 実際にブラウザで確認してみよう!

  • 作成されたプロジェクトフォルダに移動し「ng serve」を実行!
$ cd sample
$ ng serve
  • 下図のように「Compiled successfully」と表示されていればOK!

angularcli_04.png

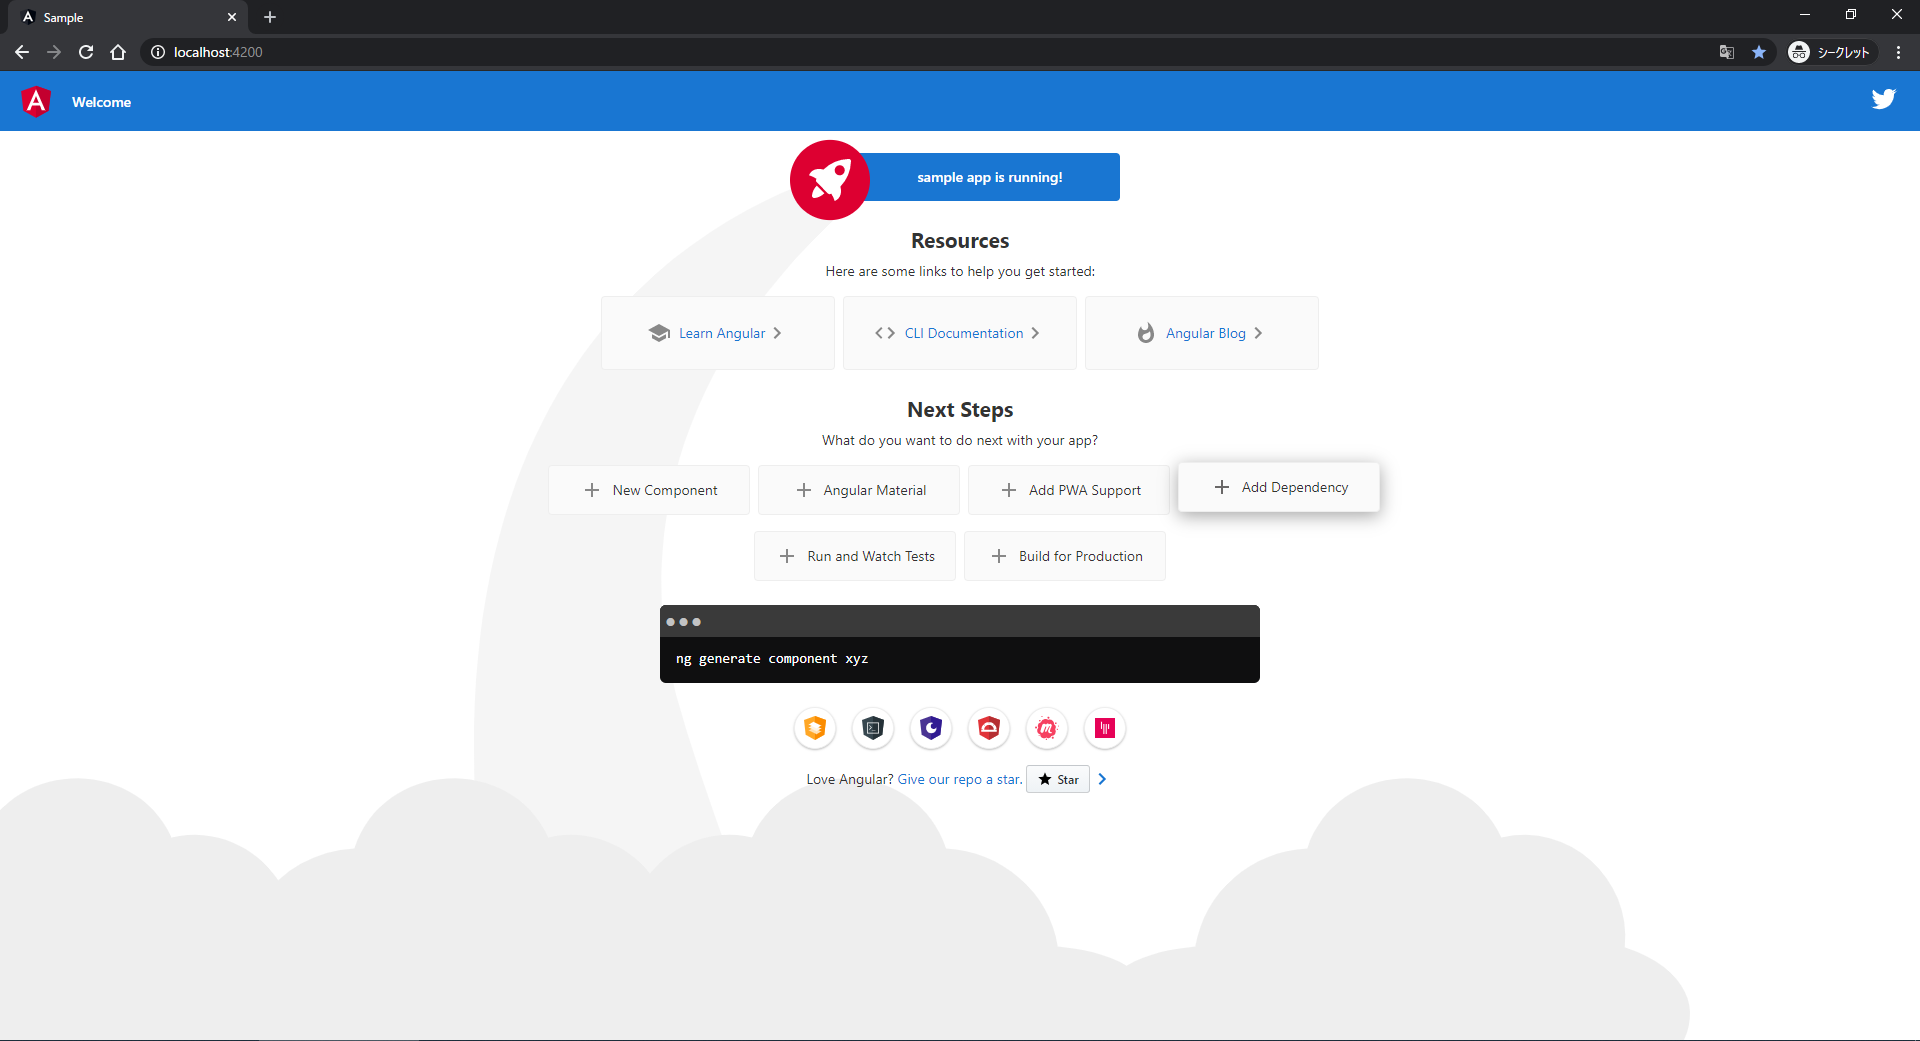
  • ブラウザを開いて「http://localhost:4200」にアクセスし下図のような画面が表示されていれば成功!
angularcli_05.png

1
0
0

Register as a new user and use Qiita more conveniently

  1. You get articles that match your needs
  2. You can efficiently read back useful information
  3. You can use dark theme
What you can do with signing up
1
0

Delete article

Deleted articles cannot be recovered.

Draft of this article would be also deleted.

Are you sure you want to delete this article?