はじめに
当記事は、以下の2記事の続編です。
* Githubでデータ共有 その1 Githubユーザー登録編
* Githubでデータ共有 その2 インビテーション編
2つめの記事の最後で説明したように、インビテーションへのAcceptが終わった段階で、privateなリポジトリへのアクセスは。ブラウザ経由ですでに可能です。しかし、Github Desktopを使うと、リポジトリへのアクセスの勝手が格段よくなります。
当記事はその設定をするための手順書ということになります。
#手順
ブラウザから次のリンクを入力します。

上の画面になったら、「Download for Windows (64bit)」のボタンをクリックします。

上の画面になったら「実行」をクリック

上の画面でしばらく待っていると、次の画面に遷移します。

上の画面では、枠で囲まれた「Skip this step」を選択します。
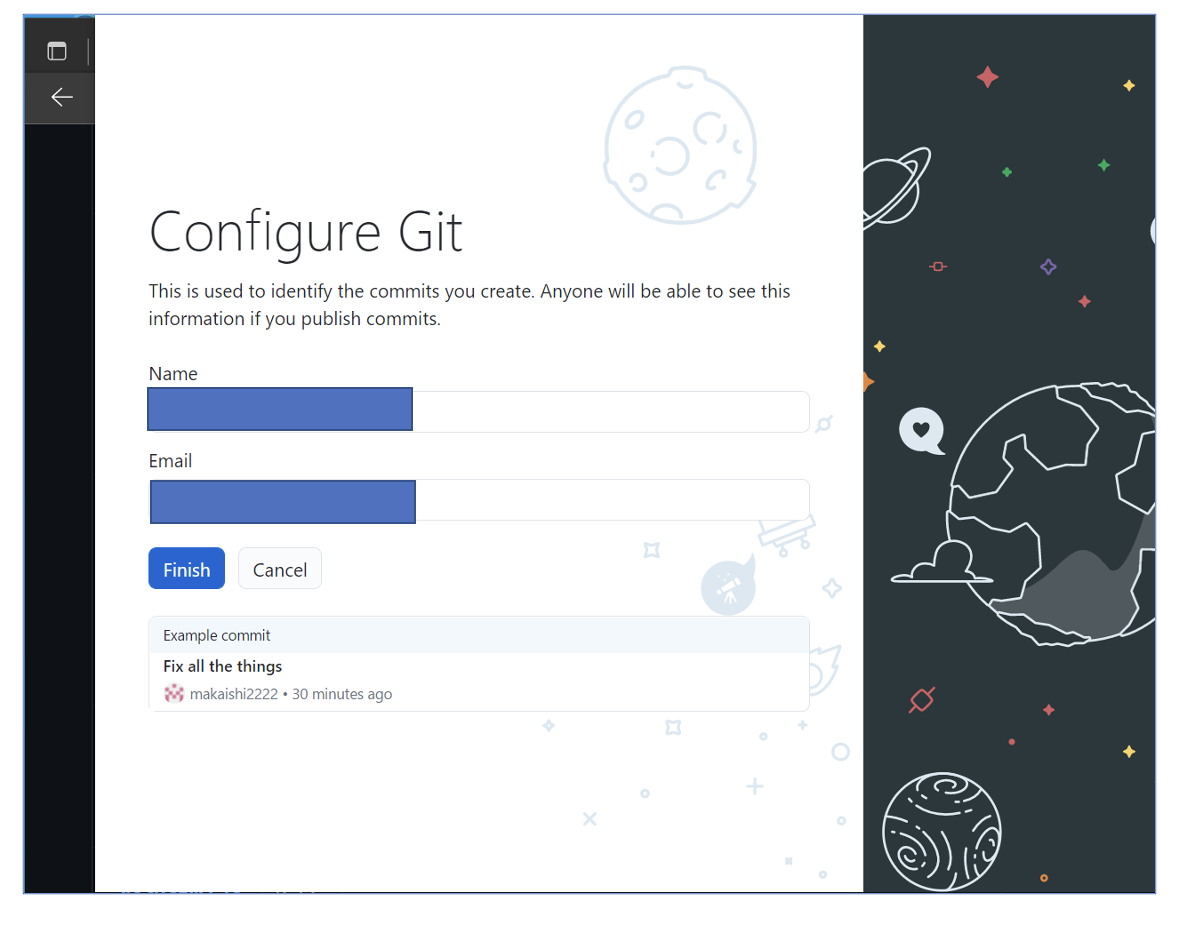
NameとEmailには、Githubのユーザー登録で利用したUsernameとEmailを指定し、「Finish」をクリックします。

上の画面になったら、一番上の「Create a repository from the Internet」をクリックします。

上の画面になったら。、デフォルトの「GitHub.com」タブが選択された状態で、「Sign in」をクリックします。
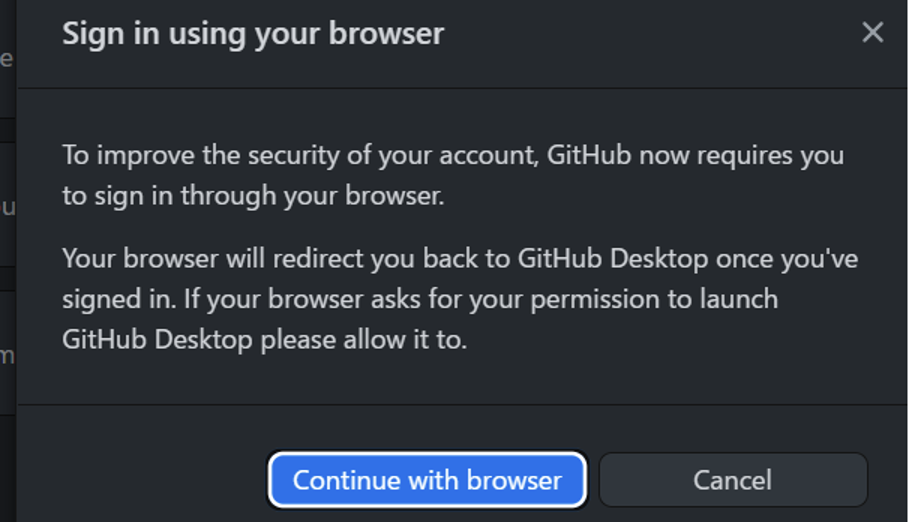
上の画面では「Continue with browser」をクリックします。

再び上の画面になると、図のようにアクセス可能なリポジトリが見えているはずなので、それを選択します。

上の画面で右下の「Clone xxx」のボタンをクリックします。

すると、上のような画面になります。ここで黄枠で囲んだ「Local path」に注目して下さい。このパスは、クラウド上のリポジトリをローカルPCのどのパスにダウンロードするかを示しています。必要であれば、このパスを変更します。
ローカルパスを確認したら、画面右下の「Clone」をクリックします。

上のような画面になれば、クラウド上とローカルファイルの同期に成功しています。

エクスプローラーで先ほど確認したローカルパスを見た結果が上の画面です。リポジトリと同じファイルがローカルにコピーされています。

クラウド上のリポジトリとローカルのファイルにずれがある場合は、次のような画面になります。このような場合「Pull origin」のボタンをクリックすると、2つのリポジトリ間の同期が取られます。