*git とは = バージョン管理ツール
webサイトはエンジニア、コーダー、フロントエンドなど様がサイトを修正する事になる。
例えば、コーダーが作業している際にエンジニアの人が作業できなくなる。
ディレクトリ(フォルダ)を渡してもいいが人的ミスの原因になる。
また、作業した人のパソコンにバックアップを残しておく事になるので記録を遡れる。
-作業ロス人的ミス
-パソコン圧迫
上記の事を解決したい。
そこで、複数の人が作業して一箇所にデータを集める場所と送る方法があったらいい。
なので、gitを使う。
GitHub = リモートリポジトリ(データを一箇所に集める場所。)
自分のパソコンのディレクトリ(フォルダ) = ローカルリポジトリ
Linux,gitコマンド(言語) = これを使いパソコンに指示する
ターミナル(mac),gitbash(windows) = linux,gitコマンドを書く場所。
参考にした資料
・運用フロー
・githubでリモートリポジトリ作成後の参考
II. Local PC側の作業 - 最初のみ
III. Local PC側の作業 - 日々の作業
・詳しい流れ
*github登録
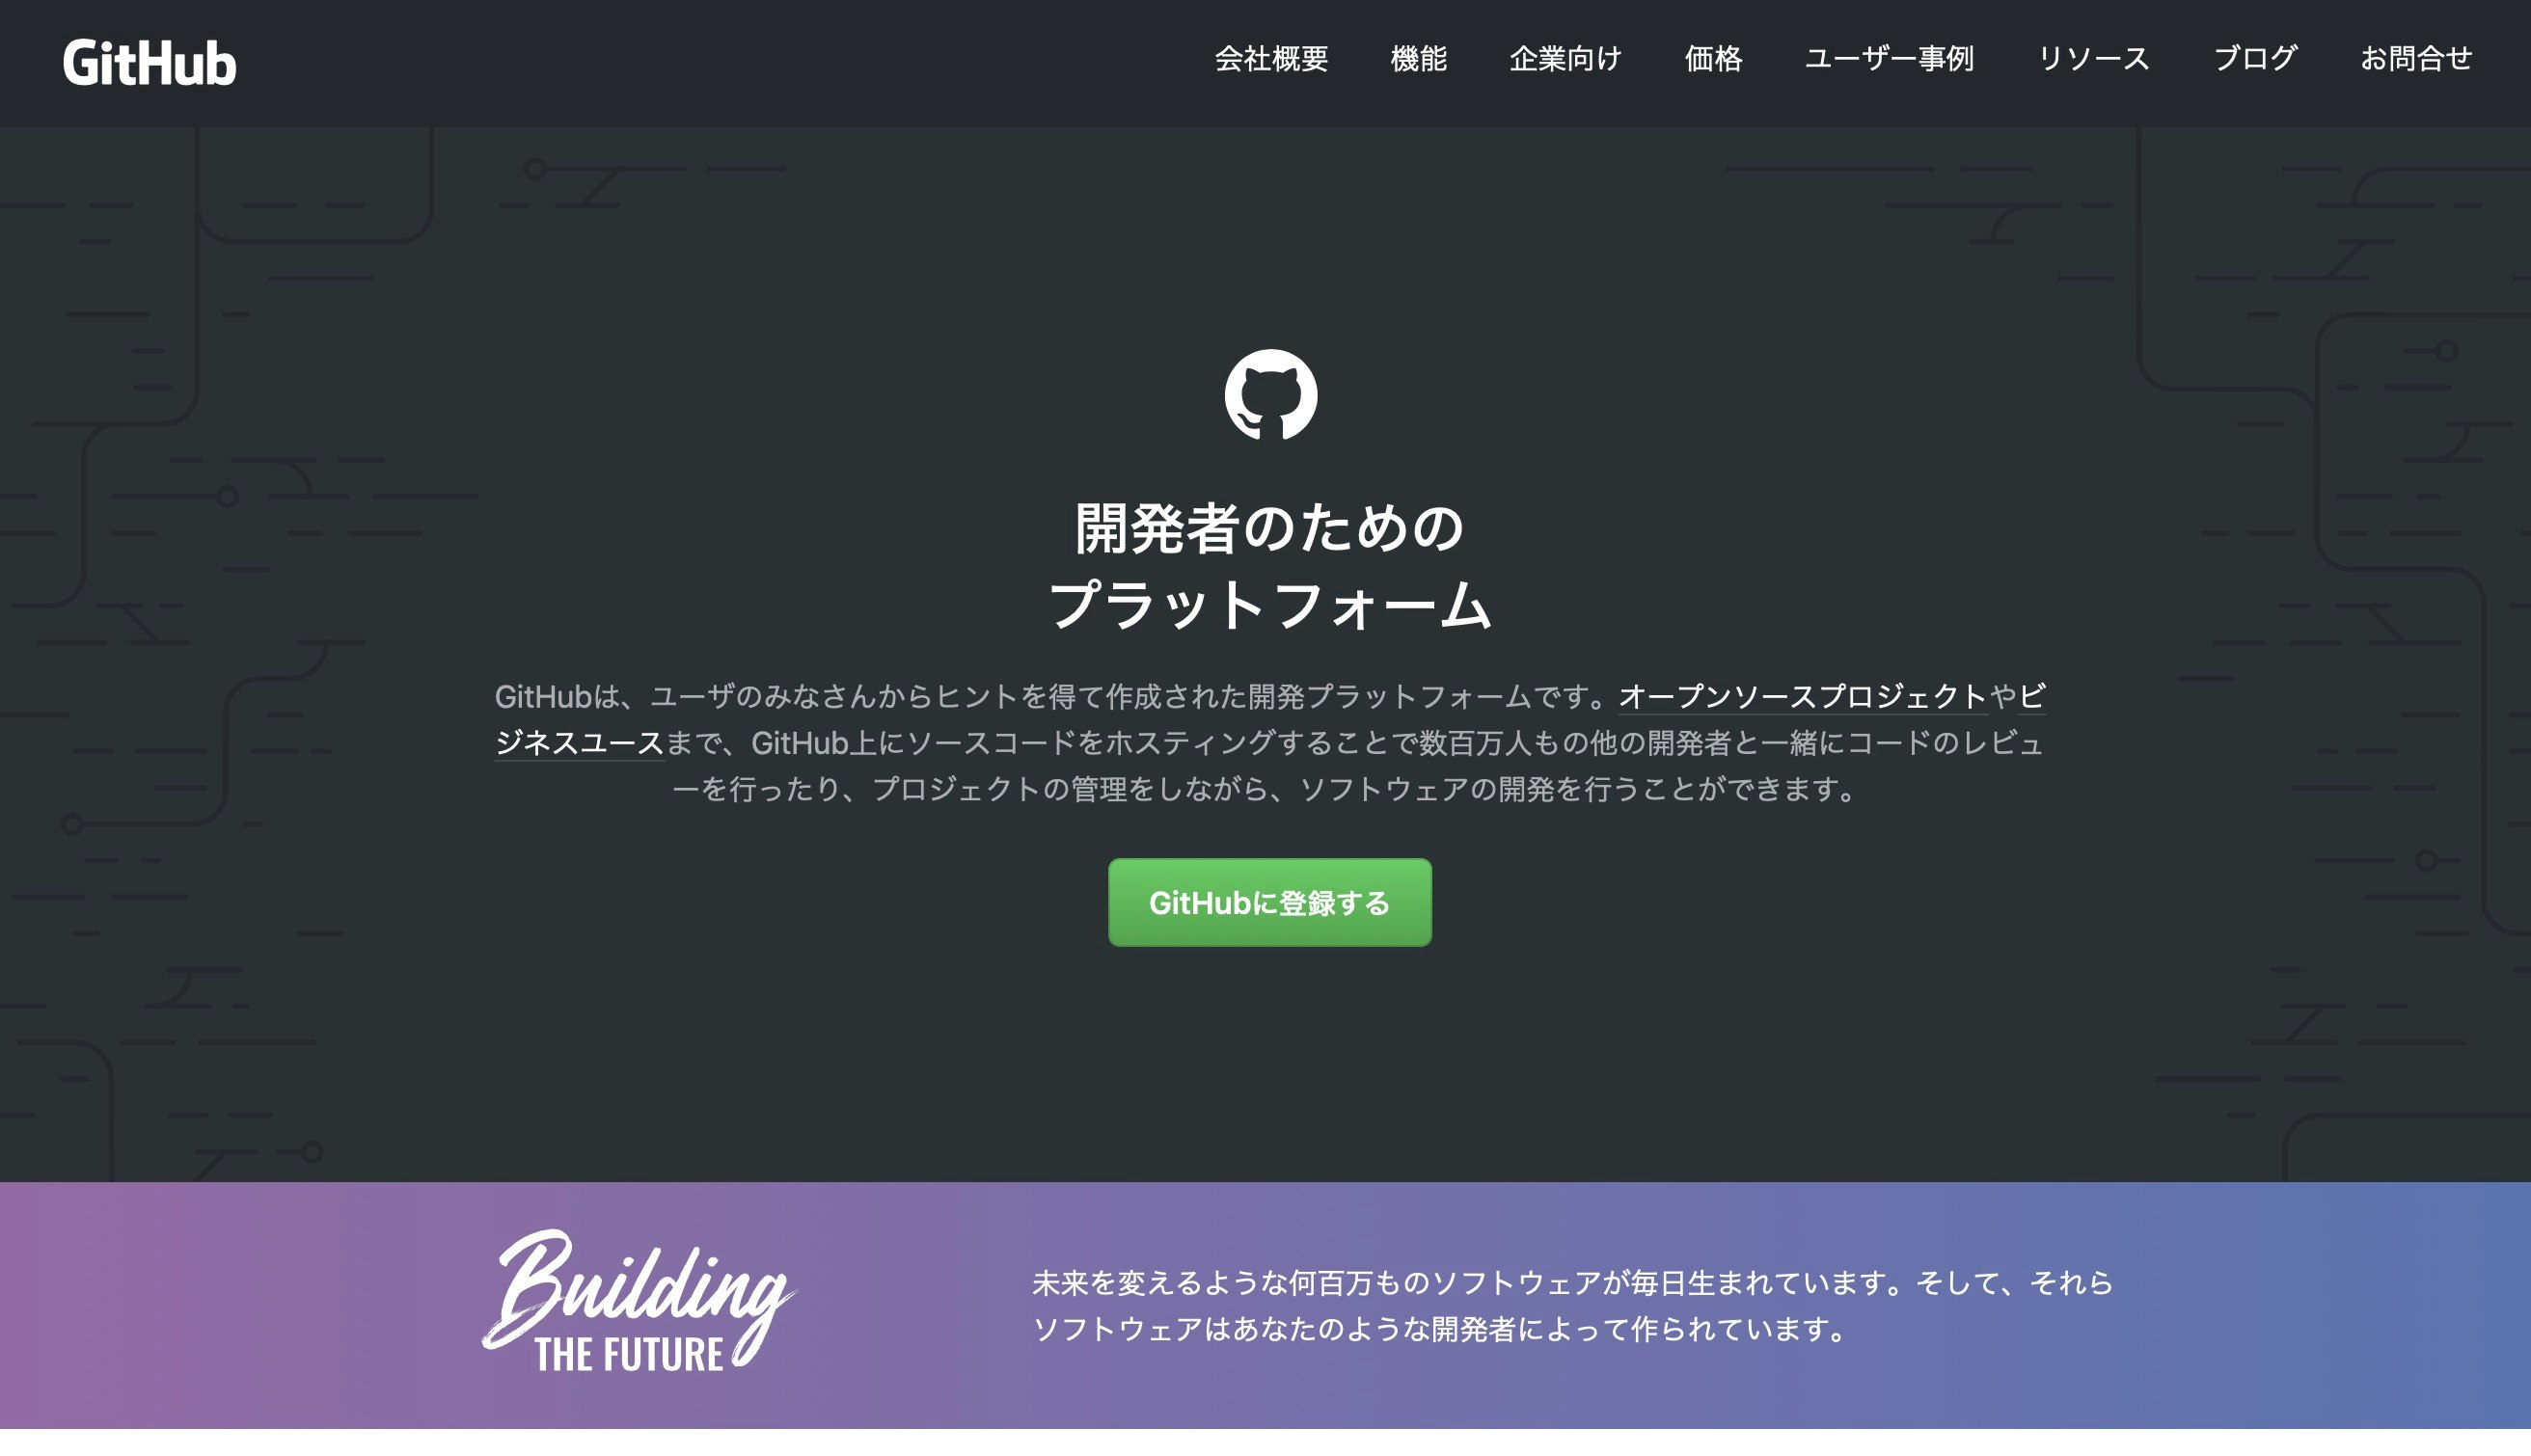
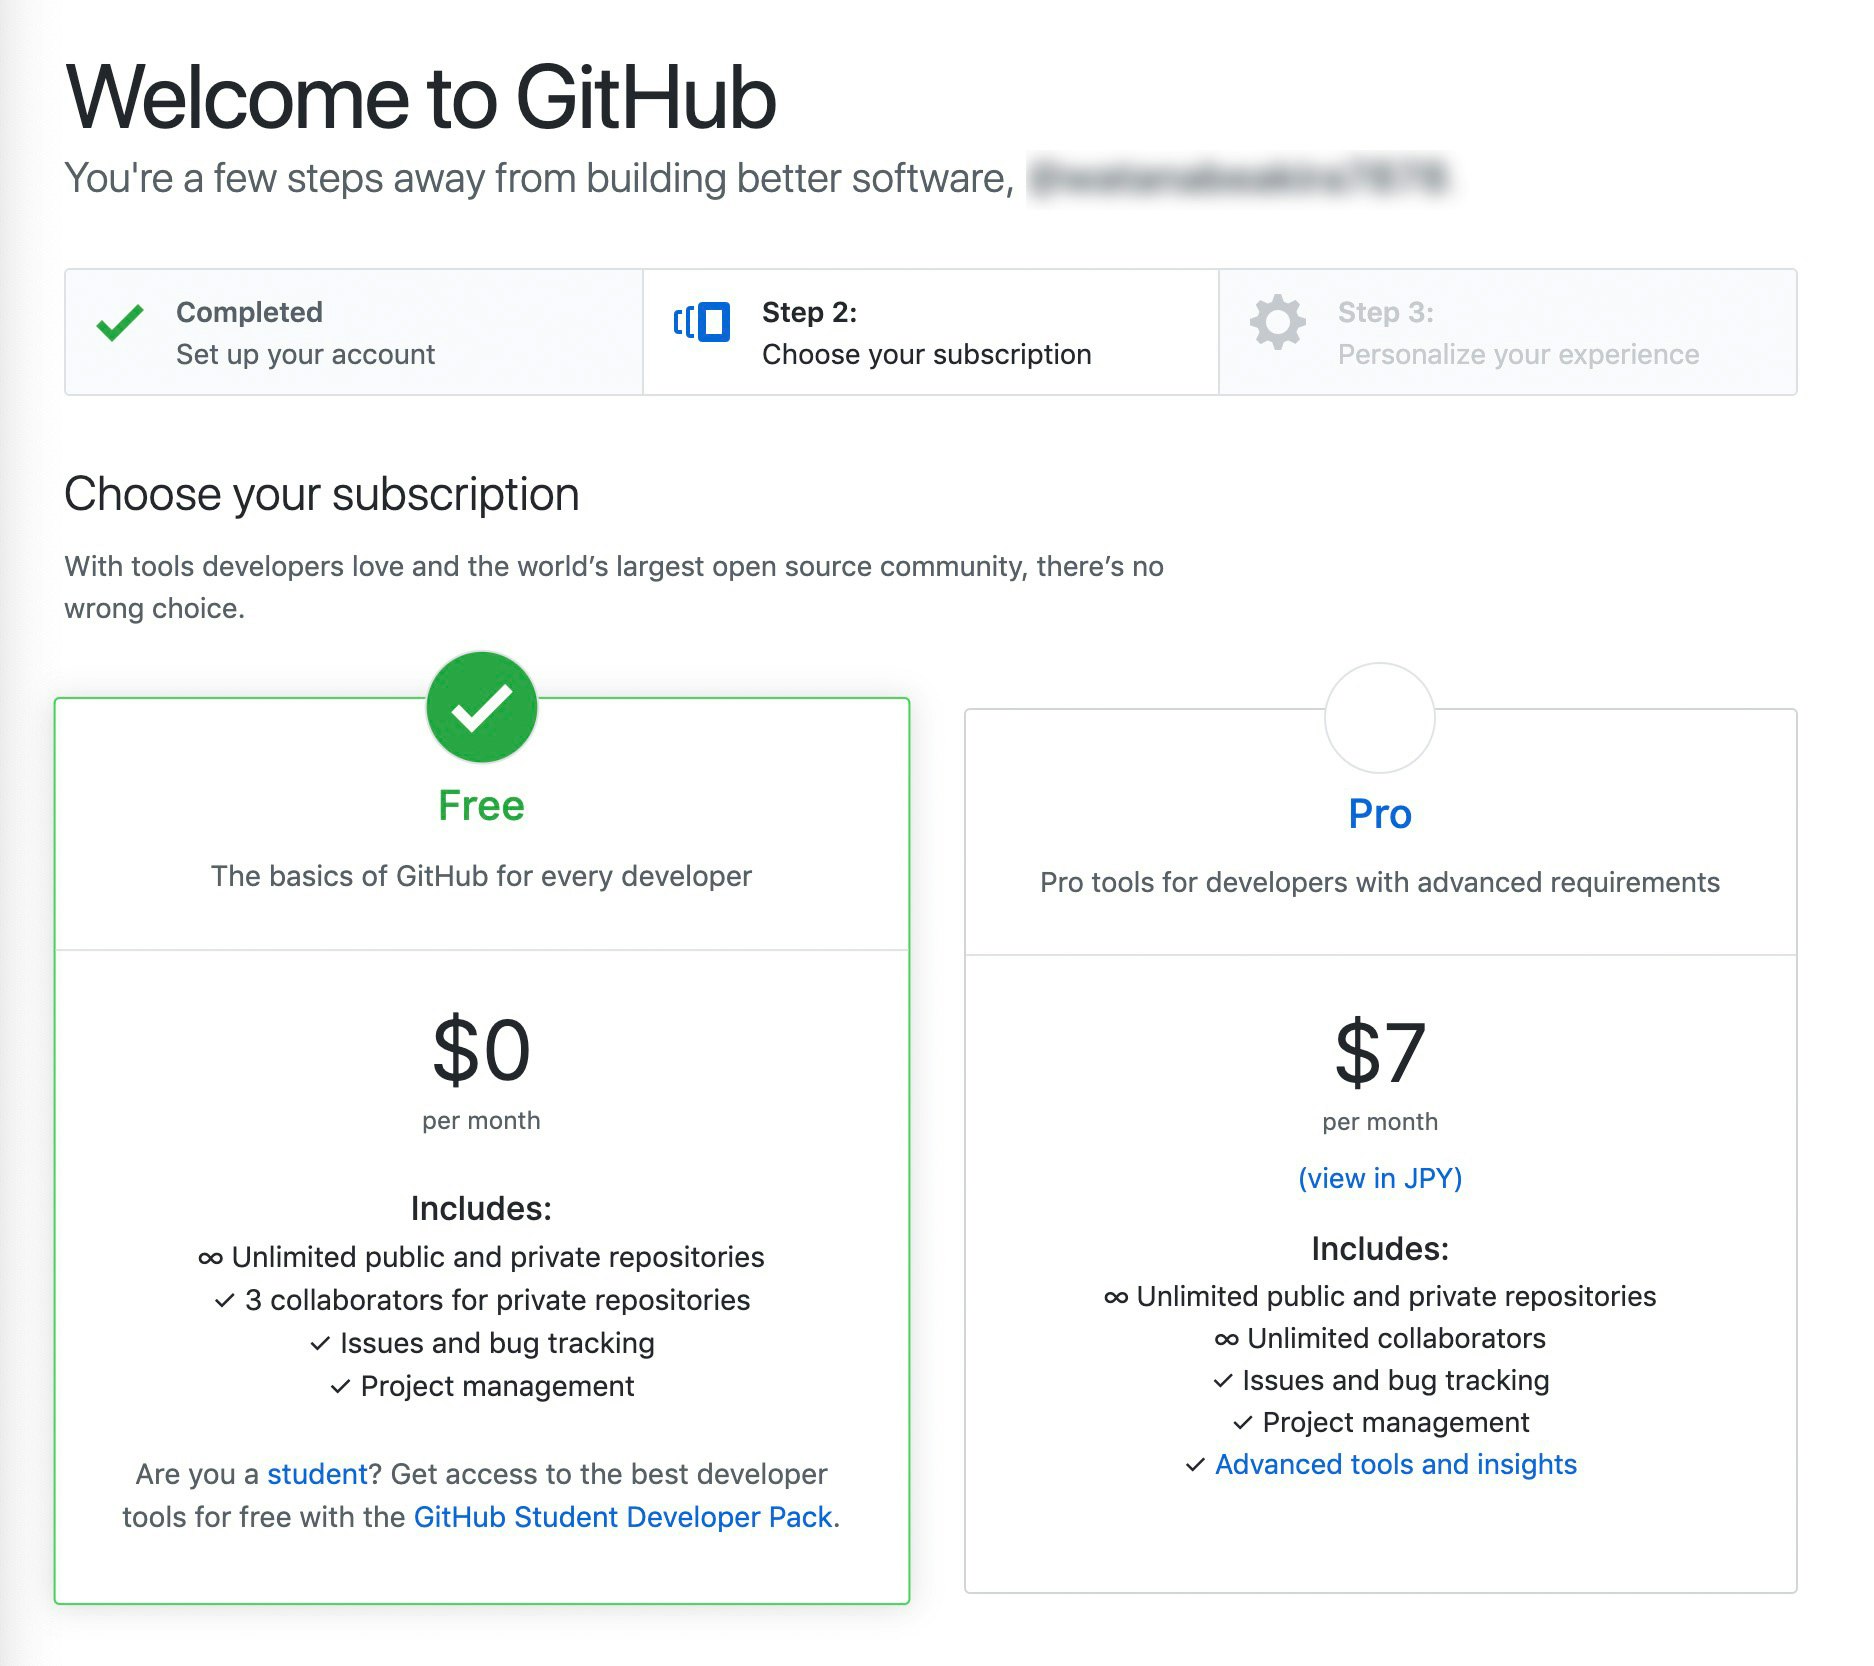
入ると上記の画面が表示されるので、「GitHubに登録する」ボタンを押す。
feeの方を選択してクリック。
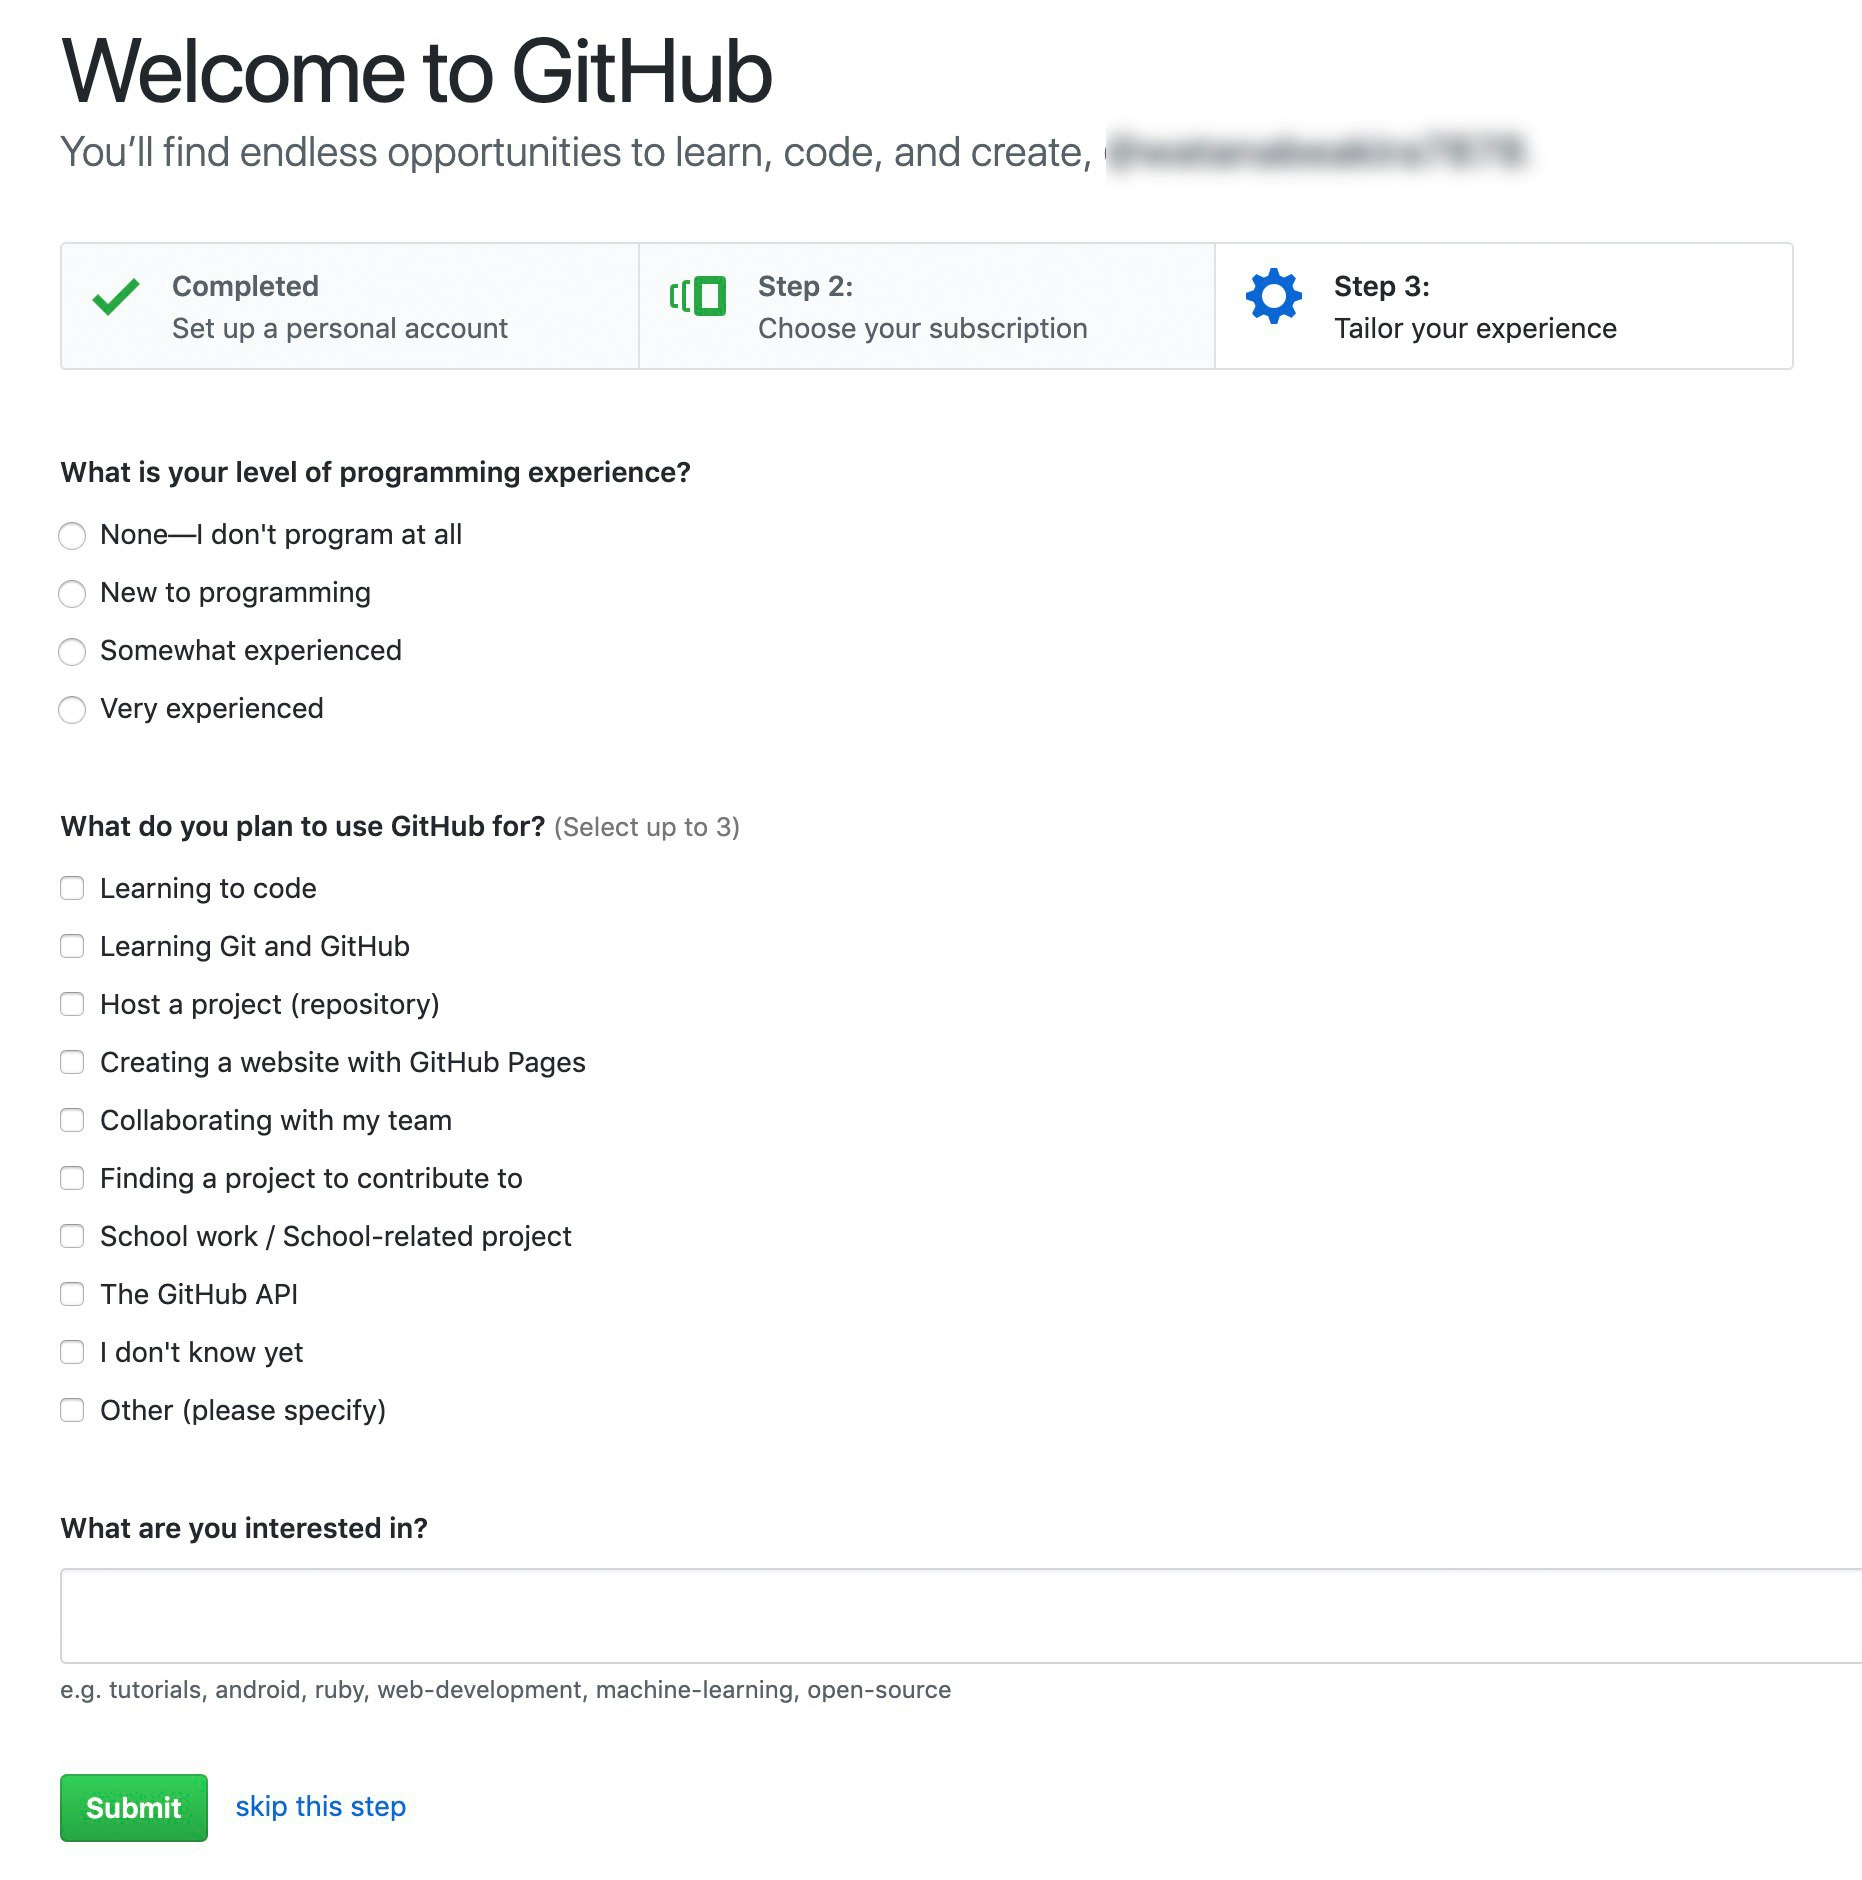
アンケート画面になるので、
None-I don't program at all
learming to code
をとりあえず選択して「submit」ボタンをクリック。(どれを選んでも大丈夫)
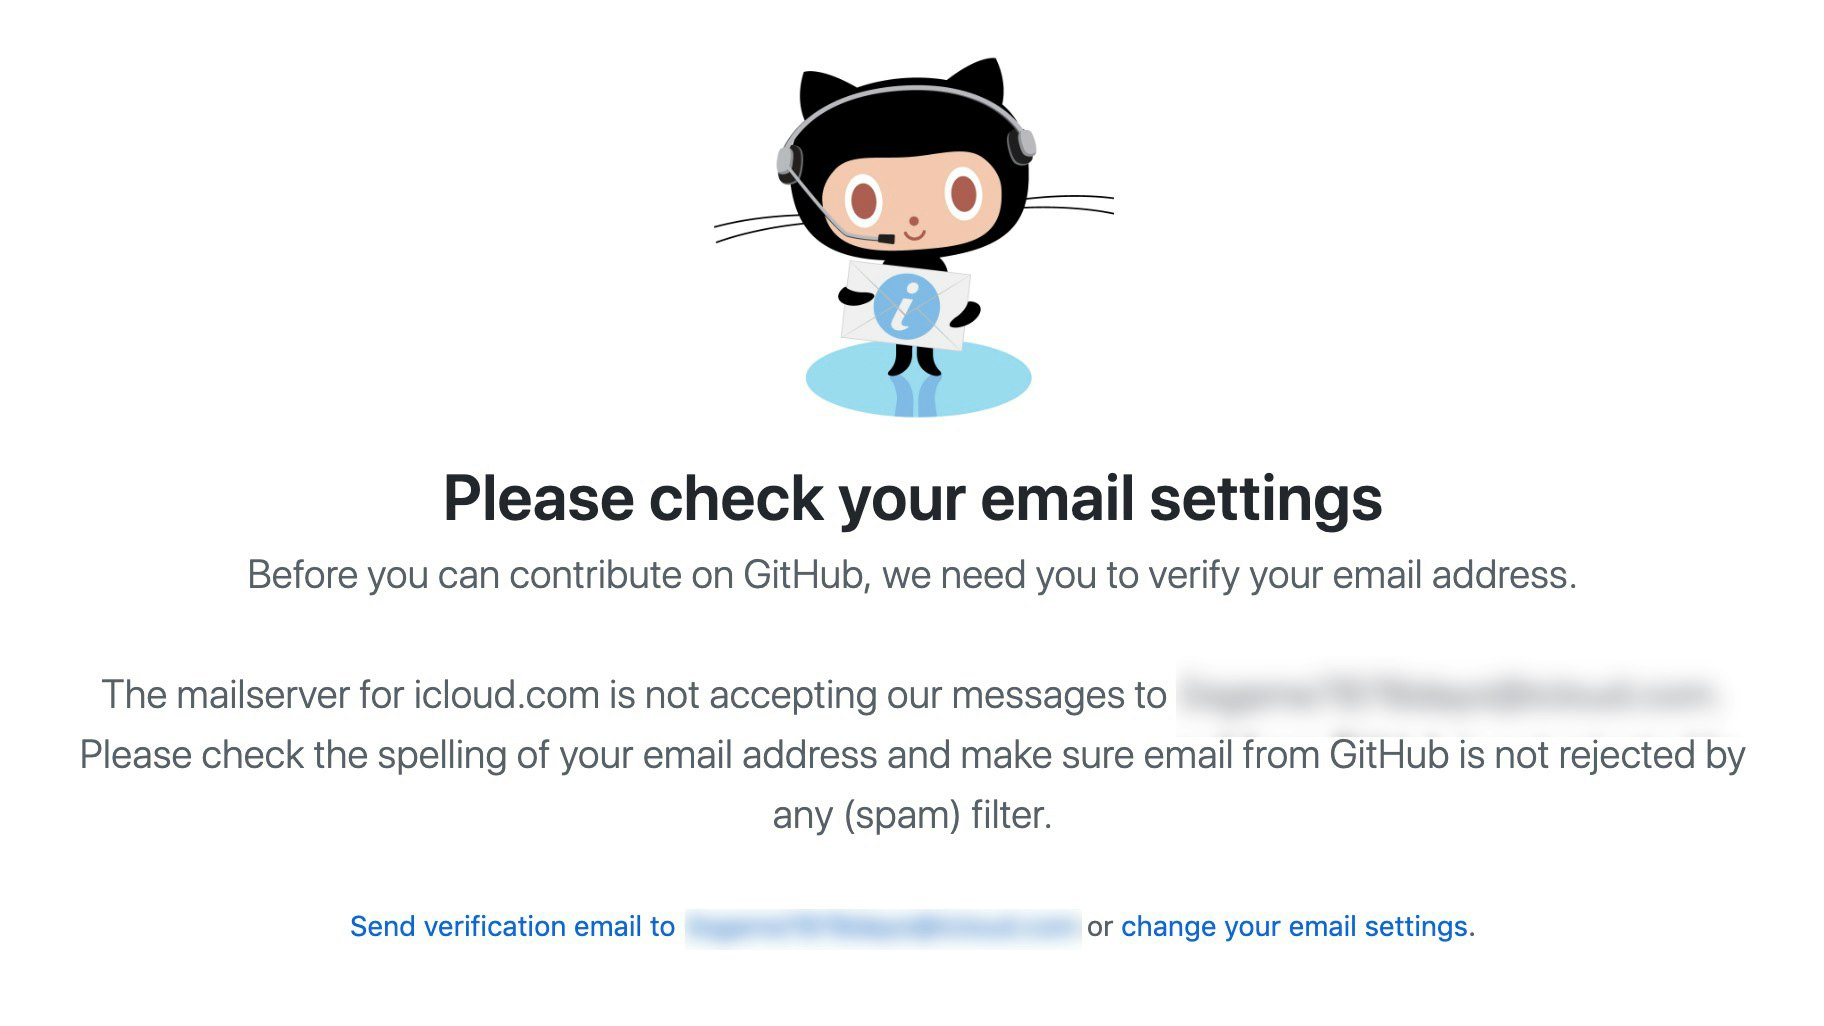
メール認証が必要ですという意味。
メールが来ているのでメールのurlからgithubに入る。

「Start a project」ボタンをクリック。
以上でgithubへの登録が完了。
*githubにリモートリポジトリ作成
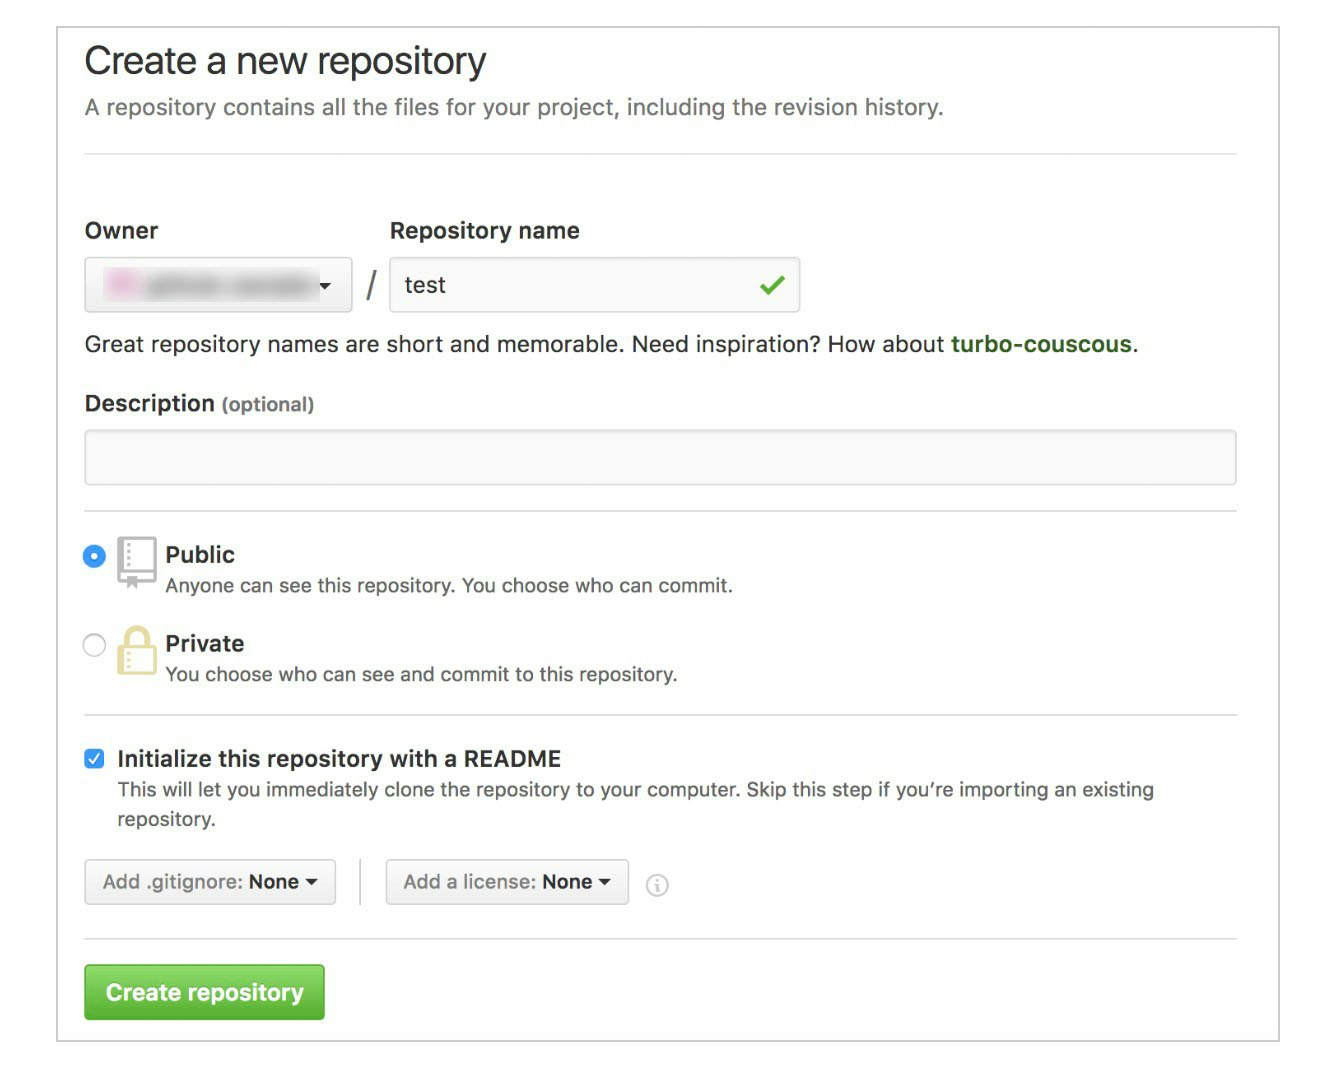
「Repository name」欄にリポジトリ名を記入。
写真通り
check Public
check Initialize this repository with a README
「Create repository」をクリック。
*会社などではproject(案件)ごとの名前にする。
つまり、一つの案件ごとに一つのリポジトリ。
githubにリモートリポジトリが出来ました。
つまり、ディレクトリ(フォルダ)を入れる場所が完了。
Local PC側の作業 - 最初のみ
1 githubに送る物を置いておくフォルダを作る。
自分のpcの
~/User/name/
↑
Windowsだと cdrive/User/(自分の名前)/
macだと macintosh HD/User/(自分の名前)/
に自分だけのgit用のディレクトリ(フォルダ)を作る。
名前は自由。自分は[works]にしている。
そして、作ったディレクトリ(フォルダ)送りたいディレクトリ(フォルダ)を入れる。
2 送るディレクトリに移動
terminal(mac)かGit bash(windows)を開き
\cd [1で作成したディレクトリ]/[送りたいディレクトリ]
例 cd works/test/
もしくは
cd works //worksに移動
cd test //testに移動
3 ローカルリポジトリを作成
git init
これで[送りたいディレクトリ]に.gitという隠しファイルが出来る。
gitに送る為のディレクトリにした。
Initialized empty Git repository in D:/A_Data/code/Local_TestGit01/.g
と出たら次に進む。
4 ユーザーネームとユーザーアドレスを設定する。
$ git config --global user.name [任意のname]
$ git config --global user.email [任意のアドレス]
例
$ git config --global user.name yamadatarou
$ git config --global user.email yamadatarou@icloud.com
5 gitをインデックスにあげる。
登録するイメージ。
$ git add .
.(ピリオド)は全てのデータを選択している。
6 gitをコミットする。
$ git commit -m "1st Commit"
""の中はコメントになる。
[master (root-commit) 489b5fc] 1st Commit
......
1 file changed, 1 insertion(+)
create mode 100644 README.md
7 送るリモートリポジトリの情報を登録。
$ git remote add origin https://github.com/<GitHubユーザ名>/<リポジトリ名.git>
origin の部分はなんでもいい。
次で使う。
8 送るリモートリポジトリを選択。
$ git push -u origin master
origin … 7でhttps://github.com//<リポジトリ名.git>の情報入れた場所
master … 最初に作るブランチ名
9 ユーザーネーム、パスワード入力
Username [githubに登録したユーザーネーム]    //例 yamadatarou
Password [githubに登録したパスワード]       ////例 yamadatarou@icloud.com
