はじめに
こちらはFigmaプラグインAdvent Calendar 2019の3日目の記事です。
Figmaプラグイン開発を始める上で、使えると便利なデバッグの方法をご紹介します。
基本的には以下に載っている方法の紹介です。
https://www.figma.com/plugin-docs/debugging/
デバッグ方法
早速デバッグ方法を紹介していきます。
1. コンソール出力
実際の開発でとりあえずコンソールに値を出力してみる、ということがあると思います。Figmaプラグインでも同様のことを行うことができます。
今回は1日目のfigmaプラグイン開発の準備の内容を使ってコンソール出力を利用してみましょう。
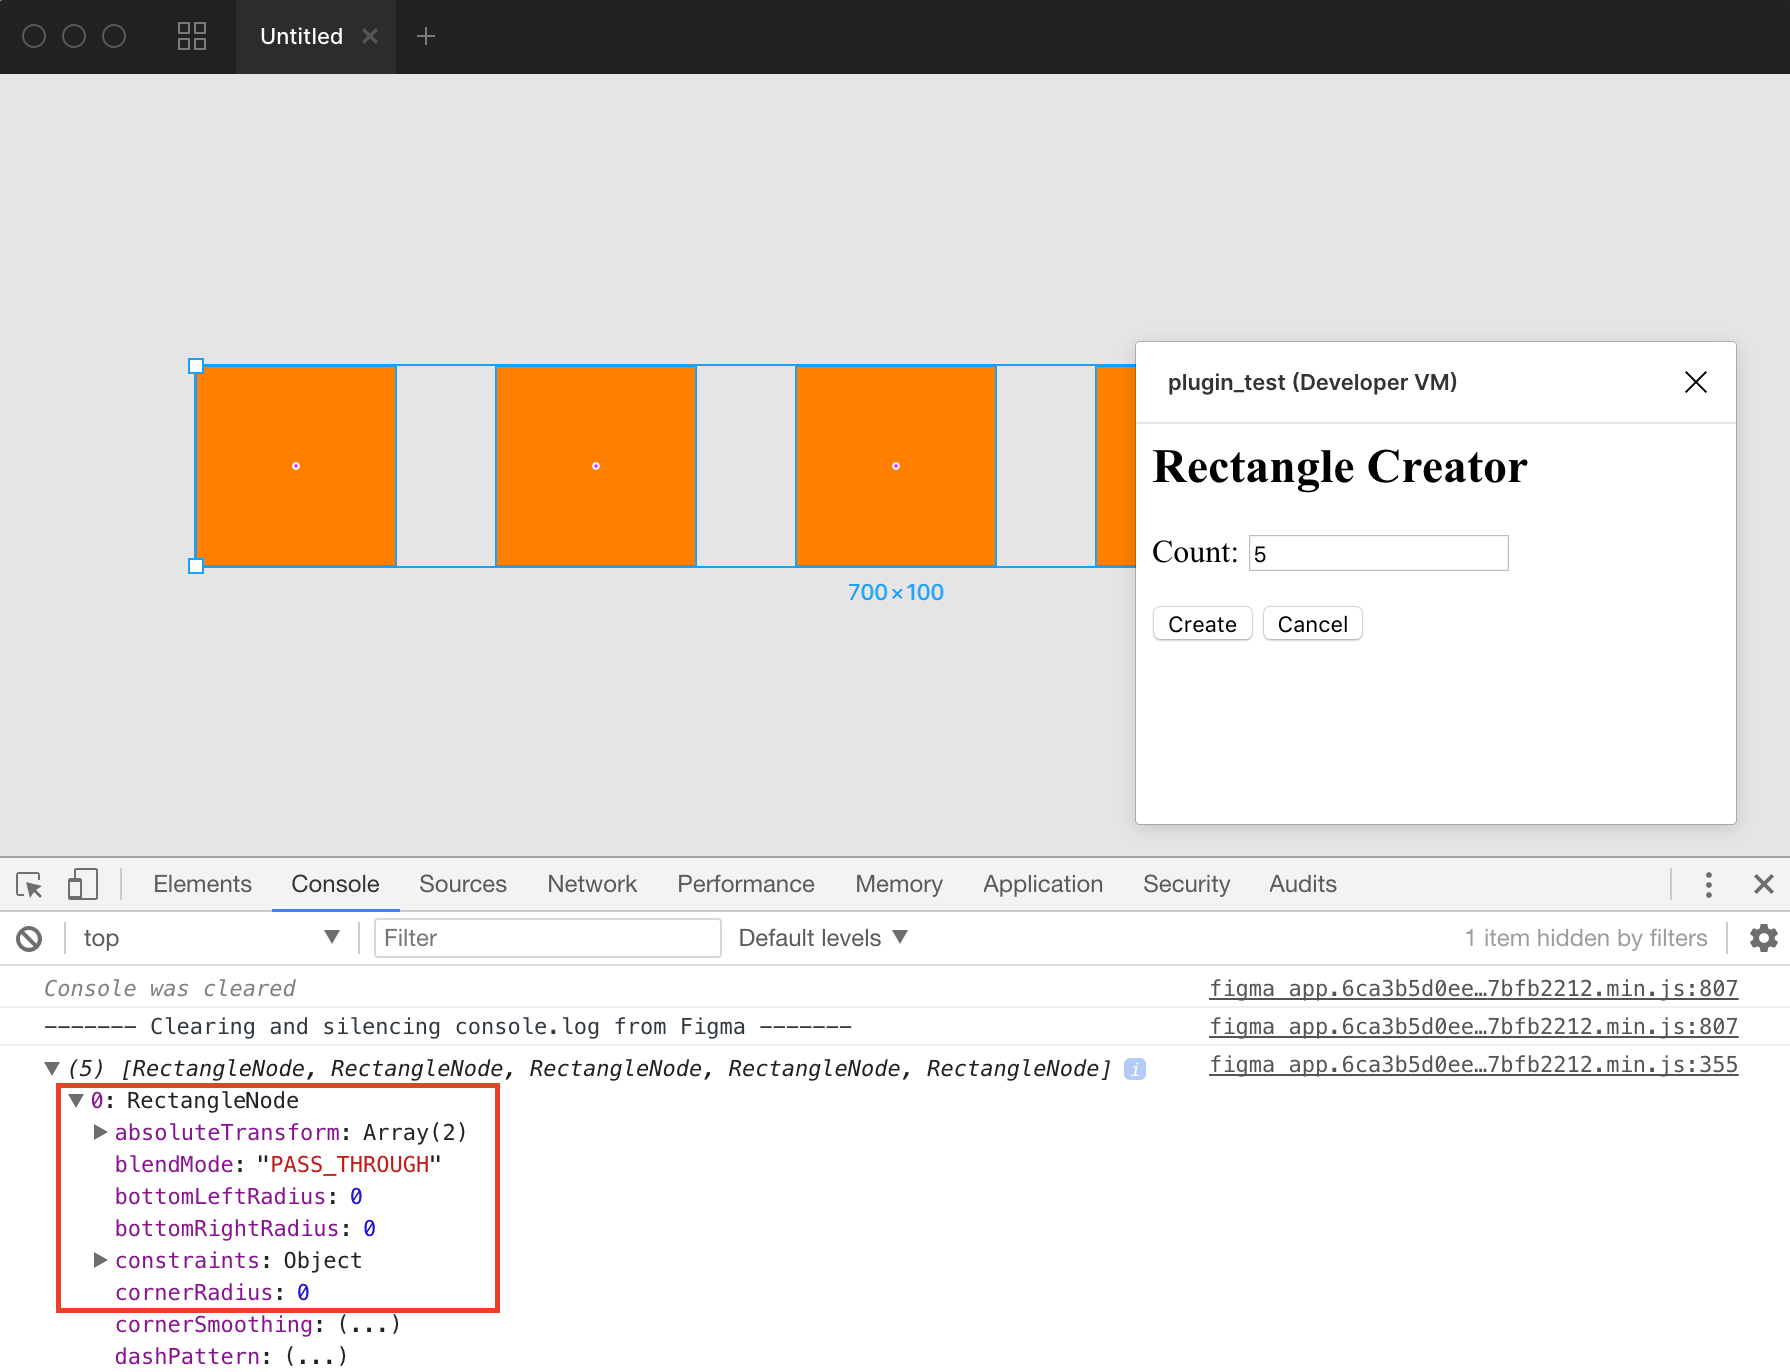
step1. console.logをコードに書き込む
出力させたい箇所でconsole.logを書きましょう。
console.log(nodes);
step2. figma.closePlugin()をコメントアウトする
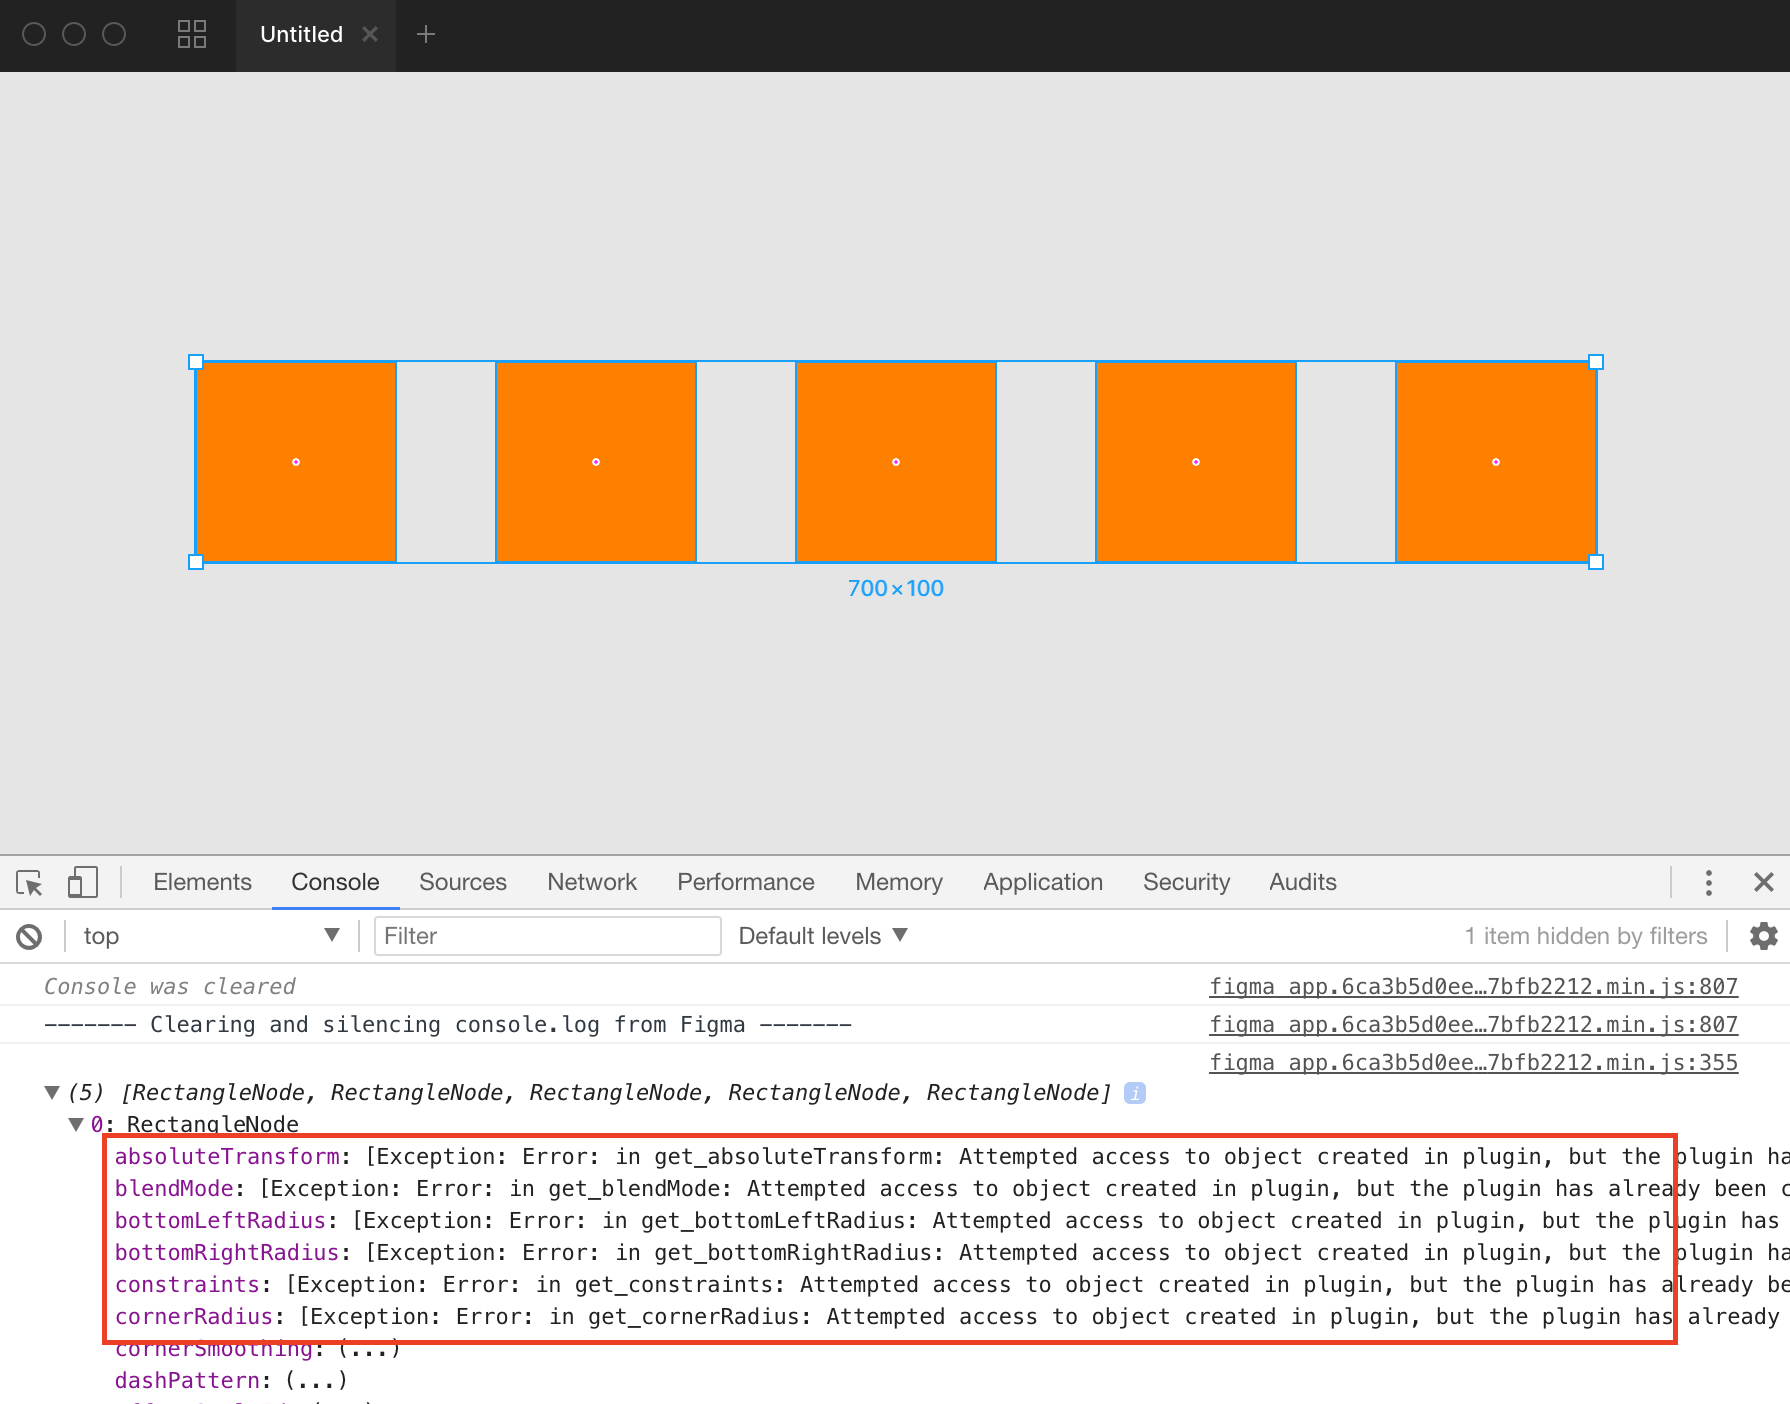
これはプラグインの処理が終了してしまうと、オブジェクトに(...)という部分があるのですが、そこがErrorで読み取ってくれません。プラグインを終了させないように、figma.closePlugin()をコメントアウトしましょう。
※figma.closePlugin()をコメントアウトしていないので、Errorになってしまっている図
↓step1,2を書いたコード
// This plugin will open a modal to prompt the user to enter a number, and
// it will then create that many rectangles on the screen.

// This file holds the main code for the plugins. It has access to the *document*.
// You can access browser APIs in the <script> tag inside "ui.html" which has a
// full browser enviroment (see documentation).

// This shows the HTML page in "ui.html".
figma.showUI(__html__);

// Calls to "parent.postMessage" from within the HTML page will trigger this
// callback. The callback will be passed the "pluginMessage" property of the
// posted message.
figma.ui.onmessage = msg => {
  // One way of distinguishing between different types of messages sent from
  // your HTML page is to use an object with a "type" property like this.
  if (msg.type === 'create-rectangles') {
    const nodes: SceneNode[] = [];
    for (let i = 0; i < msg.count; i++) {
      const rect = figma.createRectangle();
      rect.x = i * 150;
      rect.fills = [{type: 'SOLID', color: {r: 1, g: 0.5, b: 0}}];
      figma.currentPage.appendChild(rect);
      nodes.push(rect);
    }
    console.log(nodes) //nodesを出力してみる
    figma.currentPage.selection = nodes;
    figma.viewport.scrollAndZoomIntoView(nodes);
  }

  // Make sure to close the plugin when you're done. Otherwise the plugin will
  // keep running, which shows the cancel button at the bottom of the screen.
  // figma.closePlugin(); // コメントアウトする
};
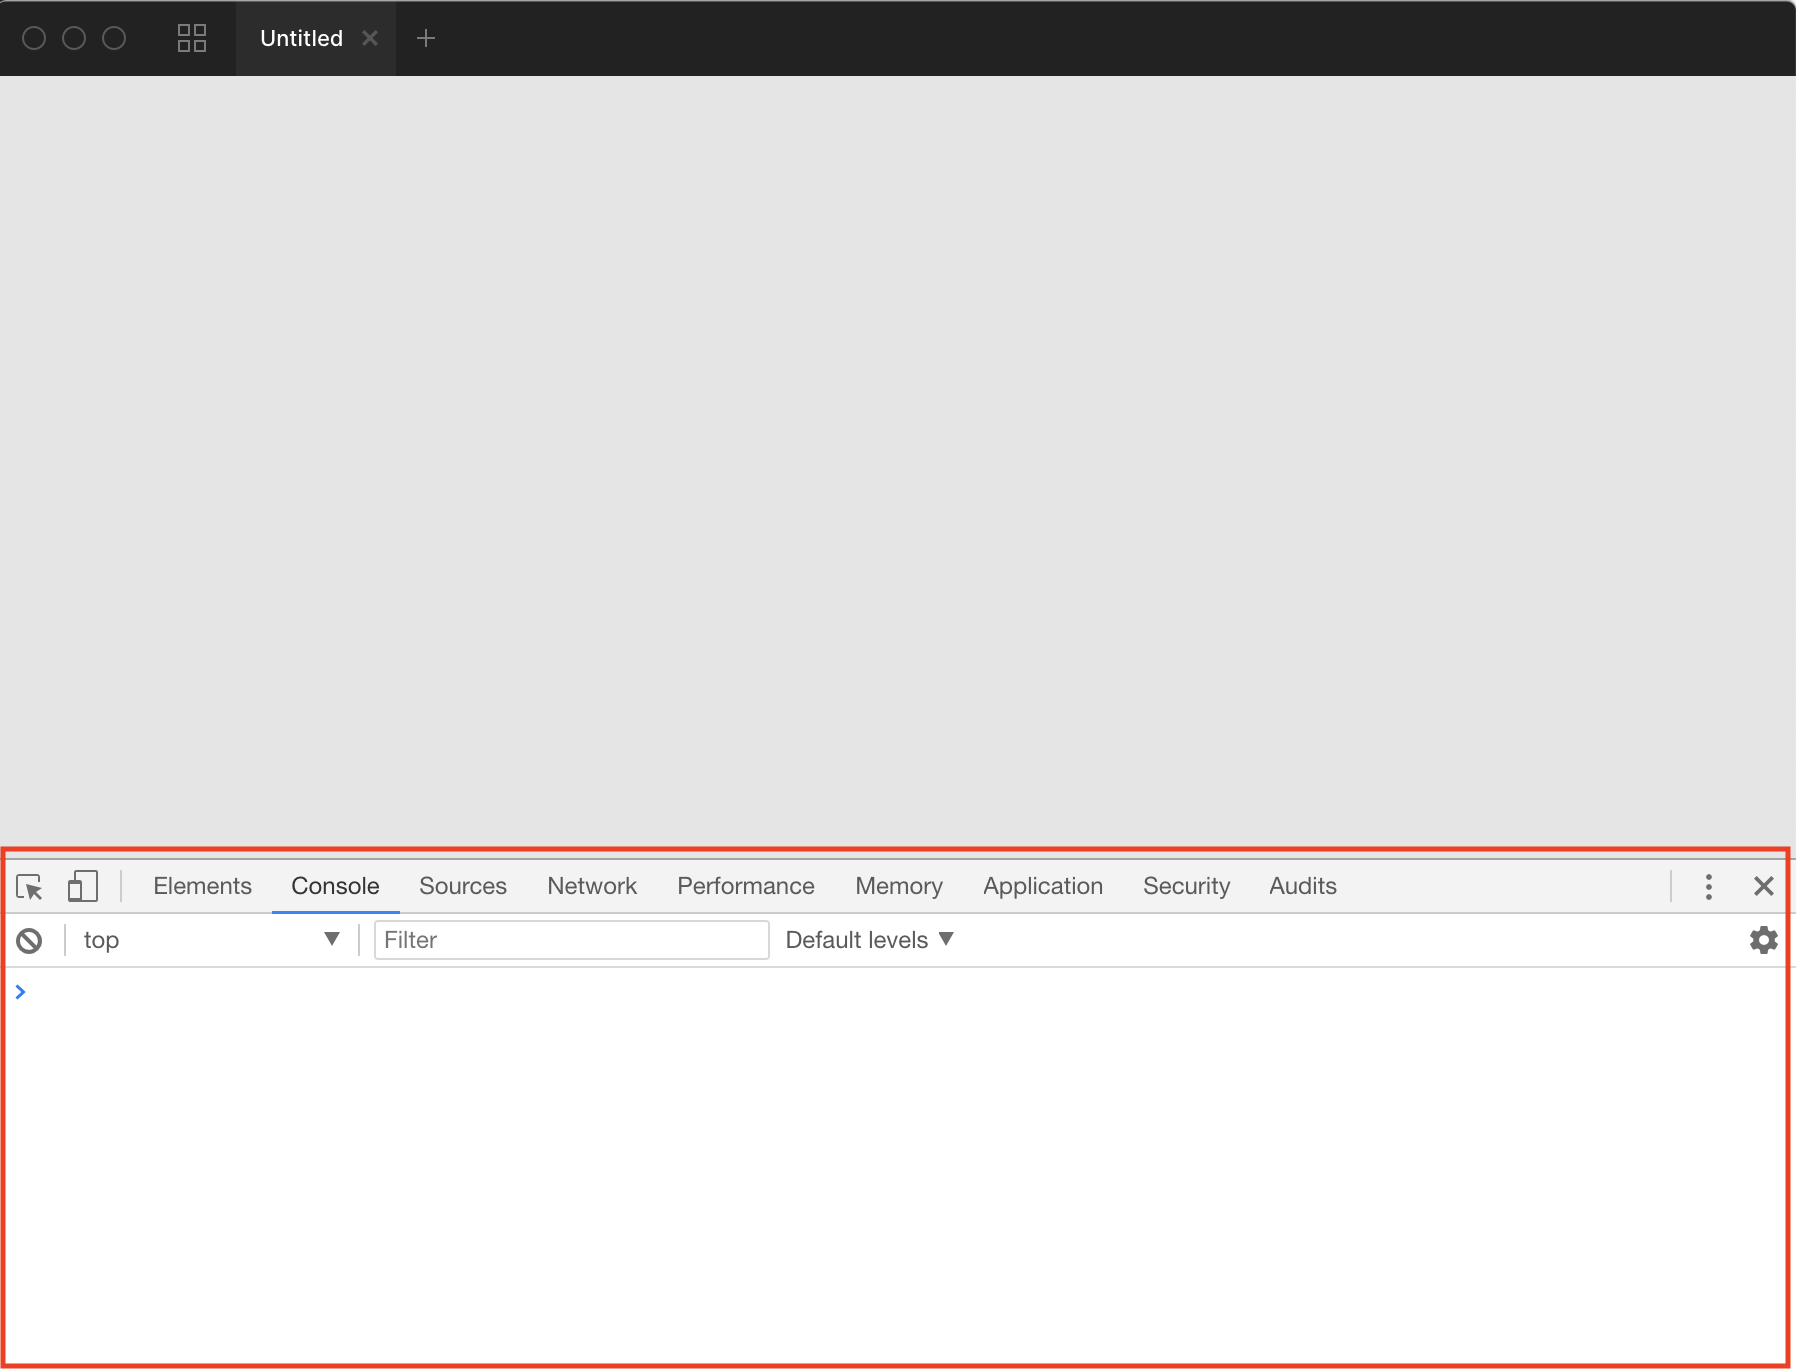
step3. OpenConsoleを開く
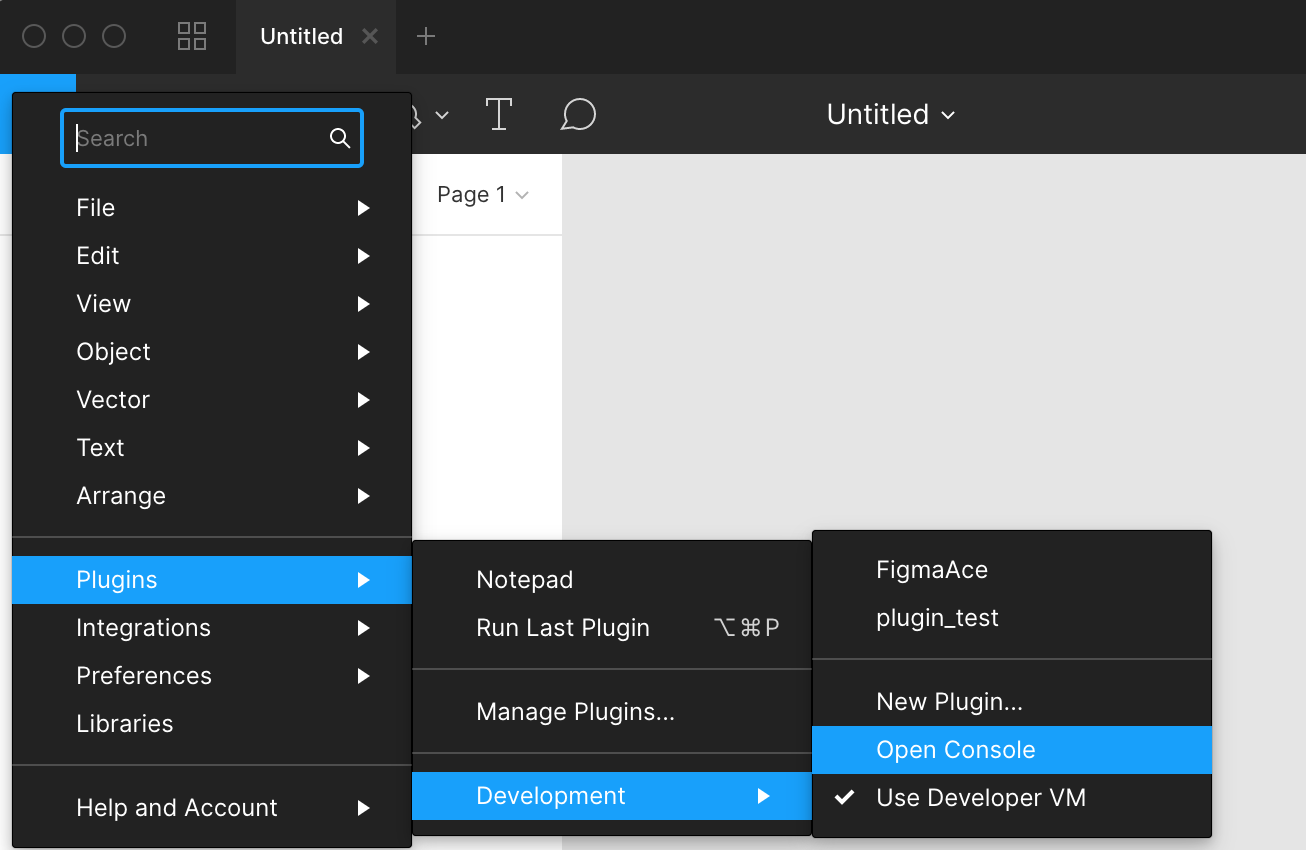
次にFigmaのOpenConsoleを開きましょう。
Figmaのメニュー → Plugins → Development → Open Consoleをクリック
step4. 実行
では実行してみましょう。
Figmaのメニュー → Plugins → Development → プラグイン名
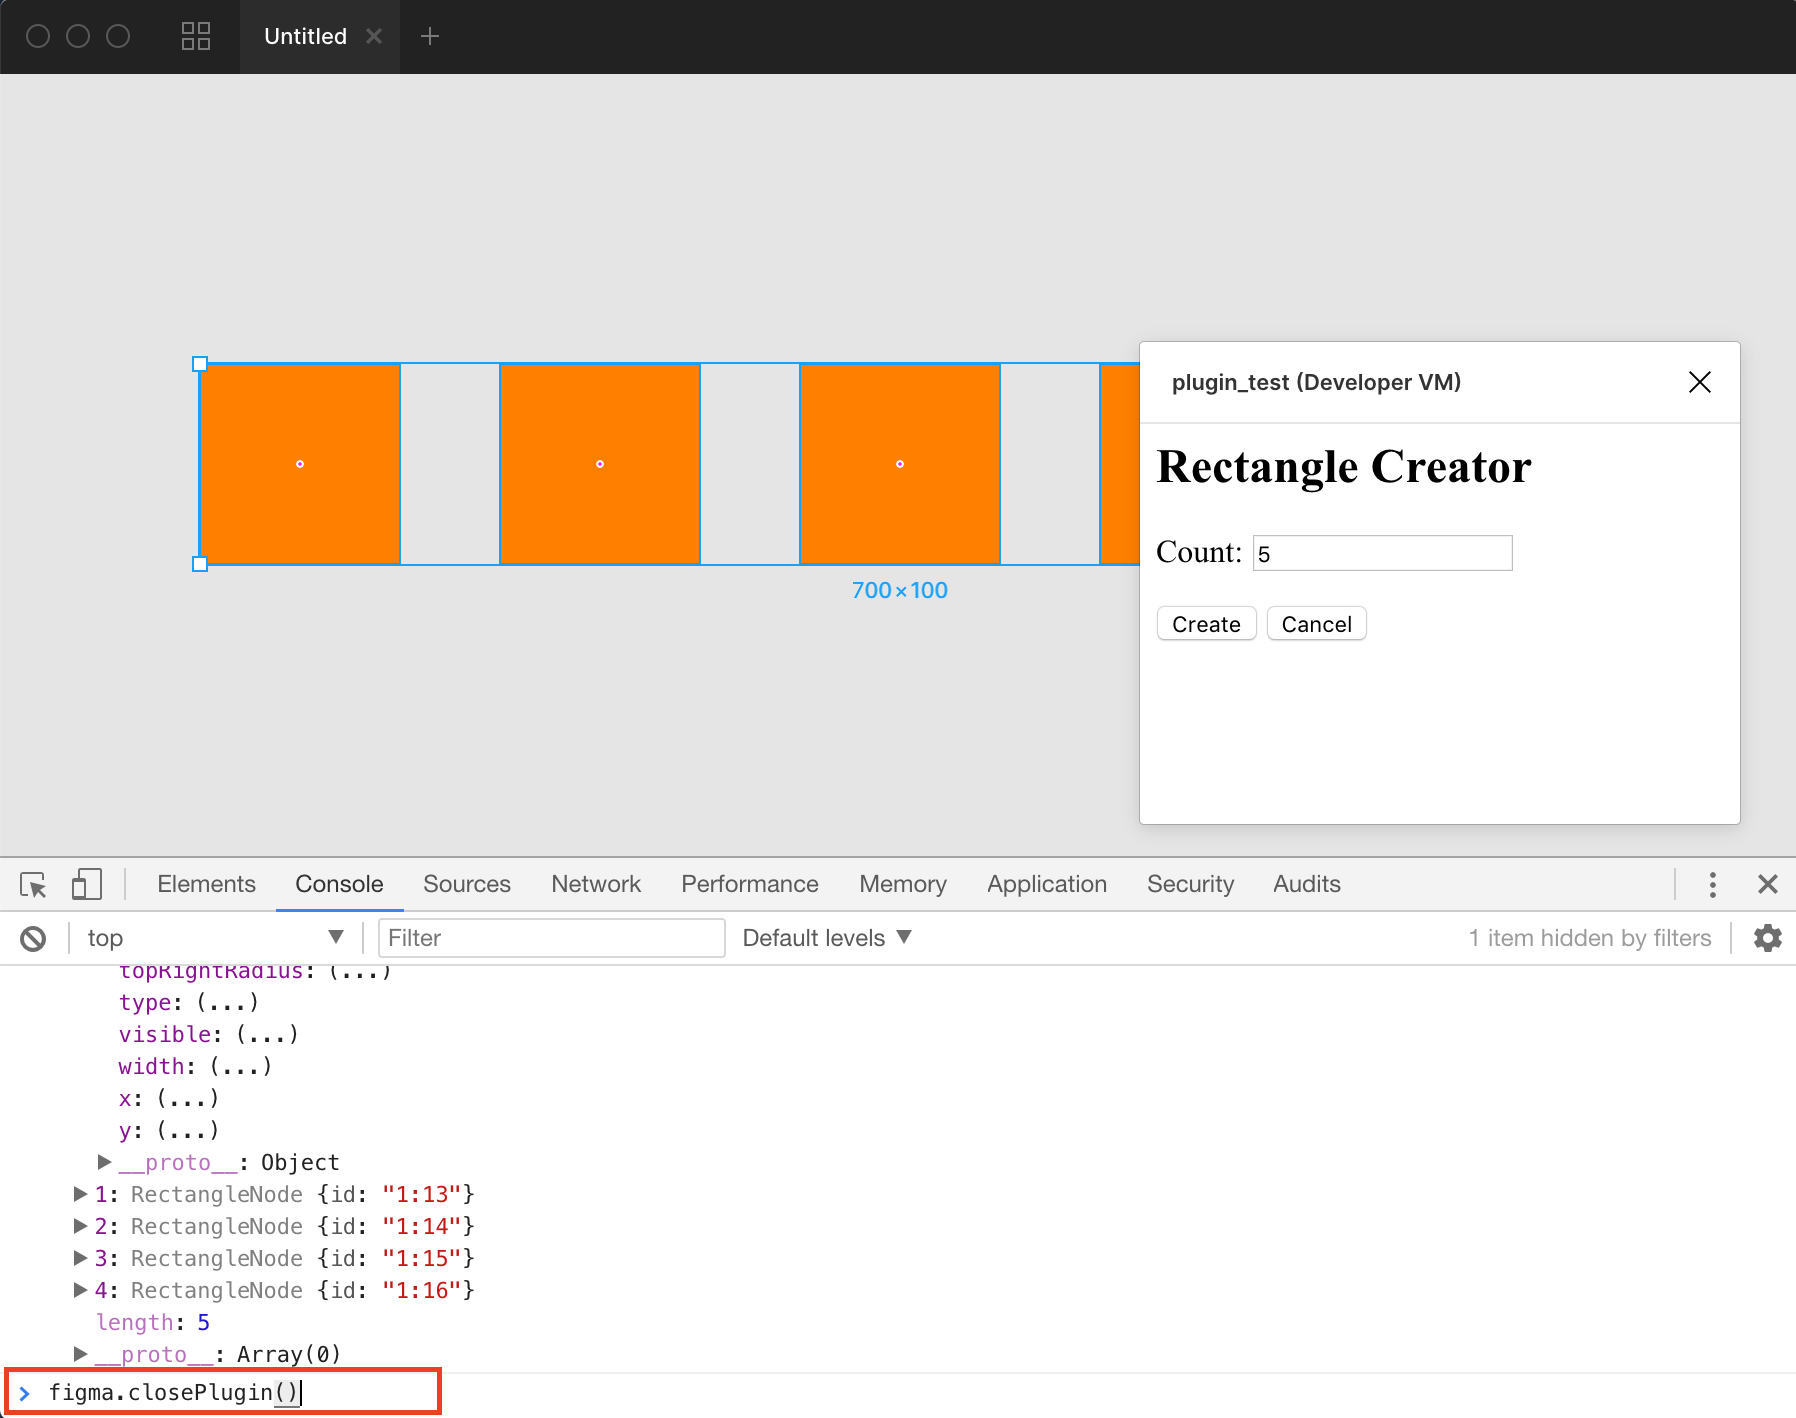
実行するとConsoleタブに出力結果が表示されます。
step5. プラグインの終了
figma.closePlugin()をコメントアウトしているので、処理が終了されません。コンソール出力を確認し終えたら、figma.closePlugin()をConsoleで実行しましょう。
処理が終了します。
2. DeveloperVM
こちらを使うとGoogleChromeのディベロッパーツールと同じようにステップ実行などができます。複雑な開発をする上では欠かせない方法ですね!
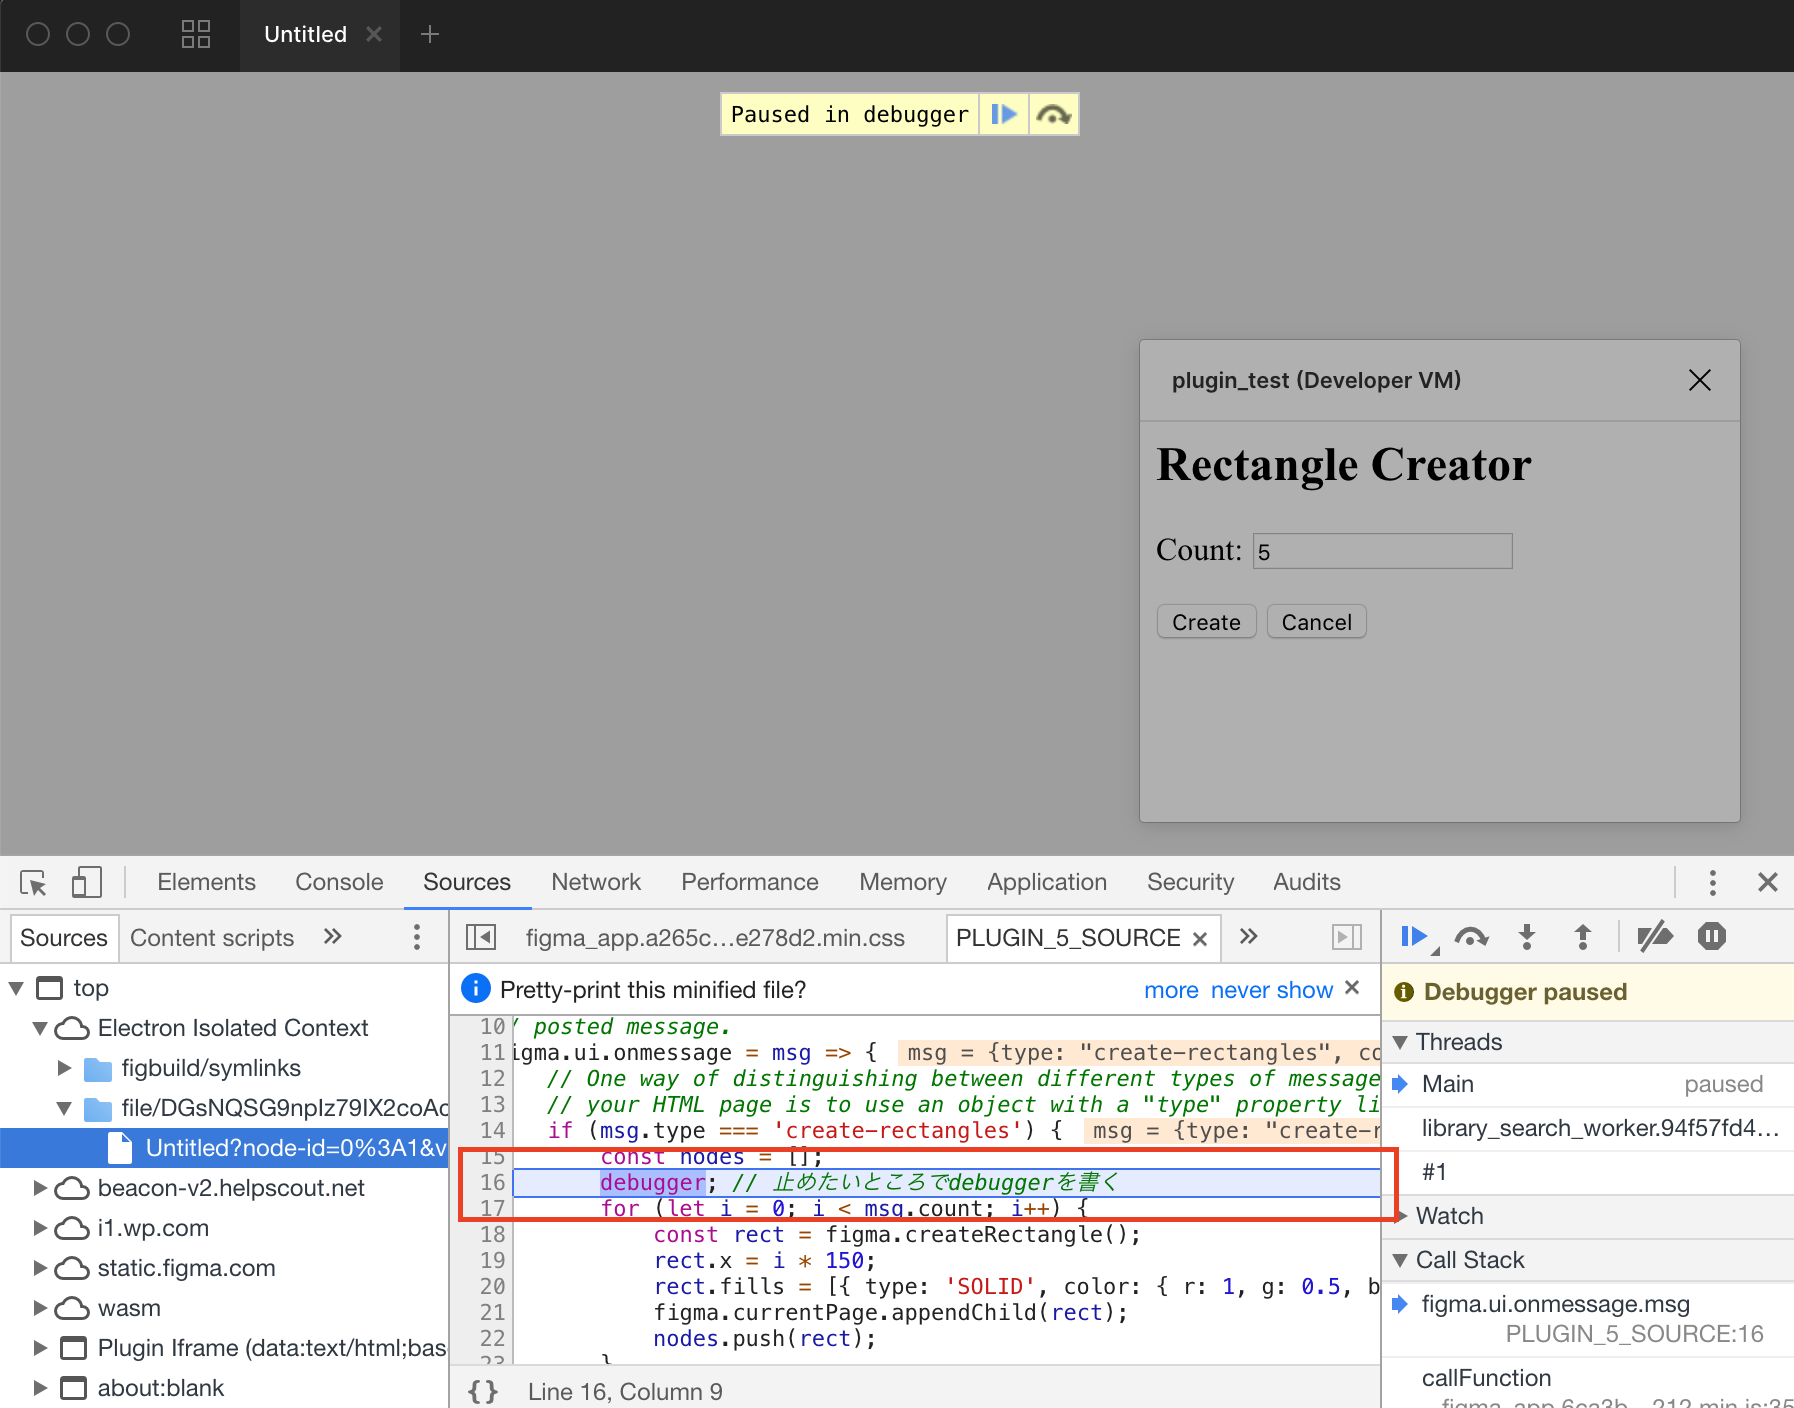
step1. Debuggerの埋め込み
ソースコードの止めたい箇所にdebuggerを埋め込みましょう。
// This plugin will open a modal to prompt the user to enter a number, and
// it will then create that many rectangles on the screen.

// This file holds the main code for the plugins. It has access to the *document*.
// You can access browser APIs in the <script> tag inside "ui.html" which has a
// full browser enviroment (see documentation).

// This shows the HTML page in "ui.html".
figma.showUI(__html__);

// Calls to "parent.postMessage" from within the HTML page will trigger this
// callback. The callback will be passed the "pluginMessage" property of the
// posted message.
figma.ui.onmessage = msg => {
  // One way of distinguishing between different types of messages sent from
  // your HTML page is to use an object with a "type" property like this.
  if (msg.type === 'create-rectangles') {
    const nodes: SceneNode[] = [];
    debugger; // 止めたいところでdebuggerを書く
    for (let i = 0; i < msg.count; i++) {
      const rect = figma.createRectangle();
      rect.x = i * 150;
      rect.fills = [{type: 'SOLID', color: {r: 1, g: 0.5, b: 0}}];
      figma.currentPage.appendChild(rect);
      nodes.push(rect);
    }

    figma.currentPage.selection = nodes;
    figma.viewport.scrollAndZoomIntoView(nodes);
  }

  // Make sure to close the plugin when you're done. Otherwise the plugin will
  // keep running, which shows the cancel button at the bottom of the screen.
  figma.closePlugin();
};
step2. DeveloperVMをオンにする
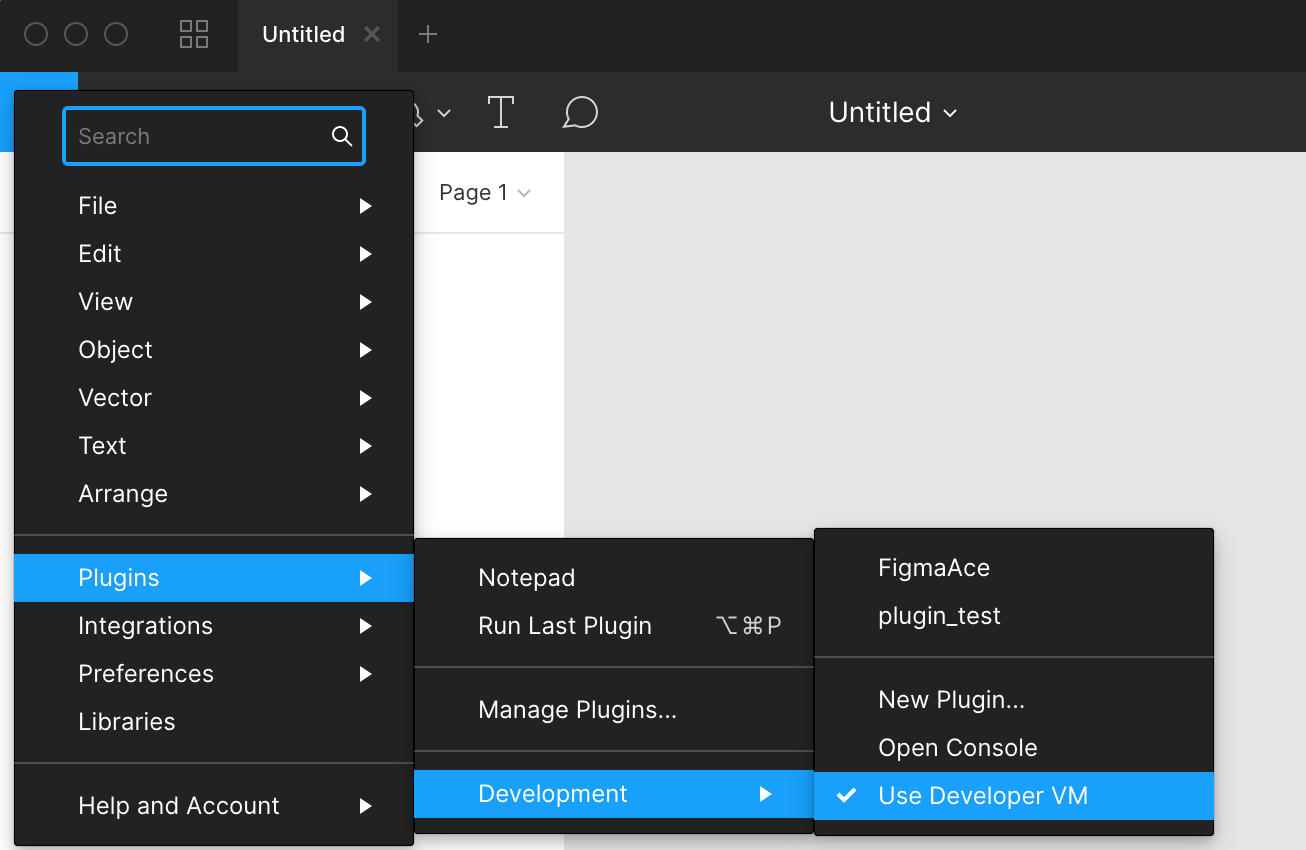
DeveloperVMはデフォルトではオフになっています。
Figmaのメニュー → Plugins → Development → Use Developer VMをクリックしてオンにします。
※「Use Developer VM」にチェックがつけばOK
step3. 実行
では実行してみましょう。
Figmaのメニュー → Plugins → Development → プラグイン名
あとはディベロッパーツールと同じようにいろいろ確認してみましょう!
最後に
以上2つのデバッグ方法を紹介しました。
デバッグを駆使して、Figmaプラグイン開発をしていきましょう!
どなたかの助けになれば嬉しいです。ありがとうございました!
