はじめにの前
本記事について、多くの方にご覧いただきましてありがとうございます。
本記事ではセットアップについてまとめておりますが、従来のプランとの違いやデータの保存場所、セットアップについてのトラブルシュートを下記記事にまとめました。あわせてご覧いただけると幸いです。
はじめに
2021年のMicrosoft Igniteの発表でPower Automate Desktop が追加費用なしでWindows10ユーザーにて利用可能になりました。
Automate tasks with Power Automate Desktop for Windows 10—no additional cost
従来は、Windows 10 についてはWindows 10 Pro で使用可能でしたが、今回の発表でWindows 10 Home でも使用可能となっています。
加えて、今後はWindows 10 の機能として組み込まれることが併せて発表されています。
Today, we are continuing this momentum by announcing that desktop automation in Power Automate Desktop will be available to Windows 10 users at no additional cost. Windows 10 users can harness the power of low-code RPA by downloading Power Automate Desktop on March 2, and it will be included in Windows Insider Preview builds in the coming weeks.
本記事では、このWindows 10 の標準機能と言っても過言ではなくなったPower Automate Desktop for Windows 10 の利用開始手順についてまとめました。
重要事項
本手順は、Windows 10 Home において、無料版のMicrosoft アカウントを使用した手順となります。
組織アカウントでの利用については、こちらのOnumaさんの記事をご覧ください。
Windows 10 Home では、Power Automate のクラウドフローからの呼び出しができませんのでご注意ください。
Windows 10 Home 版のPower Automate Desktop と 従来のPower Automate Desktop の違いについては、別途まとめる予定です。
利用前提条件
2021年3月3日時点で確認できている前提条件は以下の通りです。
・Windows 10 Home、Windows 10 Pro、Windows 10 Enterprise、Windows Server 2016、またはWindows Server2019を実行するデバイス。ARMデバイスはサポートされていません。
・システム要件:
最小限のハードウェア
HDD: 1GB
RAM: 2GB
推奨ハードウェア
HDD: 2GB
RAM: 4GB
・.NET Framework4.7.2以降
・Microsoft アカウント (職場または学校のアカウント または Microsoft アカウント)
・インターネットが使用できる環境
※Power Automate Desktop はフローの内容をOneDrive または Microsoft Dataverse に保存するため利用時はインターネット接続が必要となります。
ハードウェアの要件については、以下から引用しました。
Set up Power Automate Desktop on your device
どこからダウンロードするのか
以下のURLをクリックするとインストーラー ファイルのダウンロードが開始されます。(2022/3/10 リンク修正)
インストール手順
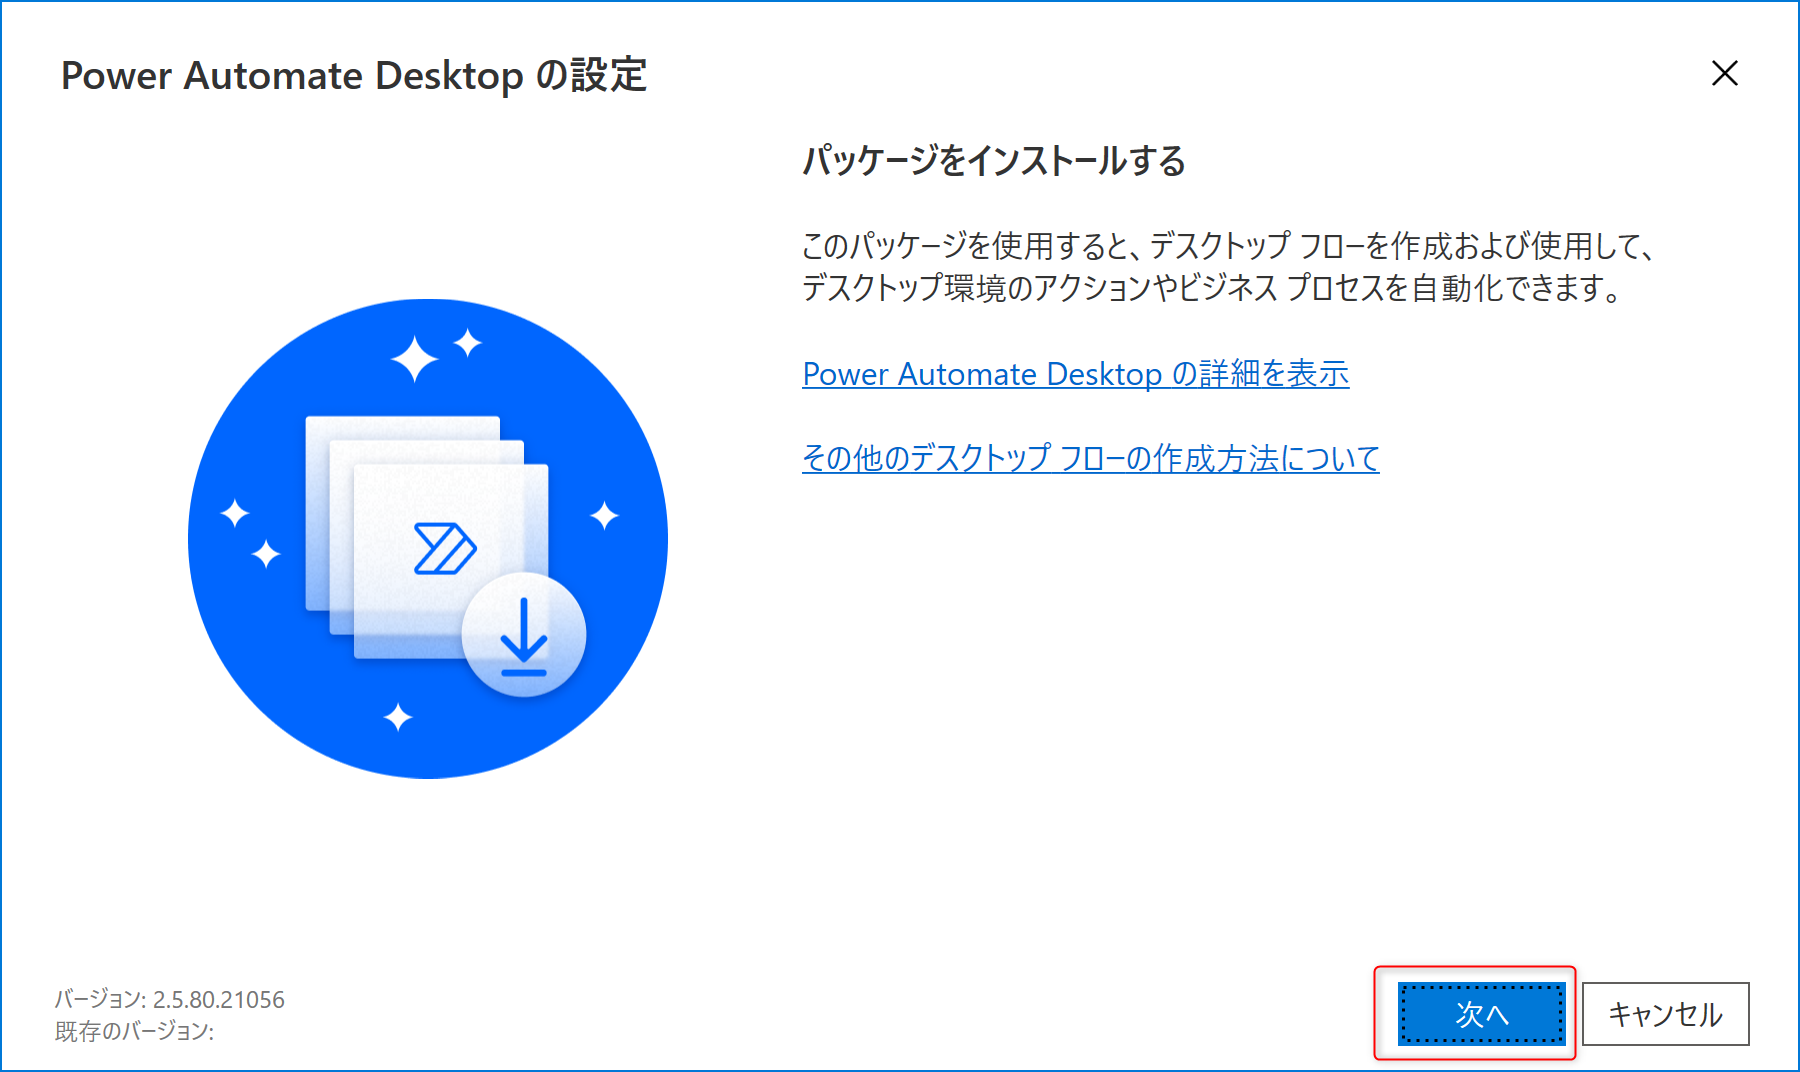
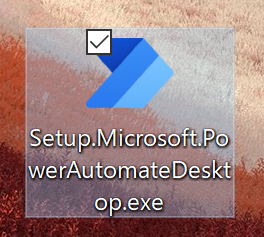
前項でダウンロードしたインストーラー ファイルをダブルクリックします。
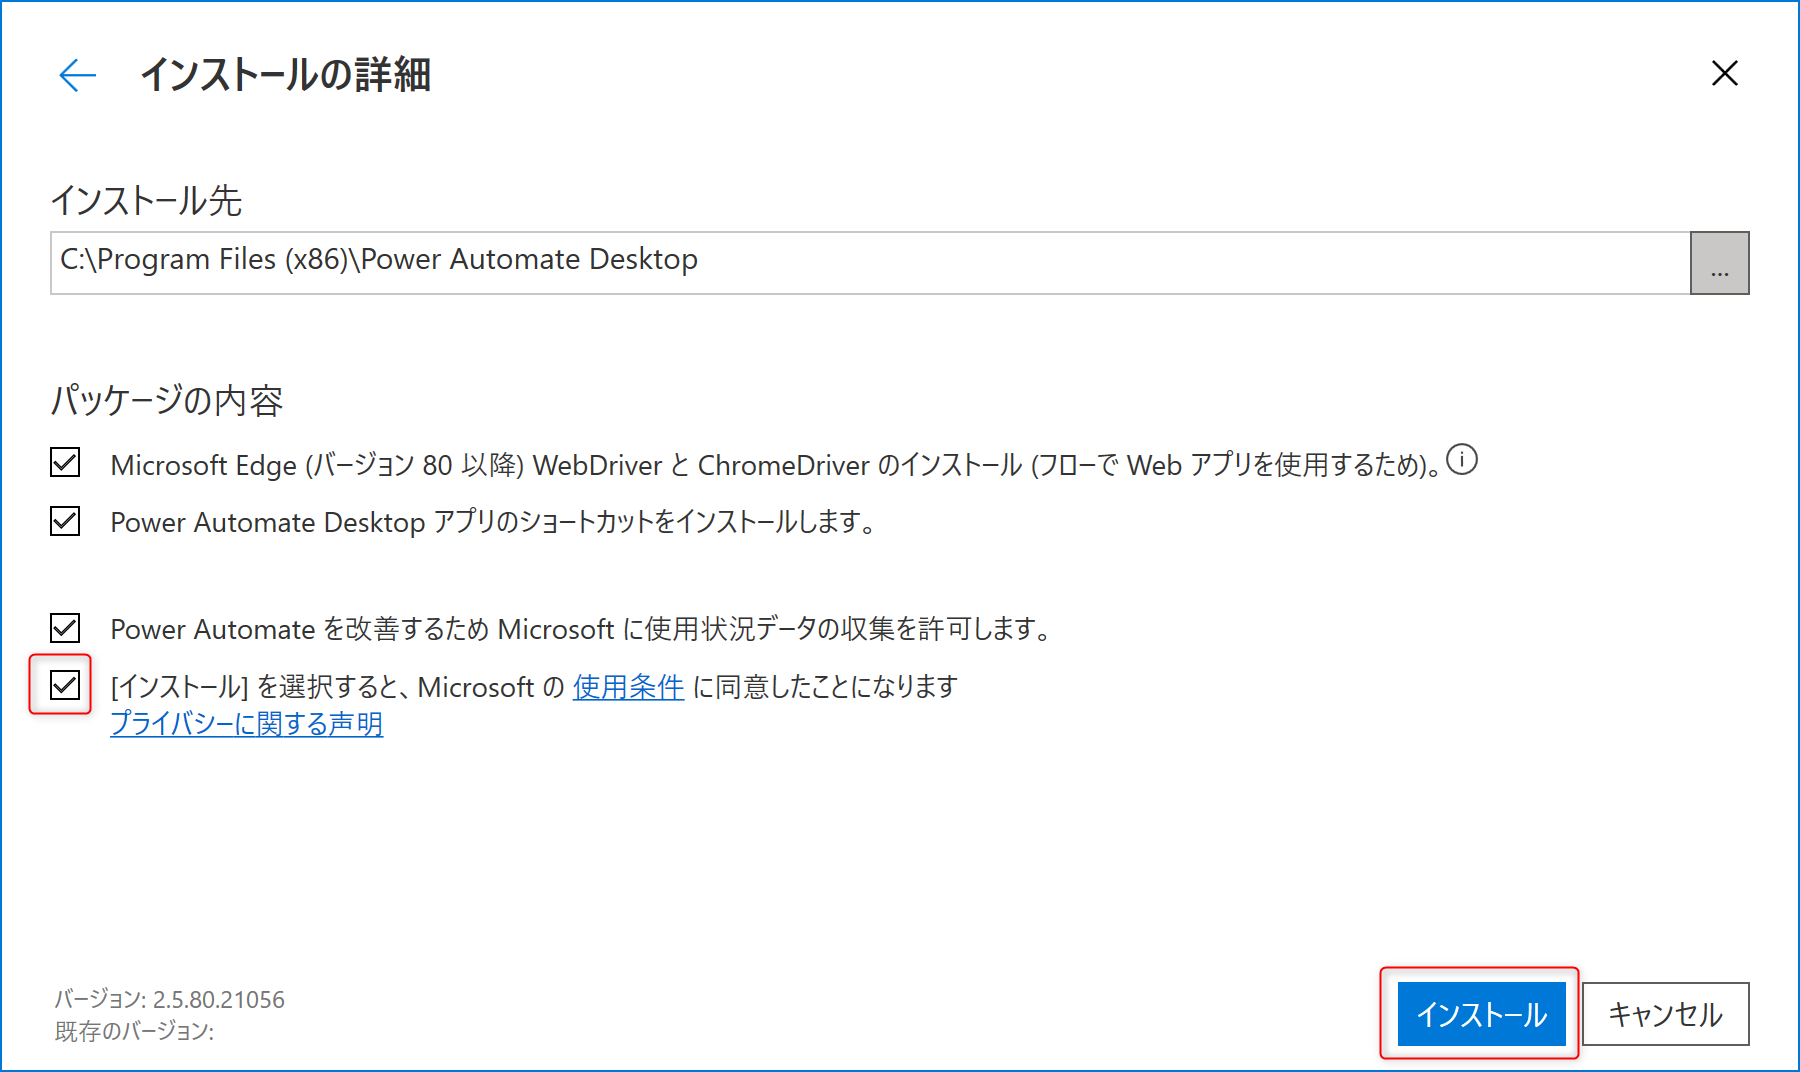
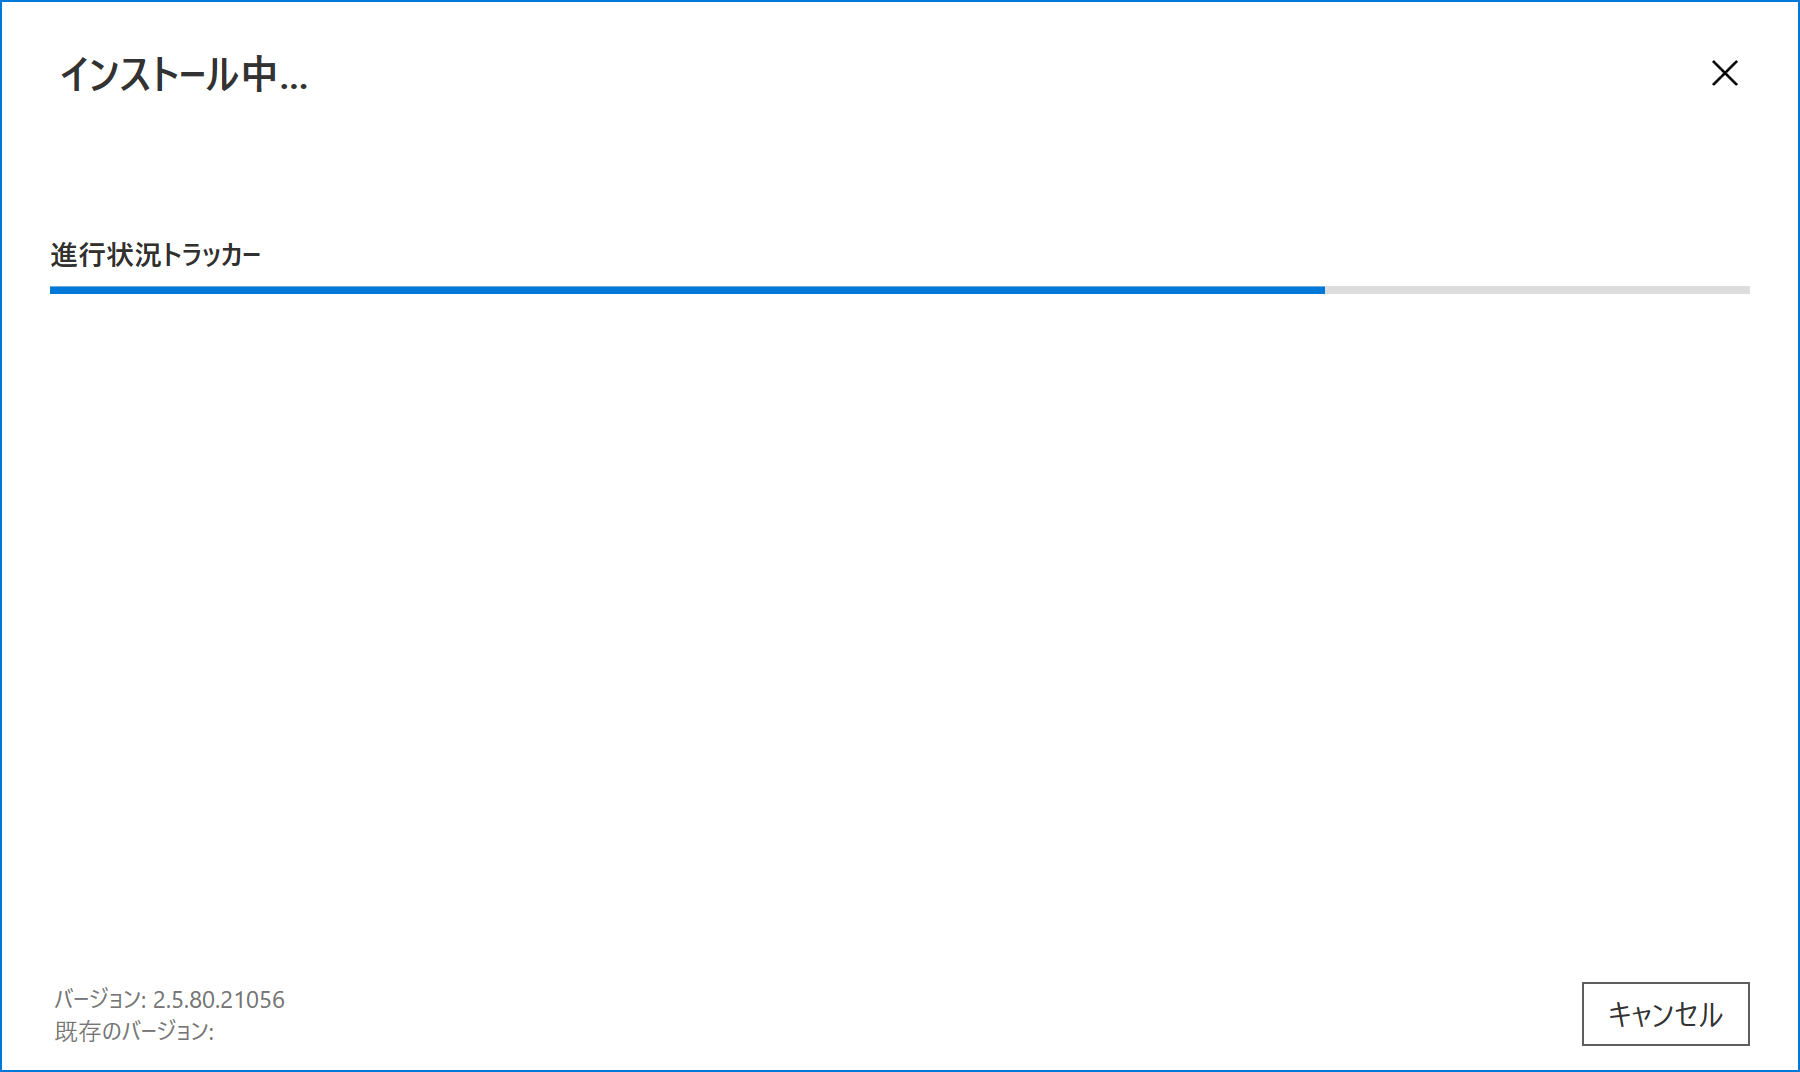
「インストールの詳細」で一番下の「[インストール]を選択すると~」の使用条件を確認し、チェックを入れてインストール。
UACの画面が表示されたら許可をするとインストールが開始されます。
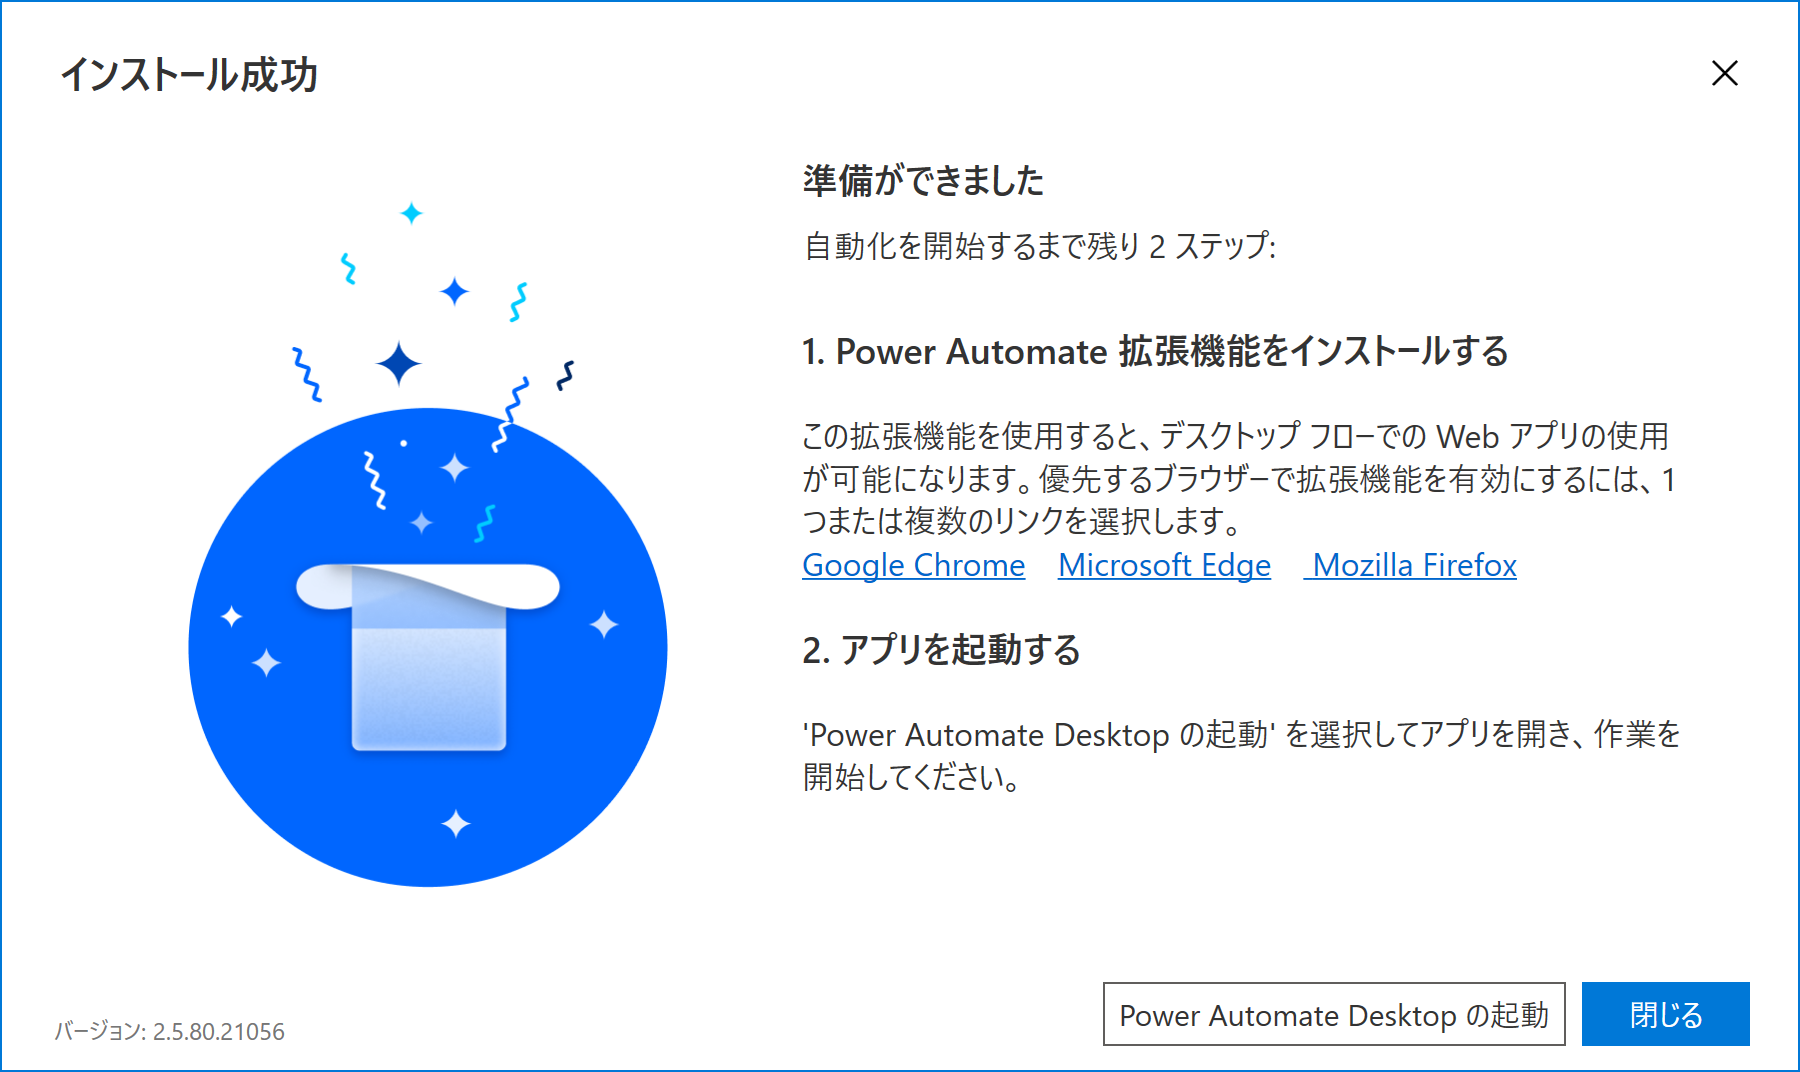
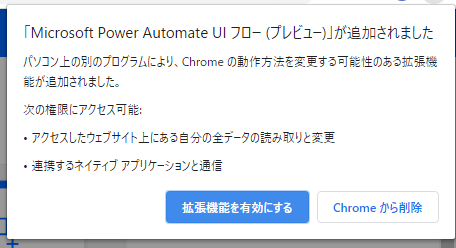
1.のリンクをクリックして、各Webブラウザの拡張機能を有効にします。(Webブラウザごとに表示されます。)
Firefox
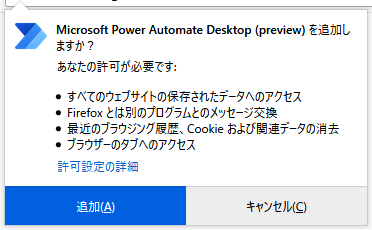
※Edgeはキャプチャ取り忘れ
インストール成功画面の「Power Automate Desktopの起動」をクリックします。
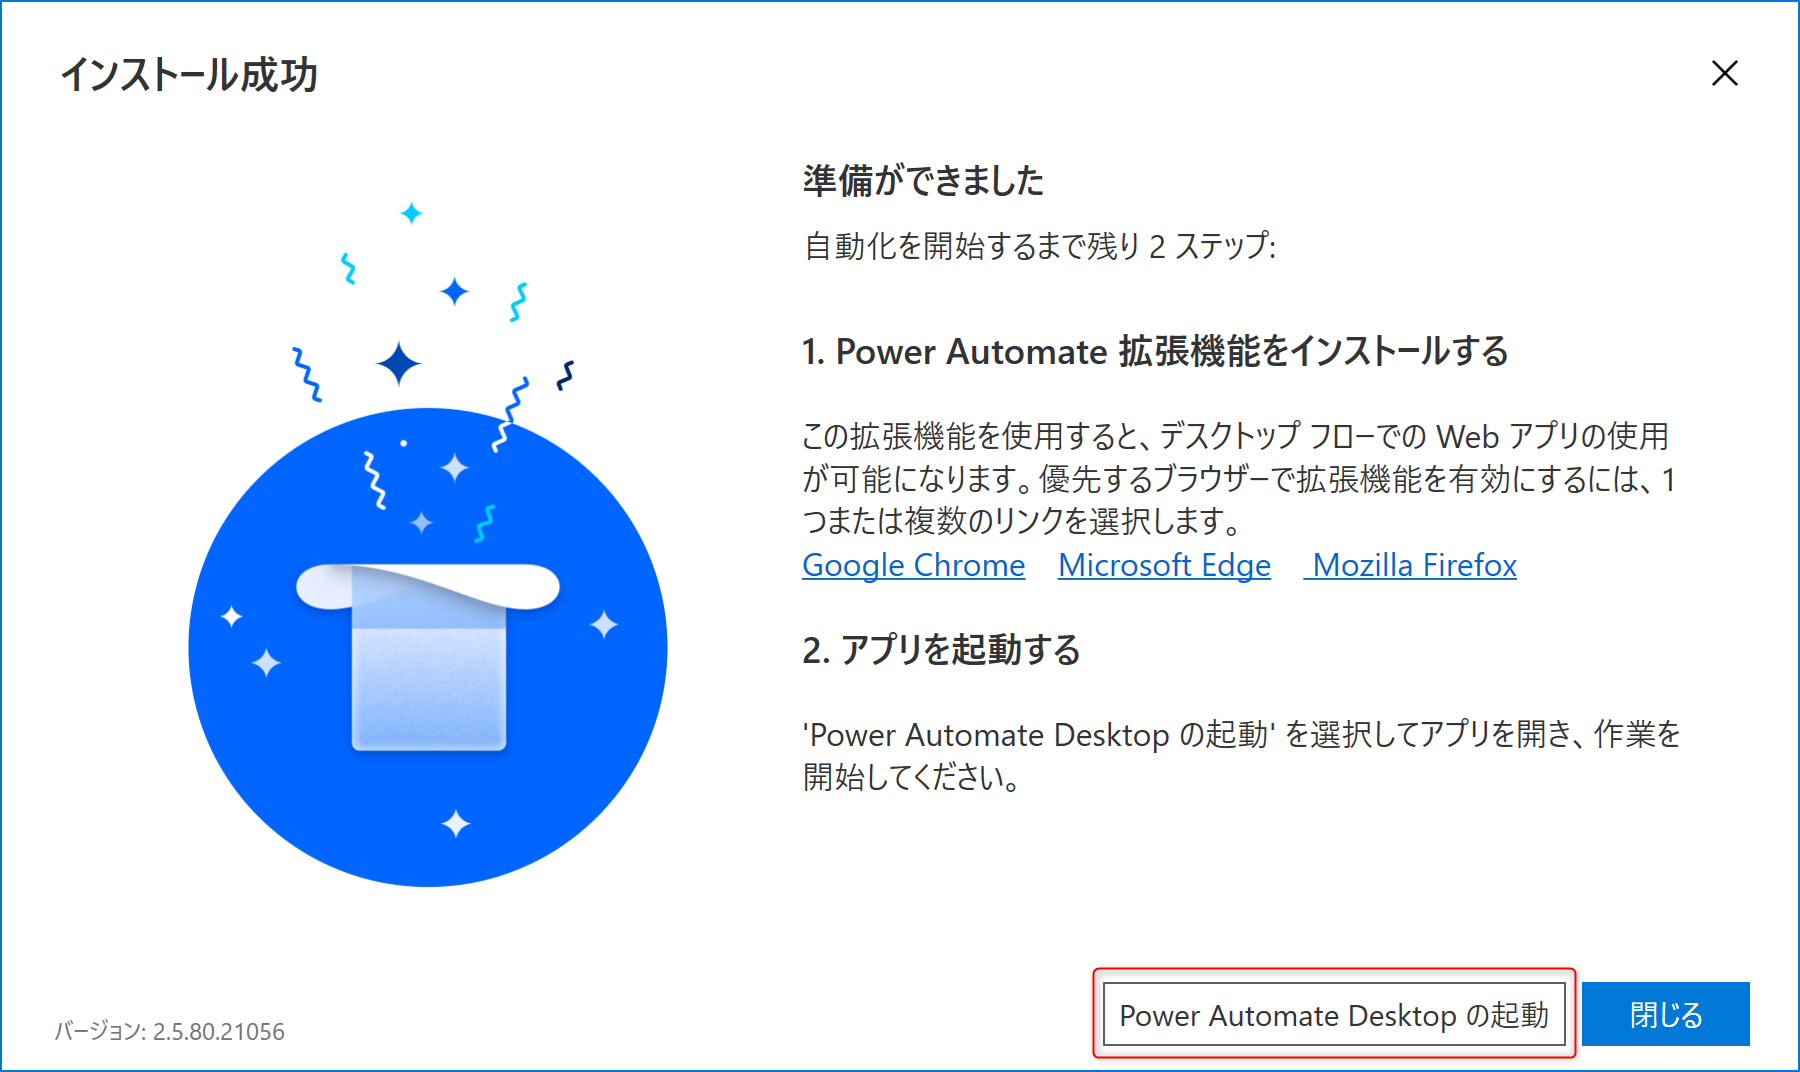
「Power Automate Desktop」が起動します。
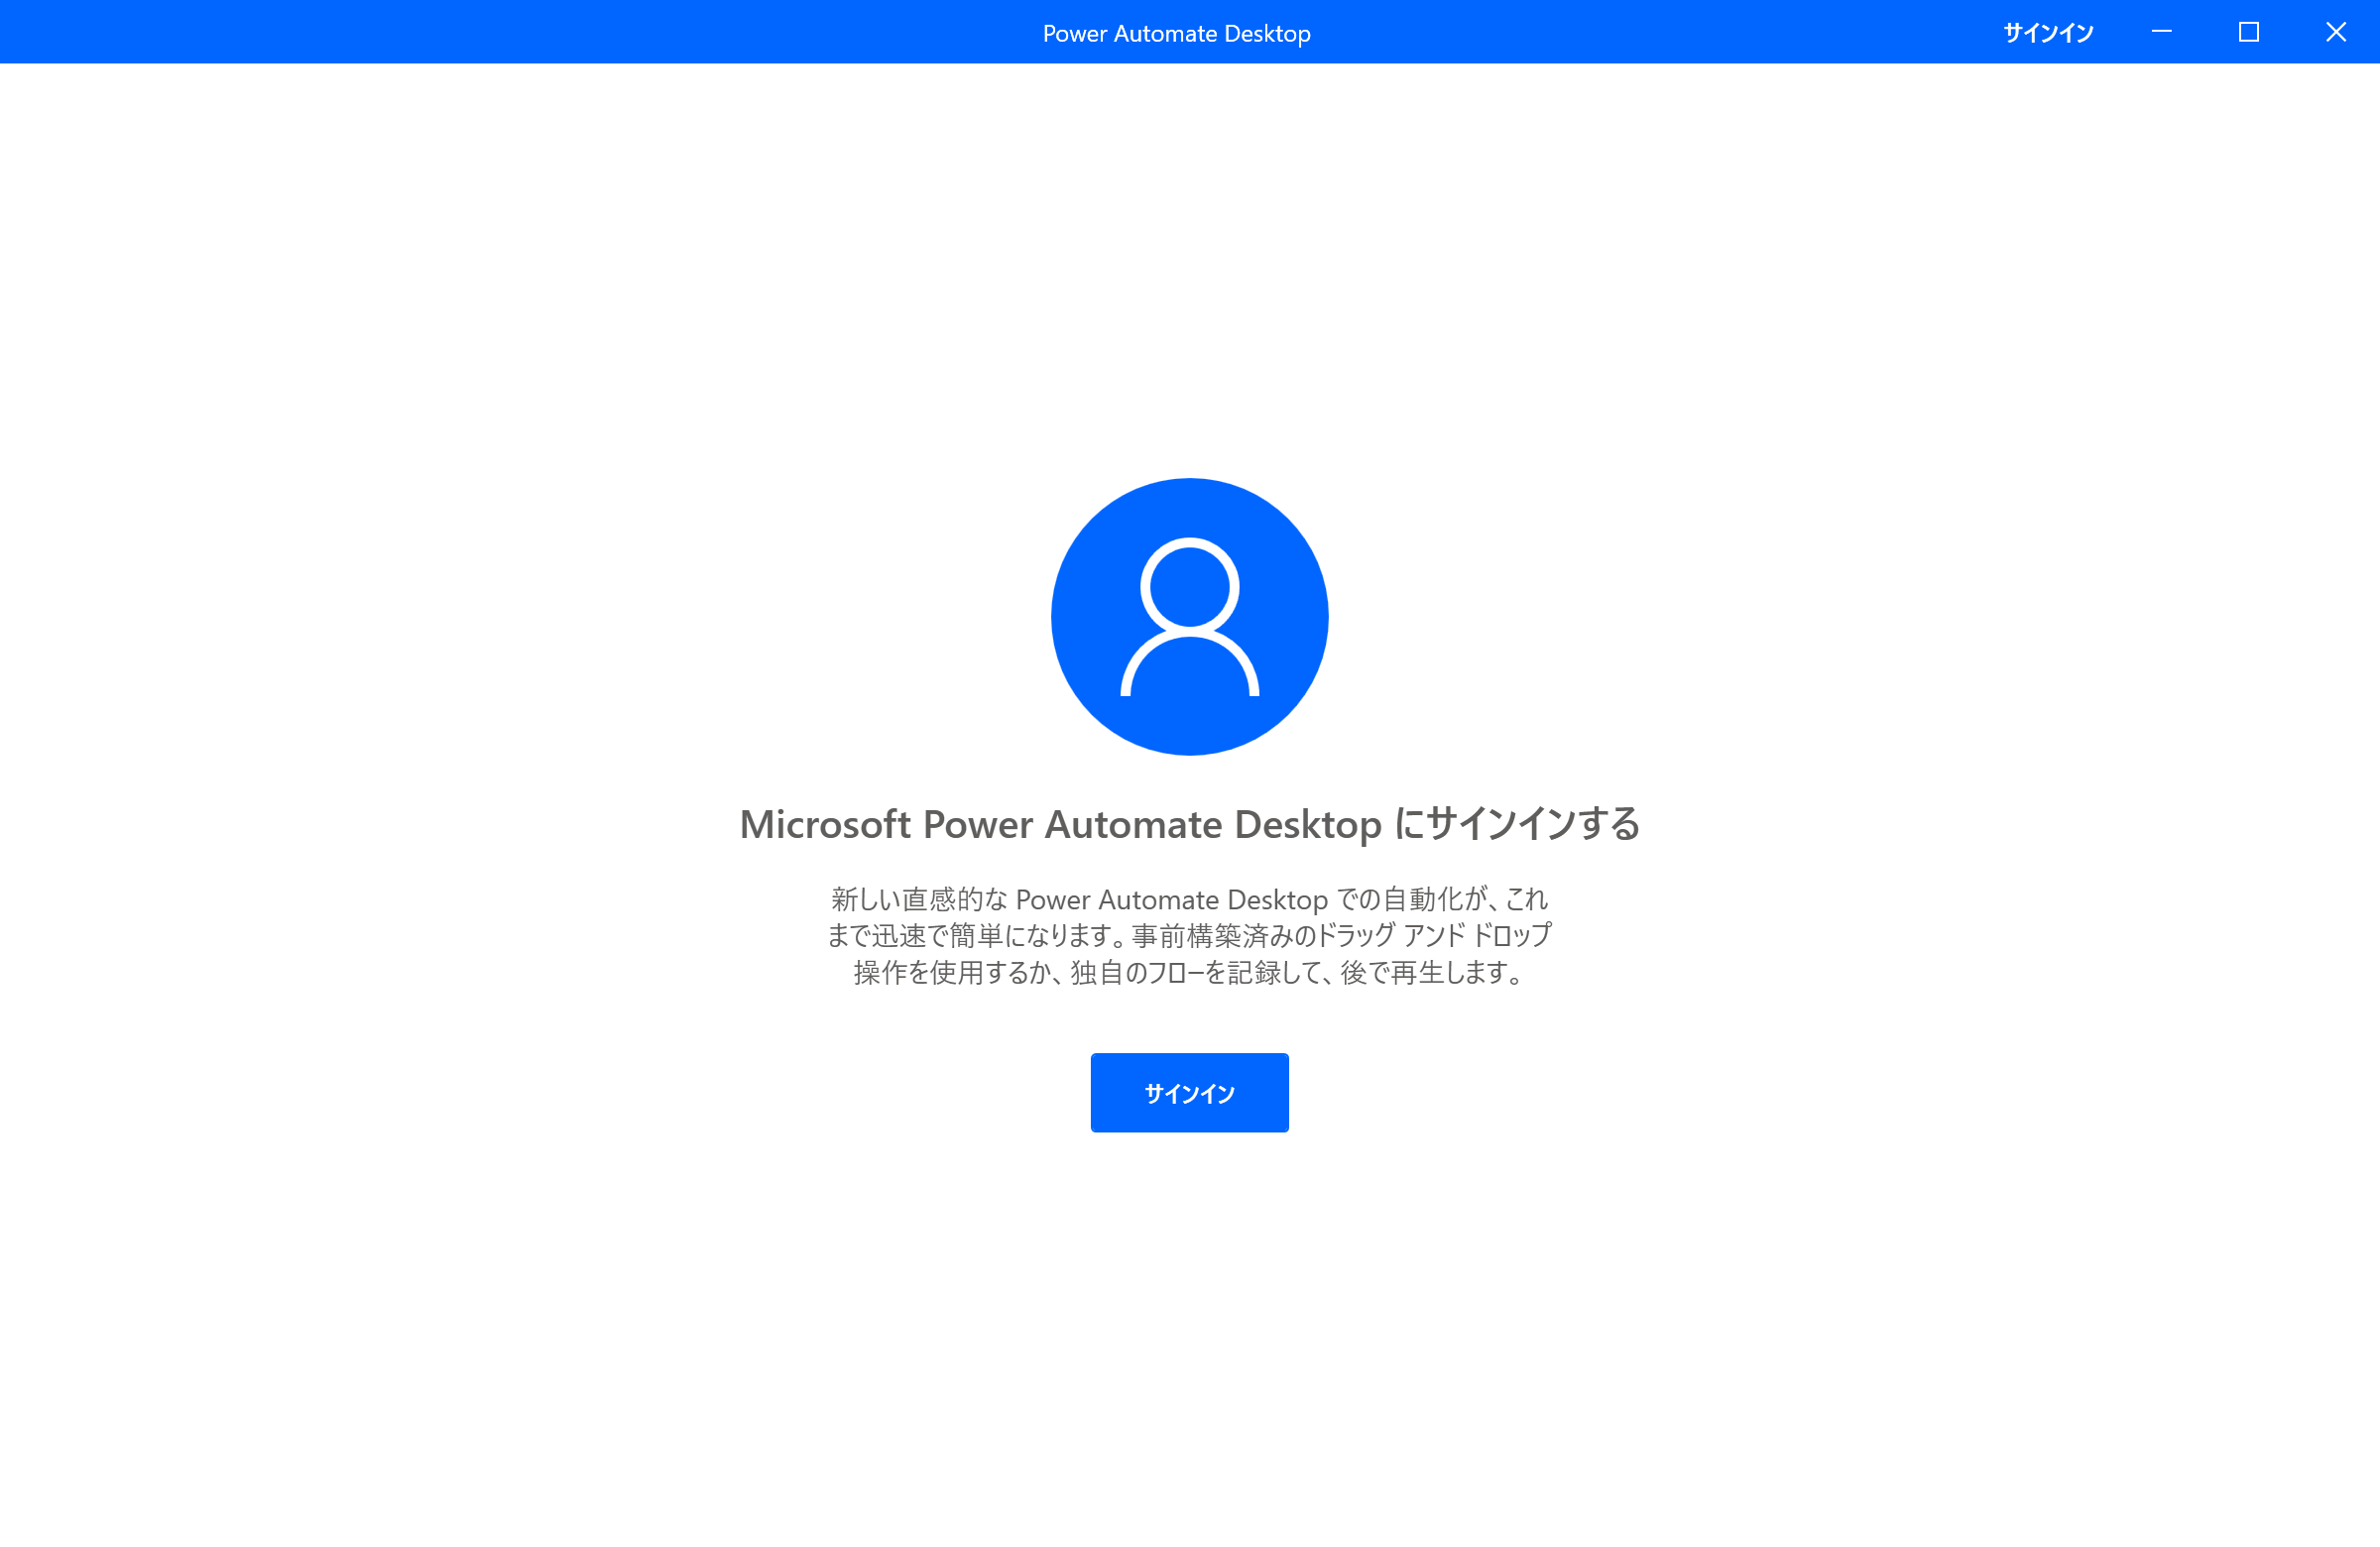
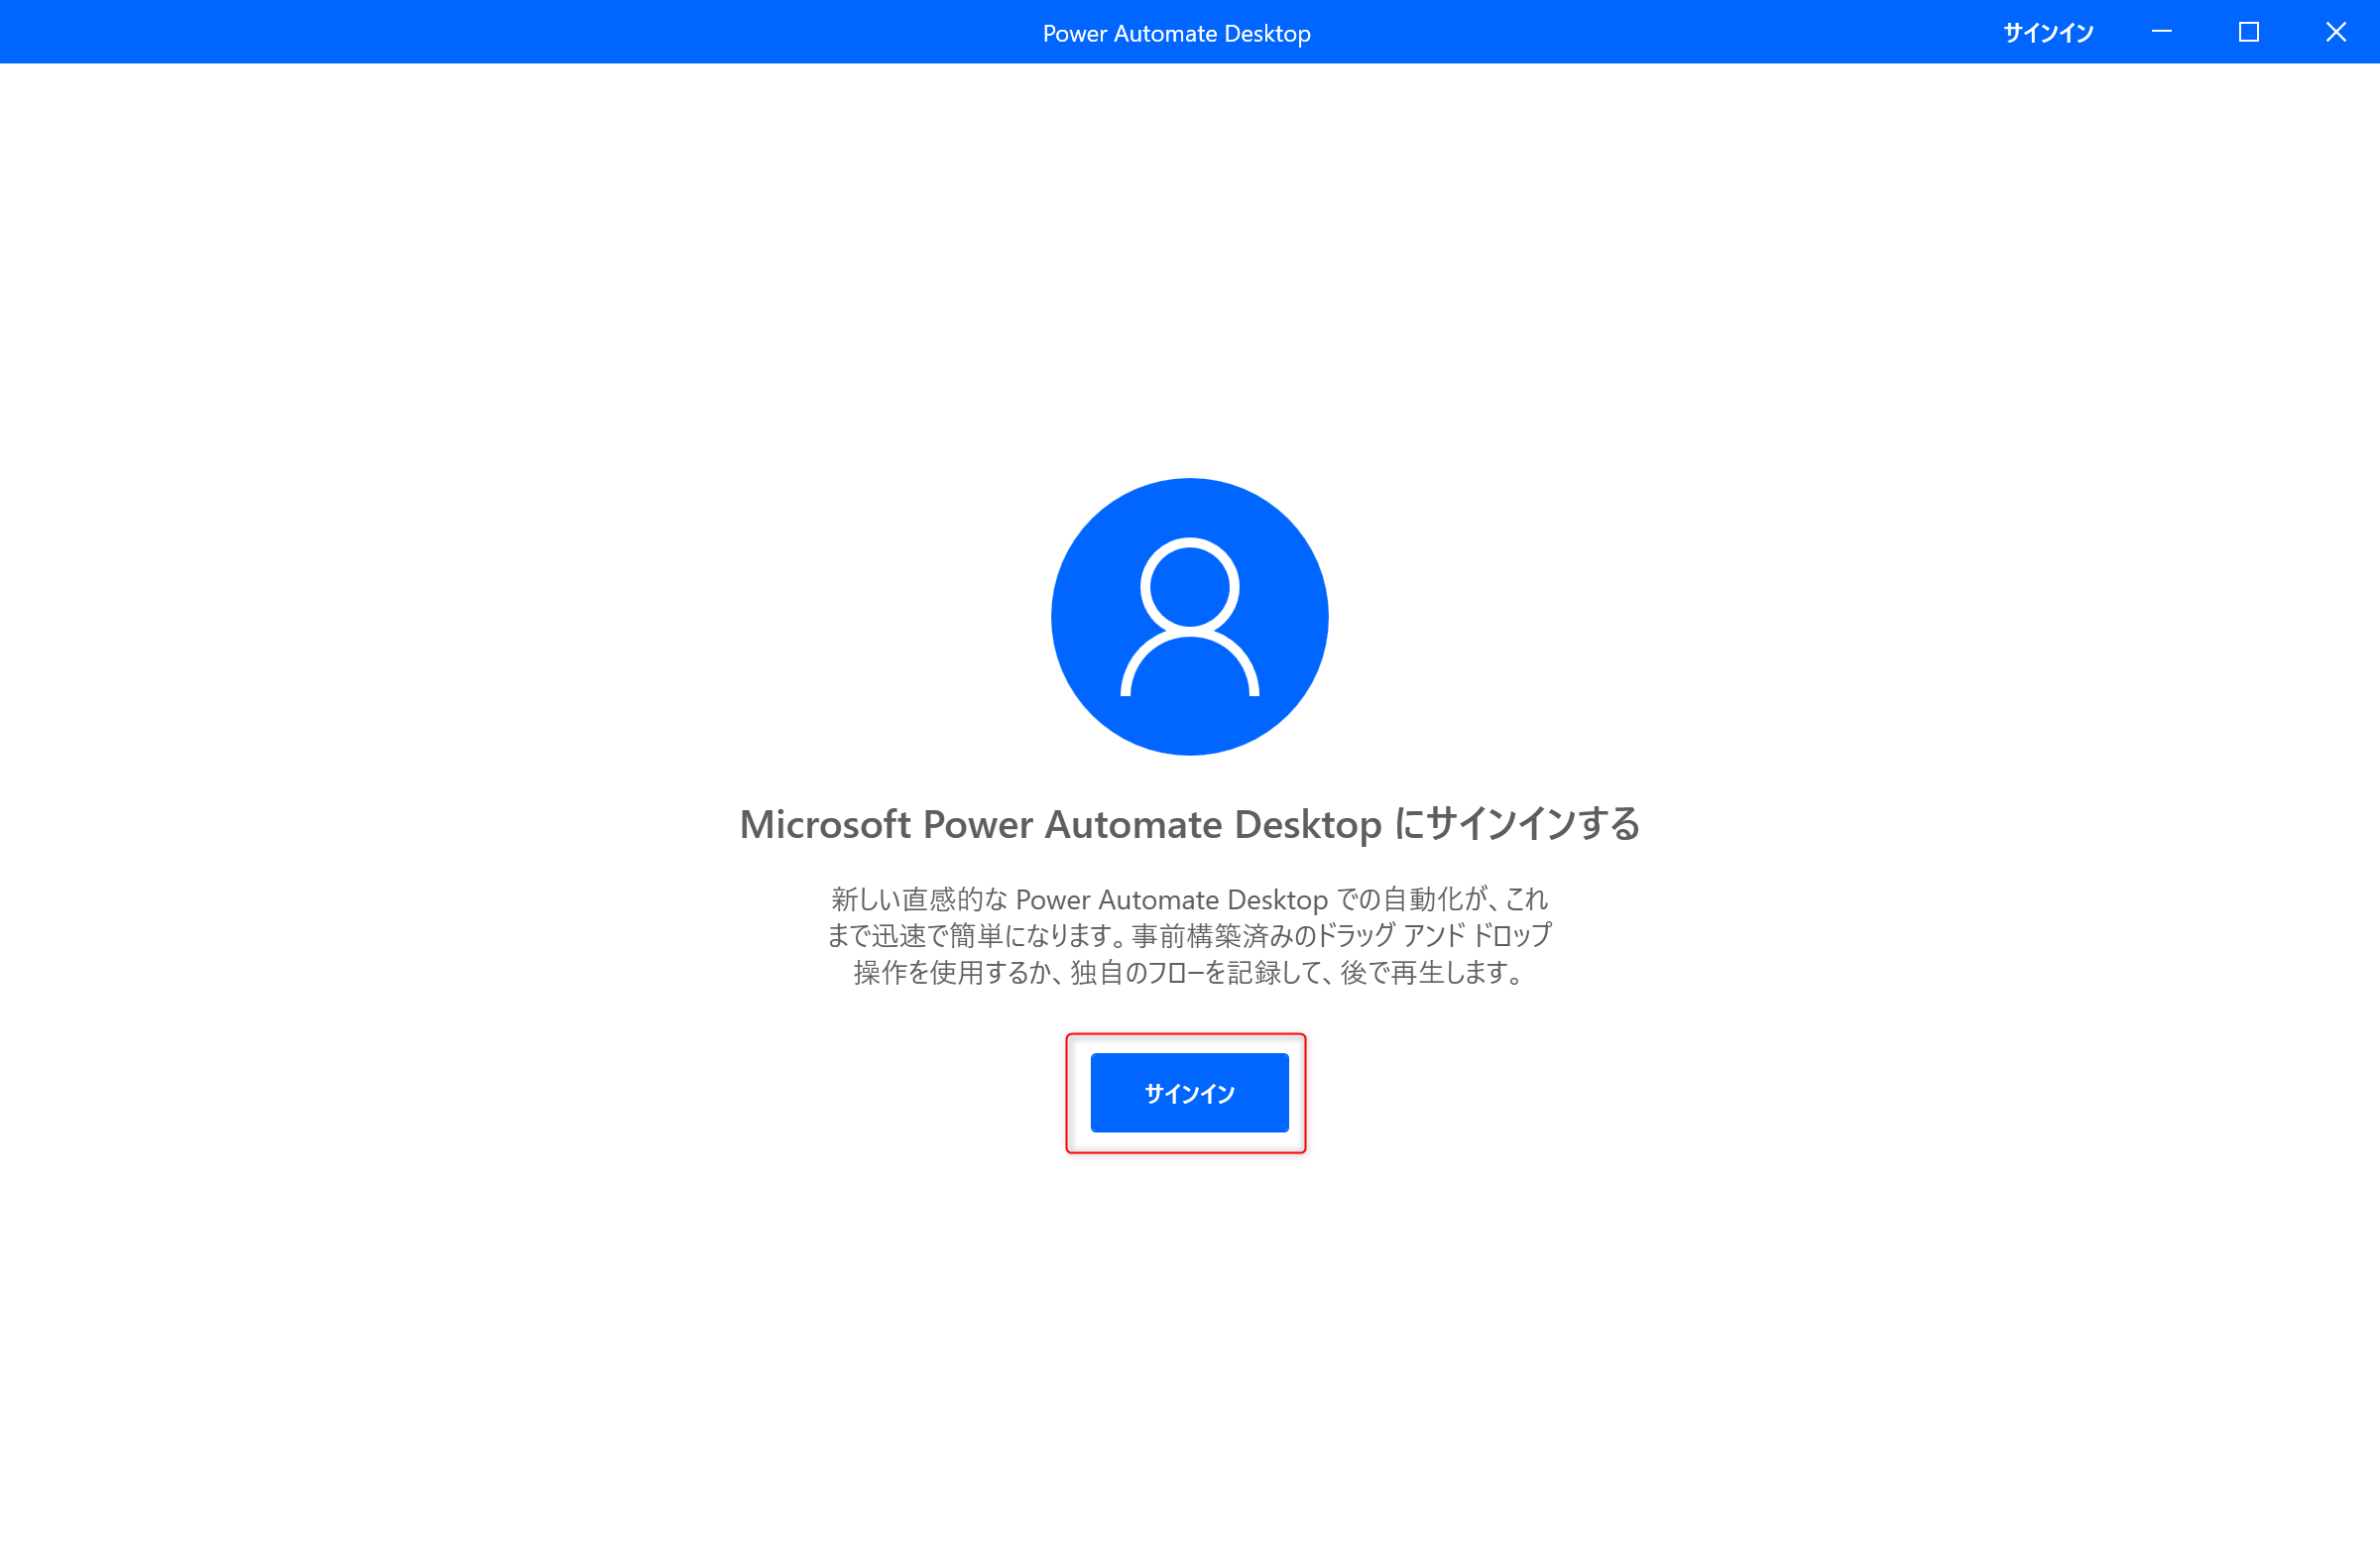
Power Automate Desktop を利用するためのアカウントを入力します。
ここでは、職場または学校のアカウント または Microsoft アカウントを入力しますが、ここでは、無料のMicrosoft アカウントを入力します。
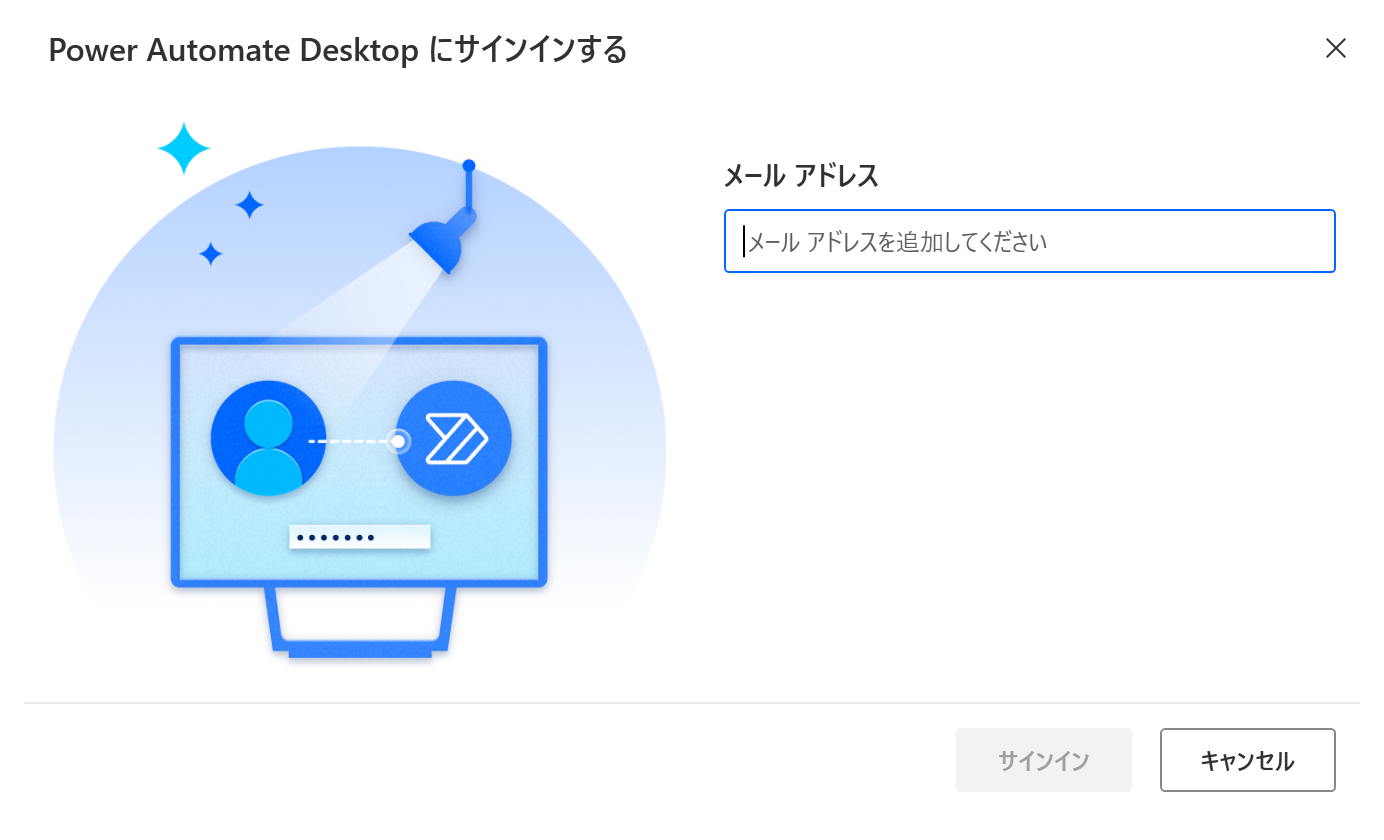
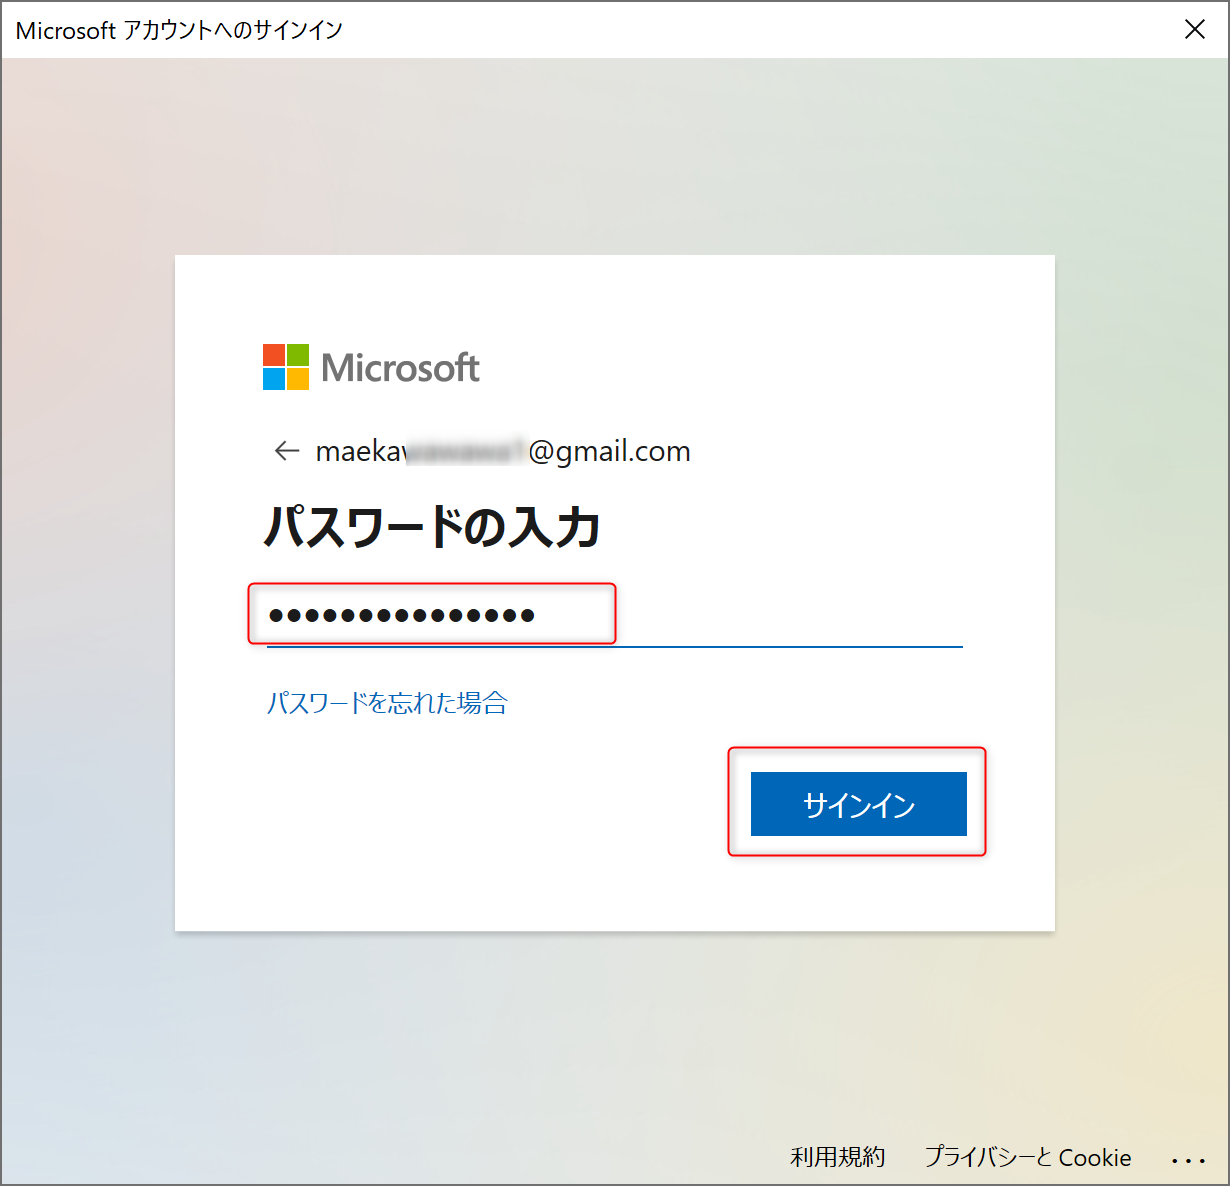
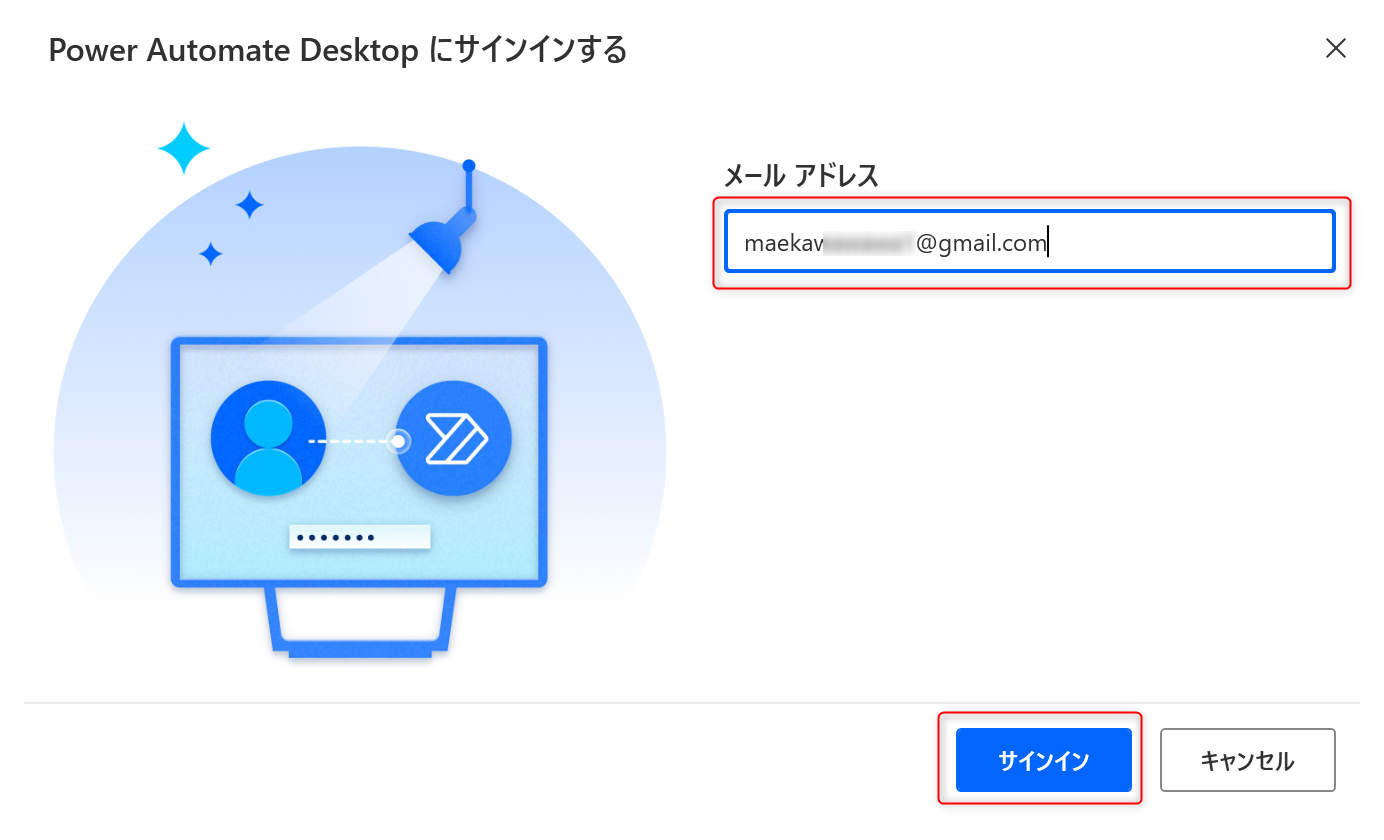
無料のMicrosoft アカウントを入力し、サインインをクリックします。
アカウントにサインインの画面が表示されたら、上記のMicrosoft アカウントを入力し、次へをクリックします。

ようこそ画面が表示されますので、国/地域を選択し、「開始する」をクリックします。
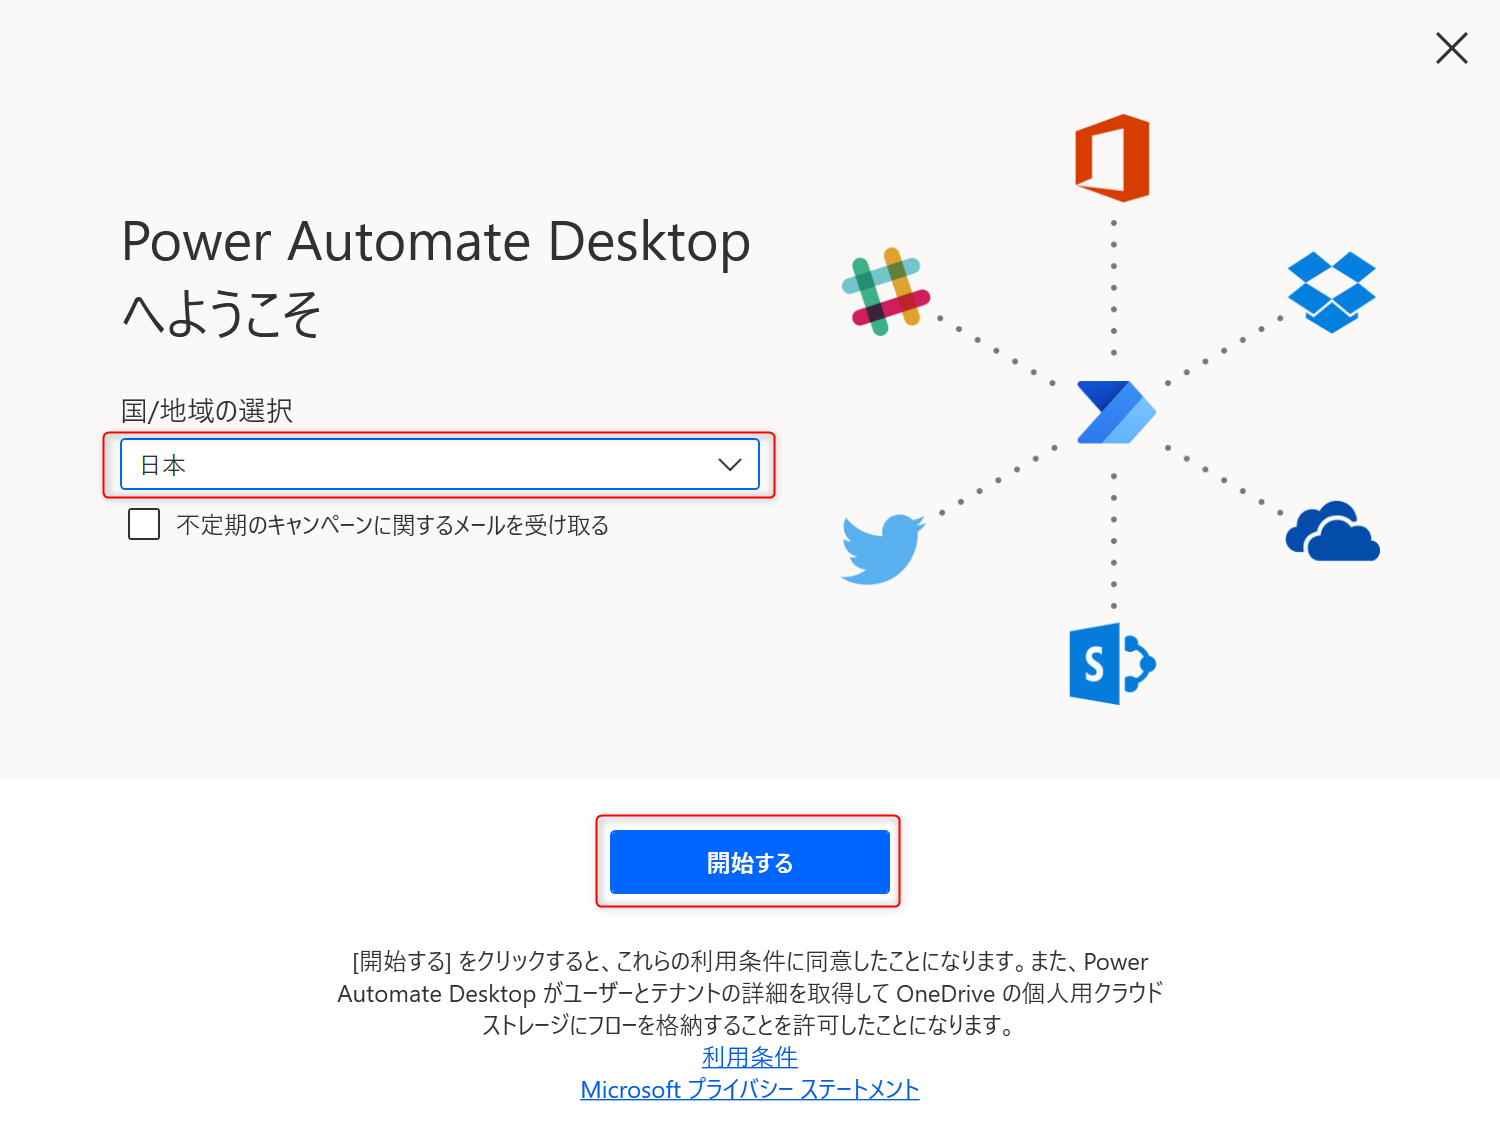
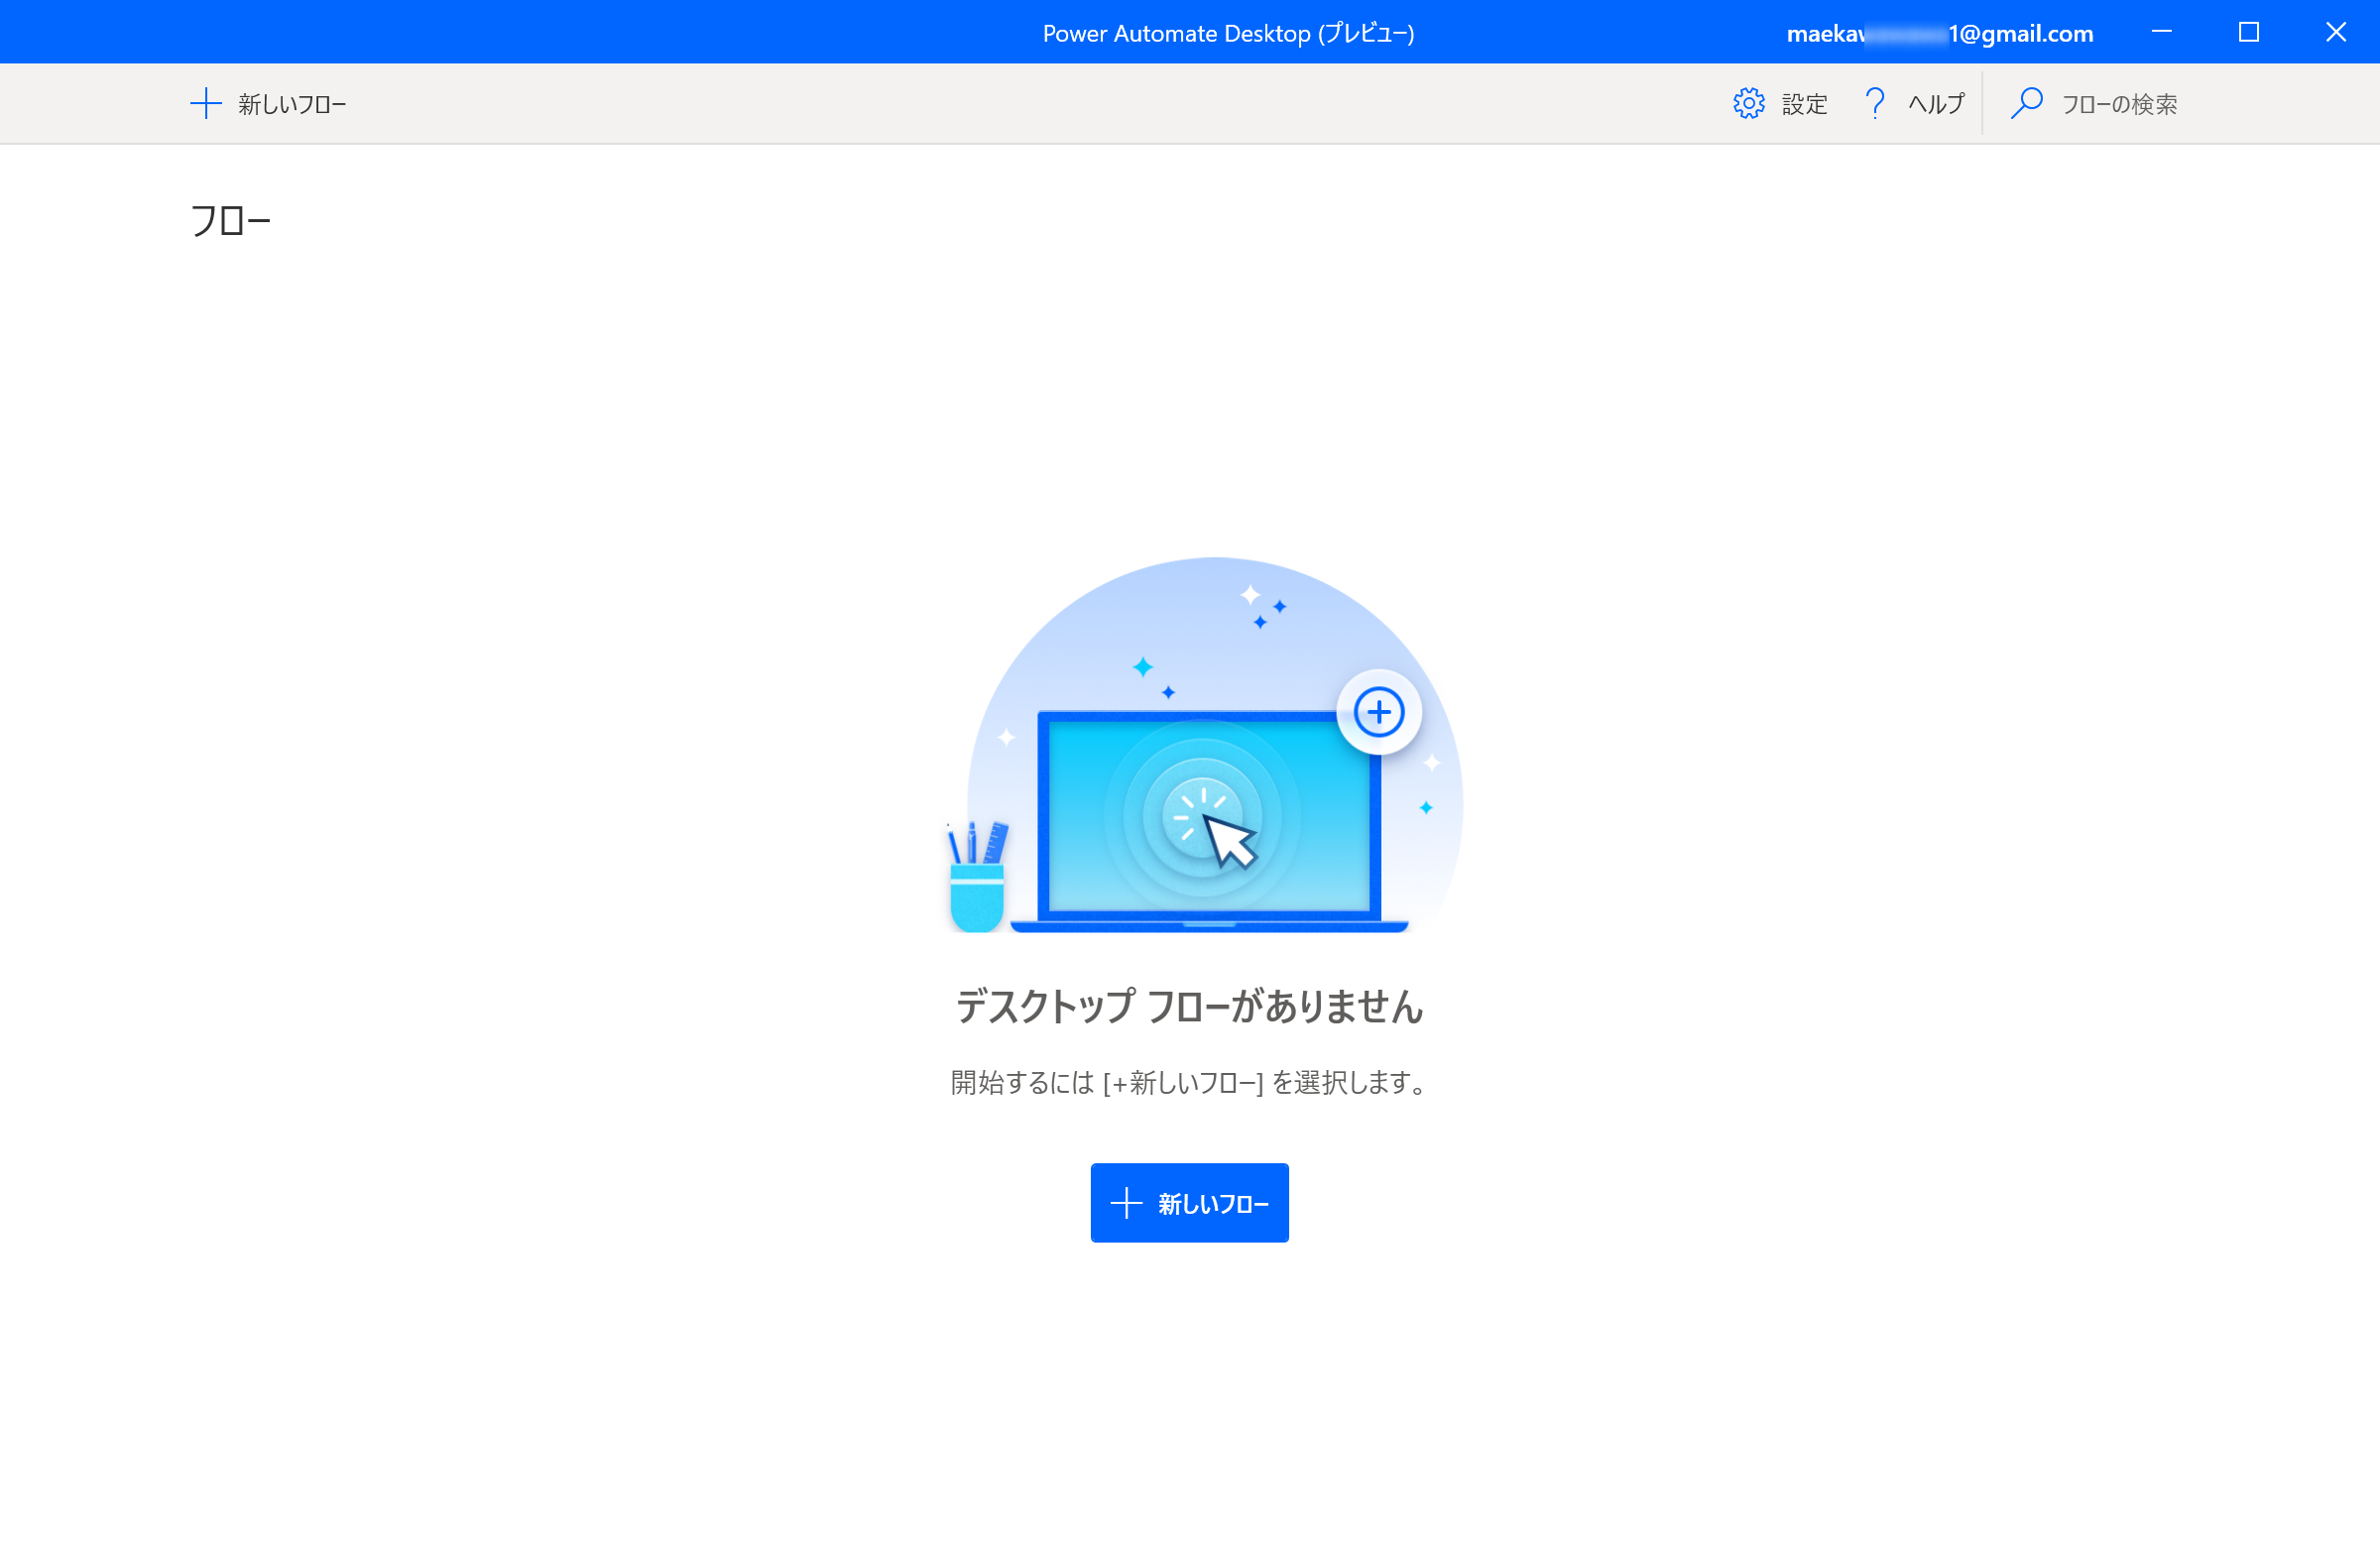
サインインが完了し、Power Automate Desktop が使用できるようになりました。
今回はインストールなのでここまでです。
おわり
Windows 10の標準機能となったPower Automate Desktopですが、これにより今までからさらに多くの方が利用できるようになりました。
どのような自動化が実現できる、アイデアは無数だと思います。
非常にわくわくしますね!
操作方法についてもまとめてみましたので併せてご覧ください。
【Power Automateの新しいRPA機能】Power Automate Desktopの操作方法(ExcelとWebブラウザ操作の自動化)
機能紹介記事も作成しました。併せて御覧ください。
【Power Automateの新しいRPA機能】Power Automate Desktopで出来ること(全33機能の紹介))
