LaradockでLaravelの開発環境を作って勉強をしているのですが、プロジェクト毎に複数のコンテナを立ち上げるのはやや手間かなと感じておりました。
そこで、1つのコンテナで複数のWebサイトを立ち上げられる様にしたいと思い、実際にDockerで環境を作りましたので今回まとめています。
ApacheのVirtualHostを使えばいざ他のプロジェクトを作りたいなと思った時に、同じコンテナを通してlocalhostで複数のプロジェクトを立ち上げることが出来る様になっています。
動作環境について
OS:macOS High Sierra
version: 10.13.5
Docker(Engine):18.06.0-ce
対象ブラウザ
GoogleChrome:67以上
作成する環境
Laravel:5.6
CakePHP3.6.9
PHP:7.2
MySQL:5.7
APache2.4
参考資料
Linux(CentOS7)でWebサーバーを構築する。 -Apache導入編-
dockerでcentos7起動時のsystemctlが動かないとき
CentOS7にPHP7をyumでインストールする
CentOS7のコンテナを作る
始めにCentOSのイメージをダウンロードしてコンテナを作ります。
docker pull centos:latest
「~/test」ディレクトリ以下で編集した内容がコンテナでも反映される様に設定してイメージからコンテナを作ります。
「--privileged」を指定しないと「systemctl」コマンドが正常に動作しないので必ず指定します。
~/test $ docker run -d --privileged --name test -p 80:80 -v ~/test:/var/www/html:rw centos:latest /sbin/init
87c2be02241a0182bcbde41736200a4dbbf09b256fada41535104a0402e6fe91
コンテナを起動させます。
~/test $ docker start 87c2be02241a0182bcbde41736200a4dbbf09b256fada41535104a0402e6fe91
87c2be02241a0182bcbde41736200a4dbbf09b256fada41535104a0402e6fe91
~/test $ docker ps
CONTAINER ID        IMAGE               COMMAND             CREATED             STATUS              PORTS                NAMES
87c2be02241a        centos:latest       "/sbin/init"        46 seconds ago      Up 51 seconds       0.0.0.0:80->80/tcp   test
コンテナ「test」へ移動します。
~/test $ docker exec -it test /bin/bash
[root@87c2be02241a /]#
各種必要な設定を行います
[root@87c2be02241a /]# yum -y update
[root@87c2be02241a /]# yum -y install vim
[root@87c2be02241a /]# yum -y install firewalld
[root@87c2be02241a /]# yum -y install httpd httpd-devel mod_ssl
[root@87c2be02241a /]# yum -y install mlocate
[root@87c2be02241a /]# updatedb
[root@87c2be02241a /]# yum -y install wget
ファイヤーウォールの設定
起動
[root@87c2be02241a /]# systemctl start firewalld
起動の確認
[root@87c2be02241a /]# firewall-cmd --state
running
httpサービスの追加
# firewall-cmd --permanent --add-service=http
"--permanent"を付けるとサービスを再起動した場合にもこの設定を維持させることが出来ます。
[root@87c2be02241a /]# firewall-cmd --permanent --add-service=http
success
ファイヤーウォールの設定の更新
[root@87c2be02241a /]# firewall-cmd --reload
success
設定の確認
[root@87c2be02241a /]# firewall-cmd --list-all
public
  target: default
  icmp-block-inversion: no
  interfaces:
  sources:
  services: ssh dhcpv6-client http
  ports:
  protocols:
  masquerade: no
  forward-ports:
  source-ports:
  icmp-blocks:
  rich rules:
*iptables、SELinuxは今回はインストール対象外です。
インストールする場合は競合に注意が必要です。
httpdの起動
[root@87c2be02241a /]# systemctl start httpd
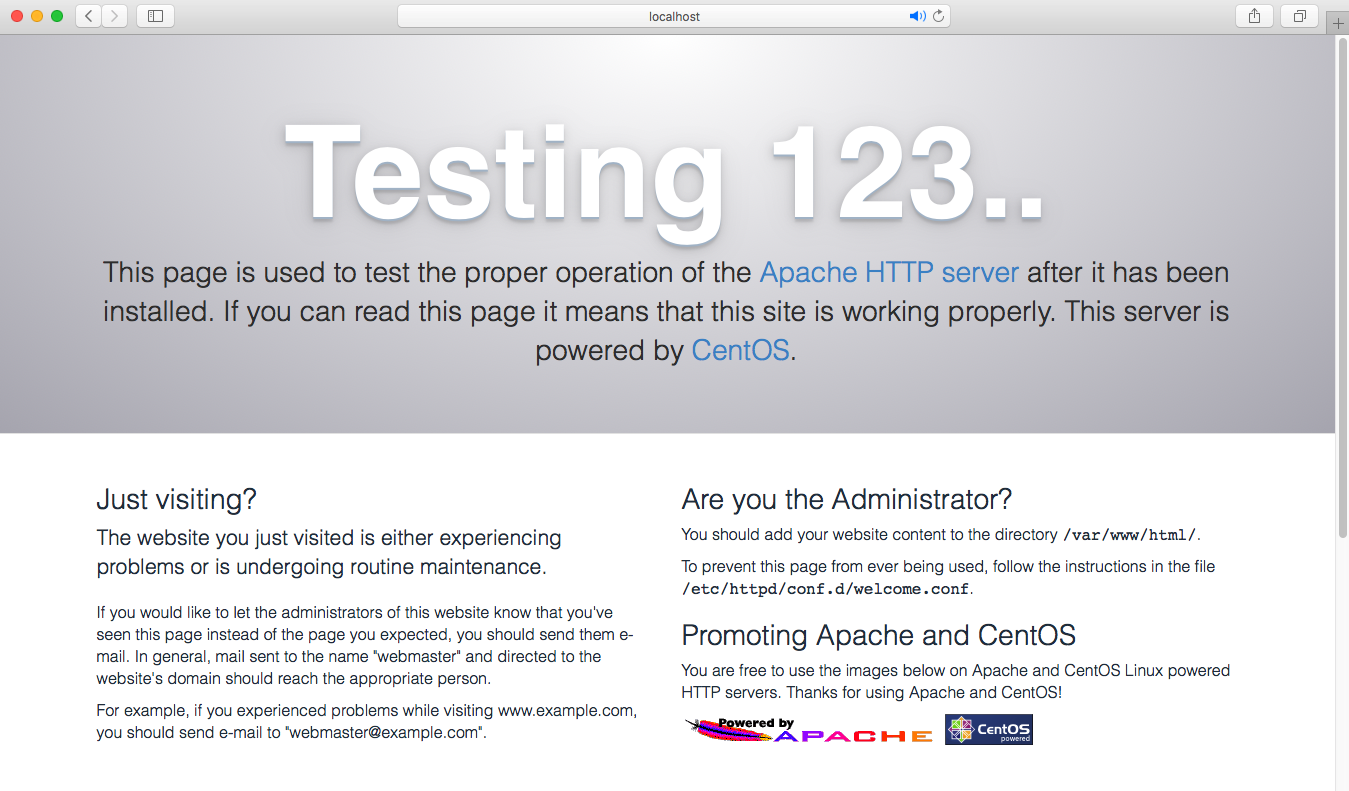
localhostにアクセスする
⇨成功します。
vimrcの設定変更(一応です。)
[root@87c2be02241a html]# vim ~/.vimrc
set tabstop=4
[root@87c2be02241a html]# source ~/.vimrc
PHPの導入
yum installでphpだけ指定すると5.4がインストールされるのでremiリポジトリを指定する必要があります。
epelリポジトリのインストール
[root@87c2be02241a html]# yum -y install epel-release
remiリポジトリのインストール
[root@87c2be02241a html]# rpm -Uvh http://rpms.famillecollet.com/enterprise/remi-release-7.rpm
Retrieving http://rpms.famillecollet.com/enterprise/remi-release-7.rpm
warning: /var/tmp/rpm-tmp.wTXgiq: Header V4 DSA/SHA1 Signature, key ID 00f97f56: NOKEY
Preparing...                          ################################# [100%]
Updating / installing...
   1:remi-release-7.5-2.el7.remi      ################################# [100%]
PHPとライブラリのインストール
[root@87c2be02241a html]# yum -y install --enablerepo=remi,remi-php72 php php-devel php-mbstring php-pdo php-gd
バージョン確認
[root@87c2be02241a html]# php --version
PHP 7.2.8 (cli) (built: Jul 17 2018 09:50:46) ( NTS )
Copyright (c) 1997-2018 The PHP Group
Zend Engine v3.2.0, Copyright (c) 1998-2018 Zend Technologies
OSのタイムゾーンの設定
[root@87c2be02241a www]# timedatectl set-timezone Asia/Tokyo
[root@87c2be02241a www]# timedatectl
      Local time: Sun 2018-07-22 22:41:07 JST
  Universal time: Sun 2018-07-22 13:41:07 UTC
        RTC time: Sun 2018-07-22 13:41:03
       Time zone: Asia/Tokyo (JST, +0900)
     NTP enabled: n/a
NTP synchronized: no
 RTC in local TZ: no
      DST active: n/a
ロケールの設定
[root@87c2be02241a www]# localectl set-locale LANG=ja_JP.utf8
[root@87c2be02241a www]# localectl
   System Locale: LANG=ja_JP.utf8
       VC Keymap: us
      X11 Layout: us
*タイムゾーンの設定とロケールの設定はコンテナ再起動時に備えて「~/.bash_profile」に同様のコマンドを書いておくと良いです。
[root@87c2be02241a ~]# vim ~/.bash_profile
[root@87c2be02241a ~]# source ~/.bash_profile
php.iniのタイムゾーンの設定
[root@87c2be02241a www]# vim /etc/php.ini
;date.timezone =
⇨下記の通り変更
date.timezone = "Asia/Tokyo"
Apacheの自動起動
[root@87c2be02241a www]# systemctl enable httpd
Created symlink from /etc/systemd/system/multi-user.target.wants/httpd.service to /usr/lib/systemd/system/httpd.service.
[root@87c2be02241a www]# systemctl status httpd
httpd.service - The Apache HTTP Server
   Loaded: loaded (/usr/lib/systemd/system/httpd.service; enabled; vendor preset: disabled)
MYSQLのインストール
[root@87c2be02241a www]# rpm -ivh http://dev.mysql.com/get/mysql57-community-release-el7-8.noarch.rpm
リポジトリ追加後にyum update
# yum -y update
MYSQLのインストールの実行
# yum -y install mysql-community-server
初回起動
[root@87c2be02241a www]# systemctl start mysqld.service
MysQL5.7は初期パスワードが設定されているから変更する必要があります。
初期パスワードは以下の方法で確認出来ます。
[root@87c2be02241a www]# cat /var/log/mysqld.log | grep 'temporary password'
2018-07-22T14:29:29.107227Z 1 [Note] A temporary password is generated for root@localhost: gQ(初回パスワード
もしくは
2018-07-22T14:29:29.107227Z 1 [Note] A temporary password is generated for root@localhost: gQ(初回パスワード
MySQLのセキュリティ設定
# mysql_secure_installation
出来ること(基本的に全部yesと打てば良いです。)
・root ユーザーのパスワードの変更
・VALIDATE PASSWORD プラグインのインストール
・ポリシーに沿った root ユーザーパスワードの設定 (VALIDATE PASSWORD プラグインをインストールした場合。英語大文字小文字記号の組み合わせが必要。)
anonymous ユーザーの削除
・リモートホストから root ユーザーでログインするのを禁止する
・testデータベースの削除 (存在する場合)
設定ファイルによる設定
「/etc/my.cnf」に下記を追記します
[root@87c2be02241a www]# vim /etc/my.cnf
[mysqld]
(略)
character-set-server = utf8mb4
default_password_lifetime = 0
skip-character-set-client-handshake
default-storage-engine=innodb
collation-server=utf8mb4_general_ci
innodb_file_per_table=1
default-storage-engine=InnoDB

[mysql]
auto-rehash
default-character-set = utf8mb4

[mysqldump]
default-character-set = utf8mb4
設定反映の為再起動します。
[root@87c2be02241a www]# systemctl restart mysqld.service
Mysqlにログインしてみます
[root@87c2be02241a www]# mysql -u root -p
Enter password:
Welcome to the MySQL monitor.  Commands end with ; or \g.
Your MySQL connection id is 2
Server version: 5.7.22 MySQL Community Server (GPL)
パスワード変更
mysql> set password = password('任意のパスワード');
再度再起動
[root@87c2be02241a www]# systemctl restart mysqld.service
サービスの自動起動設定も行う
[root@87c2be02241a www]# systemctl enable mysqld.service
[root@87c2be02241a www]# systemctl list-unit-files -t service | grep mysqld
mysqld.service                            enabled
mysqld@.service                           disabled
エンコードの反映の確認
[root@87c2be02241a www]# mysql -u root -p
mysql> show variables like 'character_set%';
+--------------------------+----------------------------+
| Variable_name            | Value                      |
+--------------------------+----------------------------+
| character_set_client     | utf8mb4                    |
| character_set_connection | utf8mb4                    |
| character_set_database   | utf8mb4                    |
| character_set_filesystem | binary                     |
| character_set_results    | utf8mb4                    |
| character_set_server     | utf8mb4                    |
| character_set_system     | utf8                       |
| character_sets_dir       | /usr/share/mysql/charsets/ |
+--------------------------+----------------------------+
8 rows in set (0.00 sec)

==================================
composerのインストール
[root@87c2be02241a ~]# php -r "copy('https://getcomposer.org/installer', 'composer-setup.php');"

[root@87c2be02241a ~]# php composer-setup.php
All settings correct for using Composer
Downloading...

Composer (version 1.6.5) successfully installed to: /root/composer.phar
Use it: php composer.phar
composerコマンドをグローバルで使える様にします
[root@87c2be02241a ~]# ls
anaconda-ks.cfg  composer-setup.php  composer.phar
[root@87c2be02241a ~]# mv composer.phar /usr/local/bin/composer
CentOS7でPHPを実行する環境は最低限作れました。
laravelのプロジェクトを作ります
[root@87c2be02241a html]# mkdir laravel
[root@87c2be02241a html]# cd laravel
laravelプロジェクトを作るのにgitが必要なのでgitをインストールします。(下記2つもインストールが必要です。)
[root@87c2be02241a laravel]# yum -y install git
[root@87c2be02241a laravel]# yum -y install --enablerepo=remi,remi-php72 php php-xml
[root@87c2be02241a laravel]# yum -y install unzip
プロジェクト作成
[root@87c2be02241a laravel]# composer create-project laravel/laravel laravel_app

[root@87c2be02241a laravel]# cd laravel_app
[root@87c2be02241a laravel_app]# ls
CHANGELOG.md  artisan    composer.json  database      phpunit.xml  readme.md  routes      storage  webpack.mix.js
app           bootstrap  config         package.json  public       resources  server.php  tests
該当箇所のパーミッションの変更
[root@87c2be02241a laravel_app]# chmod 766 bootstrap/cache
[root@87c2be02241a laravel_app]# chmod 766 storage
「.env」の編集
APP_URL=http://lara.localhost
Apacheの変更
・httpd.confの設定
[root@87c2be02241a conf]# cd /etc/httpd/conf
[root@87c2be02241a conf]# ls
httpd.conf  magic

[root@87c2be02241a conf]# vim httpd.conf
変更内容
# ServerName www.example.com:80
⇨コメントアウトを外します。

「/var/www/html」が指定されているタグの中身を書き換えます。
# Further relax access to the default document root:
<Directory "/var/www/html">

</Directory>
*変更箇所
下記を追加
    RewriteEngine On
    RewriteCond %{REQUEST_FILENAME} !-d
    RewriteCond %{REQUEST_FILENAME} !-f
    RewriteRule ~ index.php [L]
AllowOverride None
⇨AllowOverride Allに変更
laravelプロジェクト用の「.conf」ファイルを作る。
[[root@87c2be02241a conf]# cd ../conf.d
[root@87c2be02241a conf.d]# ls
README  autoindex.conf  php.conf  ssl.conf  userdir.conf  welcome.conf
[root@87c2be02241a conf.d]# cp welcome.conf laravel_app.conf
laravel_app.conf
<VirtualHost *:80>
    DocumentRoot "/var/www/html/laravel/laravel_app/public"
    ServerName lara.localhost
    ErrorLog logs/laravel_app.log
    CustomLog logs/laravel_app.log combined
    <Directory "/var/www/html/laravel/laravel_app/public">
        AllowOverride All
        Options All
        Require all granted
    </Directory>
</VirtualHost>
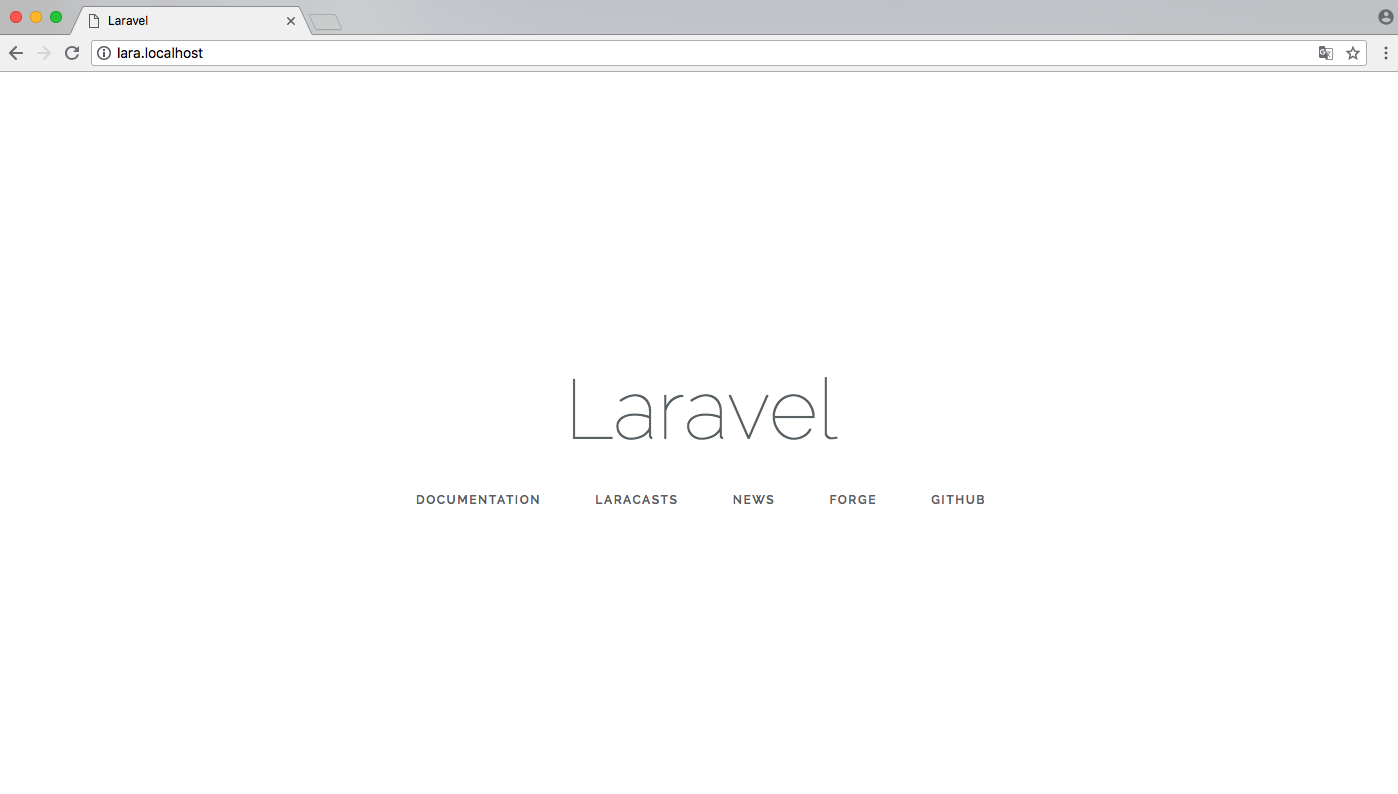
httpdの再起動をした上で「lara.localhost」にアクセス
⇨Laravelの画面が表示されます。
CakePHP3の環境を作りたい場合
ちなみにcakeの環境を同時に作るとした場合は下記の通りになります。
「/var/www/html」ディレクトリ下に「cake」dディレクトリを作ります。
cakephpのプロジェクトを作る上で必要な物をインストールして起きます。
[root@87c2be02241a cake]# yum -y install --enablerepo=remi,remi-php72 php php-intl
[root@87c2be02241a cake]# yum -y install --enablerepo=remi,remi-php72 php php-mysqlnd
php.iniに下記を追記します。
[root@87c2be02241a cake]# vim /etc/php.ini
extension=intl.so
extension=php-mysqlnd.so
*soファイルの置き場に該当の該当のファイルがあるかを確認してくだい。
ls /usr/lib64/php/modules
CakePHPプロジェクトを作る
[root@87c2be02241a cake]# composer create-project --prefer-dist cakephp/app cake1
CakePHPのプロジェクトディレクトリの「config/app.php」の下記を編集します。
    'Datasources' => [
        'default' => [
            'className' => 'Cake\Database\Connection',
            'driver' => 'Cake\Database\Driver\Mysql',
            'persistent' => false,
            'host' => 'localhost',
            /*
             * CakePHP will use the default DB port based on the driver selected
             * MySQL on MAMP uses port 8889, MAMP users will want to uncomment
             * the following line and set the port accordingly
             */
            //'port' => 'non_standard_port_number',
            'username' => '任意のユーザー',
            'password' => '任意のパスワード',
            'database' => '任意のデータベース名',
「cake1」用のconfファイルを作成
cake1.conf
<VirtualHost *:80>
    DocumentRoot "/var/www/html/cake/cake1"
    ServerName cake1.localhost
    ErrorLog logs/cake1.log
    CustomLog logs/cake1.log combined
    <Directory "/var/www/html/cake/cake1">
        AllowOverride All
        Options All
        Require all granted
    </Directory>
</VirtualHost>
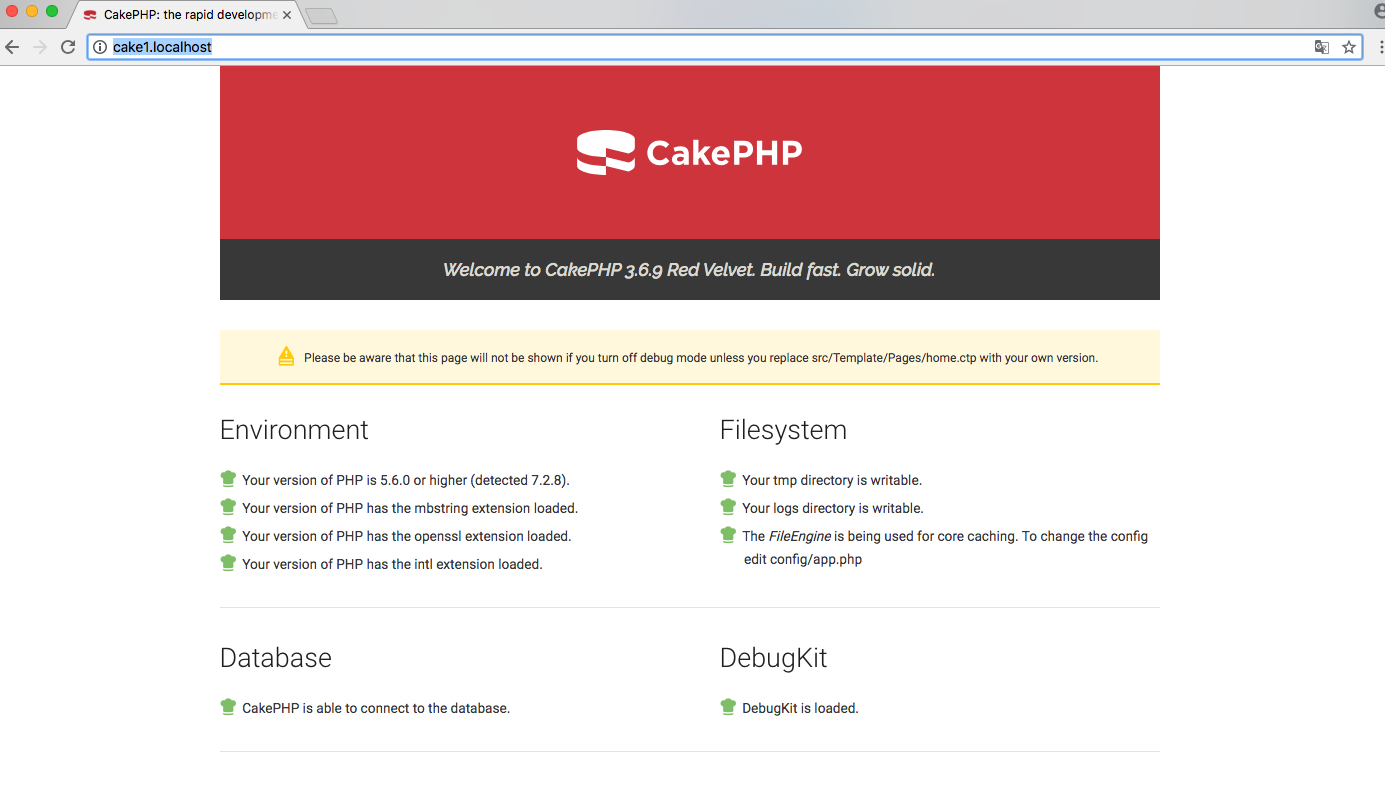
httpdを再起動してから「cake1.localhost」へアクセスします。
以上です。
プロジェクトを作るたびにconfファイルを作ってServerNameを指定すれば、複数のプロジェクトのサイトを1つのコンテナを通してブラウザで確認出来る様になります。
開発環境やちょっと動作確認をする環境としては十分なのかなと思います。
ただ、ここまでの手順が多いので、DokerFileで一括で作れる様になると楽になりますね・・・。
一度作ってからcommitしてイメージを作っておけば2回目以降は大分楽になりますが、もう少し楽に作れる様にまだまだ検討が必要です。