前書き
Reactが登場したおかげで、フロント業界に革命が起きました。
Webだけでなく、アプリもReactでかける時代です。
そして、Electronの登場により、Webのアプリをそのままデスクトップ化することが可能になりました!
今回は、Reactで作ったプロジェクトをElectron化する方法について解説して行きます。
利用技術
- React v15.4.2
- Electron v1.6.2
- webpack v2.3.3
ReactTodo
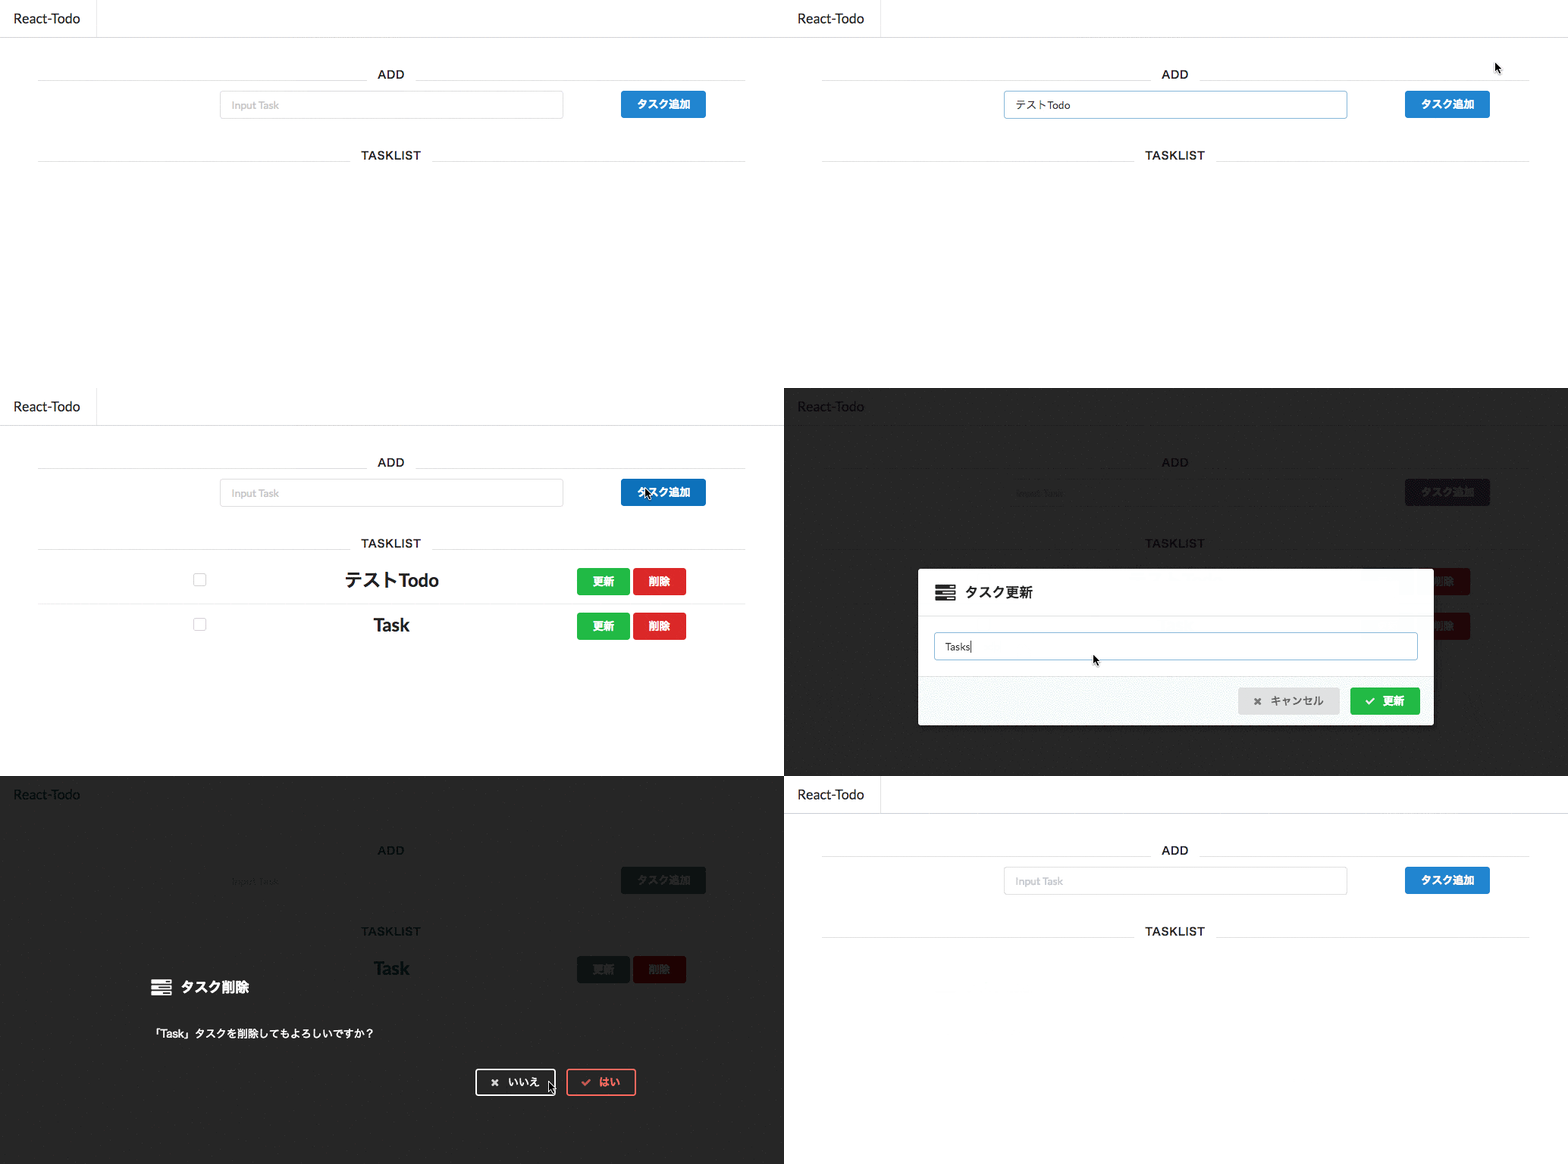
今回は、Reactの勉強で作成したReactTodoをElectron化して
デスクトップ上で動かせるようにしてゆきます。
(Semanticで作った、とてもシンプルなTodoです。)
以下からCloneできますので、よければお試しください。
https://github.com/gcmae/react-todo.git
手順
今回の、設定の肝としては
Reactのindex.htmlをElectronのmainWindowとして起動する。
がざっくりな内容になります。
1. Electronをインストールする。
Electron化のため、ReactのプロジェクトにElectronをインストールします。
electron-prebuiltというモジュールもありますが、
バージョンによるバグ(背景バグ)が起きてしまうため、
最新を落とす事にします。
# npmの場合
npm install electron

# yarnの場合
yarn add electron
2. index.jsを作成する。
Electronのindex.js(実行ファイル)を作成します。
作成場所は現プロジェクトでは、
src直下にelectron というフォルダを作り、そこに作成します。
// ./react-todo/src/electron/index.js
// Electron
import {
  app,
  BrowserWindow,
} from 'electron';
import path from 'path';

// RootPath
const ROOT_PATH = "file://" + path.resolve("");

// mainWindowのHTMLファイル(第4項で解説)
const rootPath = `${ROOT_PATH}/build/react/index.html`;

// アプリ起動時の処理
app.on('ready', e => {
  const winSetting = { width: 800, height: 600 }
  const mainWindow = new BrowserWindow(winSetting);
  // デベロップツールの表示
  mainWindow.openDevTools();
  mainWindow.loadURL(rootPath);
});

// アプリ終了時の処理
app.on('window-all-closed', () => {
  if (process.platform !== 'darwin') {
    app.quit();
  }
});
electronパスを作ったので、ついでに分かりやすくするために
Reactパスも作成します。
src直下にReactパスを作成して、そこにReact系のファイルを移動します。
結果、ディレクトリはこうなりました。
src/
 ├ electron/
 │ └ index.js
 ├ react/
 │ └ components/
 │ └ utils/
 │ └ index.css
 │ └ index.js
3. Renderを作成する。
Electronで表示するRenderファイル(HTML)を作成します。
今回は、ElectronでReactを表示するため
ReactディレクトリがそのままRenderになるイメージです。
実質、行う作業は
ReactでレンダリングするHTMLをReactディレクトリに配置するだけです。
(Reactのプロジェクトでいう、publicのフォルダにあるHTML)
作成するHTMLは以下になります。
<!-- ../src/react/index.html -->
<!doctype html>
<html lang="en">
  <head>
    <meta charset="utf-8">
    <meta name="viewport" content="width=device-width, initial-scale=1">
    <link rel="shortcut icon" href="%PUBLIC_URL%/favicon.ico">
    <!-- Semantic -->
    <link rel="stylesheet" href="http://cdnjs.cloudflare.com/ajax/libs/semantic-ui/2.2.2/semantic.min.css"></link>
    <title>React Todo</title>
  </head>
  <body>
    <div id="root"></div>
    <script src="index.js" type="text/javascript"></script>
  </body>
</html>
※注意 CDNを利用する場合は、URLに「http」をつけてください。
4. webpack.config.jsを修正する。
Reactのプロジェクトにて利用(公式のcreate-react-appでも利用)しているwebpackの設定ファイルを修正します。
以下、ReactTodoをElectron化した時のwebpackの設定になります。
(RenderのHTML移動のため、html-webpack-pluginを利用しています。)
const path = require('path');
const HtmlWebpackPlugin = require('html-webpack-plugin');

module.exports = [
  // Electron設定
  {
    entry: {
      main: './src/electron/index.js',
    },
    output: {
      path: path.join(__dirname, 'build/electron'),
      filename: 'index.js',
    },
    module: {
      loaders: [
        {
          test: /\.jsx?$/,
          loader: 'babel-loader',
          exclude: /node_modules/,
          query: {
            presets: [
              'es2015',
              'react',
            ],
          },
        },
      ],
    },
    target: 'electron',
  },
  // React 設定
  {
    entry: {
      react: './src/react/index.js',
    },
    output: {
      path: path.join(__dirname, 'build/react'),
      filename: 'index.js',
    },
    module: {
      loaders: [
        {
          test: /\.jsx?$/,
          loader: 'babel-loader',
          exclude: /node_modules/,
          query: {
            presets: [
              'es2015',
              'react',
            ],
          },
        },
      ],
    },
    resolve: {
      extensions: ['*', '.js', '.jsx'],
    },
    // Electron Renderの設定
    plugins: [
      new HtmlWebpackPlugin({
        template: './src/react/index.html',
        filename: path.join(__dirname, 'build/react/index.html'),
        inject: false,
      }),
    ],
  },
];
では、要所要所で解説してゆきます。
Electronの設定
  // Electron設定
...
   entry: {
     main: './src/electron/index.js',
   },
   output: {
     path: path.join(__dirname, 'build/browser'),
     filename: 'index.js',
   },
...
以上の部分では、Electronの実行ファイルをビルドし
プロジェクトディレクトリ直下に、buildフォルダを作成して、
その中のelectronディレクトリにビルドしたindex.jsを作成する用になっています。
特に特記することはありませんが、ビルド後のディレクトリはsrcに合わせた方が見やすいと思います。
Reactの設定
  // React 設定
...
    entry: {
      react: './src/react/index.jsx',
    },
    output: {
      path: path.join(__dirname, 'build/react'),
      filename: 'index.js'
    },
...
Reactのルートファイル(index.jsx)を、buildディレクトリのReactディレクトリに配置します。
ここで作成されたindex.jsをRenderのhtmlが呼び出します。
(ReactディレクトリよりRenderディレクトリの方がスマートかな.....)
Electron Renderの設定
  // Electron Render設定
...
    plugins: [
      new HtmlWebpackPlugin({
        template: './src/react/index.html',
        filename: path.join(__dirname, 'build/react/index.html'),
        inject: false,
      }),
    ],
...
以上の部分で、RenderにあたるHTMLを移動しています。
そもそも、Reactの起動のため元から書かれている設定かと思います。
移動先は、src直下でいうReactディレクトリに配置するようにします。
FileNameの部分が、本2項で記述したElectron実行ファイルのmainWindowのパスになります。
5. Electronを起動する。
ここまでくれば、あとはビルドと起動だけです。
package.jsonのscriptsに以下を記述します。
   "start": "electron .",
   "build": "webpack --config webpack.config.js -p --color"
startがElectron起動
buildがwebpackでのビルドになります。
では、まずビルドから行います。
$ npm run build
でビルドが可能です。
無事にビルドが成功しましたら、続いてelectronの起動!
といきたいところですが...
Electronの実行ファイル(index.js)があるディレクトリでコマンドを叩かないと行けないため、実行コマンドが長くなってしまいます。
$ electron ./build/electron/
そのため、プロジェクト直下に以下のindex.jsを作成し、それをコマンドで叩くことでElectronを実行できるようにします。
// ../index.js
require ('./build/electron/index.js');
ディレクトリ直下のため以下のコマンドで実行可能です。
$ electron ./
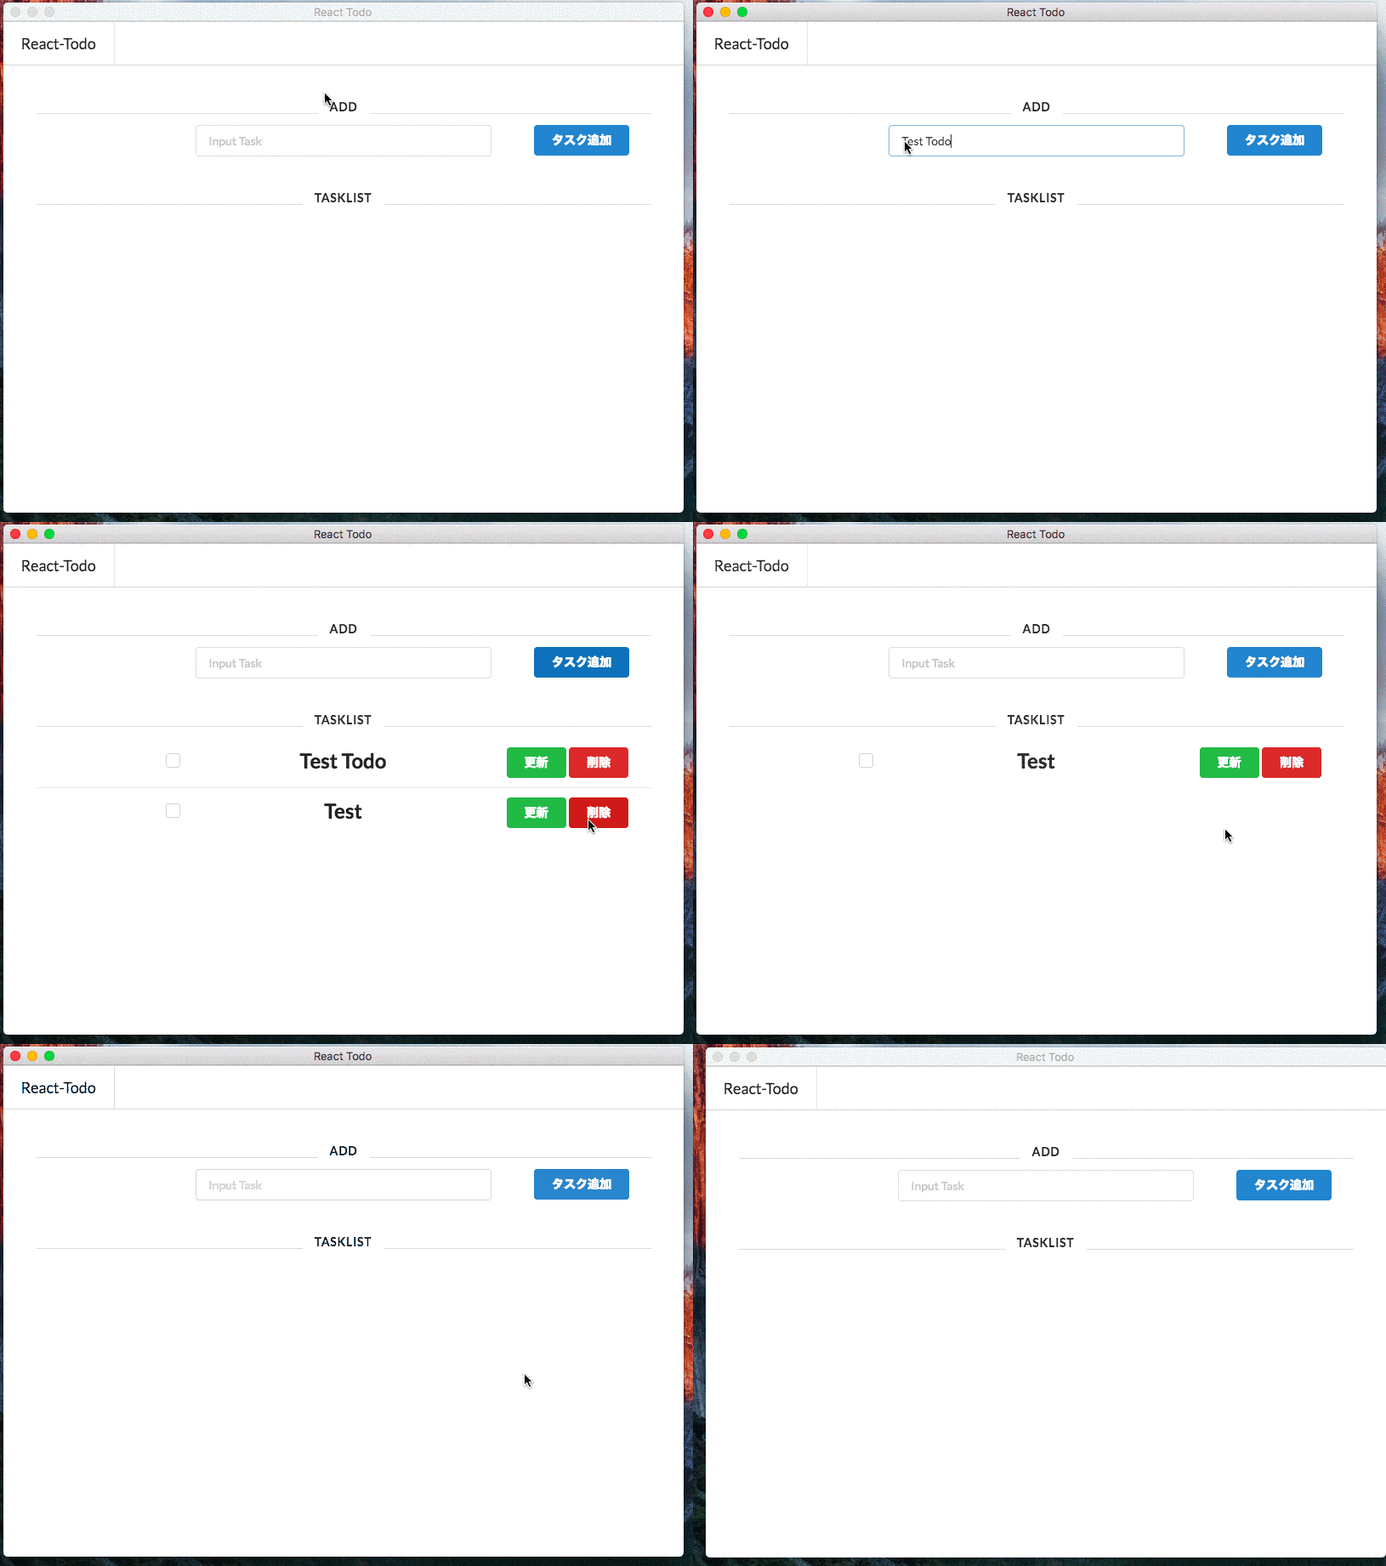
これで、Reactプロジェクトがデスクトップアプリとして起動できるようになります。
ちなみに
ここで以下のエラーが表示された場合
Cannot read property 'on' of undefined
筆者はかなり悩みましたが答えは
Atom Editorのターミナルを利用していた事でした......><
一般的なコマンドツールでコマンドを叩けば実行が可能です。
そうすると、Reactで作ったプロジェクトがデスクトップにて動作します。
以上ですっ、お疲れ様でした。
後書き
MacやWindows上で動くデスクトップアプリというと、中々に難しい印象がありましたが、
Electronを使うことで、簡単にWebアプリのデスクトップ版が出来上がります。
Electronの技術は、まだまだ進化して行く物だと確信しています。
貪欲に技術を追いかけて、また次回、Electronの技術について記事をまとめます。

