#はじめに
Raspberry Pi Compute Module 4が入っているSeeed reTerminalにはGUIアプリケーションを作るのに
・Qt forPython
・Flutter
・Electron
・LVGL
がSeeed公式wikiで紹介されています
その中で私はLVGLがサンプルやデモが豊富で良さそうなので使って見たいと思いましたがC/C++が理解できない・・・
そこでpython(Cpython)に文法的によく似たmicropythonでLVGLが使えるというのでやってみました
インストール
まず必要なパッケージをインストールします
sudo apt update
sudo apt-get install build-essential libreadline-dev libffi-dev git pkg-config libsdl2-2.0-0 libsdl2-dev  parallel git
lv_micropythonリポジトリをクローンします。
git clone --recurse-submodules https://github.com/lvgl/lv_micropython.git
-
追記2024.7
lv_micropythonは記事を書いた頃より大幅にバージョンアップしていますので動かない場合以下を試してみてください
git checkout d8a68915baa797d02b24f12c2112ff02ac201681
git submodule update --init --recursive
デフォルトフォントを大きくします
331 #define LV_FONT_MONTSERRAT_48 1
348 /*Always set a default font*/
349 #define LV_FONT_DEFAULT &lv_font_montserrat_48
画面サイズにあわせます
86  #define MONITOR_HOR_RES     1280
87  #define MONITOR_VER_RES     720
フルスクリーン表示にします
129 window = SDL_CreateWindow("TFT Simulator",
130                              SDL_WINDOWPOS_UNDEFINED, SDL_WINDOWPOS_UNDEFINED,
131                              MONITOR_HOR_RES * MONITOR_ZOOM, MONITOR_VER_RES * MONITOR_ZOOM,SDL_WINDOW_FULLSCREEN);       /*last param. SDL_WINDOW_BORDERLESS to hide borders*/
そのままだとエラーが出るのでLong型でキャストします
856 if (result > (long)INT16_MAX)
cd ~/lv_micropython
make -C mpy-cross -j4
make -C ports/unix/ -j4
正常に終わると実行ファイルが出来上がりmicropythonのREPL対話モードが立ち上がります
./ports/unix/micropython
/usr/local/bin/ 辺りにリンクを作っておけばmicropythonのコマンドで動きます
sudo ln -s /home/pi/lv_micropython/ports/unix/micropython /usr/local/bin/micropython
pi@raspberrypi:~ $ micropython
MicroPython v1.17-587-g009190923-dirty on 2021-11-29; linux version
Use Ctrl-D to exit, Ctrl-E for paste mode
>>> help("modules")
SDL               gc                ucryptolib        ure
__main__          imagetools        uctypes           uselect
_thread           lodepng           uerrno            usocket
btree             lv_timer          uhashlib          ussl
builtins          lv_utils          uheapq            ustruct
cmath             lvgl              uio               usys
display_driver    math              ujson             utime
display_driver_utils                micropython       umachine          utimeq
evdev             termios           uos               uwebsocket
fb                uarray            upip              uzlib
ffi               ubinascii         upip_utarfile
fs_driver         ucollections      urandom
Plus any modules on the filesystem
>>>
サンプル
最低限必要なコード
import lvgl as lv
import SDL
# Register SDL display driver.
SDL.init()

# LVGL init
lv.init()
draw_buf = lv.disp_draw_buf_t()
buf1_1 = bytearray(1280*10)
draw_buf.init(buf1_1, None, len(buf1_1)//4)
disp_drv = lv.disp_drv_t()
disp_drv.init()
disp_drv.draw_buf = draw_buf
disp_drv.flush_cb = SDL.monitor_flush
disp_drv.hor_res = 1280
disp_drv.ver_res = 720
disp_drv.register()

# Regsiter SDL mouse driver

indev_drv = lv.indev_drv_t()
indev_drv.init()
indev_drv.type = lv.INDEV_TYPE.POINTER
indev_drv.read_cb = SDL.mouse_read
indev_drv.register()
これに/home/pi/lv_micropython/lib/lv_bindings/lvgl/examples フォルダに有るサンプルを参考にデモを作ってみました。
#!/usr/local/bin/micropython
import utime as time
import lvgl as lv
import SDL
# Register SDL display driver.
SDL.init()
# LVGL init
lv.init()
draw_buf = lv.disp_draw_buf_t()
buf1_1 = bytearray(1280*10)
draw_buf.init(buf1_1, None, len(buf1_1)//4)
disp_drv = lv.disp_drv_t()
disp_drv.init()
disp_drv.draw_buf = draw_buf
disp_drv.flush_cb = SDL.monitor_flush
disp_drv.hor_res = 1280
disp_drv.ver_res = 720
disp_drv.register()

#
# A simple meter
#
meter = lv.meter(lv.scr_act())
meter.center()
meter.set_size(600, 600)

# Add a scale first
scale = meter.add_scale()
meter.set_scale_ticks(scale, 51, 2, 10, lv.palette_main(lv.PALETTE.GREY))
meter.set_scale_major_ticks(scale, 10, 4, 15, lv.color_black(), 10)

indic = lv.meter_indicator_t()

# Add a blue arc to the start
indic = meter.add_arc(scale, 3, lv.palette_main(lv.PALETTE.BLUE), 0)
meter.set_indicator_start_value(indic, 0)
meter.set_indicator_end_value(indic, 20)

# Make the tick lines blue at the start of the scale
indic = meter.add_scale_lines(scale, lv.palette_main(lv.PALETTE.BLUE), lv.palette_main(lv.PALETTE.BLUE), False, 0)
meter.set_indicator_start_value(indic, 0)
meter.set_indicator_end_value(indic, 20)

# Add a red arc to the end
indic = meter.add_arc(scale, 3, lv.palette_main(lv.PALETTE.RED), 0)
meter.set_indicator_start_value(indic, 80)
meter.set_indicator_end_value(indic, 100)

# Make the tick lines red at the end of the scale
indic = meter.add_scale_lines(scale, lv.palette_main(lv.PALETTE.RED), lv.palette_main(lv.PALETTE.RED), False, 0)
meter.set_indicator_start_value(indic, 80)
meter.set_indicator_end_value(indic, 100)

# Add a needle line indicator
indic = meter.add_needle_line(scale, 4, lv.palette_main(lv.PALETTE.GREY), -10)

val = 0
while True:
    meter.set_indicator_value(indic, int(val%100))
    val += 1
    time.sleep(0.05)
chmod +x  ./lv_exsample_meter_1_test.py
DISPLAY=:0 ./lv_exsample_meter_1_test.py
モジュールの追加
足りないモジュールは随時 MicroPython のパッケージマネージャーupipでインストールします
micropython
>>> import upip
>>> upip.install("machine")
>>> upip.install("glob")
>>> upip.install("requests")
>>> upip.install("socket")
serialモジュールはupipでは見つからなかったので別に入れます
git clone https://github.com/iRobotEducation/micropython-serial.git
cd micropython-serial/
./install.sh
入出力
GPIO
from machine import Pin
led=Pin(7,Pin.OUT)
led.value(1)
serial(USB/UART通信)
import serial
ser=serial.Serial("/dev/ttyACM0", 9600, timeout=1)
ser.open()
s_read = ser.read() #byte型
ser.close()
request(インターネット)
requestモジュールを使ってAmbientに送受信するライブラリはmicropython互換なのでそのまま使用できます
https://github.com/AmbientDataInc/ambient-python-lib
からambient.pyファイルを /home/pi/.micropython/lib などインポートできる場所に置きます
import request
import ambient
am = ambient.Ambient(チャネルID,"リードキー","ライトキー")
a_read = am.read(n=1)
socket(socket通信)
import socket
addr = socket.getaddrinfo('0.0.0.0', 50001)[0][-1] #socker Server
s = socket.socket()
s.bind(addr)
s.listen(1)
cl, addr = s.accept()
c_read = cl.recv()
cl.close()
arduino ->(USB)->reTerminal ->(gpio)->LED
— mnl_t (@mnlt18) November 22, 2021
センサーからデータを入力して表示&処理して外部出力。こういう使い方によさそう#reTerminal #lvgl #micropython pic.twitter.com/cPDoYuFZKn
** 参考 **
各送受信はbyte単位なのでint型やstr型はstruct.pack() struct.unpack() で変換します
https://micropython-docs-ja.readthedocs.io/ja/latest/library/struct.html
https://docs.python.org/ja/3/library/struct.html
int.from_bytes() int.to_bytes() bytes() などを使うときは引数の渡し方に注意
int.from_bytes(b'\x00\x10', byteorder='little', signed=True) -> error
int.from_bytes(b'\x00\x10', 'little') -> ok signed引数はない
bytes('abc', encoding='utf8') -> error
bytes('abc', 'utf-8') -> ok
できてないこと
タッチスクリーン対応
マウス入力には反応していますがなぜかタッチスクリーンには反応しません。どこか設定で動くのか知っている方がいたら教えて下さい。
・試してみたこと -> 動きません
202 /*-------------------------------------------------
203  * Mouse or touchpad as evdev interface (for Linux based systems)
204  *------------------------------------------------*/
205 #define USE_EVDEV    1
206 #if USE_EVDEV
207 #define EVDEV_NAME   "/dev/input/event1"
reTerminalハードウェア対応
ユーザーボタンやLED、各センサーについてpython(Cpython)で扱うサンプルは公式 にありますが、そのままではmicropythonでは動きません
やや強引ですがCpythonで取得した値をsocket通信でmicropythonに送り表示することはできました
C/C++への移植
micropython版はオリジナルC版から作られていて関数名もそれを踏襲していているので
プロトタイプとしてmicropythonで作ってそれをC/C++版に移植するのは簡単にできるそうです。(但し、個人の能力による)
また計算能力の高いラズパイのようなプロセッサで試作を作って、ESP32やラズパイPICOのようなマイコンで量産という流れがおすすめとSeeedの中の人も話していました。そういった使い方にも移植性の高いLVGLは向いていそう。
リンク
LVGL(Light and Versatile Graphics Library)HOME
Micropython + LittlevGL ブログ
Github
** LVGL ** : GUIライブラリ
** lv_micropython ** : Micropython + LVGL
** lv_binding_micropython ** : lv_micropythonのサブモジュール
ユーザーボタン入力(2021/12/4追記)
こちらの記事を参考にしたところmicropythonでもユーザーボタン・タッチパネル・加速度センサー値を取得できました。
#!/usr/local/bin/micropython

import struct

EVENT_FORMAT = "llHHI"; # long, long, unsigned short, unsigned short, unsigned int
EVENT_SIZE = struct.calcsize(EVENT_FORMAT)
def get_userkeys():
    infile_path = "/dev/input/by-path/platform-gpio_keys-event"
    with open(infile_path, "rb") as file:
        event = file.read(EVENT_SIZE)
        while event:
            (tv_sec, tv_usec, type, code, value) = struct.unpack(EVENT_FORMAT, event)
            #print(struct.unpack(EVENT_FORMAT, event))
            if code != 0:
                #print(f"code={code} value={value}")
                if value != 0:
                    return code
            event = file.read(EVENT_SIZE)
日本語フォントの表示方法 (2021/12/30追記)
micropythonでのサンプルはこちらにあります
https://github.com/lvgl/lv_binding_micropython/blob/620a3de2408d2ccb283c2e710c77c6cf006b42e3/examples/Dynamic_loading_font_example.py
FS driver init. 辺りをSDL display driverに適宜合わせて動かしてみると表示はされますが、
フォントサイズが小さく、ひらがなのみしか表記できない。そこで
公式ドキュメント
https://docs.lvgl.io/latest/en/html/overview/font.html#add-new-font
を見ながら新しくフォントを加えます
まずお好きなフォントを選びます
Windowsに入っているお好きなフォントをC:\Windows\Fontsからコピーする
(例:dfgoteb.ttc DF特太ゴシック体 標準)
ファイル形式を見ると.ttcだったのでこちらの記事を参考に.tffに変換する
TTCフォントをTTFに分解する方法。
https://qiita.com/maboy/items/9f64d406c830aab548b1
(解凍フォルダ)\unitettc >unitettc64 dfgoteb.ttc
dfgoteb001.ttf dfgoteb002.ttf
が出来上がる
次にtffからbinファイルを作る
Converts TTF/WOFF fonts to compact bitmap format(tff-> bin オフラインコンバーター)
https://github.com/lvgl/lv_font_conv
node.jsを使うのでここから**ラズパイ(reTerminal)**上で行う
node.js(v10~) と npmが入っていないときはインストールしておく
(たまたま前に入れてたのでつまずきはなかったが ラズパイ Node.js インストールでググる)
~$ mkdir myfont && cd myfont
~/myfont$ npm init --yes
~/myfont$ sudo npm i lv_font_conv -g
~/myfont$ sudo npm i lvgl/lv_font_conv -g
このフォルダに先程のtffファイルを移動しておく
コマンドの詳しい説明はREADME.mdにかいてあります
https://github.com/lvgl/lv_font_conv/blob/master/README.md
range オプションについて
https://jrgraphix.net/research/unicode.php
0x21-0x7f ASCII
0x3040-0x09F ひらがな
0x30A0-0x30FF カタカナ
0x2190-0x21FF 矢印
0x3300-0x33FF CJK互換文字
0xFF00-0xFFE 半角カナ
とりあえず使いそうなこのあたり
漢字については CJK統合漢字(0x4E00-0x9FFF) 全部を入れるとメモリが足りないので使う文字だけ一つずつ追加しました。
(どこかの設定でメモリを増やせば全部入る?)
lv_font_conv --size 48 --format bin --bpp 1 --font "/home/pi/myfont/dfgoteb001.ttf" --range 0x21-0x7f,0x3042-0x30FF,0x2190-0x21ff,0x3300-0x33ff,0xFF00-0xFFEF,0x4E16,0x754C --no-compress -o font-jp-48.bin
作ったフォントを使う
あとは最初のサンプルを見ながら適宜置き換えていきます
#!/usr/local/bin/micropython
import usys as sys
sys.path.append('') # See: https://github.com/micropython/micropython/issues/6419
import lvgl as lv
import SDL,time
SDL.init()
lv.init()
# display driver init...
import fs_driver
fs_drv = lv.fs_drv_t()
fs_driver.fs_register(fs_drv, 'S')
# Register SDL display driver.
draw_buf = lv.disp_draw_buf_t()
buf1_1 = bytearray(1280*10)
draw_buf.init(buf1_1, None, len(buf1_1)//4)
disp_drv = lv.disp_drv_t()
disp_drv.init()
disp_drv.draw_buf = draw_buf
disp_drv.flush_cb = SDL.monitor_flush
disp_drv.hor_res = 1280
disp_drv.ver_res = 720
disp_drv.register()
#font
myfont_jp = lv.font_load("S:/home/pi/myfont/font-jp-48.bin")
scr = lv.scr_act()
scr.clean()
label1 = lv.label(scr)
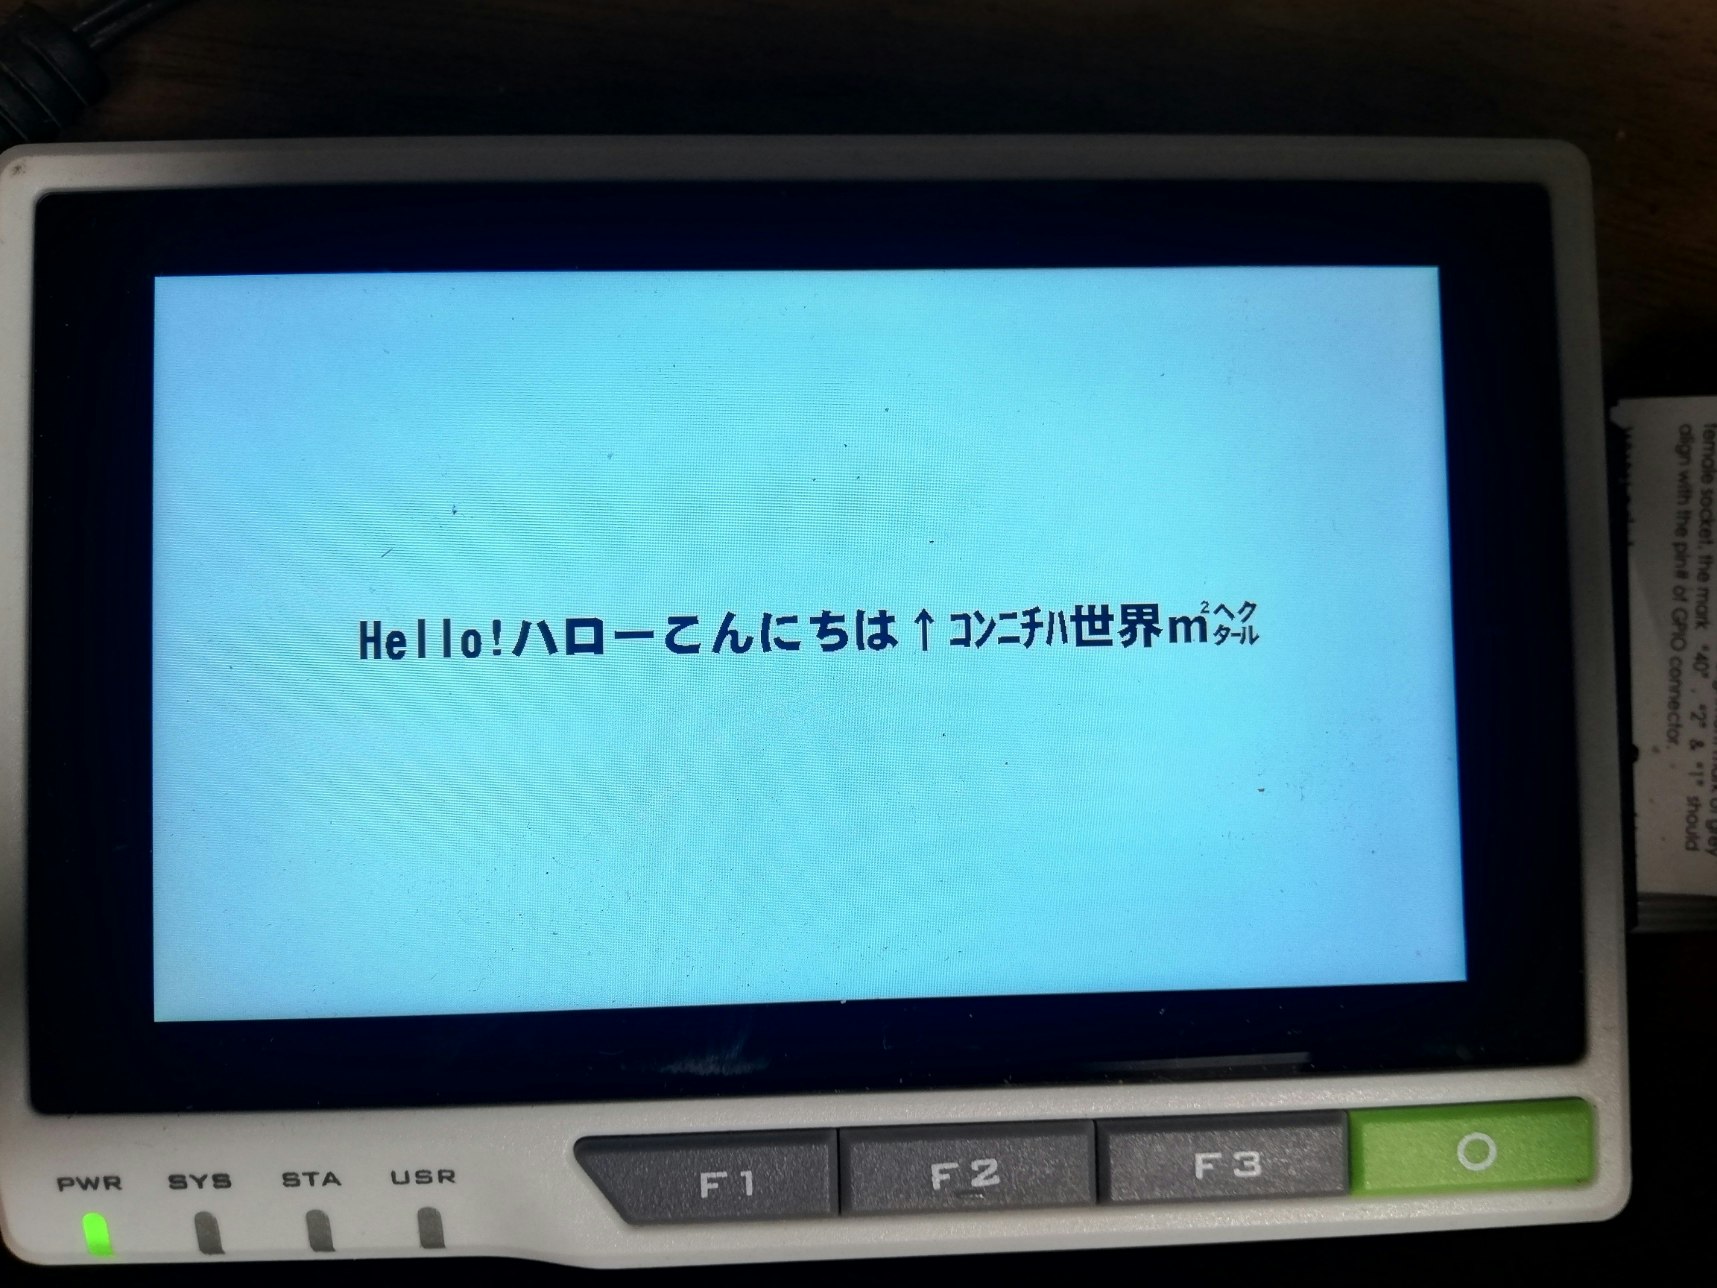
label1.set_style_text_font(myfont_jp, 0) # set the font
label1.set_text("Hello! ハロー こんにちは↑ コンニチハ世界㎡㌶")
label1.align(lv.ALIGN.CENTER, 0, 0)
while 1:
time.sleep(1)