ご注意
Helm v3については、Helm v3のすゝめをご参照ください。
Helmとは
今北産業形式で説明
- HelmはKubernetes向けパッケージマネージャで、CNCFがホストするOSSです。
- パッケージはChartという形式でArtifact Hubや各OSSのリポジトリ等で公開されており、自作も可能です。
-
helm install Chart名でkubernetesクラスタ(以下"k8sクラスタ")にChartをデプロイできます。
主なChartリポジトリ ( selected by 独断 & 偏見 . )
-
helm/charts
- 2020/11/13にサポート終了。( Deprecation Timelineを参照 )
- Artifact Hub
- prometheus-community
- gitlab.com
- Istio / Install with Helm
- 等々
k8sクラスタの準備
お好きな環境をご用意下さい。以下がおすすめです。
パブリッククラウド派
-
Google Kubernetes Engine ( GKE )
- 会員登録後、数ステップで無料枠で利用可!
オンプレ派
-
minikube
- 手軽にシングルノードクラスタを構築できます。
-
Docker for Mac
- dockerだけでなく、シングルノードのk8sクラスタと
kubectlが同梱されています!- 設定画面でkubernetesを有効化するとすぐ使えます。
- dockerだけでなく、シングルノードのk8sクラスタと
本記事の作業環境
クライアントマシンはUbuntu 17.10です。kubectl(v1.9.2)をインストール済みです。
k8sクラスタはGKEにデフォルト設定で構築しました。クラスタバージョンはv1.9.7-gke.11で、ノード数は3です。
$ cat /etc/lsb-release
DISTRIB_ID=Ubuntu
DISTRIB_RELEASE=17.10
DISTRIB_CODENAME=artful
DISTRIB_DESCRIPTION="Ubuntu 17.10"
$ kubectl version
Client Version: version.Info{Major:"1", Minor:"9", GitVersion:"v1.9.2", GitCommit:"5fa2db2bd46ac79e5e00a4e6ed24191080aa463b", GitTreeState:"clean", BuildDate:"2018-01-18T10:09:24Z", GoVersion:"go1.9.2", Compiler:"gc", Platform:"linux/amd64"}
Server Version: version.Info{Major:"1", Minor:"9+", GitVersion:"v1.9.7-gke.11", GitCommit:"dc4f6dda6a08aae2108d7a7fdc2a44fa23900f4c", GitTreeState:"clean", BuildDate:"2018-11-10T20:22:02Z", GoVersion:"go1.9.3b4", Compiler:"gc", Platform:"linux/amd64"}
$ kubectl cluster-info
Kubernetes master is running at https://xx.xx.xx.xx
GLBCDefaultBackend is running at https://xx.xx.xx.xx/api/v1/namespaces/kube-system/services/default-http-backend:http/proxy
Heapster is running at https://xx.xx.xx.xx/api/v1/namespaces/kube-system/services/heapster/proxy
KubeDNS is running at https://xx.xx.xx.xx/api/v1/namespaces/kube-system/services/kube-dns:dns/proxy
kubernetes-dashboard is running at https://xx.xx.xx.xx/api/v1/namespaces/kube-system/services/https:kubernetes-dashboard:/proxy
Metrics-server is running at https://xx.xx.xx.xx/api/v1/namespaces/kube-system/services/https:metrics-server:/proxy

To further debug and diagnose cluster problems, use 'kubectl cluster-info dump'.
$ kubectl get node
NAME                                       STATUS    ROLES     AGE       VERSION
gke-standard-cluster-1-default-pool-xxxx   Ready     <none>    16d       v1.9.7-gke.11
gke-standard-cluster-1-default-pool-yyyy   Ready     <none>    16d       v1.9.7-gke.11
gke-standard-cluster-1-default-pool-zzzz   Ready     <none>    16d       v1.9.7-gke.11
$
Helmをインストールする
さっそくHelmを使えるようにしましょう。
helmコマンドとtillerを準備します。
helmコマンドをインストールする
helmコマンドをkubectlコマンドが使えるマシンにインストールします。
Installing Helmを参照し、お好きな方法でインストールして下さい。
例えばcurlでインストールスクリプトを入手してインストールする場合、
以下のようなコマンドになります( FROM SCRIPT参照 )。
$ curl https://raw.githubusercontent.com/helm/helm/master/scripts/get | bash
tillerをインストールする
helm initコマンドでtillerをk8sクラスタにデプロイします。
デフォルトではnamespacekube-system配下にデプロイされます。
$ helm init
$ kubectl get deployment -n kube-system
NAME                    DESIRED   CURRENT   UP-TO-DATE   AVAILABLE   AGE
( 略 : )
tiller-deploy           1         1         1            1           13m
$
備考) RBAC環境にインストールする場合は
helmを使用していて以下のようなエラーが出る場合は、tillerに適切な権限を与える必要があります。
Error: release XXXX failed: namespaces "XXXX" is forbidden: User "system:serviceaccount:kube-system:default" cannot get namespaces in the namespace "XXXX"
helm initコマンドにserviceaccountを指定できますので、適切なroleに紐づくserviceaccountを作成して指定します。
以下例ではcluster-adminroleを紐づけています、セキュリティの観点にはご注意下さい。
$ kubectl -n kube-system create serviceaccount tiller
$ kubectl create clusterrolebinding tiller --clusterrole cluster-admin --serviceaccount=kube-system:tiller
$ helm init --service-account=tiller
バージョンを確認する
helmコマンドとtillerの両方がインストールできたら、
以下のようにClient/Server両方のバージョンを確認できます。
$ helm version
Client: &version.Version{SemVer:"v2.11.0", GitCommit:"2e55dbe1fdb5fdb96b75ff144a339489417b146b", GitTreeState:"clean"}
Server: &version.Version{SemVer:"v2.11.0", GitCommit:"2e55dbe1fdb5fdb96b75ff144a339489417b146b", GitTreeState:"clean"}
$
これでhelmコマンドでアプリケーションをデプロイできる準備が整いました。
備考) アンインストールするには
アンインストールしたくなった場合は、tillerをアンデプロイし、helmコマンドを削除します。
$ # tillerをアンデプロイする
$ helm reset --force
$ # アンインストールされなかったらtiller関連のリソースを個別に削除する
$ #   kubectl delete deployment tiller-deploy -n kube-system
$ #   kubectl delete service tiller-deploy -n kube-system
$ which helm
/usr/local/bin/helm
$ sudo rm /usr/local/bin/helm
helmコマンド一覧
本記事で紹介するコマンドの一覧です。
yumやapt等のパッケージマネージャと同じようなコマンド体系であることがお分かり頂けると思います。
| コマンド | 説明 |
|---|---|
| helm repo list | リポジトリ一覧を表示する |
| helm repo add | リポジトリを追加する |
| helm search | デプロイ可能なChartを表示する |
| helm install | アプリケーションをインストールする(k8sクラスタにデプロイする) |
| helm list | インストール済みのアプリケーションを表示する |
| helm delete | アプリケーションをアンデプロイする |
| helm reset | tillerをアンデプロイする |
リポジトリを確認する
Chartを提供するリポジトリ関連のコマンドを確認しましょう。
リポジトリ一覧を表示する
利用可能なリポジトリをhelm repo listコマンドで確認しておきましょう。
初期状態では以下のようにstableとlocalが表示されます。
$ helm repo list
NAME    URL
stable  https://kubernetes-charts.storage.googleapis.com
local   http://127.0.0.1:8879/charts
$
リポジトリを追加する
試しに、incubatorのリポジトリを追加してみましょう。
charts/stableだけでなくcharts/incubatorのChartもデプロイできるようになります。
$ helm repo add incubator https://kubernetes-charts-incubator.storage.googleapis.com/
"incubator" has been added to your repositories
$ helm repo list
NAME            URL
stable          https://kubernetes-charts.storage.googleapis.com
local           http://127.0.0.1:8879/charts
incubator       https://kubernetes-charts-incubator.storage.googleapis.com/
$
Chartを確認する
デプロイしたいアプリケーションのChartを確認しましょう。
helm searchコマンドで全Chartが表示されます、引数に検索ワードを渡すと絞り込みができます。
以下例ではChartのバージョンは7.1.1で、アプリケーション(今回はprometheus)のバージョンは2.4.0が利用可能なことが分かります。
$ helm search stable/prometheus
NAME                     CHART VERSION   APP VERSION     DESCRIPTION
    ( : 略 )
stable/prometheus        7.1.1           2.4.0           Prometheus is a monitoring system and time series database.
    ( : 略 )
$
なお、helm install コマンドの--version引数にChartのバージョンを指定できますので、古いバージョンもデプロイすることも可能です。
また、helm fetchコマンドでChartをローカルにダウンロードできます。
ダウンロードしたChartはお好きに書き換えてデプロイできるので、パラメタで変更できないような部分も変更できます。
機会があれば別の記事で紹介したいと思います。
アプリケーションをデプロイする
Chartの確認ができたところで早速、k8sクラスタにデプロイしましょう。
namespacehelm-test配下にstable/prometheusをデプロイしてみます。
release nameはtestとしています。
( release nameはhelm listで一覧表示されます。また、各リソース名のprefixとして使われます。 )
$ # namespaceを作成
$ kubectl create namespace helm-test
$ # dry-run
$ helm install stable/prometheus --name test --namespace helm-test --dry-run
$ # デプロイ
$ helm install stable/prometheus --name test --namespace helm-test
$ # 確認
$ helm list
アプリケーションのデプロイ結果を確認する
helm installコマンド結果を確認する。
少し長いですがstable/prometheusのデプロイ結果を記載します。
以下が確認できます。
- リソースのリスト
- deploymentやservice等が分かります
-
NOTES- 基本的な使い方が分かります、嬉しい!
$ helm install stable/prometheus --name test --namespace helm-test
NAME:   test
LAST DEPLOYED: Tue Nov 27 21:40:53 2018
NAMESPACE: helm-test
STATUS: DEPLOYED

RESOURCES:
==> v1beta1/ClusterRole
NAME                                AGE
test-prometheus-kube-state-metrics  1s
test-prometheus-server              1s

==> v1beta1/ClusterRoleBinding
test-prometheus-kube-state-metrics  1s
test-prometheus-server              1s

==> v1/Service
test-prometheus-alertmanager        1s
test-prometheus-kube-state-metrics  1s
test-prometheus-node-exporter       1s
test-prometheus-pushgateway         1s
test-prometheus-server              1s

==> v1/PersistentVolumeClaim
test-prometheus-alertmanager  1s
test-prometheus-server        1s

==> v1/ServiceAccount
test-prometheus-alertmanager        1s
test-prometheus-kube-state-metrics  1s
test-prometheus-node-exporter       1s
test-prometheus-pushgateway         1s
test-prometheus-server              1s

==> v1beta1/Deployment
test-prometheus-alertmanager        1s
test-prometheus-kube-state-metrics  1s
test-prometheus-pushgateway         1s
test-prometheus-server              1s

==> v1/Pod(related)

NAME                                                READY  STATUS             RESTARTS  AGE
test-prometheus-node-exporter-gwx84                 1/1    Running            0         1s
test-prometheus-node-exporter-kxbdm                 1/1    Running            0         1s
test-prometheus-node-exporter-pdkdw                 0/1    ContainerCreating  0         1s
test-prometheus-alertmanager-d9f85f85b-76t4f        0/2    Pending            0         1s
test-prometheus-kube-state-metrics-95dc85f67-9t44z  0/1    ContainerCreating  0         1s
test-prometheus-pushgateway-7fb9bdfcbb-wtffs        0/1    ContainerCreating  0         1s
test-prometheus-server-7bd886b769-7zgsq             0/2    Pending            0         1s

==> v1/ConfigMap

NAME                          AGE
test-prometheus-alertmanager  1s
test-prometheus-server        1s

==> v1beta1/DaemonSet
test-prometheus-node-exporter  1s


NOTES:
The Prometheus server can be accessed via port 80 on the following DNS name from within your cluster:
test-prometheus-server.helm-test.svc.cluster.local


Get the Prometheus server URL by running these commands in the same shell:
  export POD_NAME=$(kubectl get pods --namespace helm-test -l "app=prometheus,component=server" -o jsonpath="{.items[0].metadata.name}")
  kubectl --namespace helm-test port-forward $POD_NAME 9090


The Prometheus alertmanager can be accessed via port 80 on the following DNS name from within your cluster:
test-prometheus-alertmanager.helm-test.svc.cluster.local


Get the Alertmanager URL by running these commands in the same shell:
  export POD_NAME=$(kubectl get pods --namespace helm-test -l "app=prometheus,component=alertmanager" -o jsonpath="{.items[0].metadata.name}")
  kubectl --namespace helm-test port-forward $POD_NAME 9093


The Prometheus PushGateway can be accessed via port 9091 on the following DNS name from within your cluster:
test-prometheus-pushgateway.helm-test.svc.cluster.local


Get the PushGateway URL by running these commands in the same shell:
  export POD_NAME=$(kubectl get pods --namespace helm-test -l "app=prometheus,component=pushgateway" -o jsonpath="{.items[0].metadata.name}")
  kubectl --namespace helm-test port-forward $POD_NAME 9091

For more information on running Prometheus, visit:
https://prometheus.io/

$
リソースを確認する
helm installコマンド結果からdeploymentやservice等が確認できますが、
他にはconfigmapもよく使用しますので確認しておくと良いです。
$ kubectl get deployment -n helm-test
$ kubectl get pod -n helm-test
$ kubectl get service -n helm-test
$ kubectl get configmap -n helm-test
インストール済みのChartを表示する
helm listコマンドで確認できます。
$ helm list
NAME    REVISION        UPDATED                         STATUS          CHART                   APP VERSION     NAMESPACE
test    1               Tue Nov 27 21:40:53 2018        DEPLOYED        prometheus-7.1.1        2.4.0           helm-test
$
アプリケーションの動作を確認する
k8sクラスタにデプロイが完了し、リソースやNOTESが確認できたところで、早速アプリケーションを活用していきましょう。
Prometheus
NOTESの手順を実行します。
$ export POD_NAME=$(kubectl get pods --namespace helm-test -l "app=prometheus,component=server" -o jsonpath="{.items[0].metadata.name}")
$ kubectl --namespace helm-test port-forward $POD_NAME 9090
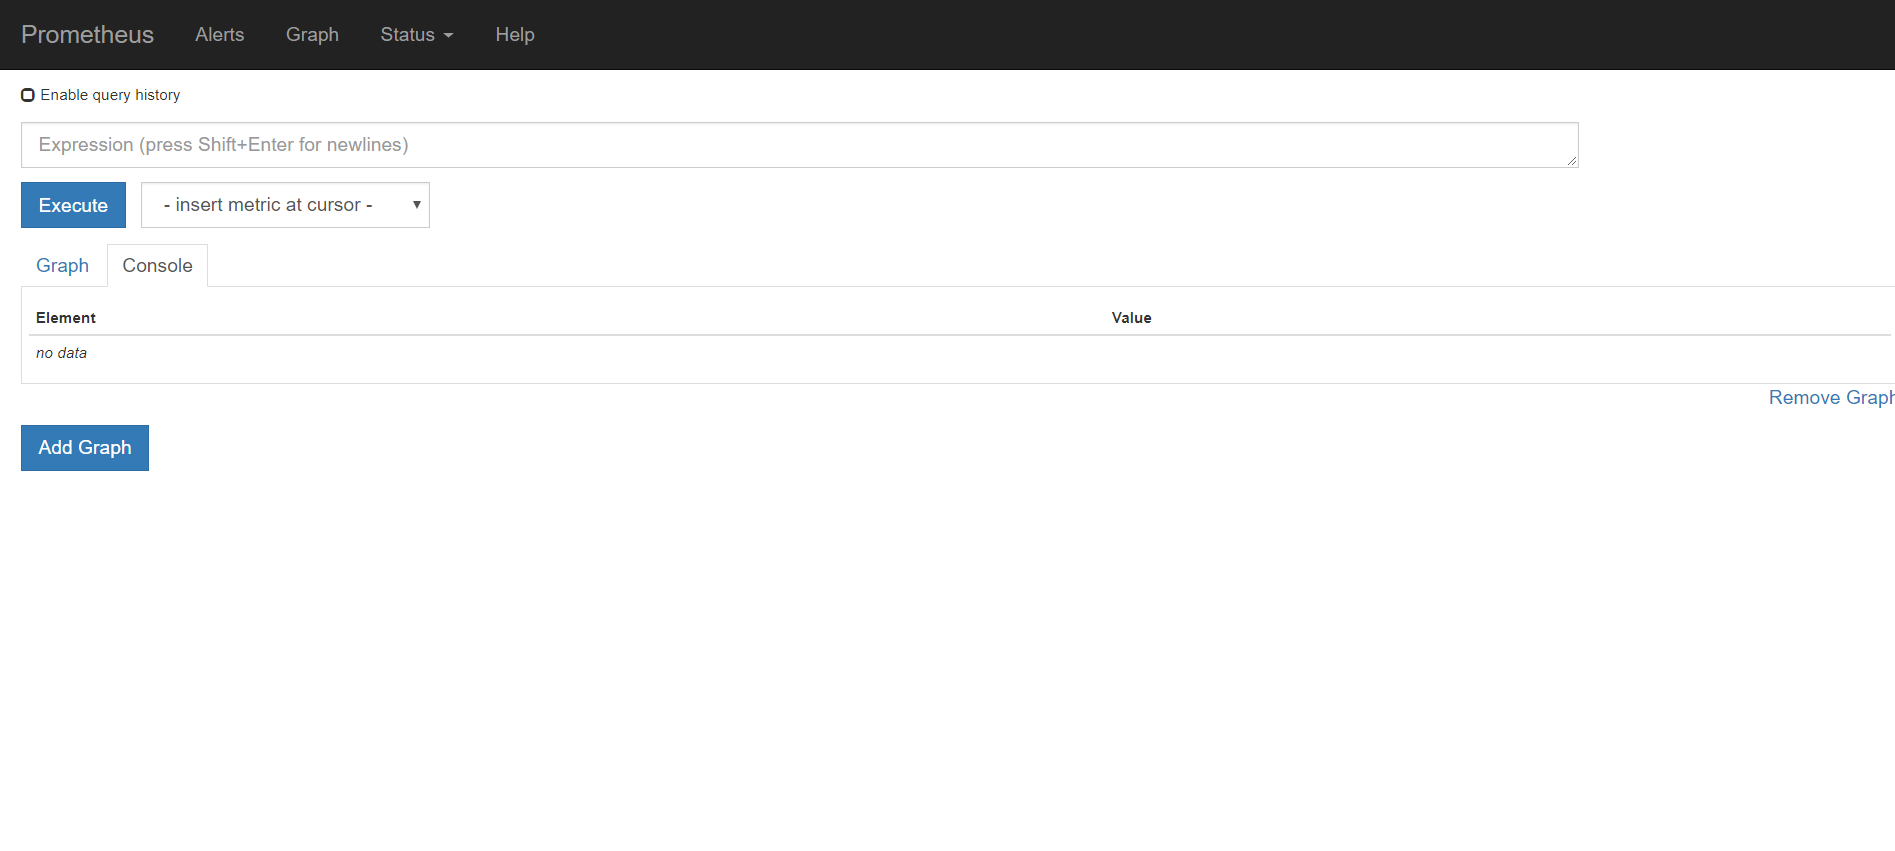
http://localhost:9090/graph をブラウザで開きます。
PrometheusのWebUIが確認できます。
Alertmanager
NOTESの手順を実行します。
$ export POD_NAME=$(kubectl get pods --namespace helm-test -l "app=prometheus,component=alertmanager" -o jsonpath="{.items[0].metadata.name}")
$ kubectl --namespace helm-test port-forward $POD_NAME 9093
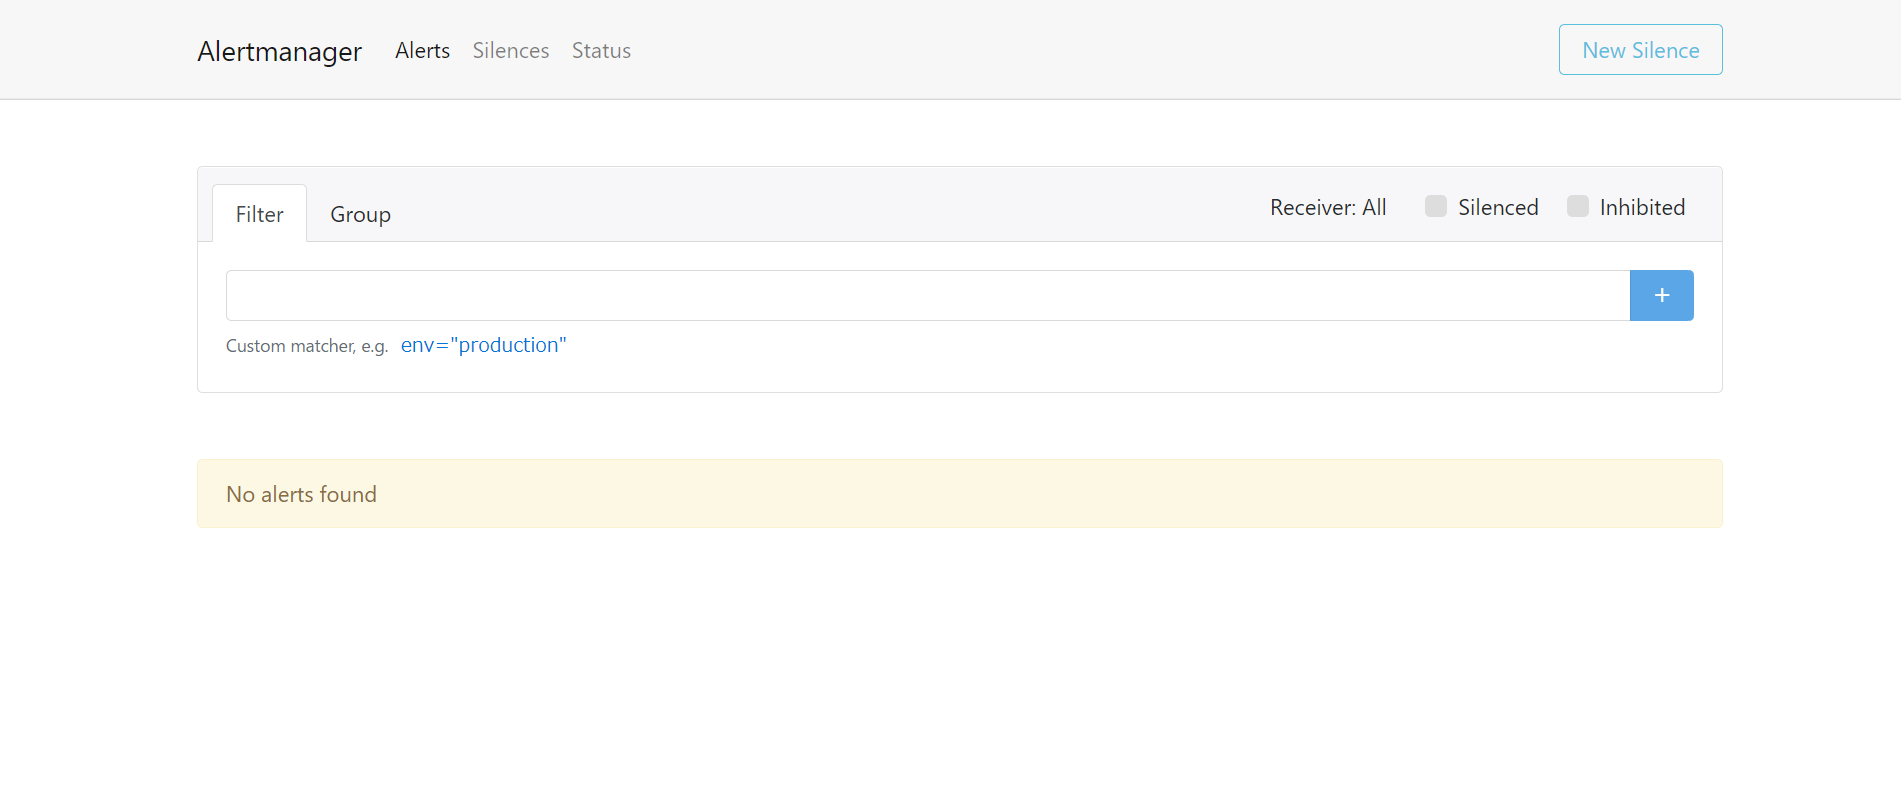
http://localhost:9093/#/alerts をブラウザで開きます。
AlertmanagerのWebUIが確認できます。
PushGateway
NOTESの手順を実行します。
$ export POD_NAME=$(kubectl get pods --namespace helm-test -l "app=prometheus,component=pushgateway" -o jsonpath="{.items[0].metadata.name}")
$ kubectl --namespace helm-test port-forward $POD_NAME 9091
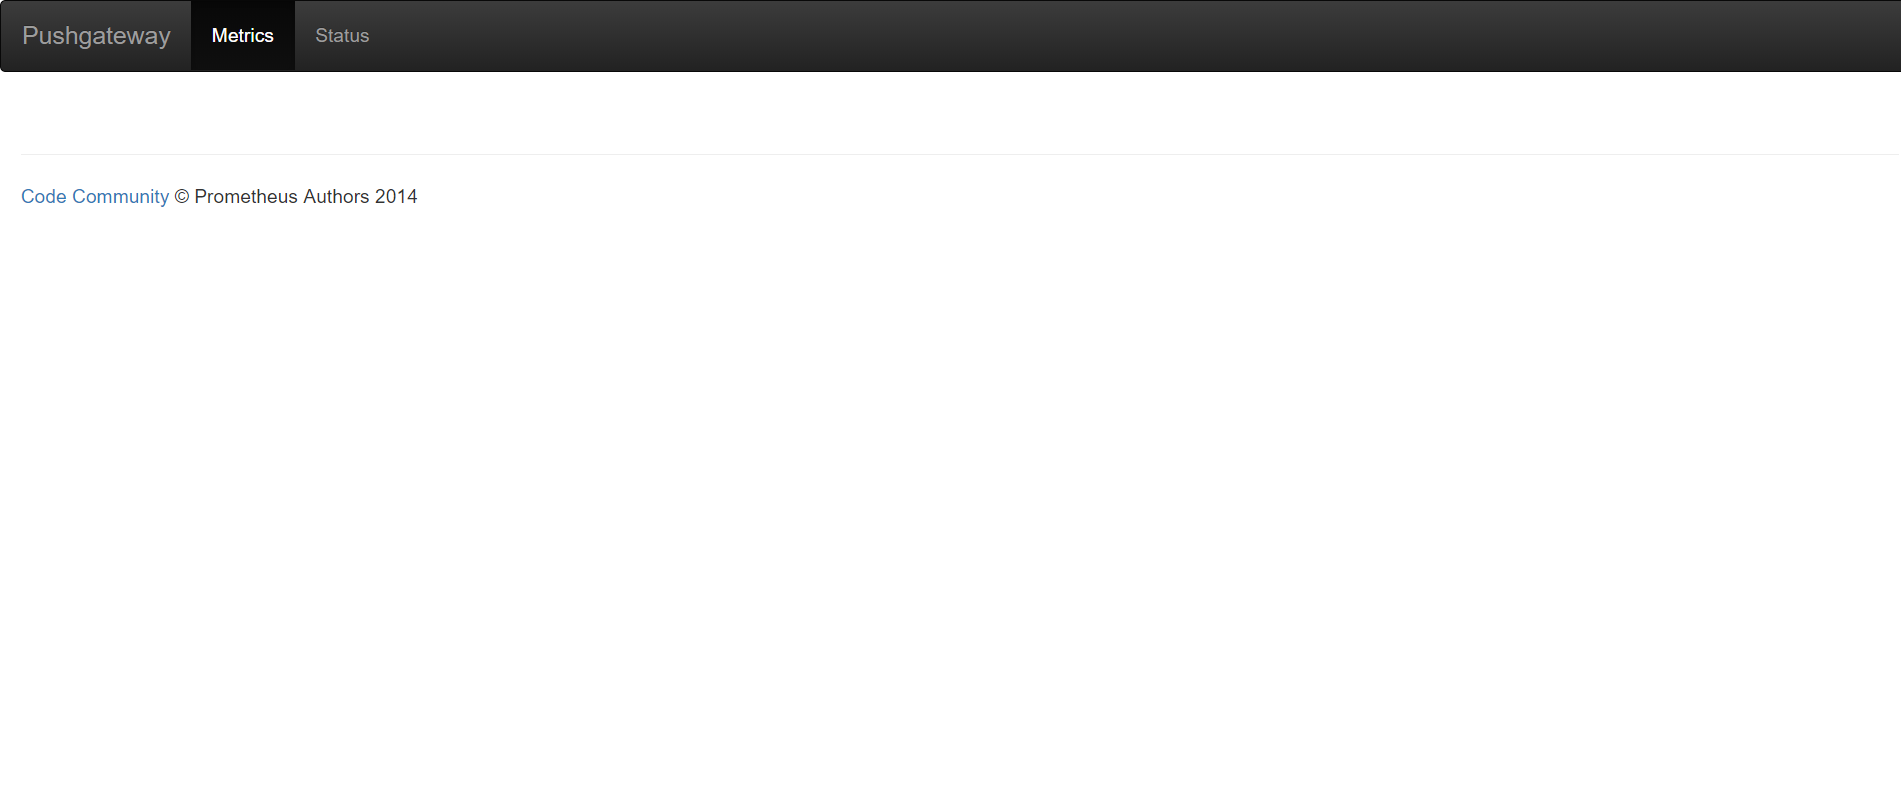
http://localhost:9091/ をブラウザで開きます。
PushGatewayのWebUIが確認できます。
各アプリケーションの連携を確認する
Helmご紹介の趣旨から外れますので、別記事にしています。こちらも是非御覧下さい。
Pushgateway->Prometheus->Alertmanager->Webhook
アプリケーションをアンデプロイする
helm deleteコマンドでアンデプロイできます。
$ helm list
NAME	REVISION	UPDATED                 	STATUS  	CHART           	APP VERSION	NAMESPACE
test	1       	Sat Dec  1 09:18:18 2018	DEPLOYED	prometheus-7.4.5	2.5.0      	helm-test
$ helm delete test --purge
release "test" deleted
$ helm list
$
まとめ
Helmの導入方法と、stable/prometheusを題材としたChartのデプロイ方法を紹介しました。
改めてHelmおすすめポイントを記載します。
- Chartが豊富
- Prometheusを始めとして使用頻度の高いメジャーなOSSが豊富に公開されている
- Chartに複数アプリケーションが含まれる
-
stable/prometheusの場合、Prometheus, Alertmanager, Pushgateway が含まれている - まとめてデプロイ、アンデプロイできる
-
- Chartに含まれる各アプリケーションは連携設定済み
-
stable/prometheusの場合、Service Discoveryが設定済み - そのため利用者が書く設定は少ない
-
- Chartはダウンロード&編集が可能な透明性とカスタマイズ性がある
- 何かの時にも安心
Helmを使うと簡単にデプロイでき、変更する設定も少なくて済みます。
また、用意されているテンプレ通りにしか使えないといったこともなく、カスタマイズ性もあります。
環境構築よりもアプリケーションの活用の方に注力したい(かつ何かの時に柔軟に構成や設定を改造したい)あなたにおすすめです。