Flutterレイアウトシリーズのその他の記事
- FlutterレイアウトのFlex、Row、Column、Wrap、Stackについて
- FlutterレイアウトのOverlayの使用
- Flutterのレイアウトを理解する
- FlutterレイアウトのExpanded、Flexible、Spacer
- FlutterのBoxConstraintsを理解する
この記事はFlutterのレイアウトWidgetのStackの使い方を分かりやすく理解するため書いたものです。
※本記事は下記のZenn本にまとめました。
Stackとは
Stack、Row、およびColumnは、Flutterで最も一般的に使用されるレイアウトコンポーネントです。RowとColumnは最も一般的なFlexレイアウトのアイデアですが、スタックは、上下左右の制約を指定できる絶対レイアウトコンポーネントとしてより理解できます。複数の子をオーバーラップさせたい場合に役立ちます。
コンストラクター
  const Stack({
    super.key,
    this.alignment = AlignmentDirectional.topStart,
    this.textDirection,
    this.fit = StackFit.loose,
    this.clipBehavior = Clip.hardEdge,
    super.children,
  });
属性
| 属性 | 説明 |
|---|---|
| alignment | アラインメント形式、制約なしの子に適用する |
| textDirection | レイアウト方向、制約なしの子に適用する |
| fit | 制約設定していない子ウィジェットの充填方式 |
| overflow | スタックの端を超えた子の端の部分がクリップされているかどうか |
| clipBehavior | スタックの端を超えてエッジをトリミングする方法 |
- alignment
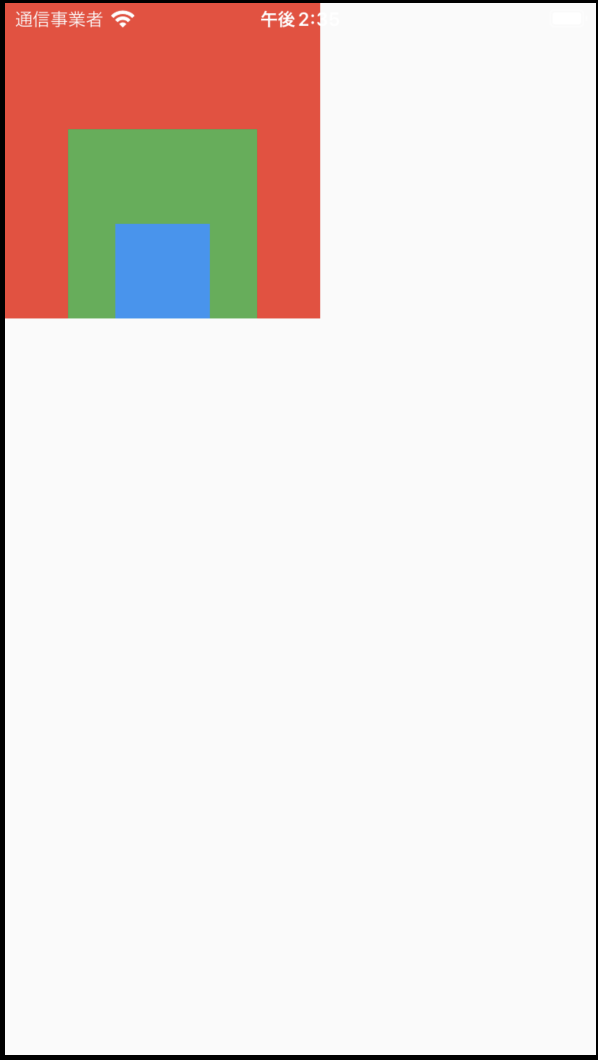
(0.0, 0.0)を中心に、9のアラインメント形式がある- AlignmentDirectional topStart = AlignmentDirectional(-1.0, -1.0)
- AlignmentDirectional topCenter = AlignmentDirectional(0.0, -1.0)
- AlignmentDirectional topEnd = AlignmentDirectional(1.0, -1.0)
- AlignmentDirectional centerStart = AlignmentDirectional(-1.0, 0.0)
- AlignmentDirectional center = AlignmentDirectional(0.0, 0.0)
- AlignmentDirectional centerEnd = AlignmentDirectional(1.0, 0.0)
- AlignmentDirectional bottomStart = AlignmentDirectional(-1.0, 1.0)
- AlignmentDirectional bottomCenter = AlignmentDirectional(0.0, 1.0)
- AlignmentDirectional bottomEnd = AlignmentDirectional(1.0, 1.0)
- textDirection
- TextDirection.rtl(右から左)
- TextDirection.ltr(左から右)
- fit
- StackFit.loose(ゆるい)
- StackFit.expand(拡大)
- StackFit.passthrough(通り過ぎる)
- overflow
- Overflow.visible(溢れ出る子供たちが見える)
- Overflow.clip(溢れ出る子供たちが親の境界にクリップされる)
- clipBehavior
- Clip.none(クリップしない)
- Clip.hardEdge(クリップするが、アンチエイリアシングは適用しない)
- Clip.antiAlias(アンチエイリアシングでクリップする)
- Clip.antiAliasWithSaveLayer(クリップの直後にアンチエイリアシングとsaveLayerを使用してクリップする)
使い方
RowとColumnと比較して、StackとPositionedコンビネーションで使用できます。上、下、左、右、および幅と高さの制約を設定して、絶対レイアウトすることができます。
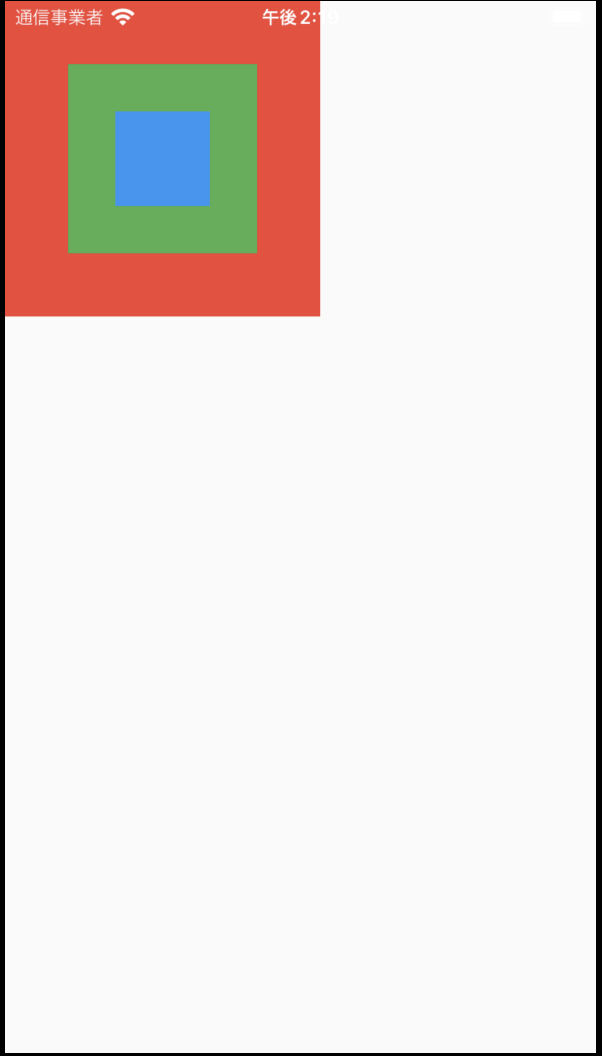
alignment
return Scaffold(
      body: Stack(
        alignment: Alignment.center,
        children: <Widget>[
          Container(
            width: 200,
            height: 200,
            color: Colors.red,
          ),
          Container(
            width: 120,
            height: 120,
            color: Colors.green,
          ),
          Container(
            width: 60,
            height: 60,
            color: Colors.blue,
          ),
        ],
      ),
    );
textDirection
| TextDirection.ltr | TextDirection.rtl |
|---|---|
 |
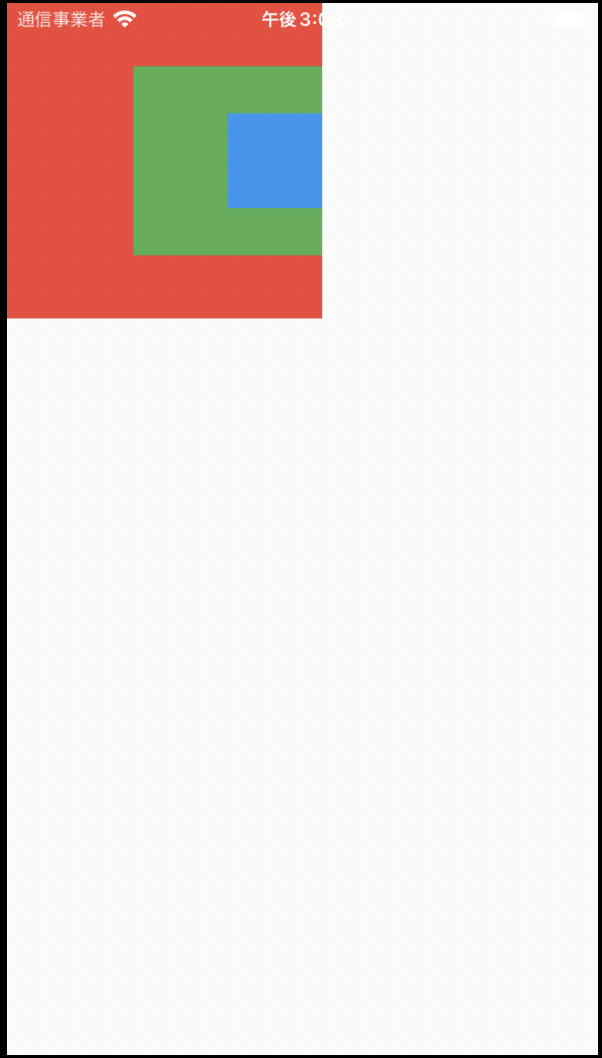 |
fit
サイズや位置制約してなウィジェットに対する充填方式の定義です。
return Scaffold(
      body: Stack(
        alignment: AlignmentDirectional.centerStart,
        fit: StackFit.loose,
        children: <Widget>[
          Container(
            width: 200,
            height: 200,
            color: Colors.red,
          ),
          Positioned(
            left: 30,
            top: 30,
            child: Container(
              width: 120,
              height: 120,
              color: Colors.yellow,
            ),
          ),
          Positioned(
            left: 50,
            top: 50,
            child: Container(
              width: 60,
              height: 60,
              color: Colors.blue,
            ),
          ),
        ],
      ),
    );
| StackFit.loose | StackFit.expand |
|---|---|
 |
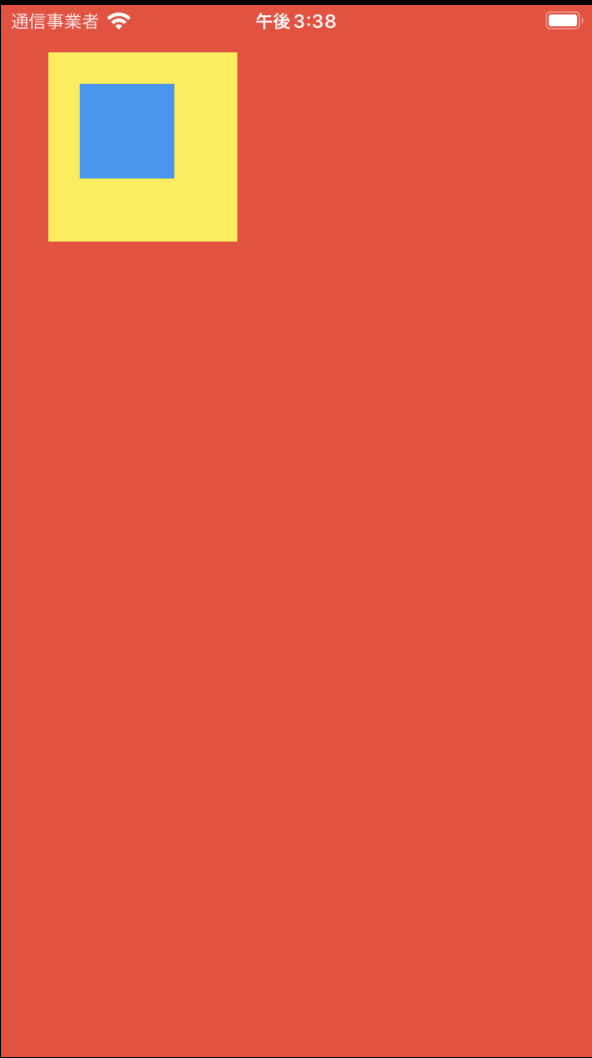 |
- StackFit.passthrough
親からスタックに渡される制約は、位置やサイズ制約されていない子に変更されずに渡されます。
下記の例では、RowのExpandedの制約を子の赤色のContainerに渡されます。
return Scaffold(
      body: Row(
        children: [
          Expanded(
            child: Stack(
              alignment: AlignmentDirectional.centerStart,
              fit: StackFit.passthrough,
              children: <Widget>[
                Container(
                  width: 200,
                  height: 200,
                  color: Colors.red,
                ),
                Positioned(
                  left: 30,
                  top: 30,
                  child: Container(
                    width: 120,
                    height: 120,
                    color: Colors.yellow,
                  ),
                ),
                Positioned(
                  left: 50,
                  top: 50,
                  child: Container(
                    width: 60,
                    height: 60,
                    color: Colors.blue,
                  ),
                ),
              ],
            ),
          ),
        ],
      ),
    );
overflow
Flutter 2.10 以降、overflowは非推奨になり、ついに最新バージョンのdartには削除されることになりました。その変わり、clipBehaviorの使用が推奨されています。
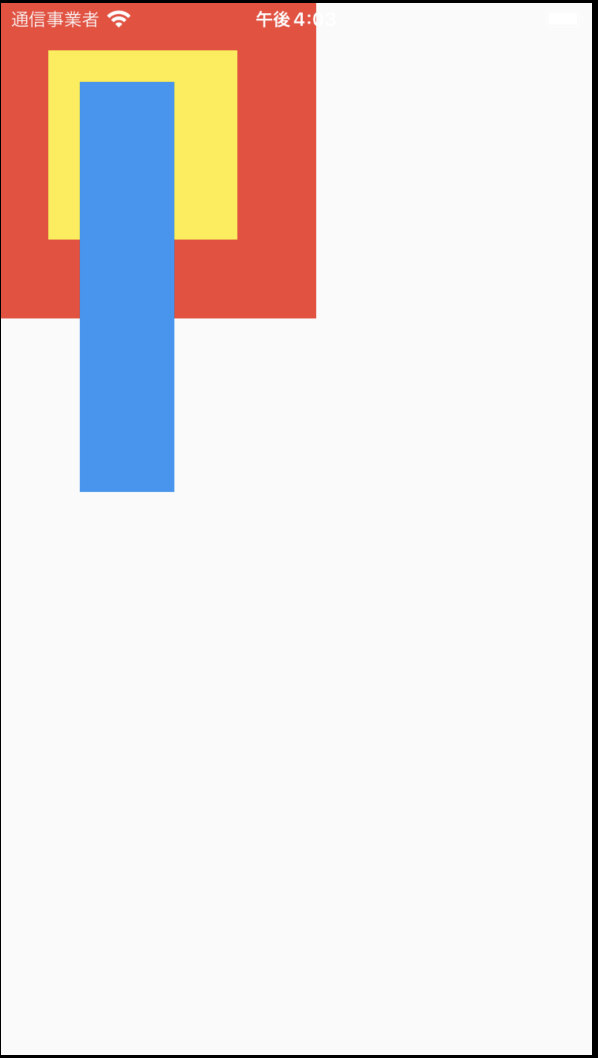
clipBehavior
return Scaffold(
      body: Stack(
        alignment: AlignmentDirectional.centerStart,
        clipBehavior: Clip.antiAlias,
        children: <Widget>[
          Container(
            width: 200,
            height: 200,
            color: Colors.red,
          ),
          Positioned(
            left: 30,
            top: 30,
            child: Container(
              width: 120,
              height: 120,
              color: Colors.yellow,
            ),
          ),
          Positioned(
            left: 50,
            top: 50,
            child: Container(
              width: 60,
              height: 260,
              color: Colors.blue,
            ),
          ),
        ],
      ),
    );
| Clip.none | Clip.hardEdge |
|---|---|
 |
 |


