前回と前々回
今回
前回はC#アプリでRDKitを動かせるようになったので今回はUnityで利用出来るようにします。
環境
- Unity 2021.2.9f1
- (多分これ以降のバージョンでも大丈夫です)
ラッパーライブラリのビルド及びC#コンソールアプリのビルド
C#に必要なライブラリを取り出すため、予め前回の記事の[C#コンソールアプリの作成]まで進めます。
ただ少し変更があり、コンソールアプリのプロジェクト作成の後、SkiaSharpのインポートを以下のようにバージョン指定してください。
これは、最新バージョンのSkiaSharpのライブラリが現行のUnityのランタイムで動かせないためです。(そのうち対応されると思います)
dotnet new console -lang C#
dotnet add package SkiaSharp.Svg -v 1.60.0
dotnet add package SkiaSharp -v 1.60.3
Unityでのアプリ作成
Unityで新しい3Dプロジェクトを作成してください。
例のごとく簡単のため、Cドライブ直下にRDKitUnityというプロジェクトを作成します。
フォルダ構成
一連の作業を終えるとこのような構成になります。
順次説明します。
RDKitUnity/Assets
├─ Scenes
│ └─ SampleScene.unity
├─ win64
│ ├─ libSkiaSharp.dll
│ ├─ RDKitWrapper.dll
│ ├─ SkiaSharp.dll
│ └─ SkiaSharp.Extended.Svg.dll
└─ DrawSmiles.cs
ライブラリファイルの配置
先のC#コンソールアプリのビルドで出力されたDLLファイルをUnityのAssetsフォルダに配置します。
win64フォルダを作成してその中にライブラリ群を配置します。
この際、コンソールアプリのフォルダ内のruntimes内に存在するネイティブプラグインもすべて配置します。
cd C:
mkdir RDKitUnity/Assets/win64
cp RDKitCSharpCli/bin/Release/net6.0/RDKitWrapper.dll RDKitUnity/Assets/win64
cp RDKitCSharpCli/bin/Release/net6.0/SkiaSharp.dll RDKitUnity/Assets/win64
cp RDKitCSharpCli/bin/Release/net6.0/SkiaSharp.Extended.Svg.dll RDKitUnity/Assets/win64
cp RDKitCSharpCli/bin/Release/net6.0/runtimes/win7-x64/native/libSkiaSharp.dll RDKitUnity/Assets/win64
Unityのスクリプトを作成
Assets内にDrawSmiles.csを以下のように作成します。
エディター上で配置したRawImageにRDKitラッパーライブラリで作成したsvgをpng変換してテクスチャを張り付ける形になります。
using System;
using System.IO;
using System.Text;
using SkiaSharp;
using System.Runtime.InteropServices;
using UnityEngine;
using UnityEngine.UI;

public class DrawSmiles : MonoBehaviour
{
    [SerializeField] private RawImage rawImage;
    [SerializeField] private string smiles;
    [SerializeField] private Int32 bufSize = 100000000;
    private string tempSmiles;

    private void Start()
    {
        UpdateMolecule();
    }

    private void Update()
    {
        if (tempSmiles != smiles)
        {
            UpdateMolecule();
        }
    }

    void UpdateMolecule()
    {
        var stringBuilder = new StringBuilder(bufSize);
        var tempSvgPath = Path.Combine(Application.persistentDataPath, "temp_" + Path.GetRandomFileName());
        try
        {
            if (RDKitWrapper.DrawSVG(smiles, stringBuilder, bufSize) < 0)
            {
                return;
            }
        }
        catch
        {
            return;
        }

        File.WriteAllText(tempSvgPath, stringBuilder.ToString());
        var svg = new SKSvg(new SKSize(300, 300));
        svg.Load(tempSvgPath);
        var bitmap = new SKBitmap((int)svg.CanvasSize.Width, (int)svg.CanvasSize.Height);
        var canvas = new SKCanvas(bitmap);
        canvas.DrawPicture(svg.Picture);
        canvas.Flush();
        canvas.Save();

        using var image = SKImage.FromBitmap(bitmap);
        using var data = image.Encode(SKEncodedImageFormat.Png, 80);
        {
            var bytes = data.ToArray();
            var texture = new Texture2D(200, 200);
            texture.filterMode = FilterMode.Trilinear;
            texture.LoadImage(bytes);
            rawImage.texture = texture;
            rawImage.SetNativeSize();
        }
        File.Delete(tempSvgPath);
        tempSmiles = smiles;
    }

    public static class RDKitWrapper
    {
        [DllImport("RDKitWrapper")]
        public static extern int DrawSVG(string smiles, [Out] StringBuilder buf, int bufsize);
    }
}
Unityエディタ上での処理
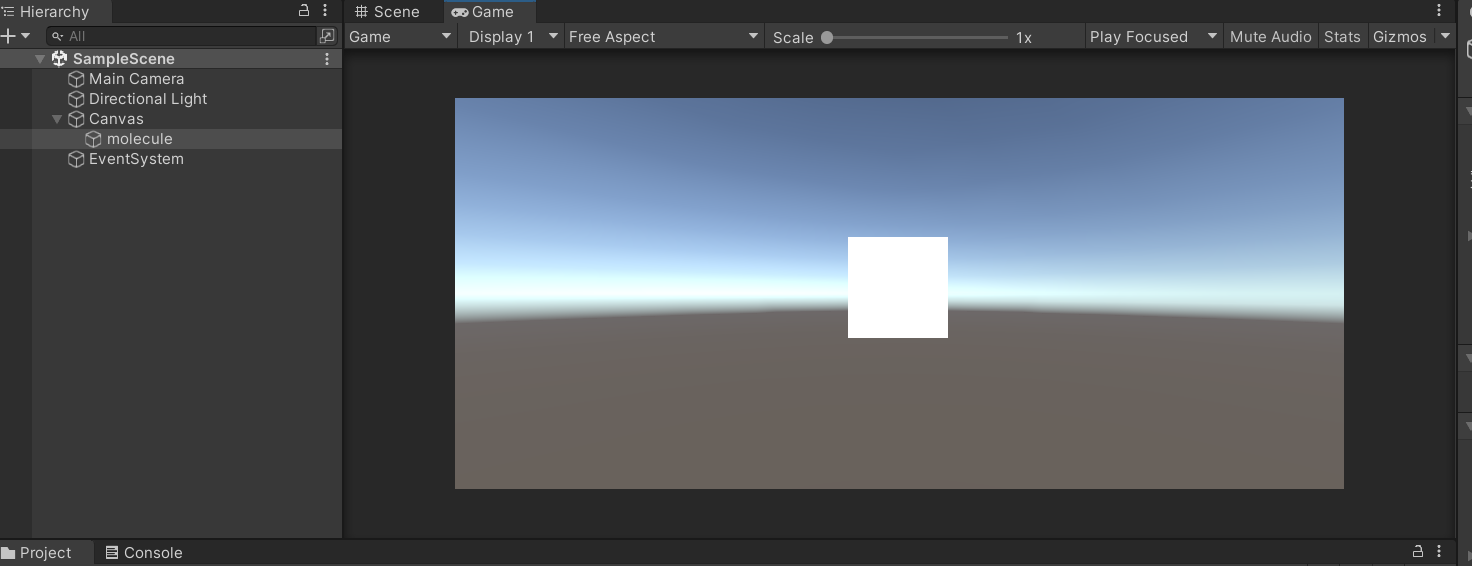
Scene/SampleSceneをそのまま開いて利用します。
RawImageの作成
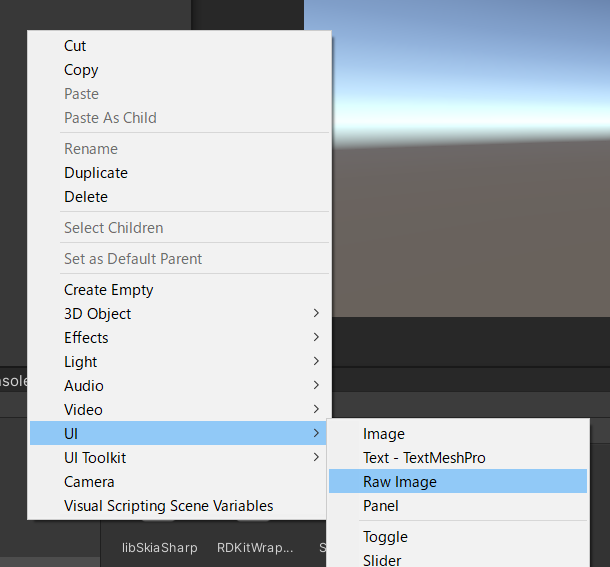
Hierarchyを右クリックしてUI/Raw Imageを作成します。
その後、インスペクター上でpositonを(0,0,0)に設定します。
Main CameraにDrawSmilesをアタッチ
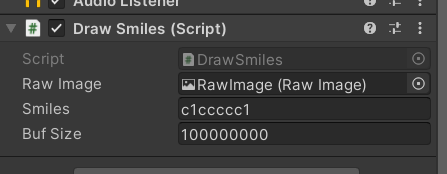
Main CameraにDrawSmilesをアタッチして、インスペクター上で以下のように設定します。
RawImageはシーン上のものをそのままアタッチします。
完成
再生ボタンを押すとSmilesで生成された分子が表示されます。
今後
ひとまずこれでUnity上で動くようになりました。
今度はAndroidでも動かせるようAndroidのネイティブプラグインを作成する記事を書こうと思います。


