はじめに
SwiftUIで個人開発をしているのですが、時々SwiftUIではなくUIKit製のコンポーネントを使う必要があります。
私は、SwiftUIから学習をしていったのですが最初はSwiftUI<->UIKitの変換がよくわかりませんでした。
今回は自分の知識の整理と使い方の再確認を込めて簡単にまとめてみました。
UIKit製のコンポーネントを使ってみる
まずは、UiKit製の部品UILabelを使ってみます。
SwiftUIにはLabelが存在しているので使う必要がないですがわかりやすいので使ってみます。
何もせずに使ってみる
まずは何も変換処理をせずに書いてみましょう。
import SwiftUI

struct ContentView: View {
    var body: some View {

        VStack(alignment: .leading, spacing: 8) {
            UILabel()
        }
        // Error
        // 'buildExpression' is unavailable: this expression does not conform to 'View'
        .padding()

    }

}
はい。
そのまま書いてみました。
これはエラーです。UiKitの部品をそのままインスタンス化しても使うことはできません。
UIViewRepresentable
直接使えないのでどうしたら良いのでしょうか?
それを解決するためのものがUIViewRepresentableです。
これは、UIKitとSwiftUIを橋渡しをしてくれます。
プロトコルの中身を見てみましょう。
必要な部分だけを抜き出しました。
@MainActor @preconcurrency
public protocol UIViewRepresentable: View where Self.Body == Never {

    /// 表示する UIKit ビューの型
    associatedtype UIViewType: UIView

    /// ビューを生成して初期設定(初回のみ呼ばれる)
    @MainActor @preconcurrency
    func makeUIView(context: Self.Context) -> Self.UIViewType

    /// SwiftUIの状態変化に合わせて既存ビューを更新
    @MainActor @preconcurrency
    func updateUIView(_ uiView: Self.UIViewType, context: Self.Context)
}
このプロトコルの中でUIKitの生成と更新を行い、SwiftUIで呼び出します。
使用するためには二つのメソッドを実装する必要があるので実装をしていきましょう。
makeUIView
ビューの作成を行うメソッドです。
UIKitのビューを作成して返却します。
戻り値にUIKitビューのクラスを返すように設定します。
今回は単純に「Hello, UIKit!」と表示するUILabelを返します。
import SwiftUI

struct ContentView: View {
    var body: some View {
        VStack(alignment: .leading, spacing: 8) {
            UIKitLabelCreateSample()
        }
        .padding()

    }

}

struct UIKitLabelCreateSample: UIViewRepresentable {
    // UIKitビューの作成メソッド
    func makeUIView(context: Context) -> UILabel {
        // UILabelを返す
        let label = UILabel()
        label.text = "Hello, UIKit!"
        return label
    }

    func updateUIView(_ uiView: UILabel, context: Context) {
    }
}
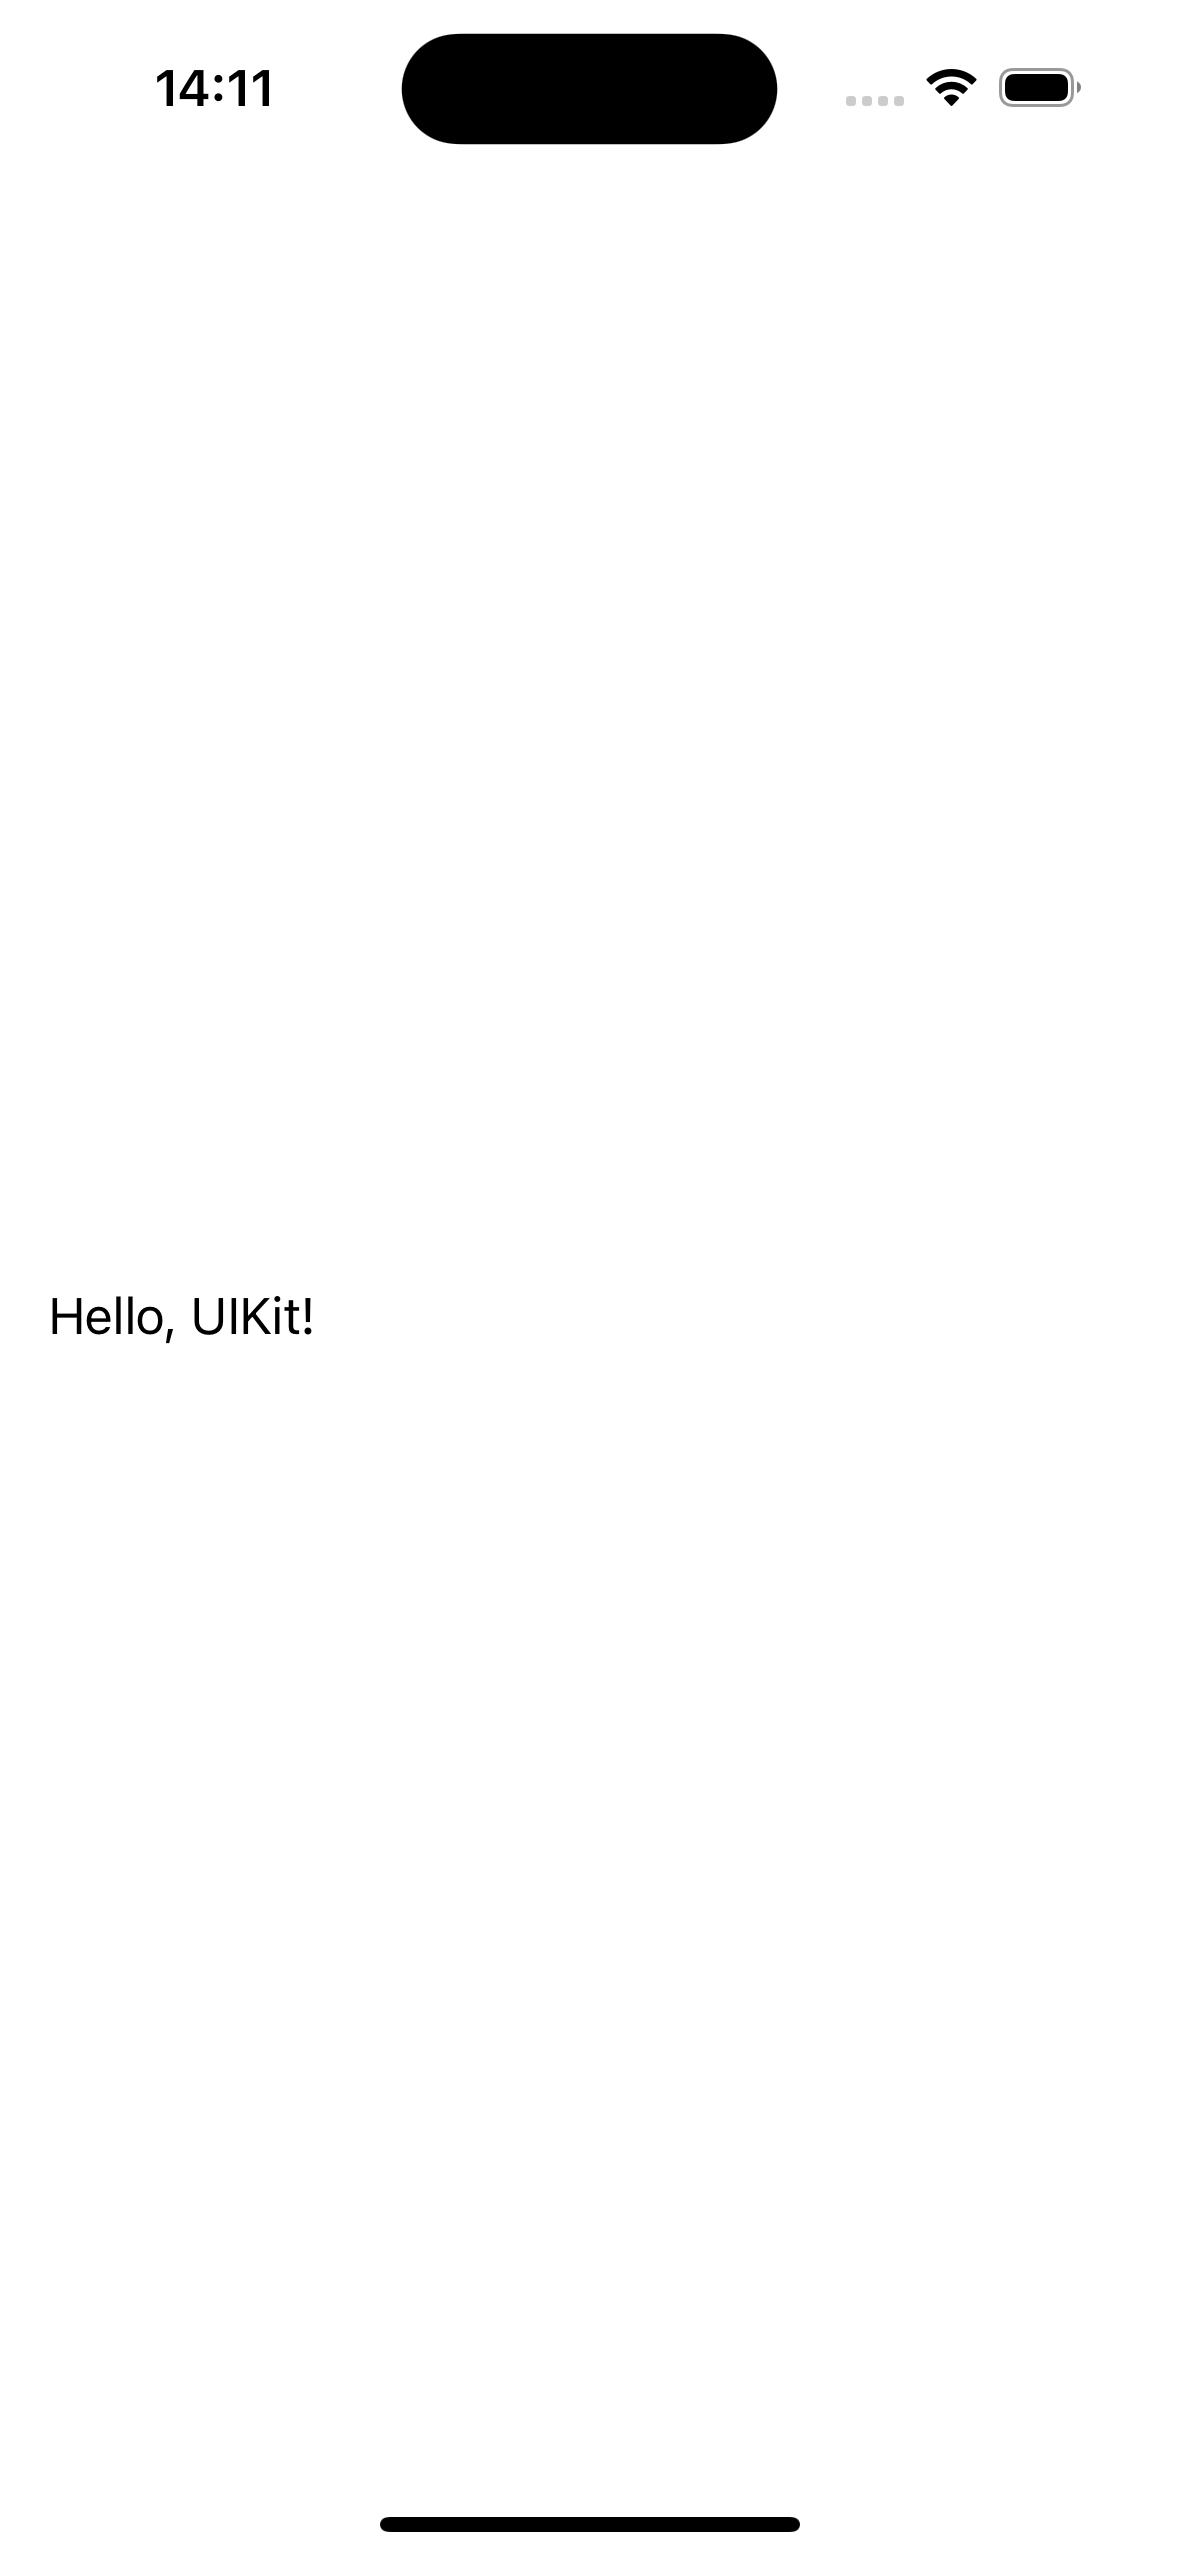
UIKit製の部品をSwiftUIで表示することができましたね。
updateUIView
updateUIViewはUIKitコンポーネントを変化させたい場合に使用します。
使用例としてボタンがクリックされたことによって画面の表示を変化させるような場合を考えてみます。
親ビューから@Bindingで渡されてくる値が変化した際に、UILabelも表示を変更させたい状況でupdateUIViewを使ってラベルの表示を変更しましょう。
import SwiftUI

struct ContentView: View {
    @State var labelText = "Hello, UIKit!"
    var body: some View {
        VStack(alignment: .leading, spacing: 8) {
            // Binding変数に対して値を渡す
            UIKitLabelCreateSample(labelText: $labelText)
            Button {
                // 親ビューのState変数を更新する
                labelText = "Hello, SwiftUI!"
            } label: {
                Text("Change Text")
            }

        }
        .padding()
    }

}

struct UIKitLabelCreateSample: UIViewRepresentable {
    @Binding var labelText: String
    // UIKitビューの作成メソッド
    func makeUIView(context: Context) -> UILabel {
        // UILabelを返す
        let label = UILabel()
        label.text = labelText
        return label
    }

    // ビューが更新された際に呼ばれる
    func updateUIView(_ uiView: UILabel, context: Context) {
        // UILabelのテキストを更新
        uiView.text = labelText
    }
}
動きを確認してみましょう。

ボタンの変更とUIKitのラベルの表示を同期させることができましたね。
このようにしてSwiftUIの中で、UIKitのビューコンポーネントを使用することができます。
ボタンイベントを検知したり、delegate等の実装にはCoordinatorという仕組みが必要なのですが、それはまた今度記事にします。
表示や使用するための大まかな枠組みは理解していただけるかと思います。
終わりに
初めてSwiftUIとUIKitの変換は流れを掴むまでは時間がかかると思います。
何をしたら良いかわからないですし、公式を見ても理解するのは厳しすぎますね。。。
ただ、やってみると思ったよりも簡単かなと思うのです。特にUIKitの下地がある人であれば自由に使えると思います。