CentOS7.6にVSCodeをインストールしたときのメモ
【方法】
3通りあったので、お好みでどうぞ。
全部試しましたが、最終的に2を選択しました
※理由は最後の「補足」にて
-
rpmパッケージを個別にダウンロード
・yum でインストール。簡単。
・更新があれば、都度入手しインストール。 -
rpmパッケージをimport
・yum でインストール。簡単。
・定期的にアップデート確認の必要 -
snapを利用してインストール
・CentOS7.6x以上
・インストール後、Snapデーモンがバックグラウンドで自動的にVS Codeを更新。
新しいアップデートが入手可能になると、アップデート通知を受け取る
インストール方法
1の場合
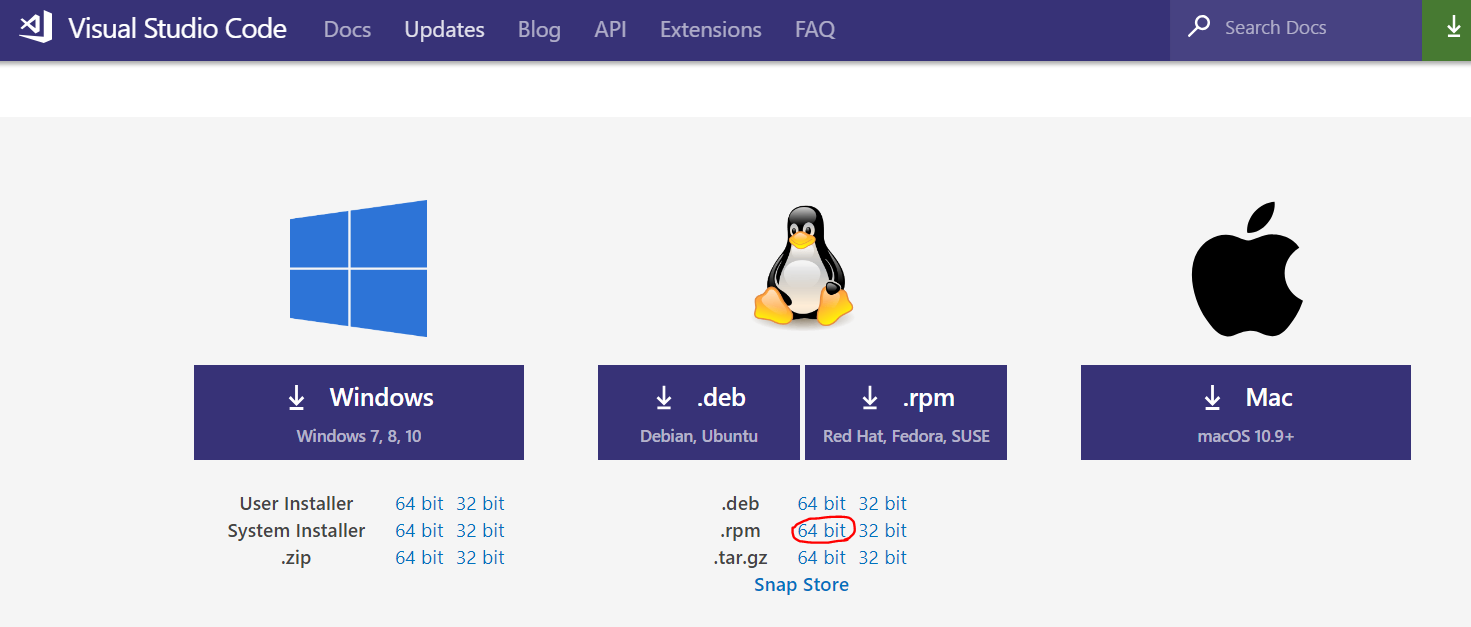
1-(1) rpmをダウンロード
ここからchromeやfilefoxで取得
※2019年4月21日時点の最新版:code-1.33.1-1554971173.el7.x86_64.rpm

1-(2) yumコマンドでインストール
※rpmを保存したディレクトリに移動して実行
$ sudo yum -y install code-1.33.1-1554971173.el7.x86_64.rpm
2の場合
2-(1) rpmをインポート設定
$ sudo rpm --import https://packages.microsoft.com/keys/microsoft.asc
$ sudo sh -c 'echo -e "[code]\nname=Visual Studio Code\nbaseurl=https://packages.microsoft.com/yumrepos/vscode\nenabled=1\ngpgcheck=1\ngpgkey=https://packages.microsoft.com/keys/microsoft.asc" > /etc/yum.repos.d/vscode.repo'
2-(2) アップデートをチェックして、yumでインストール
$ sudo yum check-update
$ sudo yum -y install code
3の場合
3-(1) CentOSのバージョン確認
前述のとおり、CentOSのバージョンが7.6以上必要。
下記コマンドでチェック、7.6以上なのでOK
$ cat /etc/centos-release
CentOS Linux release 7.6.1810 (Core)
3-(2) snapdをインストール
$ sudo yum -y install epel-release
...(略)
インストール:
  epel-release.noarch 0:7-11

完了しました!
$ sudo yum -y install snapd
...(略)
インストール:
  snapd.x86_64 0:2.38-1.el7

依存性関連をインストールしました:
  libzstd.x86_64 0:1.3.8-1.el7
  snap-confine.x86_64 0:2.38-1.el7
  snapd-selinux.noarch 0:2.38-1.el7
  squashfs-tools.x86_64 0:4.3-0.21.gitaae0aff4.el7
  squashfuse.x86_64 0:0.1.102-1.el7
  squashfuse-libs.x86_64 0:0.1.102-1.el7

完了しました!
3-(3) systemdユニットを有効化
systemdユニットは、メインのスナップ通信ソケットを管理する。これを有効化。
$ sudo systemctl enable --now snapd.socket
Created symlink from /etc/systemd/system/sockets.target.wants/snapd.socket to /usr/lib/systemd/system/snapd.socket.
3-(4) 従来のスナップサポートを有効化し、ターミナルを再起動
/var/lib/snapd/snap と /snap の間のシンボリックリンクを作成。
$ sudo ln -s /var/lib/snapd/snap /snap
$ exec $SHELL -l
3-(5) インストール
$ sudo snap install --classic code
Warning: /var/lib/snapd/snap/bin was not found in your $PATH. If you've not
         restarted your session since you installed snapd, try doing that.
         Please see https://forum.snapcraft.io/t/9469 for more details.

code 51b0b281 from Visual Studio Code (vscode✓) installed
警告が出たけど、インストール完了。
念のため確認。イケてるっぽい。
$ sudo snap list |grep code
code  51b0b281  6     stable    vscode*     classic
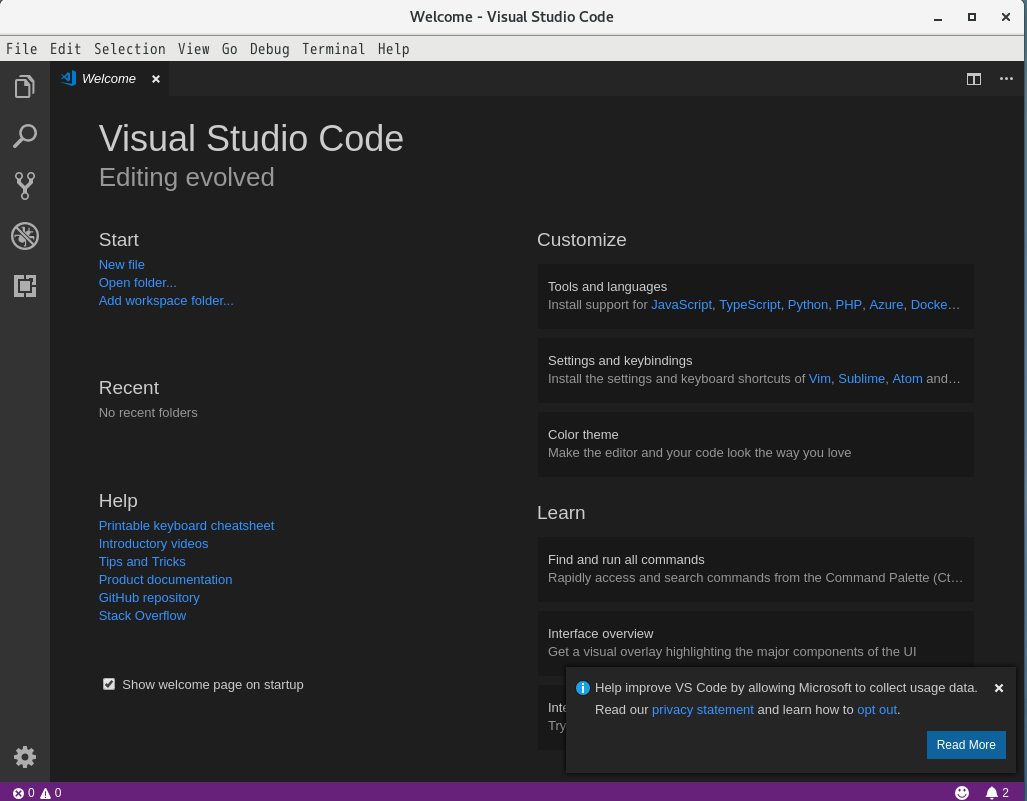
起動※1,2,3で手順共通
codeと打つと起動する。
必要に応じて日本語化したりしましょう。
$ code
補足:日本語がVSCode上で入力できない事象が発生
3の方法でインストールしたのですが、
VSCodeで日本語が入力できない、という事象が発生しました。
そのため、sudo snap remove codeでVSCodeを削除し、2の方法でインストール。
無事に終わったと思いきや、今度はVSCodeが起動できない。
$ code
bash: /var/lib/snapd/snap/bin/code: そのようなファイルやディレクトリはありません
あれ、認識してない?
直接VSCodeの場所を入力するとどうだろう?
$ /usr/bin/code
今度は無事に起動。
その後は、$ codeと入力すれば起動するようになり、
日本語も正常に入力できるようになりました。
参考
Visual Studio Code on Linux Installation
Installing snap on CentOS
UbuntuのVScode上にて日本語入力が出来ない
Ubuntu 18.04 LTSにインストールしたVSCodeで日本語が入力できない時にした事
