モチベーション
Flutterで同じエリアの2つの要素を切り替えるということをしたい場合、まず最初に思いつくのはStatefulWidgetにフラグを持たせて切り替えることだと思います.
今回は、その切り替えにアニメーション効果をつけることができるAnimatedSwitcherウィジェットの使い方とそこでしているすtransitionについて解説していきます
State切り替えだけのサンプル
class MyHomePage extends StatefulWidget {
  const MyHomePage({super.key, required this.title});

  final String title;

  @override
  State<MyHomePage> createState() => _MyHomePageState();
}

class _MyHomePageState extends State<MyHomePage> {
  bool showCircle = false;
  @override
  Widget build(BuildContext context) {
    return Scaffold(
      appBar: AppBar(
        backgroundColor: Theme.of(context).colorScheme.inversePrimary,
        title: Text(widget.title),
      ),
      body: Center(
        child: showCircle
            ? const SizedBox(
                key: ValueKey('circle'),
                width: 100,
                child: AspectRatio(
                  aspectRatio: 1,
                  child: DecoratedBox(
                    decoration: BoxDecoration(
                      color: Colors.red,
                      shape: BoxShape.circle,
                    ),
                  ),
                ),
              )
            : const SizedBox(
                width: 100,
                child: AspectRatio(
                  aspectRatio: 1,
                  child: DecoratedBox(
                    decoration: BoxDecoration(
                      color: Colors.blue,
                      shape: BoxShape.rectangle,
                    ),
                  ),
                ),
              ),
      ),
      floatingActionButton: FloatingActionButton(
        onPressed: () {
          setState(() {
            showCircle = !showCircle;
          });
        },
        child: const Icon(Icons.change_circle),
      ),
    );
  }
}
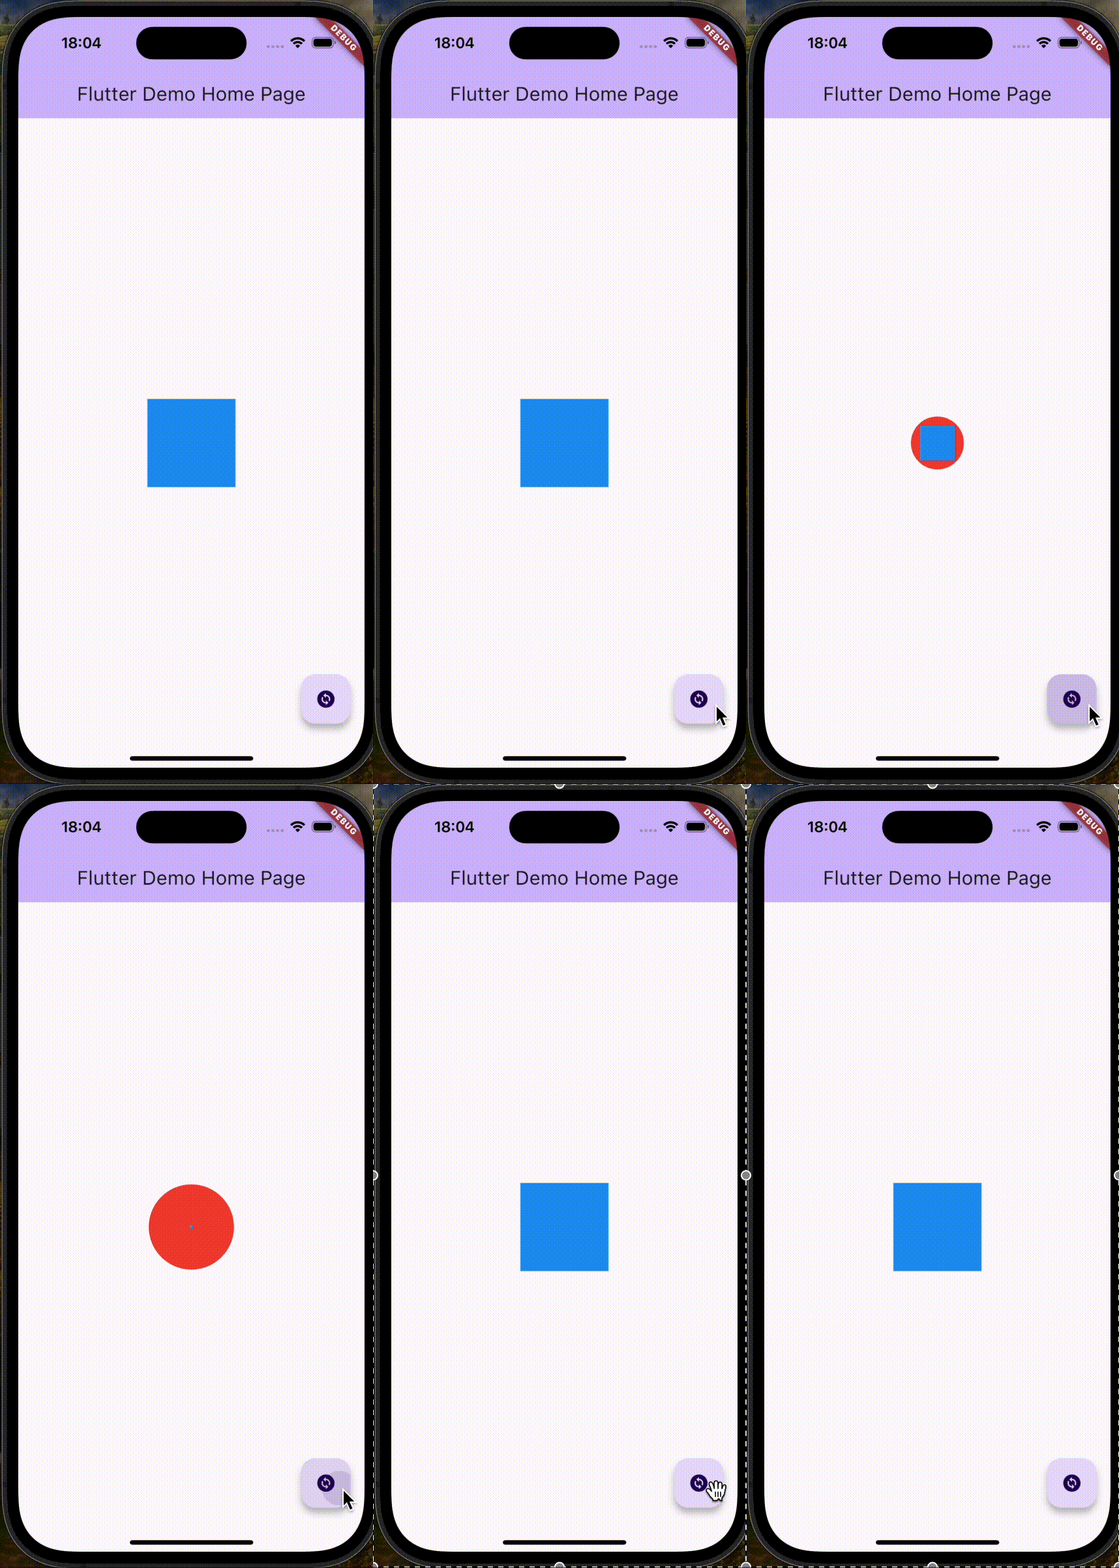
上記コードの動作

もちろんこれでもいいにはいいのですが、味気ないですね。
早速AnimatedSwitcherを適応してみましょう
child: AnimatedSwitcher(
  duration: const Duration(milliseconds: 500),
  reverseDuration: const Duration(milliseconds: 500),
  transitionBuilder: (child, animation) {
    return FadeTransition(
      opacity: animation,
      child: child,
    );
  },
  child: showCircle
      ? const SizedBox(
          key: ValueKey('circle'),
          width: 100,
          child: AspectRatio(
            aspectRatio: 1,
            child: DecoratedBox(
              decoration: BoxDecoration(
                color: Colors.red,
                shape: BoxShape.circle,
              ),
            ),
          ),
        )
      : const SizedBox(
          width: 100,
          child: AspectRatio(
            aspectRatio: 1,
            child: DecoratedBox(
              decoration: BoxDecoration(
                color: Colors.blue,
                shape: BoxShape.rectangle,
              ),
            ),
          ),
        ),
),
AnimatedSwitcherの基本的なパラメーター
- duration: 新しい child の値から古い値への切り替えのDurationの設定
- reverseDuration: 古い child の値から新しい値への切り替えのDurationの設定
- transitionBuilder: 後述しますが、どのような変化をさせるか設定できます
AnimatedSwitcherの注意点
AnimatedSwitcherは、childのウィジェットの切り替わりを検知してtransitionBuilderが発動します。
では、何を持って「新しいウィジェットに切り替わった」を判定しているかというと、FlutterフレームワークにあるcanUpdateによって識別をしています。
  /// Whether the `newWidget` can be used to update an [Element] that currently
  /// has the `oldWidget` as its configuration.
  ///
  /// An element that uses a given widget as its configuration can be updated to
  /// use another widget as its configuration if, and only if, the two widgets
  /// have [runtimeType] and [key] properties that are [operator==].
  ///
  /// If the widgets have no key (their key is null), then they are considered a
  /// match if they have the same type, even if their children are completely
  /// different.
  static bool canUpdate(Widget oldWidget, Widget newWidget) {
    return oldWidget.runtimeType == newWidget.runtimeType
        && oldWidget.key == newWidget.key;
  }
そのため、先ほどの例では片方にだけValueKeyの設定をしていましたが、ウィジェットのキーが同じかつ同じ型のウィジェットを使っている場合、は気をつけないといけません。任意のキーを設定するか、UniqueKey()などを用いてこの問題は回避できます。
  child: showCircle
    ? SizedBox(
        key: UniqueKey(),
        width: 100,
        child: const AspectRatio(
          aspectRatio: 1,
          child: DecoratedBox(
            decoration: BoxDecoration(
              color: Colors.red,
              shape: BoxShape.circle,
            ),
          ),
        ),
      )
    : SizedBox(
        key: UniqueKey(),
        width: 100,
        child: const AspectRatio(
          aspectRatio: 1,
          child: DecoratedBox(
            decoration: BoxDecoration(
              color: Colors.blue,
              shape: BoxShape.rectangle,
            ),
          ),
        ),
      ),
この辺りはドキュメントにも記載されています
The child is considered to be "new" if it has a different type or Key (see Widget.canUpdate).
childの型が違う場合、またはキーが違う場合に「新しい」とみなされる
ということですね。
この知識があると、先ほどのdurationとreverseDurationの説明で言っていた「新しい」「古い」の定義がわかると思います。
- duration: 新しい child の値から古い値への切り替えのDurationの設定
- reverseDuration: 古い child の値から新しい値への切り替えのDurationの設定
ちなみに、durationはrequiredですがreverseDurationは任意パラメーターです。reverseDurationはdurationと値が異なる場合のみ参照されます。
以下のように設定を書き換えてみてください
- duration: const Duration(milliseconds: 500),
- reverseDuration: const Duration(milliseconds: 500),
+ duration: const Duration(milliseconds: 1500),
+ reverseDuration: const Duration(milliseconds: 100),

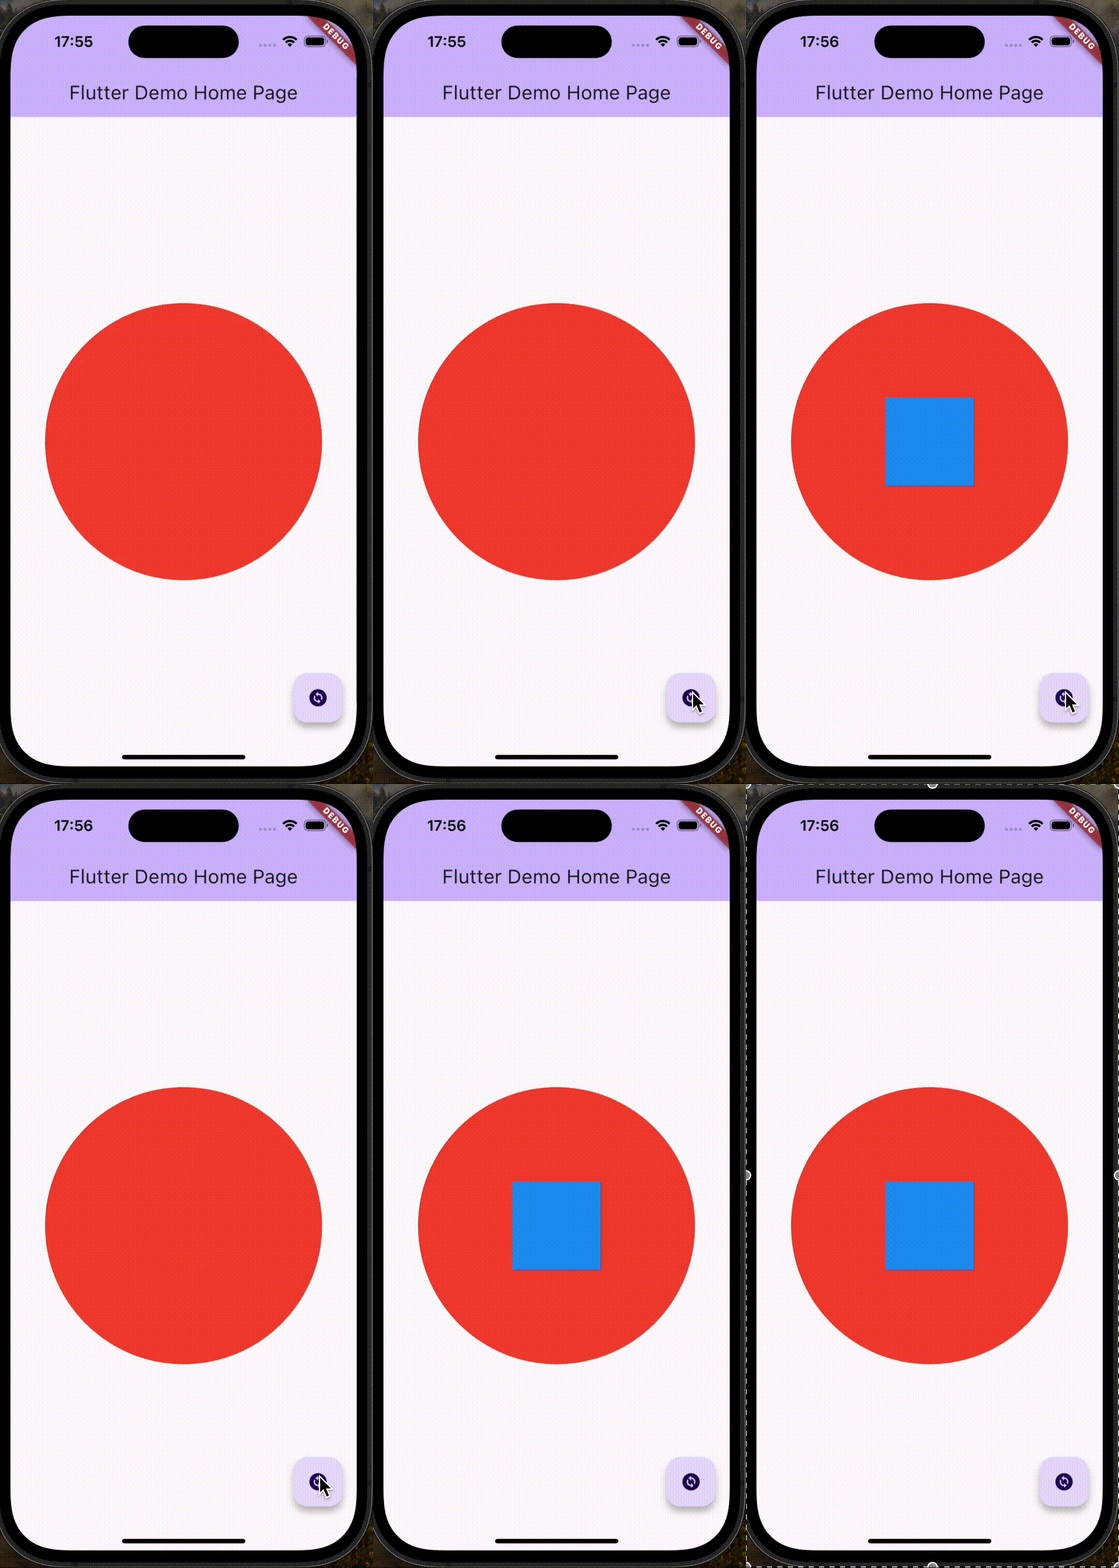
どうでしょう?新しく出て来るdurationは少しゆっくり目になっていて、消えていくreverseDurationはそれより早いタイミングで消えるようになったと思います。
Transitonの種類
さて、transitionBuilderには何が設定できるのでしょうか?
答えは、Flutterのflutter/lib/src/widgets/transitions.dartに定義してあるクラスです。それぞれ挙動を見ていきましょう
durationは元通り500msでやっていきます
duration: const Duration(milliseconds: 500),
reverseDuration: const Duration(milliseconds: 500),
それでは、各Transitionクラスの挙動を見ていきましょう
SlideTransition
transitionBuilder: (child, animation) {
  return SlideTransition(
    position: Tween<Offset>(
      begin: const Offset(0, 1),
      end: const Offset(0, 0),
    ).animate(animation),
    child: child,
  );
},

MatrixTransition
transitionBuilder: (child, animation) {
  return MatrixTransition(
    onTransform: (progress) {
      return Matrix4.identity()
        ..setEntry(3, 2, 0.001)
        ..rotateX(3.14 * progress);
    },
    animation: animation,
    child: child,
  );
},

ScaleTransition
transitionBuilder: (child, animation) {
  return ScaleTransition(
    scale: animation,
    child: child,
  );
},

FadeTransition
transitionBuilder: (child, animation) {
  return FadeTransition(
    opacity: animation,
    child: child,
  );
},

SliverFadeTransition
- FadeTransitionのSliverバージョンなので省略します
RotationTransition
transitionBuilder: (child, animation) {
  return RotationTransition(
    turns: animation,
    child: child,
  );
},

SizeTransition
transitionBuilder: (child, animation) {
  return SizeTransition(
    sizeFactor: animation,
    child: child,
  );
},

PositionedTransition
transitionBuilder: (child, animation) {
  return PositionedTransition(
    rect: RelativeRectTween(
      begin: RelativeRect.fromSize(
        const Rect.fromLTWH(100, 100, 20, 20),
        const Size(10, 10),
      ),
      end: RelativeRect.fromSize(
        const Rect.fromLTWH(0, 0, 20, 20),
        const Size(10, 10),
      ),
    ).animate(animation),
    child: child,
  );
},

RelativePositionedTransition
transitionBuilder: (child, animation) {
  return RelativePositionedTransition(
    size: const Size(20, 20),
    rect: RectTween(
      begin: const Rect.fromLTWH(0, 0, 100, 0),
      end: const Rect.fromLTWH(0, 0, 0, 100),
    ).animate(animation),
    child: child,
  );
},

DecoratedBoxTransition
transitionBuilder: (child, animation) {
  return DecoratedBoxTransition(
    decoration: DecorationTween(
      begin: const BoxDecoration(
        color: Colors.blue,
        shape: BoxShape.rectangle,
      ),
      end: const BoxDecoration(
        color: Colors.red,
        shape: BoxShape.circle,
      ),
    ).animate(animation),
    child: child,
  );
},

AlignTransition
transitionBuilder: (child, animation) {
  return AlignTransition(
    alignment: Tween<Alignment>(
      begin: const Alignment(0, -1),
      end: const Alignment(0, 0),
    ).animate(animation),
    child: SizeTransition(
      sizeFactor: animation,
      child: child,
    ),
  );
},

DefaultTextStyleTransition
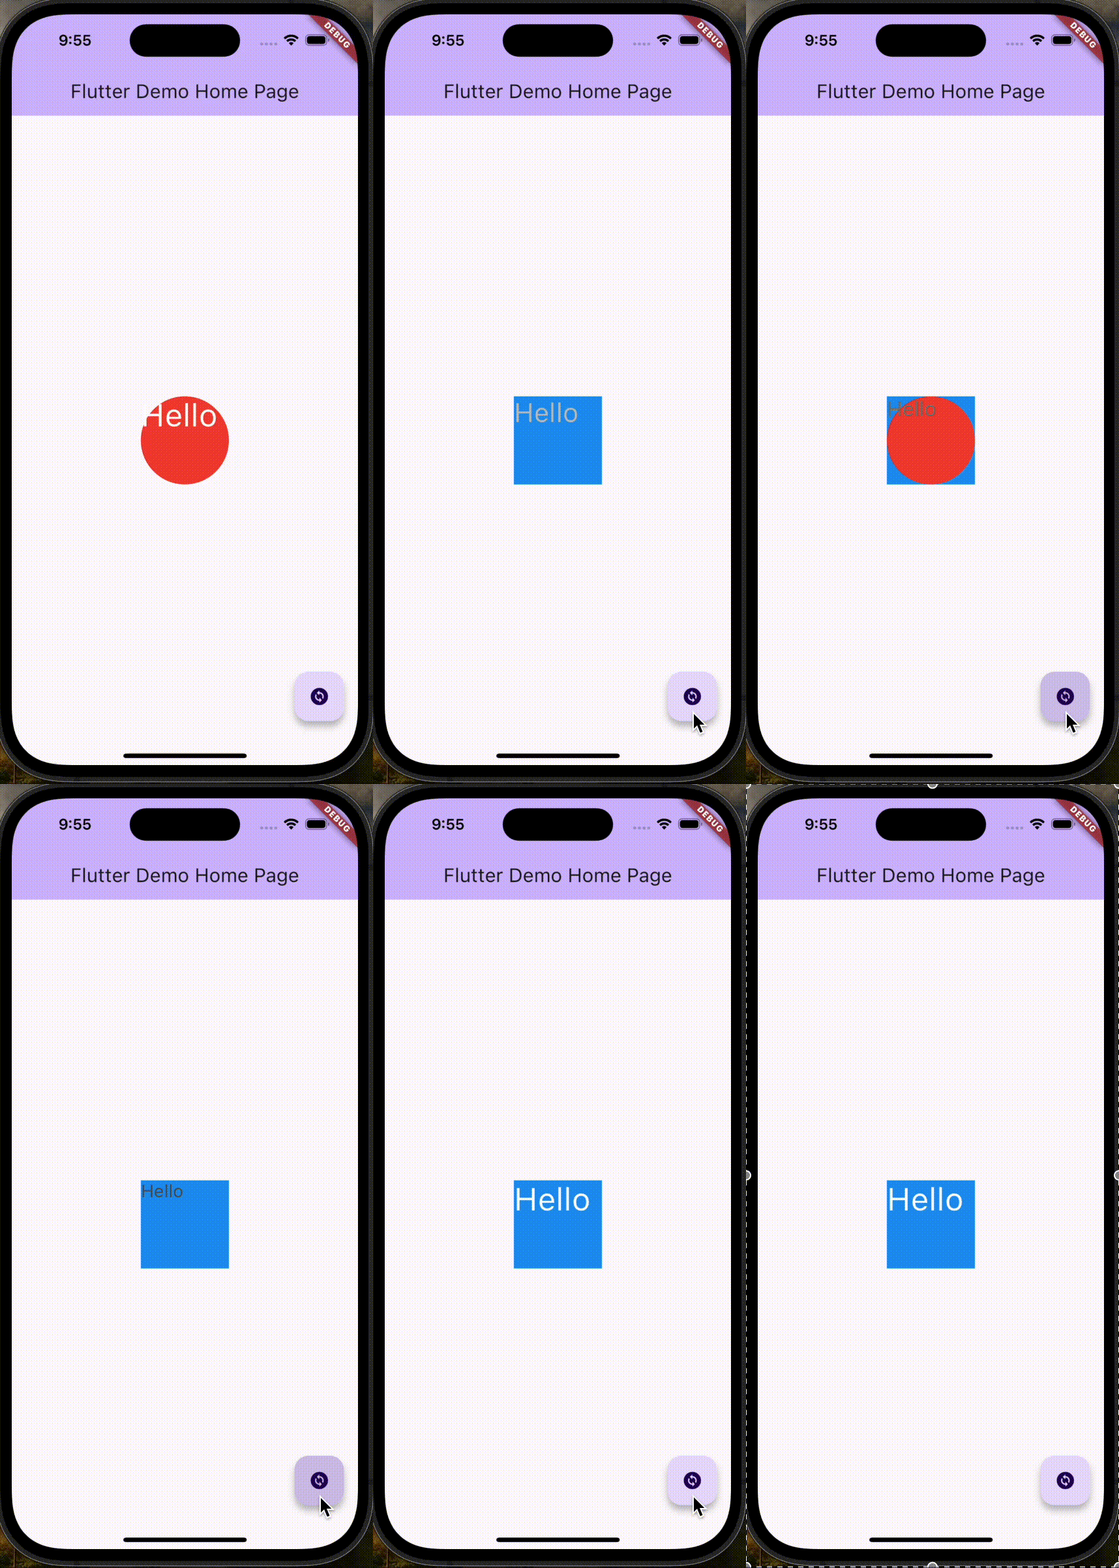
これはクラス名の通りテキストのアニメーションができます
child: AnimatedSwitcher(
  duration: const Duration(milliseconds: 500),
  reverseDuration: const Duration(milliseconds: 500),
  transitionBuilder: (child, animation) {
    return DefaultTextStyleTransition(
      style: animation.drive(
        TextStyleTween(
          begin: const TextStyle(
            color: Colors.black,
            fontSize: 12,
          ),
          end: const TextStyle(
            color: Colors.white,
            fontSize: 36,
          ),
        ),
      ),
      child: child,
    );
  },
  child: showCircle
      ? SizedBox(
          key: UniqueKey(),
          width: 100,
          child: const AspectRatio(
            aspectRatio: 1,
            child: DecoratedBox(
              decoration: BoxDecoration(
                color: Colors.red,
                shape: BoxShape.circle,
              ),
              child: Text('Hello'),
            ),
          ),
        )
      : SizedBox(
          key: UniqueKey(),
          width: 100,
          child: const AspectRatio(
            aspectRatio: 1,
            child: DecoratedBox(
              decoration: BoxDecoration(
                color: Colors.blue,
                shape: BoxShape.rectangle,
              ),
              child: Text('Hello'),
            ),
          ),
        ),
),

ListenableBuilder
こちらはAnimatedWidgetクラスを継承しているとはいえ、今回の趣旨とは逸れるので同様の説明は省きます。
Listenableとある通り、何かの変更を検知してウィジェットをリビルドするものになります。
StatefulWidgetにしてしまうと画面全体がリビルド範囲になってしまったりするものを、このListenableBuilderを用いるとStatelessWidgetの中でリビルドができる+リビルド領域を絞り込めると言ったメリットがあります。
しかし、昨今のライブラリ事情から行くとRiverpod(Provider)とConsumerウィジェットやselectによる参照が主流のためこのクラスの出番が少ないのではないかと思いました。一応例だけ示しておきます。
import 'package:flutter/material.dart';

void main() {
  runApp(MyApp());
}

// カウンターモデルを定義(ChangeNotifierを継承)
class CounterModel extends ChangeNotifier {
  int _counter = 0;

  int get counter => _counter;

  void increment() {
    _counter++;
    notifyListeners(); // リスナーに通知
  }
}

class MyApp extends StatelessWidget {
  @override
  Widget build(BuildContext context) {
    return MaterialApp(
      home: MyHomePage(),
    );
  }
}

class MyHomePage extends StatelessWidget {
  final CounterModel _model = CounterModel();

  @override
  Widget build(BuildContext context) {
    return Scaffold(
      appBar: AppBar(title: Text('ListenableBuilder Example')),
      body: Center(
        // ListenableBuilderを使用
        child: ListenableBuilder<CounterModel>(
          listenable: _model,
          builder: (context, model, child) {
            // ここでモデルの状態に基づいてUIを更新
            return Text('You have pushed the button ${model.counter} times');
          },
        ),
      ),
      floatingActionButton: FloatingActionButton(
        onPressed: () => _model.increment(),
        tooltip: 'Increment',
        child: Icon(Icons.add),
      ),
    );
  }
}