前回までのあらすじ
この記事の筆者である kurararara は 前回の記事 で上司をdisる表記を行なった。
kurararara『 いいね がたくさんつけばきっと大丈夫…』
そう思い(願い)過ごしてきたが伸びることはなく、静かに社会人生活を終えたのであった。
\def\textlarge#1{%
  {\rm\Large #1}
}
$ \textlarge{Fin.}$
すみません嘘です。
健在です。
ということで続き書きます ![]()
TL;DR
前回はインストールしてアプリを起動するところまで書きましたが、今回はインストール時にデフォルトで作成されるサンプルプログラムを使って Flutter を用いた開発の概要を解説していきたいと思います。
また、画像参照系のアプリを作りたかったので、端末にあるファイル操作についての実装をサンプルプログラムに追記する形で解説していきます。
(※ファイル操作については、サンプルプログラムの解説が思いのほか長くなったので次の記事にまとめます)
- 2019-12-26: 追記
![]() Flutter でデバイスのファイルにアクセスする にまとめました!
Flutter でデバイスのファイルにアクセスする にまとめました!
つまるところ
- Flutter でのアプリ開発の概要
- ライブラリ導入方法
あたりを書いています。
注意
前回は Android Studio と VS Code の2つの開発環境での導入方法を書きましたが、少し負荷が高かったので、今回の記事では Android Studio のみにフォーカスをあてています。
あらかじめご了承ください。
注意その2
筆者は初期の頃の Dart こそ触れたことがありますが、ほとんど初心者の状態です。
なるべく正しい内容で記述を努めますが、誤りや理解不足による曖昧な記述があるかもしれません。
(そんなときは優しく教えてね ![]() )
)
今回のゴール
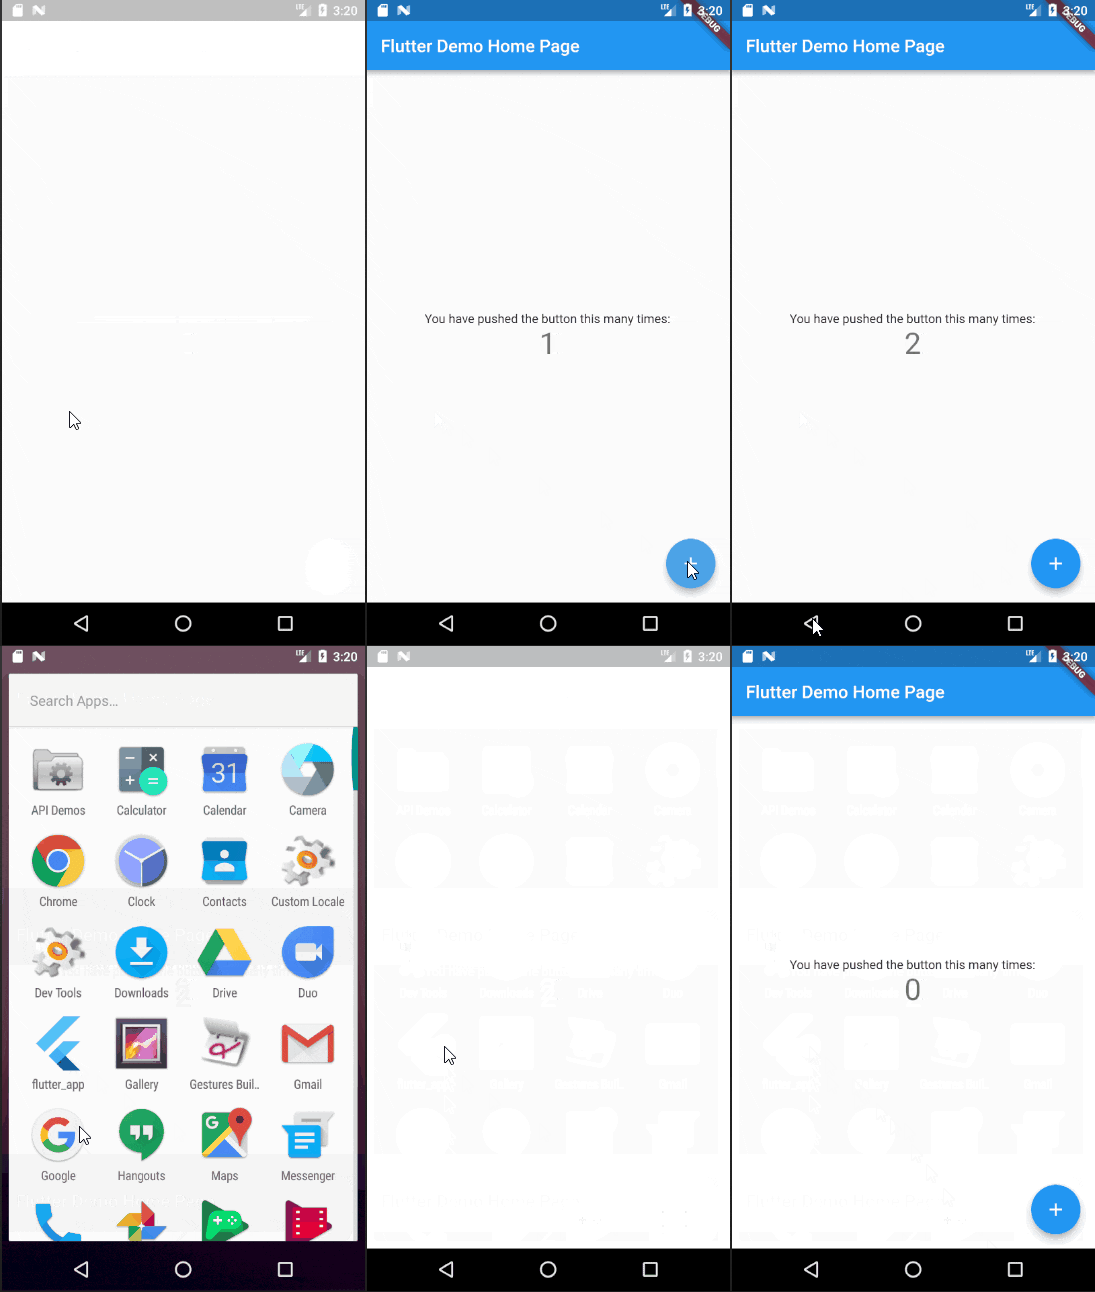
ボタンを押したらカウントアップし画面に表示されるサンプルプログラムのコードを解説します。
Flutter による開発の雰囲気がつかめるくらいを目指した記事になっています。
サンプルプログラムの説明
サンプルプログラム全容
サンプルプログラムをそのまま貼り付けています。
import 'package:flutter/material.dart';

void main() => runApp(MyApp());

class MyApp extends StatelessWidget {
  // This widget is the root of your application.
  @override
  Widget build(BuildContext context) {
    return MaterialApp(
      title: 'Flutter Demo',
      theme: ThemeData(
        // This is the theme of your application.
        //
        // Try running your application with "flutter run". You'll see the
        // application has a blue toolbar. Then, without quitting the app, try
        // changing the primarySwatch below to Colors.green and then invoke
        // "hot reload" (press "r" in the console where you ran "flutter run",
        // or simply save your changes to "hot reload" in a Flutter IDE).
        // Notice that the counter didn't reset back to zero; the application
        // is not restarted.
        primarySwatch: Colors.blue,
      ),
      home: MyHomePage(title: 'Flutter Demo Home Page'),
    );
  }
}

class MyHomePage extends StatefulWidget {
  MyHomePage({Key key, this.title}) : super(key: key);

  // This widget is the home page of your application. It is stateful, meaning
  // that it has a State object (defined below) that contains fields that affect
  // how it looks.

  // This class is the configuration for the state. It holds the values (in this
  // case the title) provided by the parent (in this case the App widget) and
  // used by the build method of the State. Fields in a Widget subclass are
  // always marked "final".

  final String title;

  @override
  _MyHomePageState createState() => _MyHomePageState();
}

class _MyHomePageState extends State<MyHomePage> {
  int _counter = 0;

  void _incrementCounter() {
    setState(() {
      // This call to setState tells the Flutter framework that something has
      // changed in this State, which causes it to rerun the build method below
      // so that the display can reflect the updated values. If we changed
      // _counter without calling setState(), then the build method would not be
      // called again, and so nothing would appear to happen.
      _counter++;
    });
  }

  @override
  Widget build(BuildContext context) {
    // This method is rerun every time setState is called, for instance as done
    // by the _incrementCounter method above.
    //
    // The Flutter framework has been optimized to make rerunning build methods
    // fast, so that you can just rebuild anything that needs updating rather
    // than having to individually change instances of widgets.
    return Scaffold(
      appBar: AppBar(
        // Here we take the value from the MyHomePage object that was created by
        // the App.build method, and use it to set our appbar title.
        title: Text(widget.title),
      ),
      body: Center(
        // Center is a layout widget. It takes a single child and positions it
        // in the middle of the parent.
        child: Column(
          // Column is also layout widget. It takes a list of children and
          // arranges them vertically. By default, it sizes itself to fit its
          // children horizontally, and tries to be as tall as its parent.
          //
          // Invoke "debug painting" (press "p" in the console, choose the
          // "Toggle Debug Paint" action from the Flutter Inspector in Android
          // Studio, or the "Toggle Debug Paint" command in Visual Studio Code)
          // to see the wireframe for each widget.
          //
          // Column has various properties to control how it sizes itself and
          // how it positions its children. Here we use mainAxisAlignment to
          // center the children vertically; the main axis here is the vertical
          // axis because Columns are vertical (the cross axis would be
          // horizontal).
          mainAxisAlignment: MainAxisAlignment.center,
          children: <Widget>[
            Text(
              'You have pushed the button this many times:',
            ),
            Text(
              '$_counter',
              style: Theme.of(context).textTheme.display1,
            ),
          ],
        ),
      ),
      floatingActionButton: FloatingActionButton(
        onPressed: _incrementCounter,
        tooltip: 'Increment',
        child: Icon(Icons.add),
      ), // This trailing comma makes auto-formatting nicer for build methods.
    );
  }
}
えっと…コメント多い!
とりあえずコードが見やすいようにコメント削ります。
import 'package:flutter/material.dart';

void main() => runApp(MyApp());

class MyApp extends StatelessWidget {
  // This widget is the root of your application.
  @override
  Widget build(BuildContext context) {
    return MaterialApp(
      title: 'Flutter Demo',
      theme: ThemeData(
        primarySwatch: Colors.blue,
      ),
      home: MyHomePage(title: 'Flutter Demo Home Page'),
    );
  }
}

class MyHomePage extends StatefulWidget {
  MyHomePage({Key key, this.title}) : super(key: key);

  final String title;

  @override
  _MyHomePageState createState() => _MyHomePageState();
}

class _MyHomePageState extends State<MyHomePage> {
  int _counter = 0;

  void _incrementCounter() {
    setState(() {
      _counter++;
    });
  }

  @override
  Widget build(BuildContext context) {
    return Scaffold(
      appBar: AppBar(
        title: Text(widget.title),
      ),
      body: Center(
        child: Column(
          mainAxisAlignment: MainAxisAlignment.center,
          children: <Widget>[
            Text(
              'You have pushed the button this many times:',
            ),
            Text(
              '$_counter',
              style: Theme.of(context).textTheme.display1,
            ),
          ],
        ),
      ),
      floatingActionButton: FloatingActionButton(
        onPressed: _incrementCounter,
        tooltip: 'Increment',
        child: Icon(Icons.add),
      ), // This trailing comma makes auto-formatting nicer for build methods.
    );
  }
}
だいぶスッキリしました!
では Dart によるコーディングの概要を説明します。
import 文
import 'package:flutter/material.dart';
標準ライブラリ( flutter や Dart )、外部ライブラリを使用する場合は import が必要です。
Android Studio を利用している場合は [Alt] + [Enter] でオートマチックに書いてくれたりします。
main 関数
void main() => runApp(MyApp());
main.dart ファイルを実行すると呼ばれるいわゆるエントリーポイントとなる関数が main 関数 。
アプリを起動するための処理を書くことになります。
サンプルコードはアロー関数( Dart もこの呼び方で良いのかな?)で書かれていますが、普通の関数の形でも書くことが出来ます。
void main() {
    runApp(MyApp());
}
Java に近い構文ですね。
Widget
Flutter では画面 UI を構成するために Widget (ウィジェット)を用いて行います。
メインとなる Widget に対して画面を構成する複数の Widget を組み合わせて画面ができあがるがるわけです。
レイアウトだけでなくアニメーションやボタン、ダイアログなどのコンポーネントまで Widget で作るため必然的に括弧() が多くなります。
(サンプルコードのレベルでも多いです ![]() )
)
runApp 関数に渡される Widget (アプリケーションのメインウィジェット)
void main() => runApp(MyApp());
main 関数で実行されていた runApp 関数で MyApp() を引数に渡しています。
runApp 関数はその名の通りアプリを起動するための関数で、引数に渡すのはアプリケーションのメインとなる Widget です。
サンプルプログラムでいうと次の Widget がそれにあたります。
class MyApp extends StatelessWidget {
  // This widget is the root of your application.
  @override
  Widget build(BuildContext context) {
    return MaterialApp(
      title: 'Flutter Demo',
      theme: ThemeData(
        primarySwatch: Colors.blue,
      ),
      home: MyHomePage(title: 'Flutter Demo Home Page'),
    );
  }
}
コメントに // This widget is the root of your application. とある通りこの Widget がアプリケーションのルートとなることが記載されています。
StatelessWidget と StatefulWidget
MyApp クラスは StatelessWidget を extends していますがこれは何を意味するのでしょう?
Flutter が用意している Widget は大きく分けると StatelessWidget と StatefulWidget の2種類があります。
名前のまんまですが、ステートフルかステートレスかの違い です。
アプリの状態を表す State を扱う場合は StatefulWidget を利用して、そうでない場合は StatelessWidget を利用すると言った感じです。
サンプルプログラムだとボタンを押すと加算されるカウント _counter を扱う MyHomePage クラスは StatefulWidget を拡張していますね!
MaterialApp
MyApp クラスのこの部分。
@override
Widget build(BuildContext context) {
  return MaterialApp(
    title: 'Flutter Demo', // <= アプリのタイトル
    theme: ThemeData(
      primarySwatch: Colors.blue, // <= アプリのテーマカラー(プライマリー)
    ),
    home: MyHomePage(title: 'Flutter Demo Home Page'), // <= アプリのホーム画面を示すウィジェット
  );
}
build メソッドが Widget を返却する際に MaterialApp でラップしています。
これは Flutter が用意した様々なテーマやパーツを適用するために必要な "ひと手間" だと思えばいいです。
MaterialApp でラップする際に title 、 theme 、 home を指定していますが、これがそのままアプリに適用されます。
ちなみに…
iOS 向けのテーマである
Cupertinoの場合は別の関数でラップるのかな?と思いましたが、そのケースでもMaterialAppでした
アプリ画面を構成する Widget
MaterialApp で渡されていた home プロパティ。
ここで指定されていた MyHomePage クラスがサンプルプログラムのアプリのホーム画面を構成するためのウィジェットです。
class MyHomePage extends StatefulWidget {
  MyHomePage({Key key, this.title}) : super(key: key);

  final String title;

  @override
  _MyHomePageState createState() => _MyHomePageState();
}
すでに説明したとおり画面内でカウントを扱う( State を利用する)ため、 StatefulWidget を拡張しています。
フィールドに title を定義していますが、これが MaterialApp デラップしたときの title と連動しています。
フィールドを追加したのでコンストラクタにも title が追加されていますね。
MyHomePage({Key key, this.title}) : super(key: key);
ちょっと気になったんだけど…
Dartって変数を作成する時、「 定義 」するっていうのかな?それとも「 宣言 」??
Javaに似せるなら「宣言」だけども…
本題に戻って、この Widget では createState 関数を @override しています。
StatefulWidget は State を扱うので、この createState 関数でホーム画面で扱うステートを指定しているわけです。
State
アプリの状態を表すのが State です。
実装の際は State を extends したクラスを作成して画面で利用する形になります。
class _MyHomePageState extends State<MyHomePage> {
  int _counter = 0;

  void _incrementCounter() {
    setState(() {
      _counter++;
    });
  }

  @override
  Widget build(BuildContext context) {
    return Scaffold(
      appBar: AppBar(
        title: Text(widget.title),
      ),
      body: Center(
        child: Column(
          mainAxisAlignment: MainAxisAlignment.center,
          children: <Widget>[
            Text(
              'You have pushed the button this many times:',
            ),
            Text(
              '$_counter',
              style: Theme.of(context).textTheme.display1,
            ),
          ],
        ),
      ),
      floatingActionButton: FloatingActionButton(
        onPressed: _incrementCounter,
        tooltip: 'Increment',
        child: Icon(Icons.add),
      ), // This trailing comma makes auto-formatting nicer for build methods.
    );
  }
}
ステート内で build 関数を使って画面 UI を構成しています。
この画面では Scaffold というレイアウトを選択して、各種設定を行なっています。
具体的にはアップバーに表示するタイトルや、画面表示テキスト、アクションボタンのイベントなどです。
floatingActionButton: FloatingActionButton(
  onPressed: _incrementCounter,
  tooltip: 'Increment',
  child: Icon(Icons.add),
), // This trailing comma makes auto-formatting nicer for build methods.
この部分で onPressed に設定しているのがタップしたときのイベントです。
void _incrementCounter() {
  setState(() {
    _counter++;
  });
}
_incrementCounter ではカウンターをインクリメントしています。
このカウンターを画面に表示しているわけです。
Text(
  '$_counter',
  style: Theme.of(context).textTheme.display1,
),
ちなみに変数を文字列保管する場合は '$_counter' のように変数の先頭に $ をつけることで行うことが出来ます。
なんでだろ?
ホーム画面を扱う
WidgetじゃなくてState側でbuild関数利用しているのはなぜ❓
サンプルプログラムの解説はこんなところです。
レイアウトの選択・設定
アプリケーションをカスタマイズしていく上で、どんな レイアウト 、 テーマ 、 パーツ があるのか気になりますよね?
このあたりは公式ページがかなりしっかり用意してくれていて、一覧画面も見やすいですし、それぞれのウィジェットでどんな設定ができるのかもわかりやすく説明されています。
![]() Flutter widget index | Flutter 公式
Flutter widget index | Flutter 公式
まとめ
Flutter のサンプルプログラムから大雑把ではありますが開発のやり方を説明してきました。
Dart そのものを触ったことがない人が多いでしょうし、取っ掛かりがないとしんどいので、そのあたりをフォローできるように書いたつもりです。
本当はライブラリの導入や端末のファイルへのアクセスなども書きたかったのですが、長くなってしまったのでまた次回まとめますね~ ![]()

