この記事を読むとできるようになること
matplotlibで,連番データファイルからgifアニメーションがつくれる
gnuplotで動画が作れるようになったけど(gnuplotで連番データから動画を作成する),どうせならmatplotlibでも動画が作れるようになりたい!
- 環境
- macOS mojave 10.14.6
- Python 3.7.5
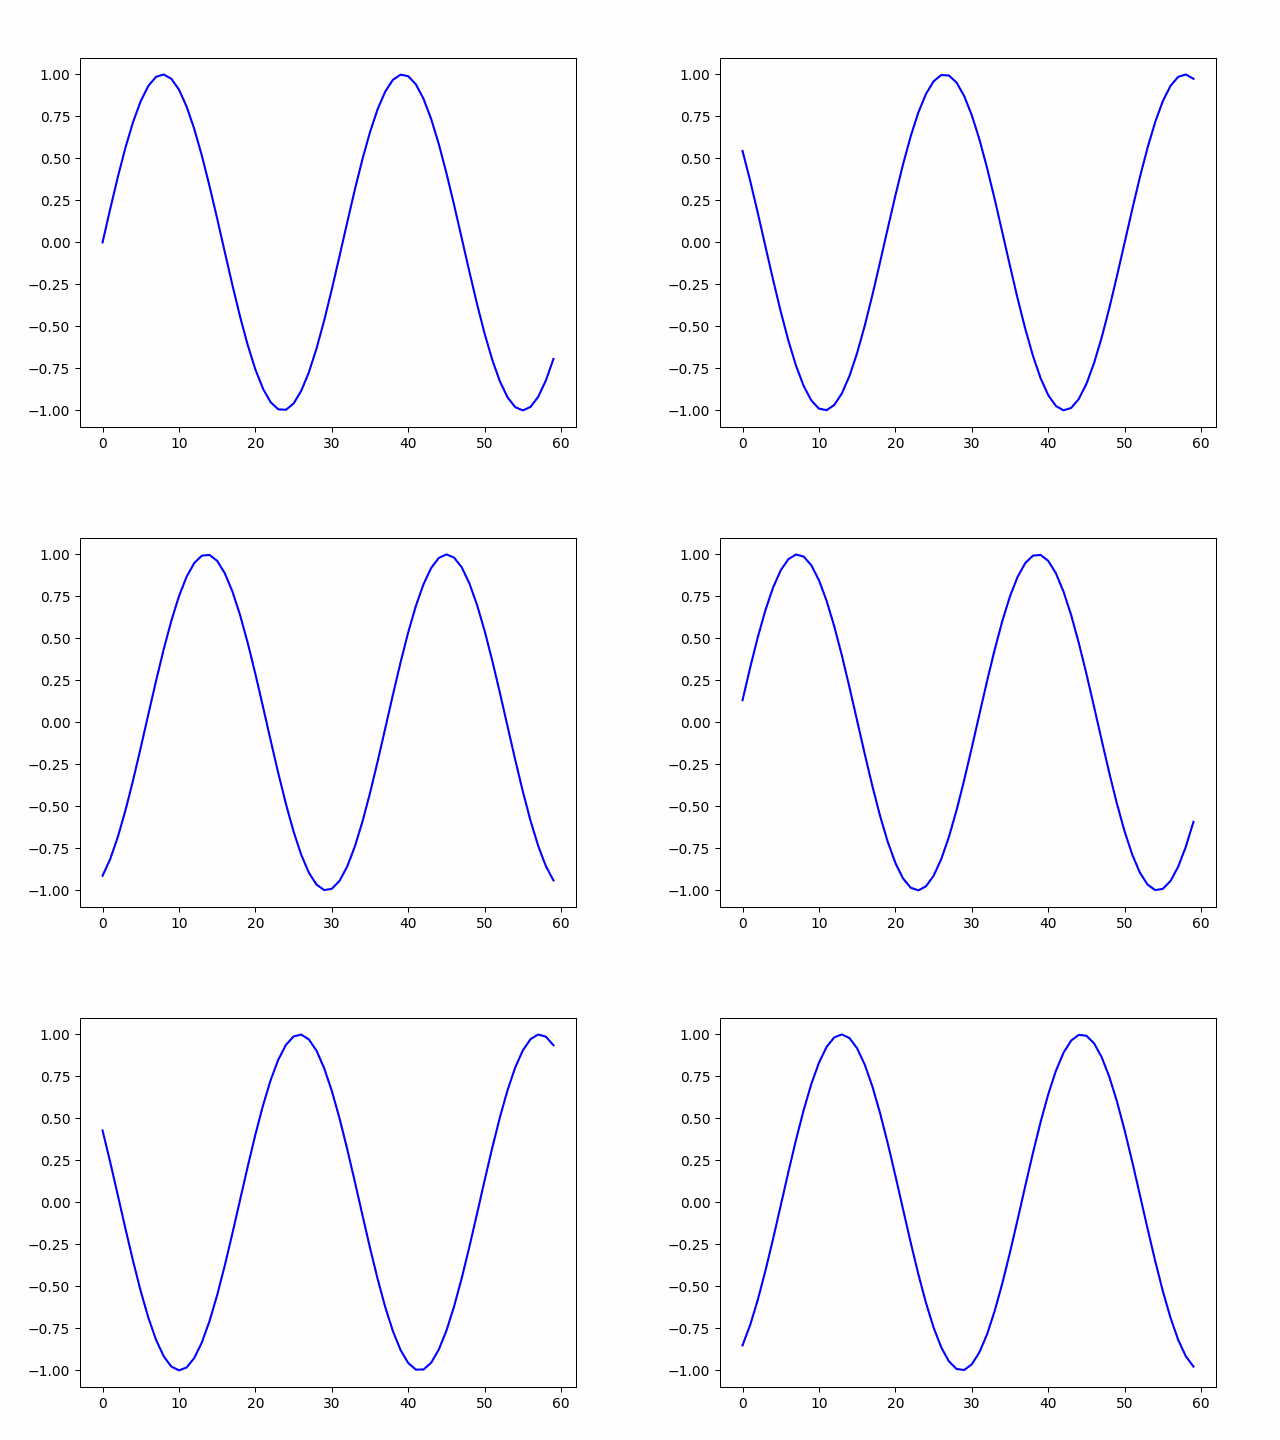
はじめに,練習としてサインカーブをアニメにしてみましょう.
基本的なgifアニメの作り方は,次の記事に詳しく書いてあります.
基本設定はこちらが参考になります.
matplotlibで簡単にアニメーションをつくる(mp4, gif)
描画方法はこちらに簡潔に書いてあり,わかりやすいです.
matplotlib でアニメーションを作る
# !/usr/bin/env python
# -*- coding: utf-8 -*-

import numpy as np
import matplotlib.pyplot as plt
import matplotlib.animation as animation

fig = plt.figure()
ax = fig.add_subplot(111)
# Line2D objectを入れるリスト
ims = []

for i in range(10):
    x = np.array(range(60))
    Y  = np.sin(x/5 - i * 5)
    im = ax.plot(Y, color='blue')
    ims.append(im) #各フレーム画像をimsに追加

# アニメの生成
ani = animation.ArtistAnimation(fig, ims, interval=100, blit=True, repeat_delay=1000)

# 保存
ani.save("sample.gif", writer="pillow")

# 表示
plt.show()
このようなgifアニメができます(動かない場合はクリックして別ウィンドウでみてください.
Qiitaにアップロードしたら無限ループしなくなってしまいましたが,手元でやると無限ループしてくれると思います).

interbal repeat_delay などのオプションについては,次の記事に詳しく書いてあります.
Pythonでグラフ(Matplotlib)のアニメーションを作る(ArtistAnimation編)
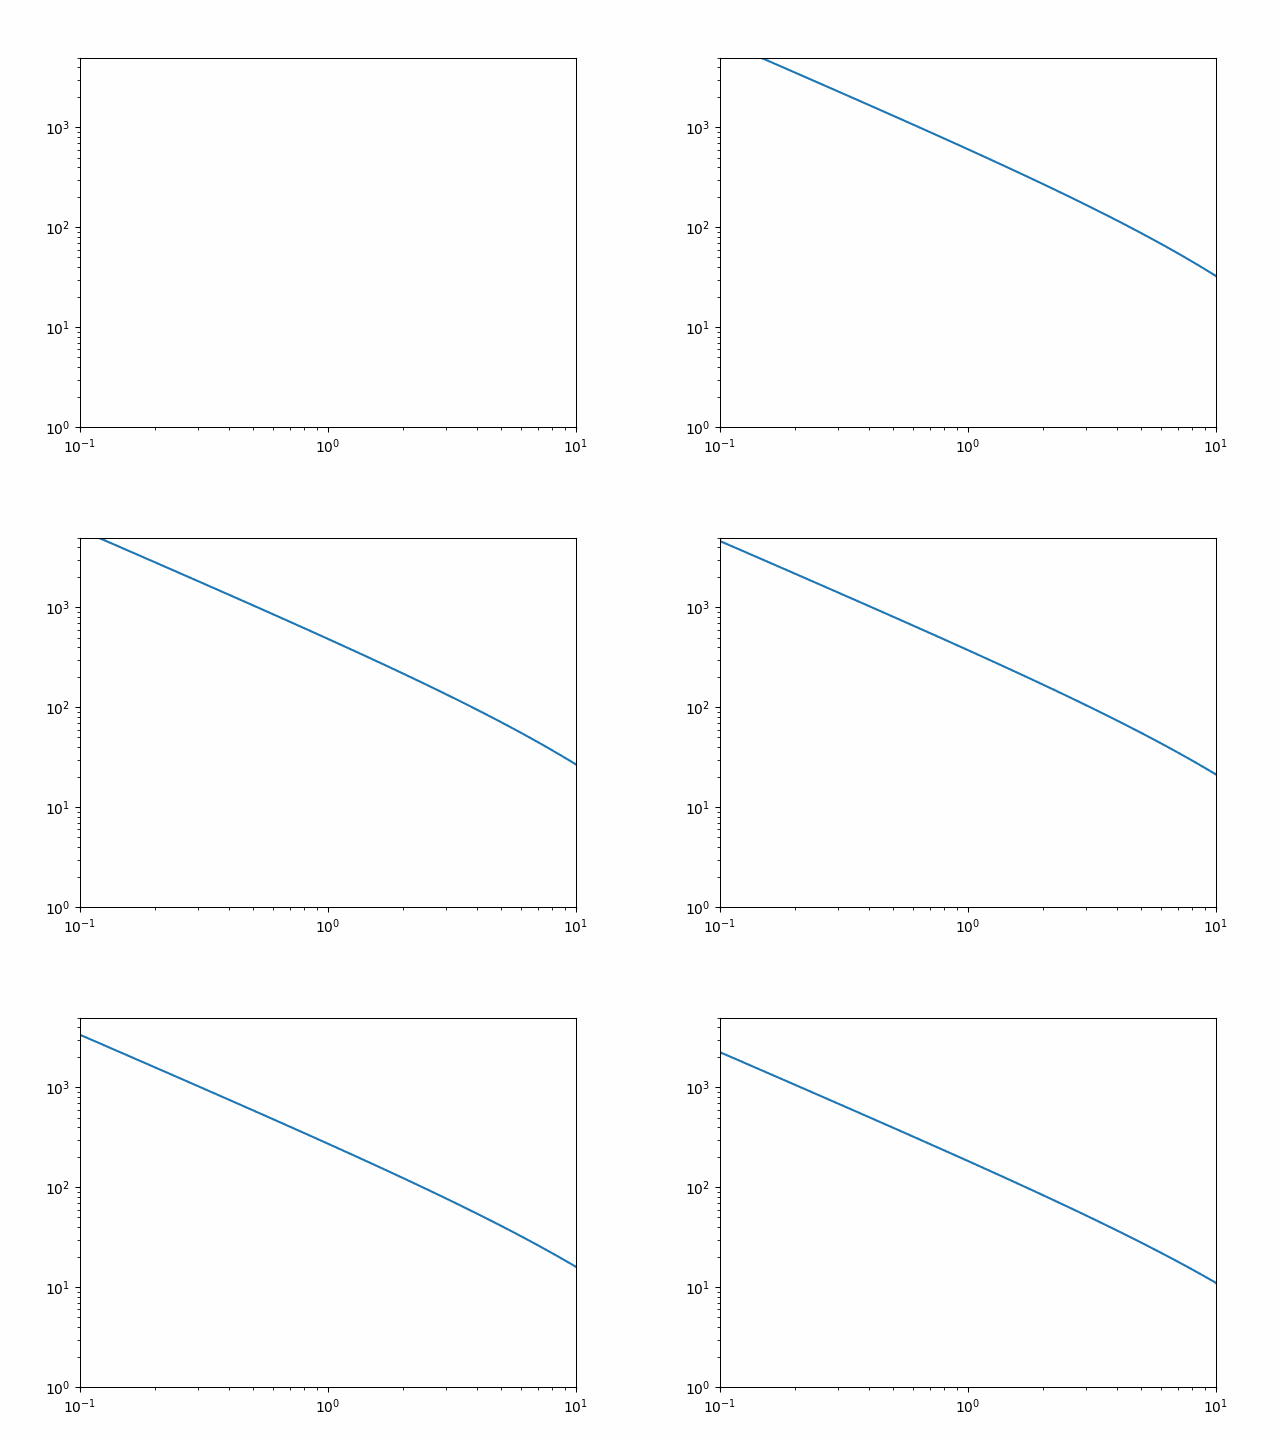
次に,研究発表で用いるような**「計算結果の連番ファイルをアニメにする」**ことに挑戦してみましょう.
さきほどのアニメが描けるようになれば簡単で,
上のコードの for の部分を計算結果を読みこむように変えるだけでOKです.
# !/usr/bin/env python
# -*- coding: utf-8 -*-

import numpy as np
import matplotlib.pyplot as plt
import matplotlib.animation as animation
import matplotlib.cm as cm

fig = plt.figure()
ax = fig.add_subplot(111)
# Line2D objectを入れるリスト
ims = []

# 軸の設定など
ax.set_xscale('log')
ax.set_yscale('log')
ax.set_xlim(0.1, 10.0)
ax.set_ylim(1, 5000)

# 計算結果ファイルの数
filenum = 10
for i in range(filenum):
    r, sd = np.loadtxt("./data%01d.dat" % (i), comments='#', unpack=True) #data00 から data09 まで繰り返し読み込む
    im = ax.plot(r, sd, "-", color='blue', linewidth=1)
    ims.append(im) #各フレーム画像をimsに追加

# アニメの生成
ani = animation.ArtistAnimation(fig, ims, interval=500, blit=True, repeat_delay=100)

# 保存
ani.save("anime.gif", writer="pillow")

# 表示
plt.show()
ただ,これだとimというリストを全部準備してから描画することになるので,
読み込むファイル数が多くなると,そしてさらに3次元アニメを作ろうと思うと描画が大変になります.
そこで,アニメの1フレームごとに描画していきたいと思います.
# !/usr/bin/env python
# -*- coding: utf-8 -*-

import numpy as np
import matplotlib.pyplot as plt
from matplotlib.animation import FuncAnimation

fig = plt.figure()
ax = fig.add_subplot(111)

artists = []
im, = ax.plot([], [])

# 軸の設定など
ax.set_xscale('log')
ax.set_yscale('log')
ax.set_xlim(0.1, 10.0)
ax.set_ylim(1, 5000)

# 計算結果ファイルの数
filenum = 10

# この関数を繰り返し呼んで描画する
# 呼ぶ度にiが1つずつ増える
def update_anim(i):
    r, sd = np.loadtxt("./data%01d.dat" % (i), comments='#', unpack=True) #data00 から data09 まで繰り返し読み込む
    im.set_data(r, sd)
    return im,

ani = FuncAnimation(fig, update_anim, interval=500, blit=True, frames = filenum, repeat_delay=100)

# 保存
ani.save("anime.gif", writer="pillow")

# 表示
plt.show()
参考:
matplotlibのanimation.FuncAnimationを用いて柔軟にアニメーション作成
これであなたも,matplotlibできれいなアニメが描けます.
