matplotlib.animation: matplotlibベースの、お手軽アニメーション生成ライブラリ。
インストール
@mac
$ pip install matplotlib
$ brew install imagemagick # gif 保存用
$ brew install ffmpeg # mp4 保存用
matplotlib.rcの修正
$ python -c "import matplotlib;print(matplotlib.matplotlib_fname())"
/Users/riki/.pyenv/versions/ML-2.7.13/lib/python2.7/site-packages/matplotlib/mpl-data/matplotlibrc
$ atom /Users/riki/.pyenv/versions/ML-2.7.13/lib/python2.7/site-packages/matplotlib/mpl-data/matplotlibrc

# line 38
- backend : macosx
+ backend : Tkagg
Animationを生成する関数が2種類ある
- ArtistAnimation: あらかじめ全てのフレームをlistで用意しておく
- FuncAnimation: 各フレームを動的に生成する
個人的には ArtistAnimationの方がわかりやすいのでこちらをオススメする。
FuncAnimationの方が柔軟ではあるが、ArtistAnimationで不便は特に感じない。
ArtistAnimation
animation.ArtistAnimation(fig, artists, interval=200)
- fig: 大枠。matplotlibのfigureオブジェクト
- artists: 各フレームで描くartistオブジェクト(lineなど)のlistのlist
- interval: 各フレームの再生間隔 [ms]
artists引数をlistのlistにしないといけないところでerrorを出しやすいので注意。(詳細後述)
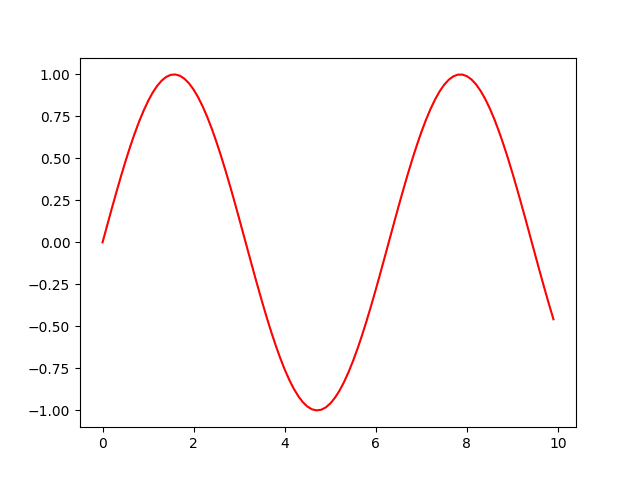
例1: sin波のアニメーション
anim_sin_wave.py
import numpy as np
import matplotlib.pyplot as plt
import matplotlib.animation as animation

fig = plt.figure()
x = np.arange(0, 10, 0.1)

ims = []
for a in range(50):
    y = np.sin(x - a)
    line, = plt.plot(x, y, "r")
    ims.append([line])

ani = animation.ArtistAnimation(fig, ims)
ani.save('anim.gif', writer="imagemagick")
ani.save('anim.mp4', writer="ffmpeg")
plt.show()
pyplot.plot関数は複数のグラフを一度にプロットできるので、返り値の型がlist。
lines = plt.plot(x1, y1, 'r', x2, y2, 'g', x3, y3, 'b')
print type(lines) # list
print len(lines) # 3
print type(lines[0]) # matplotlib.lines.Line2D
わかりやすさのため、メインコードでは敢えて unpackしてLine2Dオブジェクトを取り出して、そのあと、listに変更してからlistに追加する。
line, = plt.plot(x, y, "r")
ims.append([line])
animationの保存は、以下で行える(gifかmp4の好きな方でやればいい)
ani.save('anim.gif', writer="imagemagick")
ani.save('anim.mp4', writer="ffmpeg")
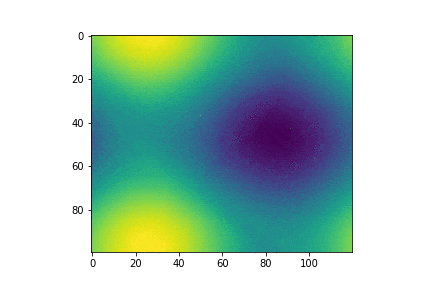
例2: 2次元画像のアニメーション
dynamic_image.py
import numpy as np
import matplotlib.pyplot as plt
import matplotlib.animation as animation

fig = plt.figure()

def f(x, y):
    return np.sin(x) + np.cos(y)

x = np.linspace(0, 2 * np.pi, 120)
y = np.linspace(0, 2 * np.pi, 100).reshape(-1, 1)
ims = []

for i in range(60):
    x += np.pi / 15.
    y += np.pi / 20.
    im = plt.imshow(f(x, y), animated=True)
    ims.append([im])

ani = animation.ArtistAnimation(fig, ims, interval=50, blit=True,
                                repeat_delay=1000)

ani.save('anim.gif', writer="imagemagick")
ani.save('anim.mp4', writer="ffmpeg")
plt.show()
pyplot.imshow関数は、返り値の型がAxesImageオブジェクトなので、listにしてからlistに追加する。
im = plt.imshow([[]])
print type(im) # matplotlib.image.AxesImage
ims.append([im])