React Router
- SPAを実現してくれる。
-
<BrowseRouter/>と<Link/>と<Route/>を同時に使う。 -
yarn add react-router-domから始める。
<BrowserRouter />
- こんな感じで導入する。
- 遷移の履歴が
historyオブジェクトの中に蓄積されるようだ。
src/index.js
import { BrowserRouter } from 'react-router-dom'
import App from './App';

ReactDOM.render(
  <BrowserRouter>
    <App />
  </BrowserRouter>, document.getElementById('root')
);
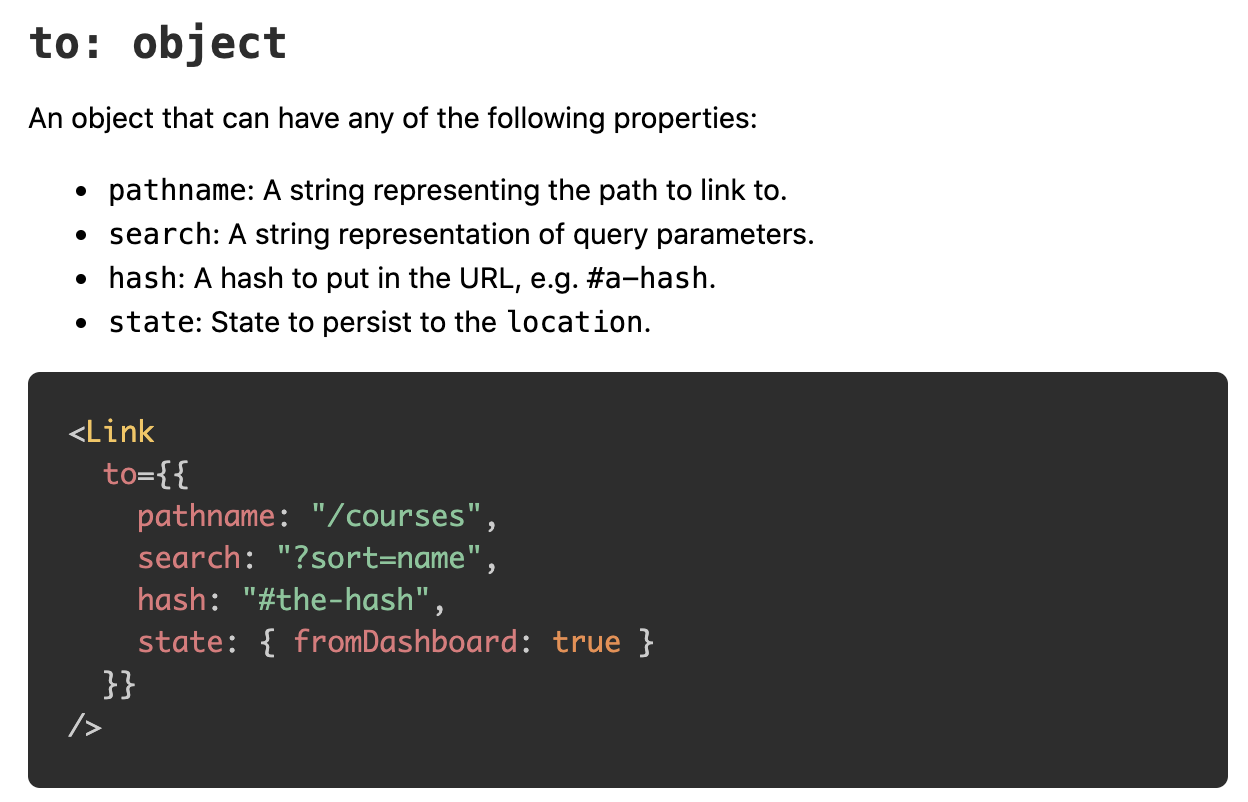
<Link to="/about">About</Link>
- 公式ドキュメントはこちら
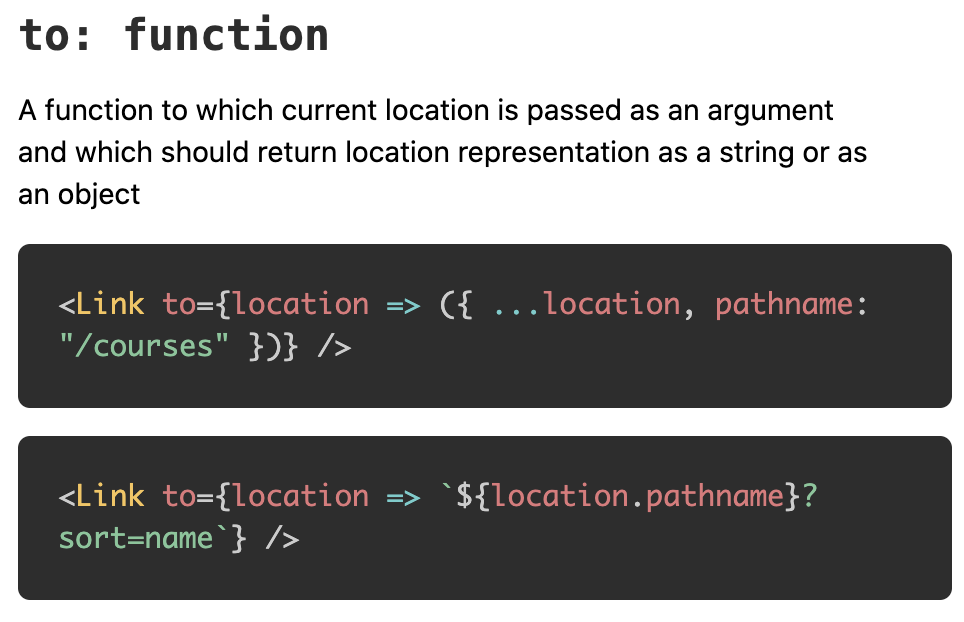
- stateが肝っぽい。
- 現在地を元に次の行き先を決めるためにはcallback関数を渡せば良いらしい。
<Route />
- This is a component which is going to decide which components are rendered based on the current URL path.
- ブラウザが指定するURLがpath=XXXにマッチした場合のみ、指定されたコンポーネントを描画してくれる。
- 以下のように使用する
import { Link } from 'react-router-dom'

<div>
  <Route exact path='/' render={() => (   // exactを付けないと前方一致は全て当てはまってしまう...
                                          // propsを渡す必要があるならば、render=にcallback関数形式でコンポーネントを指定する
    <ListContacts
      onDeleteContact={this.removeContact}
      contacts={this.state.contacts}
    />
  )} />

  <Route path='/create' component={CreateContact}/>   // propsを渡す必要がなければ、component=XXXで指定できる
</div>
- また、以下のように
history.push('/xxx')により、ページのリダイレクトが可能である。
<Route path='/create' render={({ history }) => (  // 第一引数はhistroyオブジェクトが渡されるらしい(?)
  <CreateContact
    onCreateContact={(contact) => {
      this.createContact(contact)
      history.push('/')              // history.push('/xxx')を指定する
    }}
  />
)}/>