WIFIでLEDを点灯させる
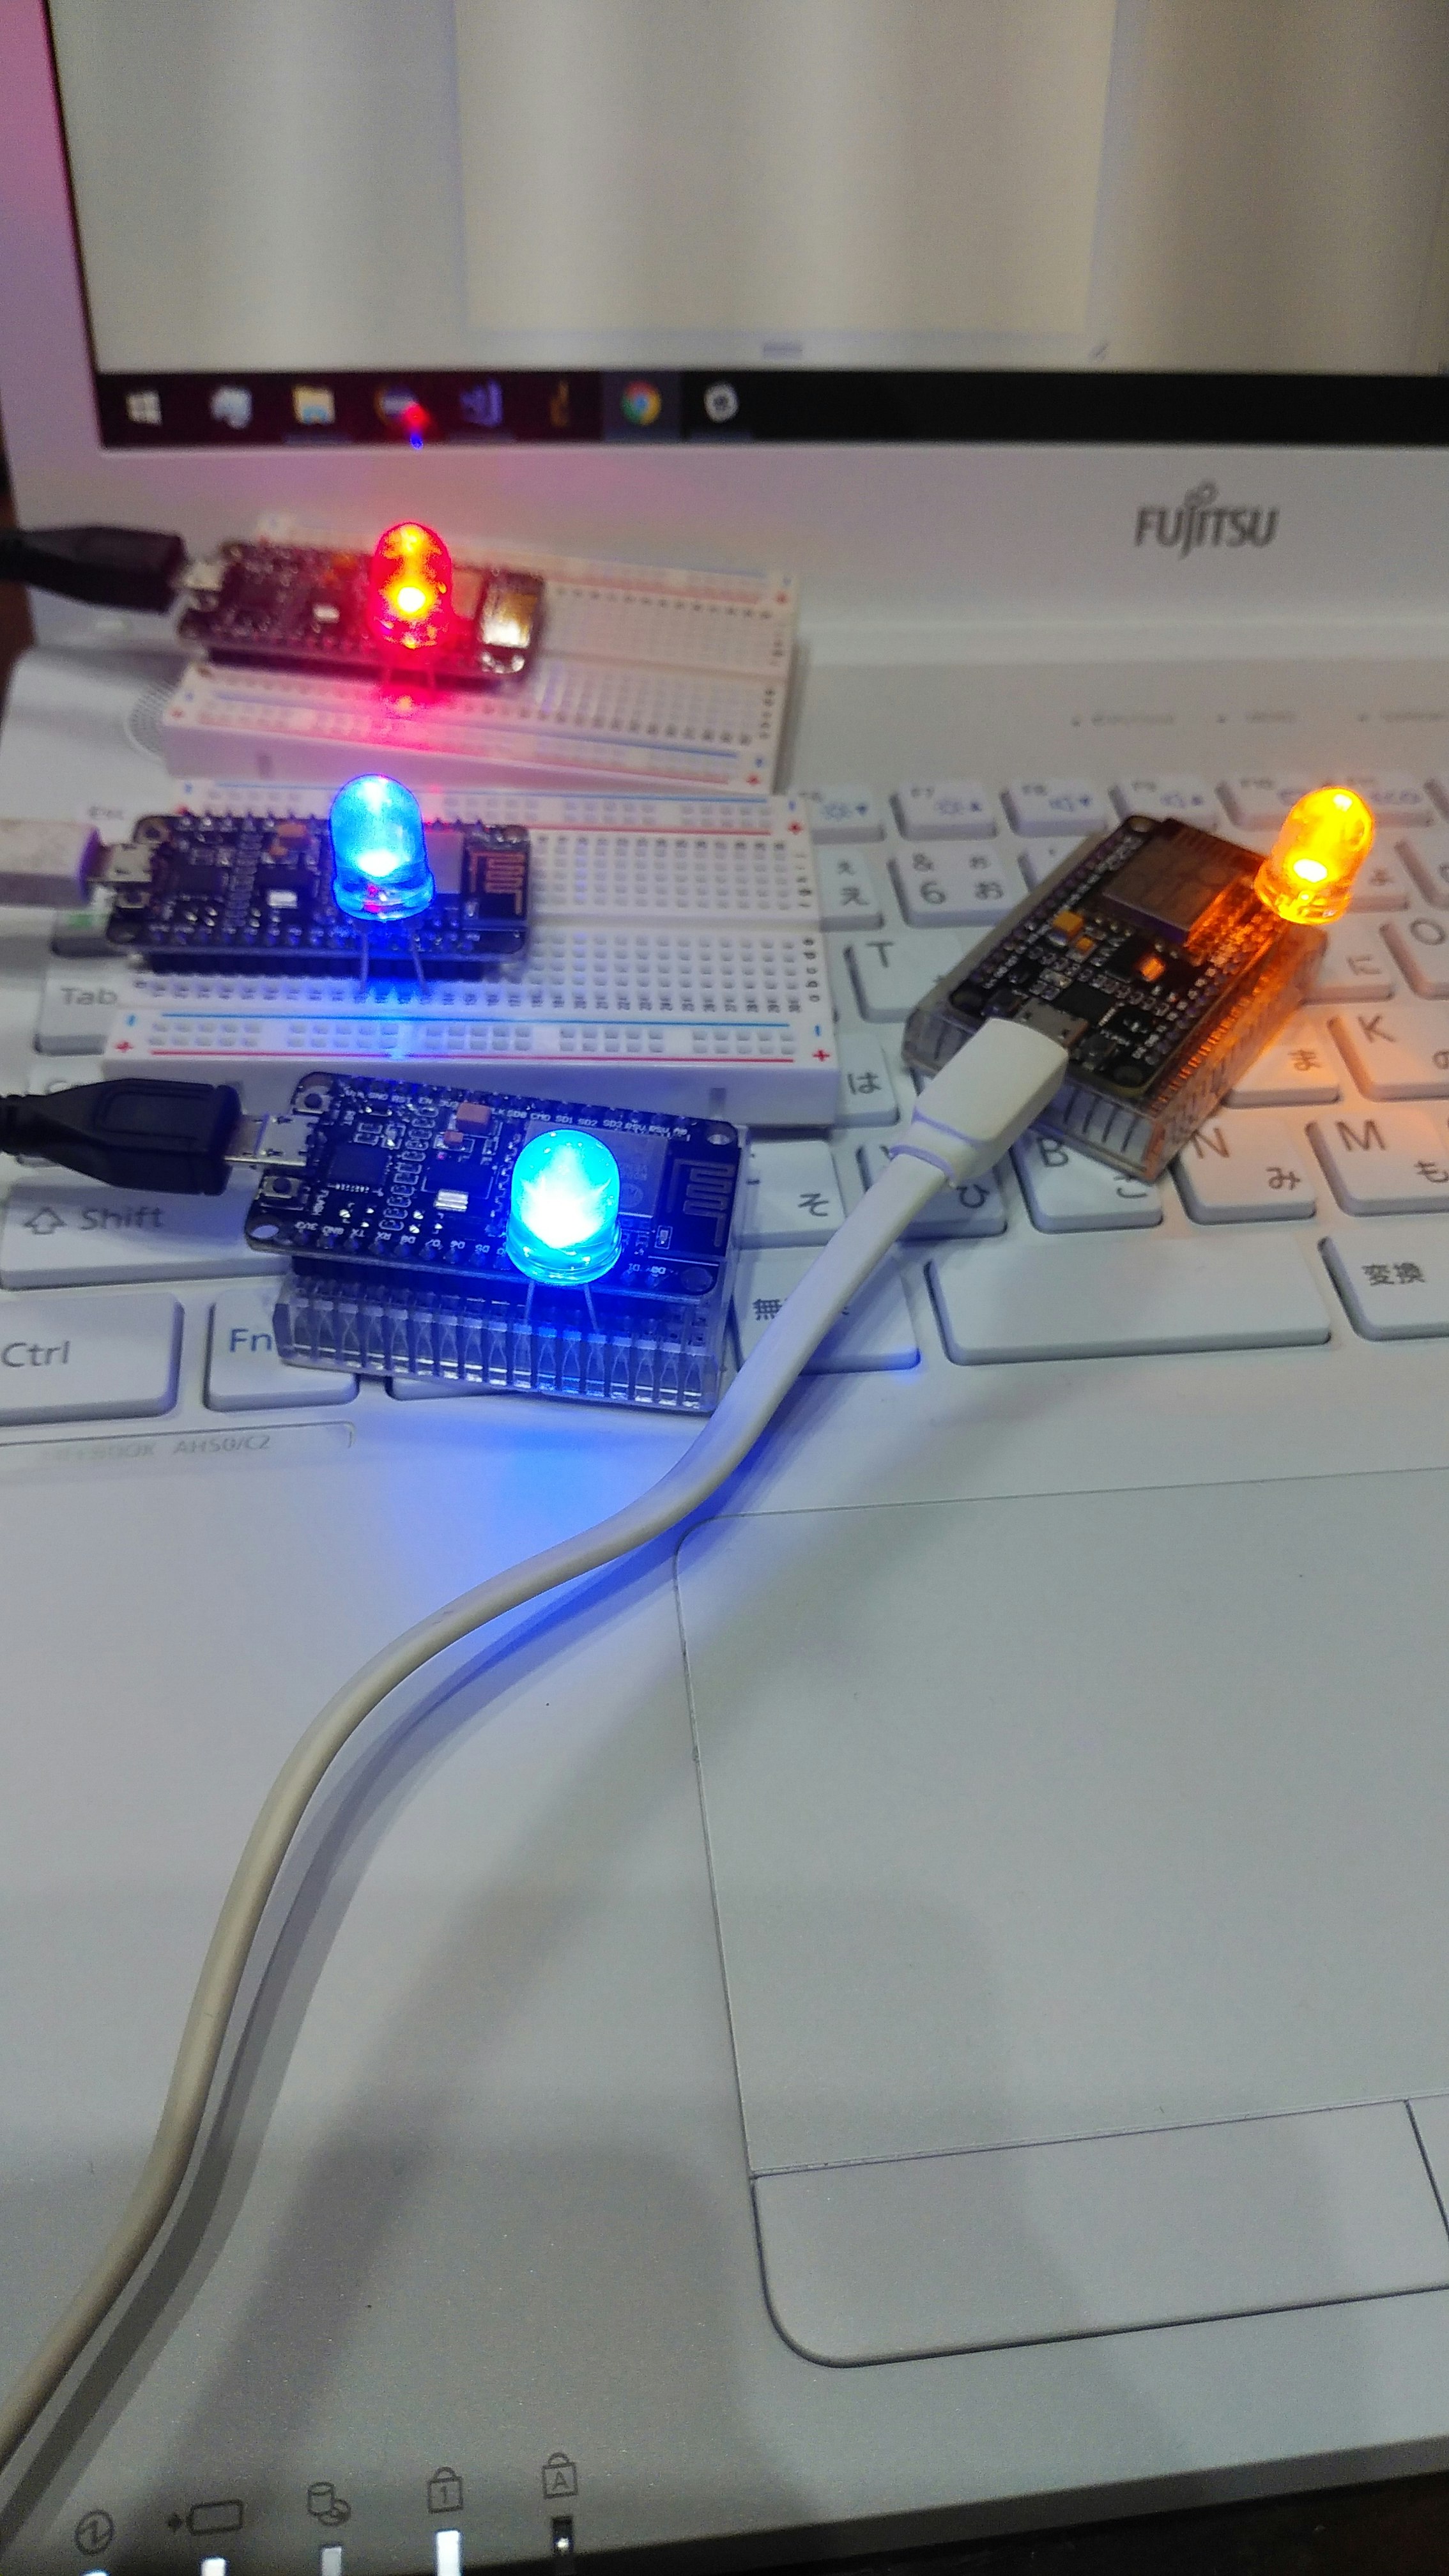
実に単純だがLEDをリレーに変えればこれだけで照明器具を点灯させたりできる。ブラウザで操作。
親機から起動させ子機とブラウザ合わせて10台まで接続可能。
回路は単純
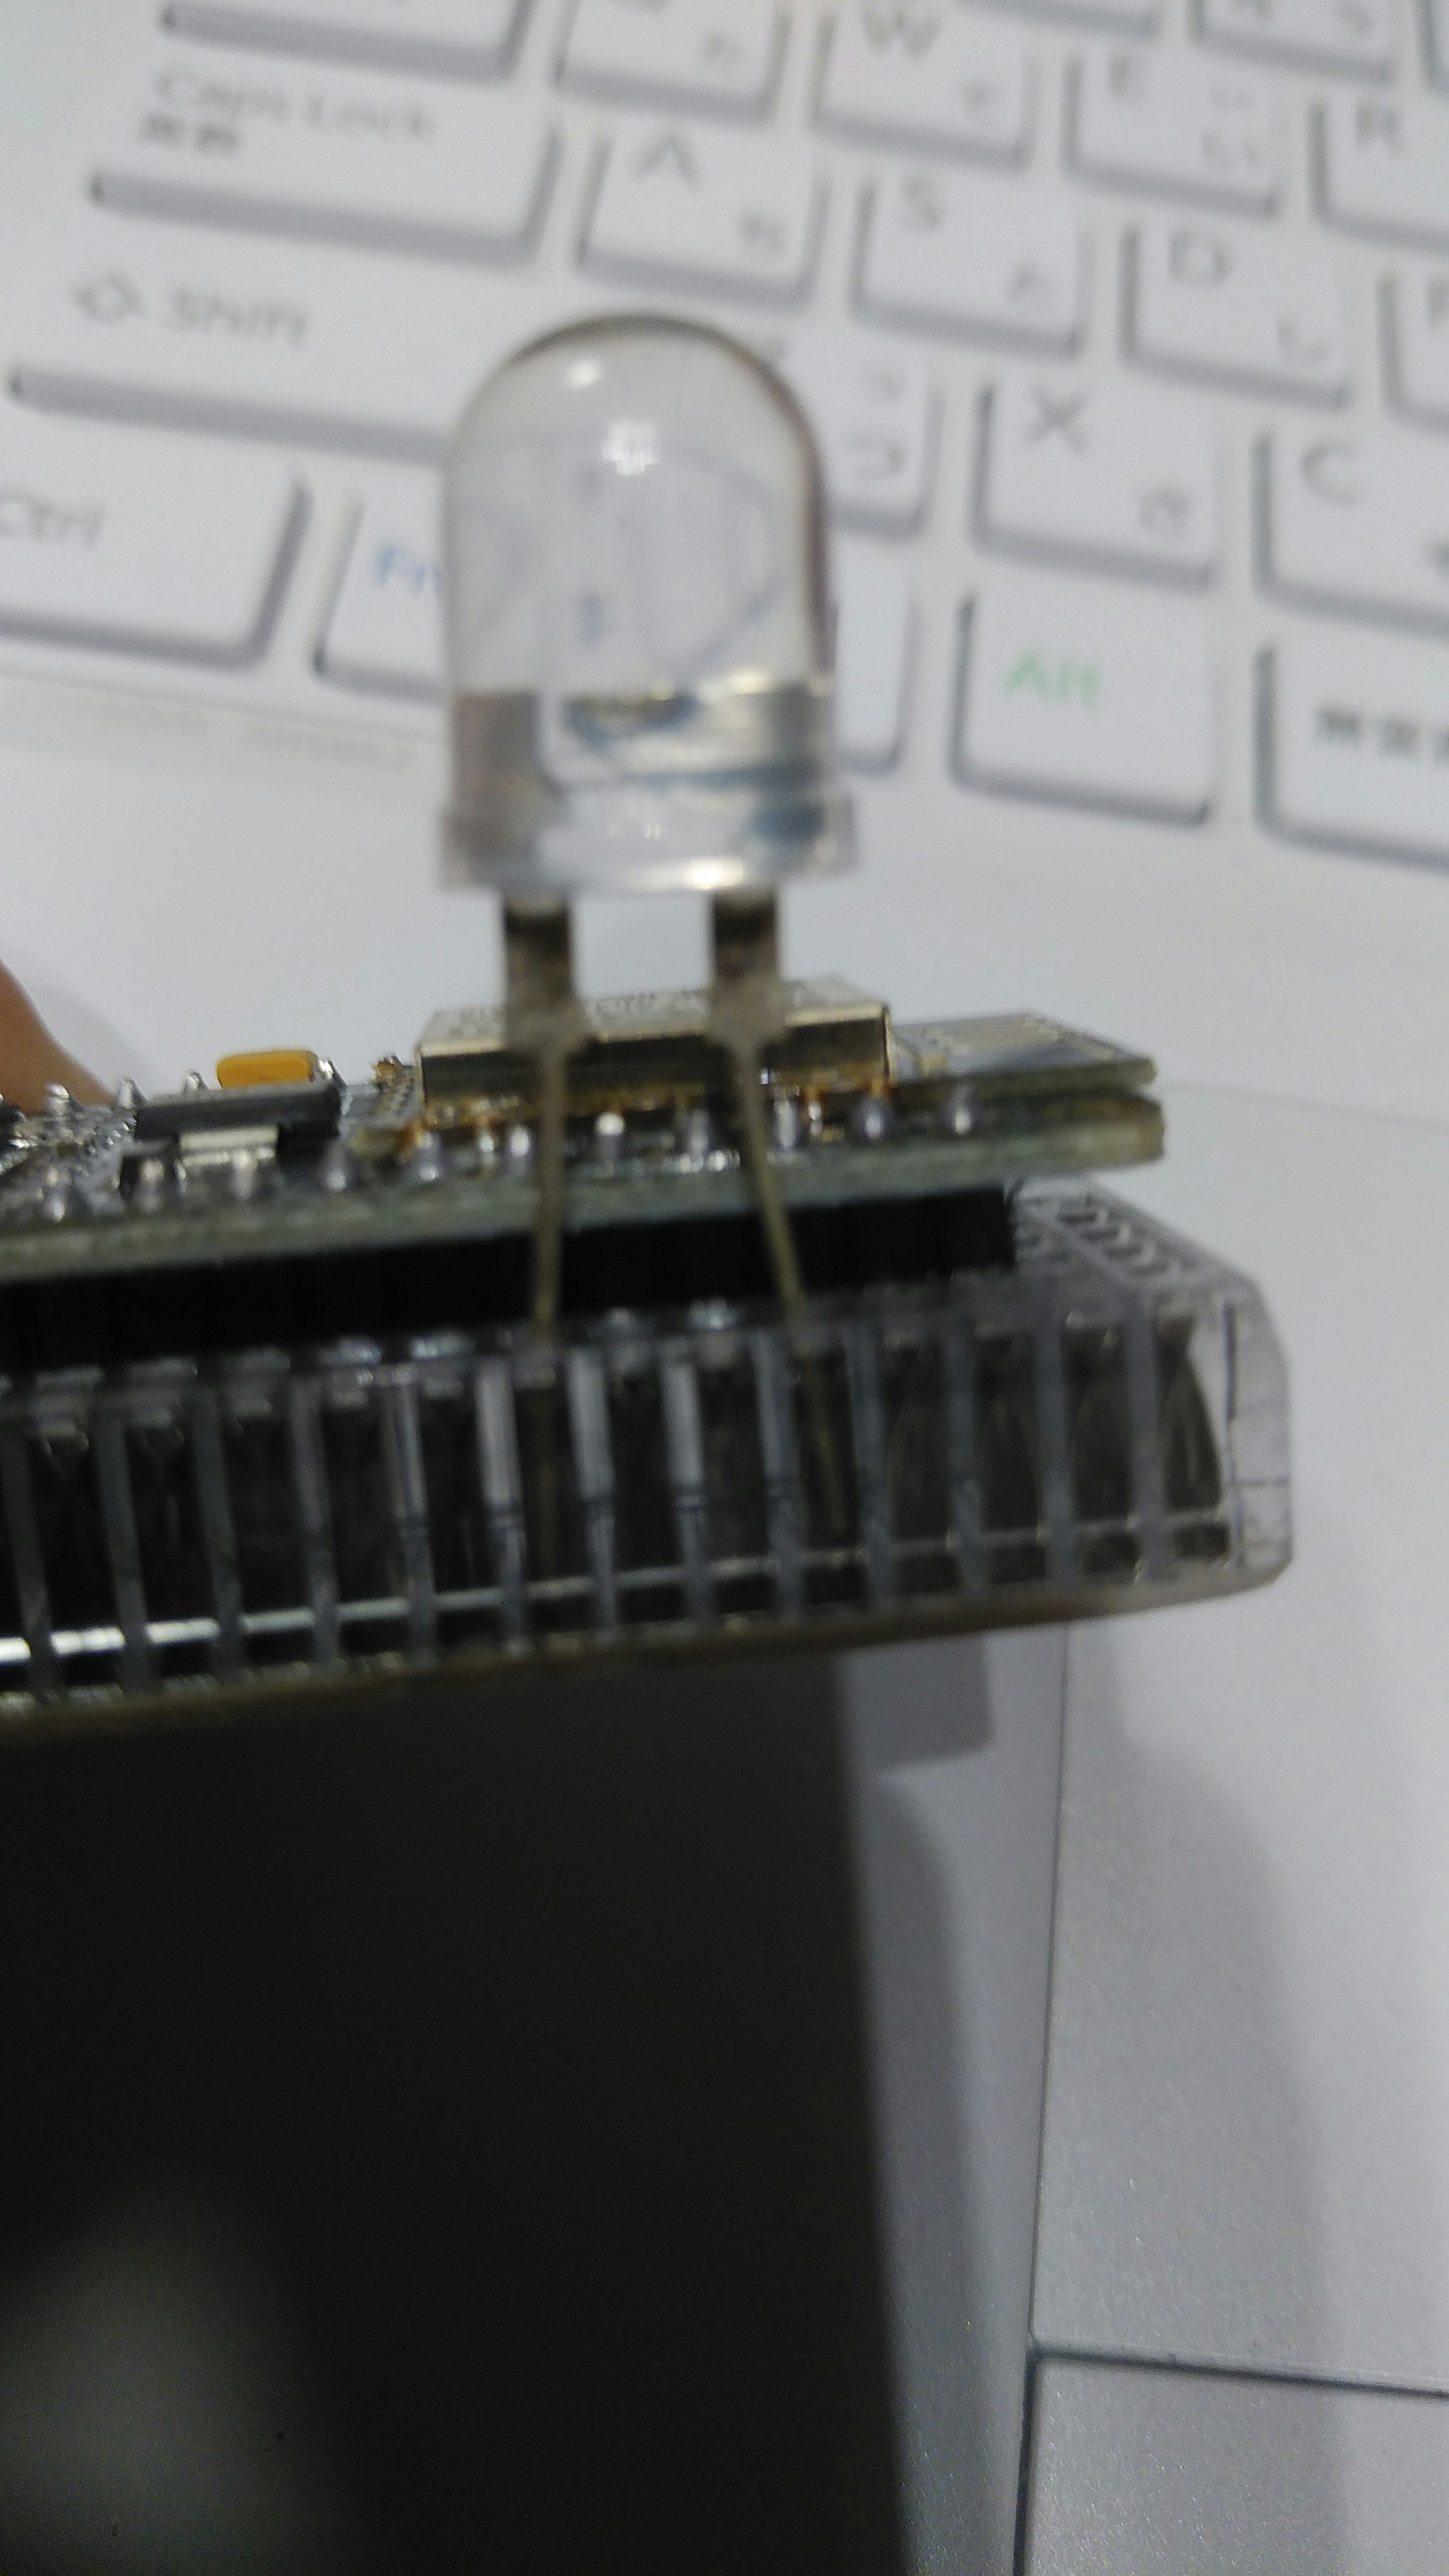
3.3vと4PINにLEDを差す。LEDは3vくらいで点灯するものを使う。まあ、大体だな。
ソースコード
# include <ESP8266WebServerSecure.h>
# include <ESP8266WebServer.h>
# include <WiFiUdp.h>
# include <WiFiServerSecure.h>
# include <WiFiServer.h>
# include <WiFiClientSecure.h>
# include <WiFiClient.h>
# include <ESP8266WiFiType.h>
# include <ESP8266WiFiSTA.h>
# include <ESP8266WiFiScan.h>
# include <ESP8266WiFiMulti.h>
# include <ESP8266WiFiGeneric.h>
# include <ESP8266WiFiAP.h>
# include <ESP8266WiFi.h>

// HTML
# define HTML_HEADER "<!doctype html>"\
  "<html><head><meta charset=\"UTF-8\"/>"\
  "<meta name=\"viewport\" content=\"width=device-width\"/>"\
  "<script>const request = new XMLHttpRequest();"\
  "function send_command(str_url){request.open(\"GET\",str_url);request.send();}"\
  "</script><style>button{background:orange;font-size:30px;width:45%;}</style>"\
  "</head><body>"
# define HTML_FOOTER "</body></html>"


# define HOST true

# define LED1 4

# define WIFI_SSID "ESP8266-AP"
# define WIFI_PWD ""
# define LED_MAX 5

String ledIP[LED_MAX];
int ledCount = 0;

IPAddress host(192, 168, 10, 1);
IPAddress subnet(255, 255, 255, 0);
ESP8266WebServer server(80);

void sendURL(String url) {
	WiFiClient client;
	if (!client.connect(host, 80)) {
		return;
	}

	client.print(String("GET ") + url + " HTTP/1.1\r\n" +
		"Host: " + host + "\r\n" +
		"Connection: close\r\n\r\n");
	delay(10);
}


void setup()
{
	if (HOST) {
		Serial.begin(115200);
		WiFi.mode(WIFI_AP);
		WiFi.softAPConfig(host, host, subnet);
		WiFi.softAP(WIFI_SSID, WIFI_PWD,10);
	}
	else {
		WiFi.mode(WIFI_STA);
		WiFi.begin(WIFI_SSID, WIFI_PWD);
		while (WiFi.status() != WL_CONNECTED) {
			delay(500);
		}
		delay(100);
		sendURL("/config?ip="+WiFi.localIP().toString());
	}
	pinMode(LED1, OUTPUT);
	digitalWrite(LED1, LOW);

	server.on("/", []() {
		String html = HTML_HEADER;
		html += "<button onclick=\"send_command('/on')\">on</button>";
		html += "<button onclick=\"send_command('/off')\">off</button><br/>";
		for (int i = 0; i < ledCount; i++) {

			html += "<button onclick=\"send_command('http://" + ledIP[i] + "/on')\">on</button>";
			html += "<button onclick=\"send_command('http://" + ledIP[i] + "/off')\">off</button><br/>";

		}
		html += HTML_FOOTER;
		server.send(200, "text/html", html);
		Serial.println(html);
	});

	server.on("/on", []() {
		server.send(200, "text/html", "");
		digitalWrite(LED1, LOW);
	});
	server.on("/off", []() {
		server.send(200, "text/html", "");
		digitalWrite(LED1, HIGH);
	});

	server.on("/config", []() {
		Serial.println("config");
		String ip = server.arg("ip");
		if (ledCount > LED_MAX)goto config_end;
		for (int i = 0; i < ledCount; i++) {
			if (ip == ledIP[i])goto config_end;
		}
		ledIP[ledCount] = ip;
		ledCount++;
		Serial.println(ledCount);
	config_end:
		server.send(200, "text/html", "");
	});
	server.begin();
}


void loop()
{
	server.handleClient();

}
解説:include
# include <ESP8266WebServerSecure.h>
# include <ESP8266WebServer.h>
# include <WiFiUdp.h>
# include <WiFiServerSecure.h>
# include <WiFiServer.h>
# include <WiFiClientSecure.h>
# include <WiFiClient.h>
# include <ESP8266WiFiType.h>
# include <ESP8266WiFiSTA.h>
# include <ESP8266WiFiScan.h>
# include <ESP8266WiFiMulti.h>
# include <ESP8266WiFiGeneric.h>
# include <ESP8266WiFiAP.h>
# include <ESP8266WiFi.h
これについては私の開発環境では勝手に生成されるのでそのまま放置。
明らかに多いが。
解説:HTMLHeader Footer
# define HTML_HEADER "<!doctype html>"\
  "<html><head><meta charset=\"UTF-8\"/>"\
  "<meta name=\"viewport\" content=\"width=device-width\"/>"\
  "<script>const request = new XMLHttpRequest();"\
  "function send_command(str_url){request.open(\"GET\",str_url);request.send();}"\
  "</script><style>button{background:orange;font-size:30px;width:45%;}</style>"\
  "</head><body>"
# define HTML_FOOTER "</body></html>"
const request = new XMLHttpRequest()
function send_command(str_url){request.open(\"GET\",str_url);request.send();}
子機のLEDを操作する部分。
解説:親機と子機の設定
親機の場合は#define HOST true
子機の場合は#define HOST false
当然親機は1台だ。この設定はそのうちジャンパに切り替える予定。
解説:LED接続ピンの設定
#define LED1 4
今回はLOWで点灯する。
解説:親機アクセスポイントSSIDの設定
# define WIFI_SSID "ESP8266-AP"
# define WIFI_PWD ""
# define LED_MAX 5

String ledIP[LED_MAX];
int ledCount = 0;
今回はパスワードを設定していない。
ESP32の場合はパスワード必須。
子機の最大数は5。
String ledIP[LED_MAX];子機のIPを格納。
ledCount接続中の子機の数。
解説:sendURL関数
void sendURL(String url) {
	WiFiClient client;
	if (!client.connect(host, 80)) {
		return;
	}

	client.print(String("GET ") + url + " HTTP/1.1\r\n" +
		"Host: " + host + "\r\n" +
		"Connection: close\r\n\r\n");
	delay(10);
}
最初の接続時に子機から親機にIP情報を伝えるために使用する。
解説:WIFIセットアップ
	if (HOST) {
		Serial.begin(115200);
		WiFi.mode(WIFI_AP);
		WiFi.softAPConfig(host, host, subnet);
		WiFi.softAP(WIFI_SSID, WIFI_PWD,10);
	}
	else {
		WiFi.mode(WIFI_STA);
		WiFi.begin(WIFI_SSID, WIFI_PWD);
		while (WiFi.status() != WL_CONNECTED) {
			delay(500);
		}
		delay(100);
		sendURL("/config?ip="+WiFi.localIP().toString());
	}
	pinMode(LED1, OUTPUT);
	digitalWrite(LED1, LOW);
親機ときはアクセスポイントになる。
WiFi.softAP(WIFI_SSID, WIFI_PWD,10);
3つ目の引数で接続数を設定。
子機の場合は接続後に親機にIPを送る。
sendURL("/config?ip="+WiFi.localIP().toString());
接続後にLEDを点灯。
解説:サーバーセットアップ
	server.on("/", []() {
		String html = HTML_HEADER;
		html += "<button onclick=\"send_command('/on')\">on</button>";
		html += "<button onclick=\"send_command('/off')\">off</button><br/>";
		for (int i = 0; i < ledCount; i++) {

			html += "<button onclick=\"send_command('http://" + ledIP[i] + "/on')\">on</button>";
			html += "<button onclick=\"send_command('http://" + ledIP[i] + "/off')\">off</button><br/>";

		}
		html += HTML_FOOTER;
		server.send(200, "text/html", html);
		Serial.println(html);
	});

	server.on("/on", []() {
		server.send(200, "text/html", "");
		digitalWrite(LED1, LOW);
	});
	server.on("/off", []() {
		server.send(200, "text/html", "");
		digitalWrite(LED1, HIGH);
	});

	server.on("/config", []() {
		Serial.println("config");
		String ip = server.arg("ip");
		if (ledCount > LED_MAX)goto config_end;
		for (int i = 0; i < ledCount; i++) {
			if (ip == ledIP[i])goto config_end;
		}
		ledIP[ledCount] = ip;
		ledCount++;
		Serial.println(ledCount);
	config_end:
		server.send(200, "text/html", "");
	});
	server.begin();
/config?IP=IPアドレス
子機から送られてきたIPをledIP[]に格納する。
最後に
WIFIでLチカするなんて発想はなかったがやってみるとおもしろかった。
単純なだけに色々な応用ができる。