概要
フロントエンドにReact、バックエンドにNode.js(expressサーバー)を使ってアプリを構築し、それをHerokuにデプロイする開発環境を構築する
目次
1. Node.jsのインストール
2. Herokuのアカウント登録とインストール
3. gitをインストールする
4. expressサーバーの準備
5. reactの準備
6. ローカル環境での起動
7. Herokuへのデプロイ手順
8. アプリ実行
1. Node.jsのインストール
Node.js公式ページから推奨版のインストーラーをダウンロードする
Node.js公式
※2022/07/29現在の推奨版は16.16.9 LTS
ダウンロードしたインストーラーを実行しNode.jsをインストールする
※設定はデフォルトのままでOK
2. Herokuのアカウント登録とインストール
Heroku公式ページにてアカウント登録する
Heroku公式
※要メールアドレス
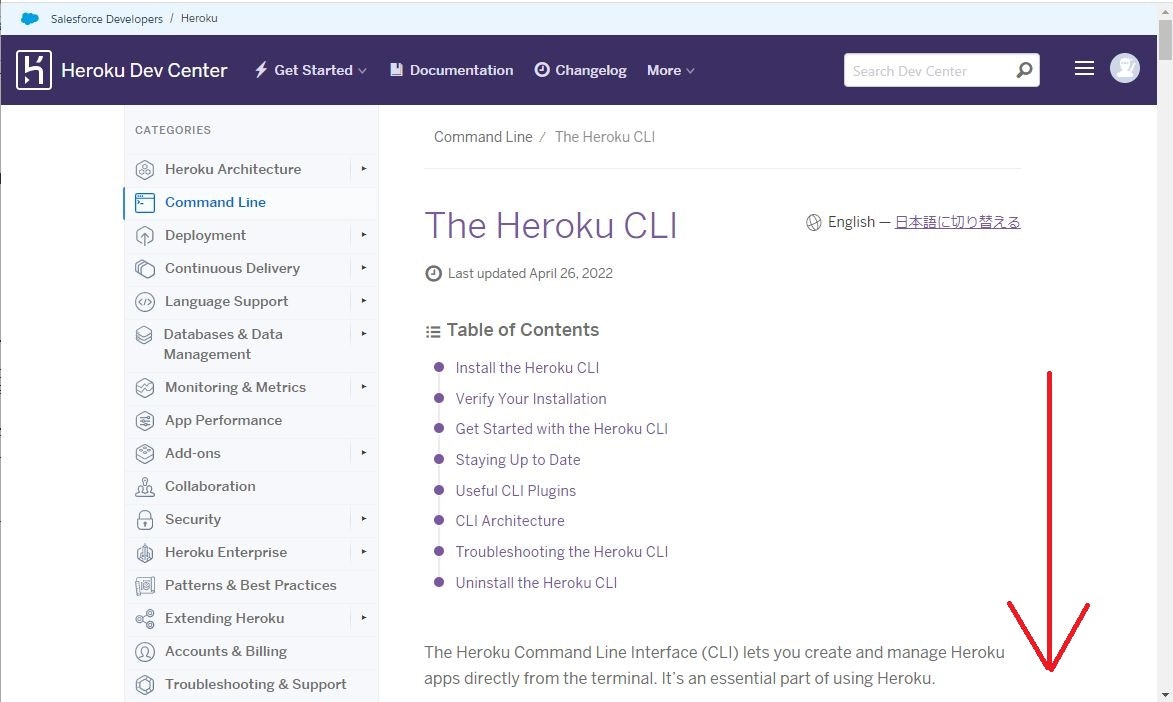
Heroku CLIのインストーラーをダウンロードする
Heroku CLI DL
※Herokuをコマンドライン上から操作するためのツール
ダウンロードしたインストーラーを実行しHerokuCLIをインストールする
※設定はデフォルトのままでOK
3. gitをインストールする
git公式サイトからインストーラーをダウンロード
git公式
ダウンロードしたインストーラーを実行しgitをインストールする
※設定項目が多いが全てデフォルトのままでOK
4. expressサーバーの準備
DBへの問い合わせを非同期で実行するバックエンド側のサーバーを準備する
手順3でインストールしたgit bushを起動する
下記コマンドを入力してEnter、create-react-appコマンドを使えるようにインストールする
$ npm install -g create-react-app
アプリ作成フォルダを任意の場所に作成して移動する
※例としてC:\heroku\test-app
$ cd c:/heroku/test-app
npmの初期化を実行
※package.jsonが作成される
$ npm init -y
expressをインストールする
※node_modulesフォルダとpackage-lock.jsonが作成される
$ npm install express
バックエンドのexpressサーバ用フォルダ(backend)を作成し、index.jsを作成し配位する
※C:\heroku\test-app\backend\index.js
const express = require('express')
const app = express()
const path = require('path');
const port = process.env.PORT || 3001

app.use(express.static(path.join(__dirname, '../frontend/build')));

app.get('/', (req, res) => {
  res.send('Hello World!')
})

app.get("/api", (req, res) => {
  /* テスト用、json形式で固定値を返す */
  res.json({ message: "backend-index-api" });
})

app.get('*', (req, res) => {
    res.sendFile(path.join(__dirname,'../frontend/build/index.html'));
});

app.listen(port, () => {
  console.log(`listening on *:${port}`);
})
5. reactの準備
フロントエンドのreactパッケージをアプリフォルダに作成する
アプリ作成フォルダにて下記コマンドを実行
※frontendフォルダがアプリ作成フォルダ下に作成される
$ create-react-app frontend
作成されたApp.jsファイル(test-app/frontend/src/App.js)を修正する
※reactからexpressサーバーへのアクセス設定
import './App.css';
import React,{ useState,useEffect } from 'react';

function App() {

  const [message, setMessage] = useState('');
  useEffect(() =>{
    fetch('/api')
      .then((res) => res.json())
      .then((data) => setMessage(data.message));
  },[])

  return (
    <div className="container is-fluid">
      <p>{ message }</p>
    </div>
  );
}

export default App;
作成されたfrontend下のpackage.jsonファイル(test-app/frontend/package.json)に追記する
※ローカル起動用のプロキシ設定を追記
package.json
{
  "name": "frontend",
  "version": "0.1.0",
  "private": true,
  "proxy": "http://localhost:3001",
  //以下略
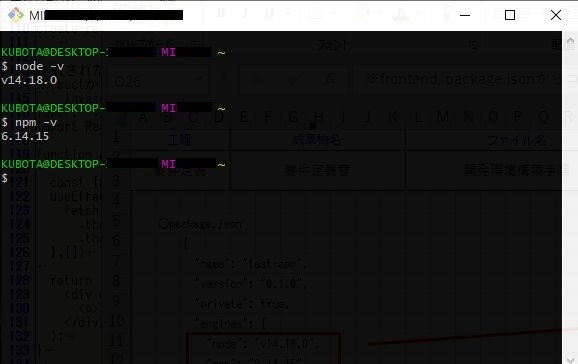
nodeのバージョンとnpmのバージョンを調べる
$ node -v
$ npm -v
アプリ作成フォルダ下のpackage.jsonファイル(test-app/package.json)を修正する
※node,npmの項目は上記で調べたバージョンを記載、dependenciesの中身はtest-app/frontend/package.jsonからコピーする
{
  "name": "test-app",
  "version": "0.1.0",
  "private": true,
  "engines": {
    "node": "v14.18.0",
    "npm": "6.14.15"
  },
  "scripts": {
    "test": "echo \"Error: no test specified\" && exit 1",
    "start": "node backend/index.js",
    "heroku-postbuild": "cd frontend && npm install && npm run build"
  },
  "dependencies": {
    "@testing-library/jest-dom": "^5.14.1",
    "@testing-library/react": "^11.2.7",
    "@testing-library/user-event": "^12.8.3",
    "react": "^17.0.2",
    "react-dom": "^17.0.2",
    "react-scripts": "4.0.3",
    "web-vitals": "^1.1.2",
    "express": "^4.17.1"
  }
}
6. ローカル環境での起動
git bashを起動、backendフォルダに移動する
$ cd c:/heroku/test-app/backend
下記コマンドを実行してbackendのサーバーを起動する
※テスト起動中はgit bashを起動したままにしておく事
$ npm start
新たにgit bashを起動、frontendフォルダに移動する
$ cd c:/heroku/test-app/frontend
下記コマンドを実行してfrontendのサーバーを起動する
※テスト起動中はgit bashを起動したままにしておく事
$ npm start
ブラウザが立ち上がって画面が表示されれば完了
7. Herokuへのデプロイ手順
git bashを起動、アプリフォルダに移動する
$ cd c:/heroku/test-app
git初期化を実行
$ git init
herokuにアプリを作成する、アプリ名は例としてtestApp
※新規作成時のみ実行、更新の際は不要
$ heroku create testApp
gitにファイル追加
$ git add .
gitをコミット
※-m以下はコメントを追記するコマンドで任意
$ git commit -m "コメント"
herokuへpushコマンドでデプロイする
$ git push heroku master
8. アプリ実行
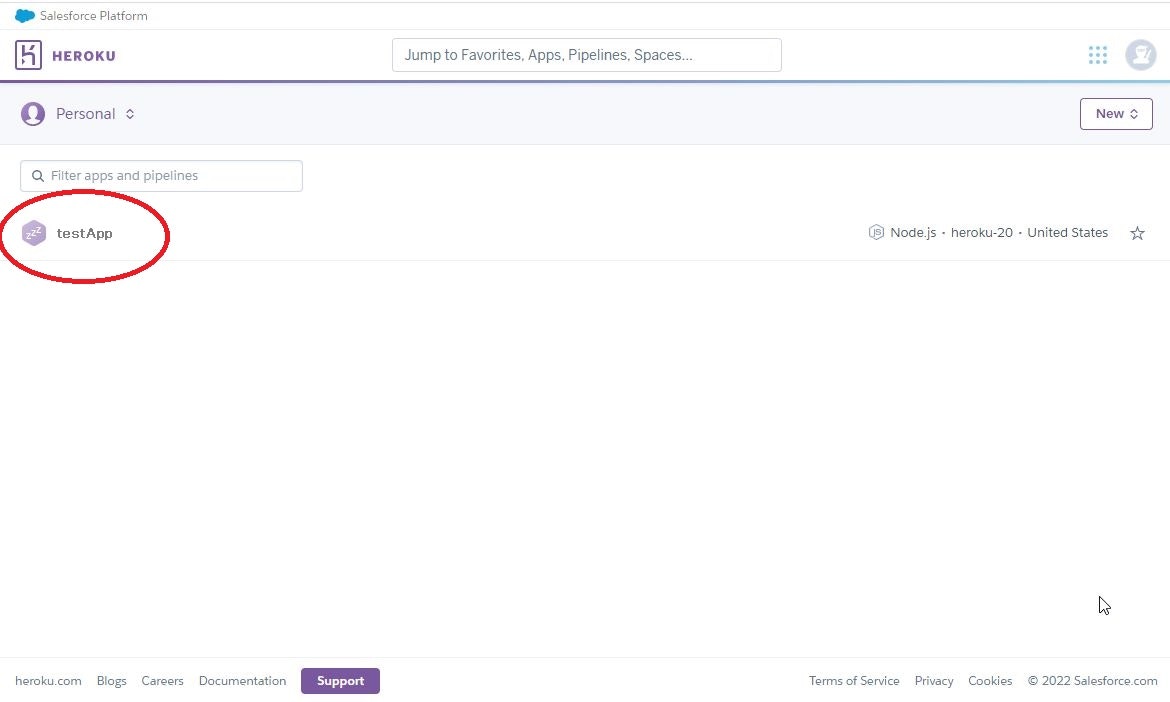
Heroku公式からログイン
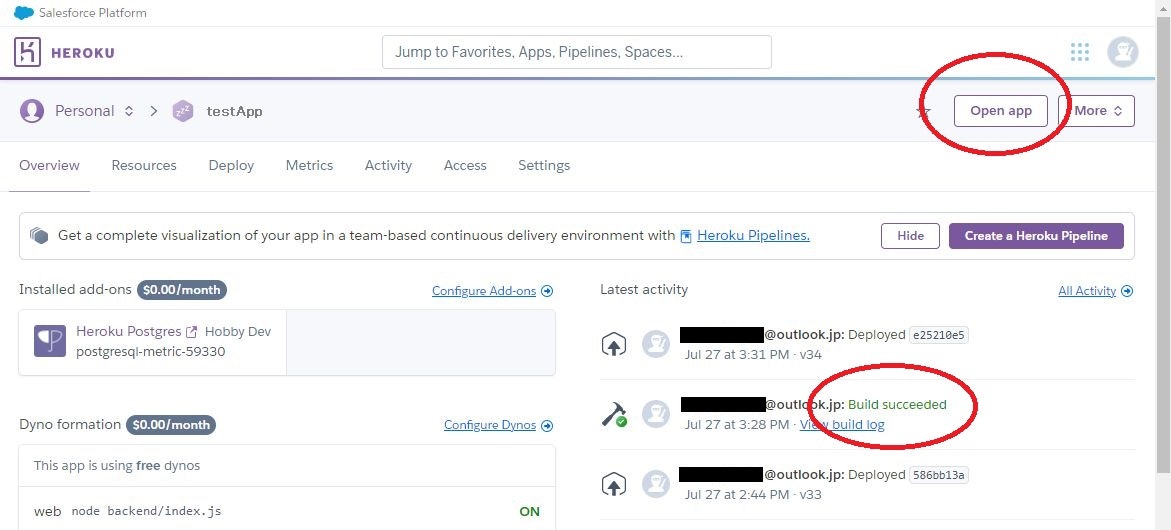
作成したアプリのページへ移動して、右上のOpen Appをクリックすると作成したアプリが開く
Latest activityにBuild succeededと表示されていれば正常にデプロイが完了している
失敗している場合はView build logよりlogが確認出来る


