1. はじめに
UnityのARFoundationとShaderを使った事始めとして、このようなものをつくりました。
本記事では、この実装に関して紹介していきます。
カメラ映像をテクスチャにするやつやっとできた#arkit3 #ARFoundation pic.twitter.com/gRDyynsN6O
— koyo arai (@koyoarai_) April 26, 2020
カメラ映像の一部分を平面オブジェクトのテクスチャにし、AR空間上の映像の一部分を変形させています。カメラ映像と平面オブジェクトの座標を揃えるため、「カメラ映像をテクスチャにしたオブジェクトのメッシュに合わせてARで表示する」実装を行います。
2. 環境
- Unity2019.2.2
- ARFoundation3.1
- XCode11.3
3. 準備
3.1 ARFoundationのクローン
GitHubからAR Foundation Samplesをクローンします。以下のURLでは、今回の実装に使用したバージョン(3.1)を指定しています。
https://github.com/Unity-Technologies/arfoundation-samples/tree/3.1
4. 実装
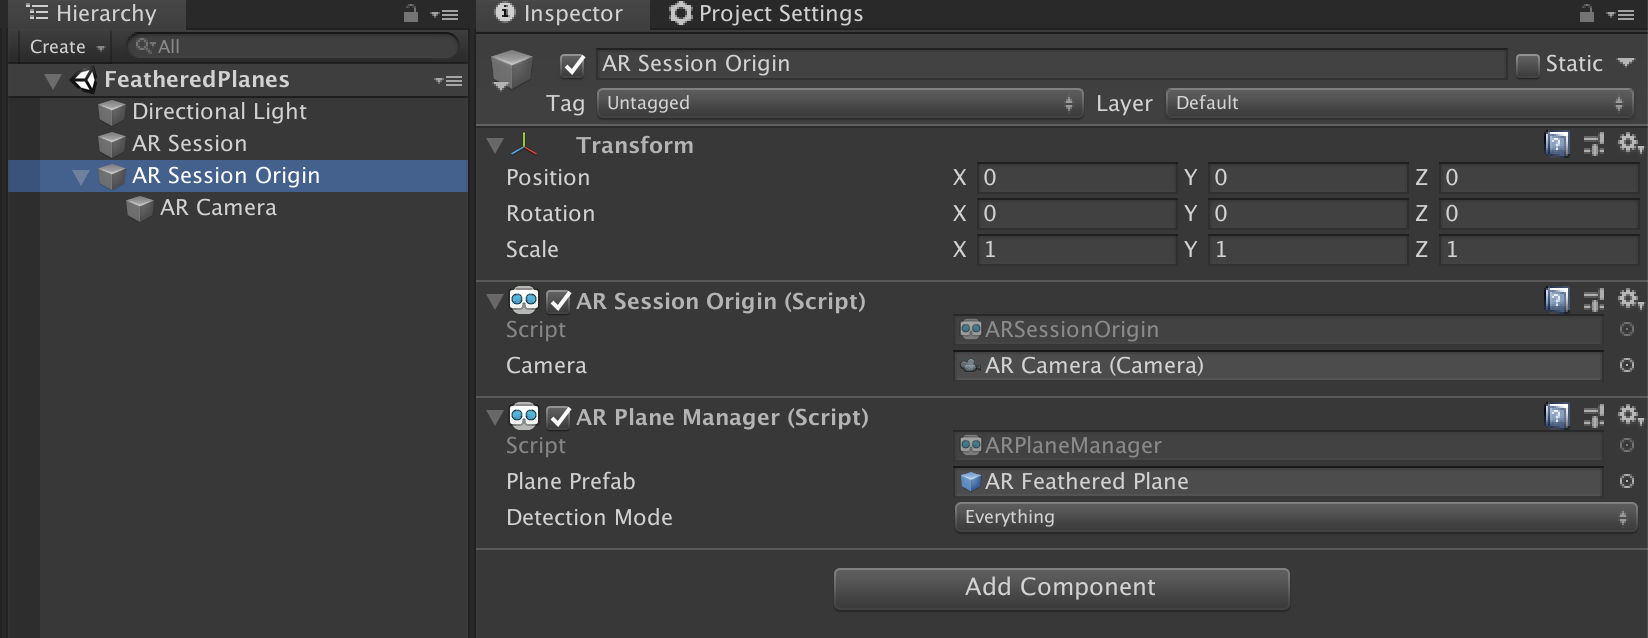
サンプルシーンのFeatheredPlanesを元に進めていきます。
AR Session Originのコンポーネントとして追加されている「ARPlaneManager」は今回は使わないので、RemoveComponentします。
4.1 カメラ映像をテクスチャにするPlaneの作成
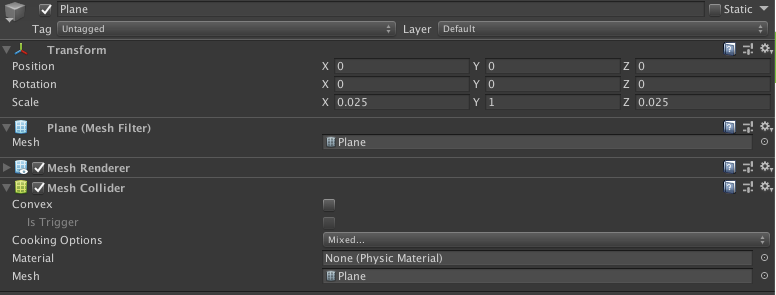
生成するPlaneを作成します。小さめサイズにするため
Scaleを(0.025, 1, 0.025)とします。
4.2 RenderTextureの作成
カメラ映像をPlaneのマテリアルに適用させるため、RenderTextureを作成します。
デフォルトのサイズのままでも動作確認はできましたが、解像度が低いためサイズを変更します。

4.3 CameraPlane.shaderの作成
先ほど作成したRenderTexture(カメラ映像)をテクスチャにしPlaneオブジェクトのメッシュに合わせてARで表示します。テクスチャのUV座標をカメラ映像の箇所と揃えるため、オブジェクトのメッシュの頂点座標をスクリーン座標に変換し、テクスチャのUVとして使用します。
以下のシェーダーを作成し、生成するPlaneのマテリアルに適用させます。
Shader "Custom/CameraPlane"
{
    Properties
    {
        _MainTex ("Albedo (RGB)", 2D) = "white" {}
    }

    SubShader
    {
        Pass
        {
            CGPROGRAM

            #pragma vertex vert
            #pragma fragment frag
            #include "UnityCG.cginc"

            struct appdata_t
            {
                float4 vertex : POSITION;
                float4 color : COLOR;
                float2 uv : TEXCOORD0;
            };

            struct v2f
            {
                float4 vertex : POSITION;
                float4 color : COLOR;
                float2 uv : TEXCOORD0;
                float2 screenpos : TEXCOORD1;
            };

            sampler2D _MainTex;

            v2f vert(appdata_t IN)
            {
                v2f OUT;

                float4 _vertex = IN.vertex;
                float ampX = 0.1f * sin(_Time * 100 + IN.vertex.x);
                float ampZ = 0.1f * sin(_Time * 100 + IN.vertex.z);

                _vertex.xyz = float3(IN.vertex.x + ampX, IN.vertex.y, IN.vertex.z + ampZ);

                OUT.vertex = UnityObjectToClipPos(_vertex);
                OUT.uv = IN.uv;
                OUT.color = IN.color;

                float4 objectToClipPos = UnityObjectToClipPos(IN.vertex);
                float4 spreenPos = ComputeScreenPos(objectToClipPos);
                float2 uv = spreenPos.xy/spreenPos.w;

                OUT.screenpos = uv;
                return OUT;
            }

            fixed4 frag(v2f IN) : COLOR
            {
                float2 xy = IN.screenpos.xy;
                half4 c = tex2D(_MainTex, xy);
                return c;
            }
            ENDCG
        }
    }
    FallBack "Diffuse"
}
解説
UnityObjectToClipPosによって、オブジェクトのワールド座標からクリップ空間の点へ変換。
そしてComputeScreenPosを行い、クリップ空間からスクリーン座標へ変換し、wで除算してカメラ映像(_MainTex)の0~1のとなるUV座標に用いています。
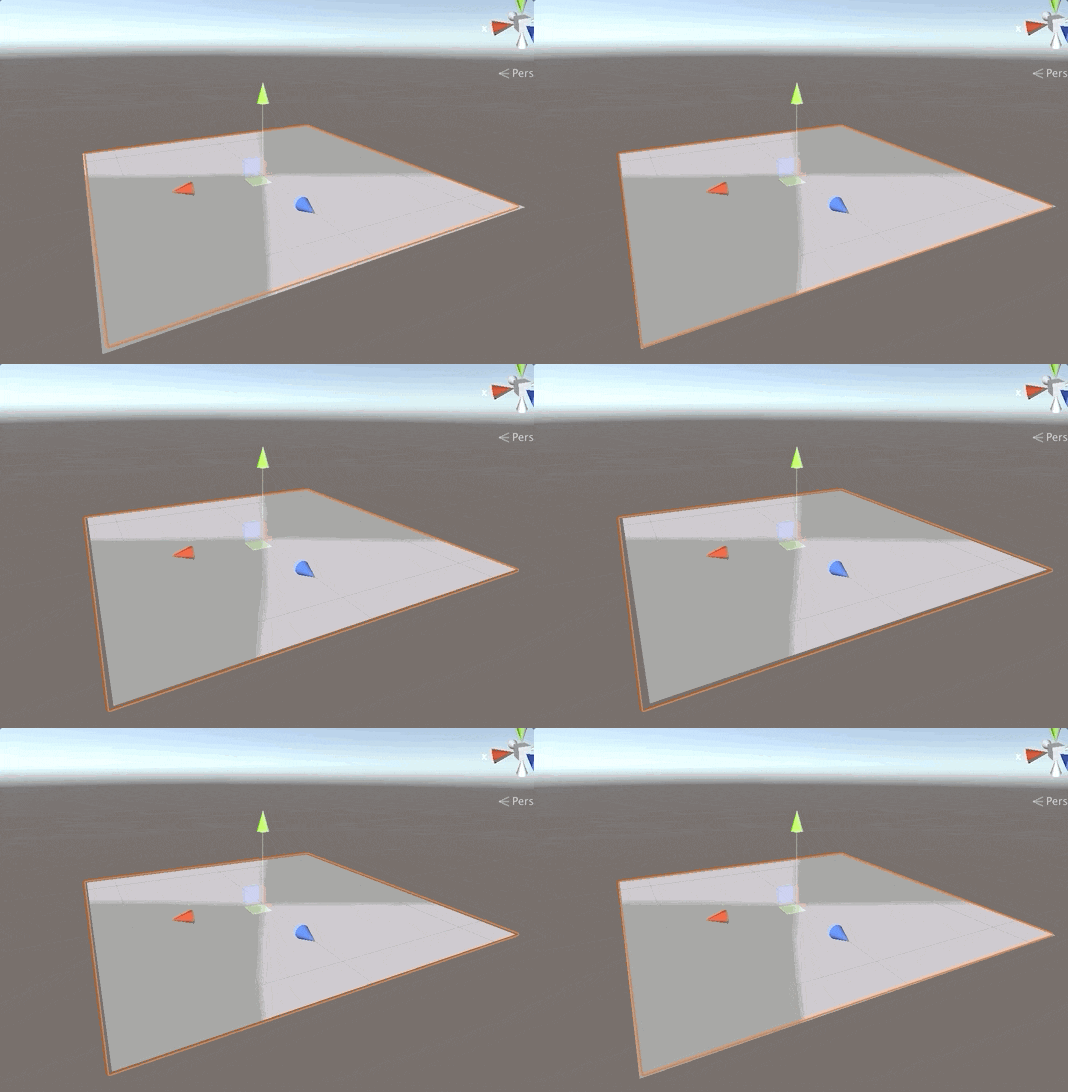
アニメーションは、sin関数を使って時間経過とともに頂点のxz座標を変化させています。
※カメラ映像でなく、適当なテクスチャを適用させた例
4.4 Planeを生成する ARPlaneControllerの作成
Planeを生成するスクリプトを作成します。UnityのARFoundationでAR空間に豆腐を召喚するという記事を参考にさせていただきました。RenderTextureを更新する部分のみ追加しています。
using System.Collections.Generic;
using UnityEngine;
using UnityEngine.XR.ARFoundation;
using UnityEngine.XR.ARSubsystems;

[RequireComponent(typeof(ARRaycastManager))]
public class ARPlaneController : MonoBehaviour
{
    [SerializeField] private GameObject planeObject;
    [SerializeField] private ARCameraBackground arCameraBackground;
    [SerializeField] private RenderTexture renderTexture;
    private GameObject generateObject;
    private ARRaycastManager raycastManager;
    private static List<ARRaycastHit> hits = new List<ARRaycastHit>();

    void Awake()
    {
        raycastManager = GetComponent<ARRaycastManager>();
    }

    void Update()
    {
        if (generateObject)
        {
            UpdateObjectTexture();
        }
        if (Input.touchCount > 0)
        {
            Vector2 touchPosition = Input.GetTouch(0).position;
            if (raycastManager.Raycast(touchPosition, hits, TrackableType.Planes))
            {
                var hitPose = hits[0].pose;

                if (generateObject)
                {
                    generateObject.transform.position = hitPose.position;
                }
                else
                {
                    generateObject = Instantiate(planeObject, hitPose.position, Quaternion.identity);
                }
            }
        }
    }

    private void UpdateObjectTexture()
    {
        Graphics.Blit(null, renderTexture, arCameraBackground.material);
    }
}
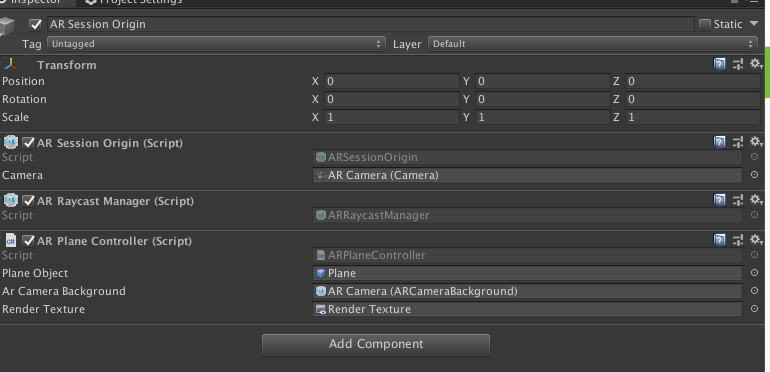
作成したARPlaneControllerをAR Session OriginにAdd Componentします。
そして上記で作成したPlaneとRenderTextureを紐づけます。arCameraBackgroundには、AR Session Originの子オブジェクトのAR Cameraを指定します。

解説
ARCameraBackgroundのマテリアルを取得することにより、カメラ映像のテクスチャを取得しています。このテクスチャをUpdateObjectTexture() によって、カメラ映像をRenderTextureにコピーしています。
private void UpdateObjectTexture()
{
    Graphics.Blit(null, renderTexture, arCameraBackground.material);
}
5. おわりに
AR空間上のカメラ映像の一部分を変形させる実装ができたので、変形の実装部分を改良して表現を模索していきたいです。
また今回の変形の例では、Planeの継ぎ目の部分がズレてしまっているため、多少不自然に見えてしまいます。より自然に見せるためには工夫が必要そうです。
おまけ
シェーダーの練習をARで試すとたのしい#arkit #ARFoundation pic.twitter.com/y8tGRbkW7Y
— koyo arai (@koyoarai_) April 27, 2020
トゲトゲ。iPad Proだと平面綺麗に取れてる気がする#arkit #madewithunity pic.twitter.com/AORP5yqhEM
— koyo arai (@koyoarai_) April 28, 2020


