はじめに
Python GUIツールのTkinterのクラス化に関して、定番のやり方を整理します。
このテンプレートを利用し、Image Viewerを作る手順の紹介記事です。(追記)
TkinterでImage Viewerを制作
クラス化のテンプレート
- Applicationクラス
Widget設定&配置, Callback関数を定義 - main関数
import tkinter as tk
from tkinter import ttk

class Application(tk.Frame):
    def __init__(self,master):
        #super().__init__(master)
        #self.pack()

        self.master.geometry("300x300")
        self.master.title("Tkinter with Class Template")

        self.create_widgets()

    def create_widgets(self):
        pass

    def callBack(self):
        pass

def main():
    root = tk.Tk()
    app = Application(master=root)#Inherit
    app.mainloop()

if __name__ == "__main__":
    main()
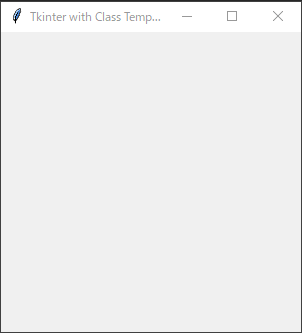
実行結果
Tkinter手続き型プログラミングの例
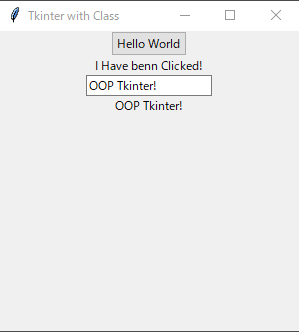
ボタンを押すと下記の動作を行うGUIを作ります。
1. メッセージが変わる
2. Entryに入力されたテキストを出力する
今回は、手続ぎ方プロブラムで書きます。直観的で理解しやすいですが、プロジェクトが大きくなると維持補修が難しくなる欠点があります。
import tkinter as tk
from tkinter import ttk

# Generate root instance
root = tk.Tk()
root.geometry("300x300")
root.title("Tkinter without Class")

# Define Button Click Event Function

def say_Hello():
    print("Hello World") # on python console
    label_hello.configure(text="I Have benn Clicked!")
    print(name.get())
    label_name.configure(text = name.get())

# Define Button Widget

button_hello = ttk.Button(master=root)
button_hello.configure(text="Hello World")
button_hello.configure(command = say_Hello)
button_hello.pack()

# Define Label Widget
label_hello = ttk.Label(master=root)
label_hello.configure(text = 'A Label')
label_hello.pack()

# Define Enntry Widget
name= tk.StringVar()
entry_name = ttk.Entry(master=root)
entry_name.configure(textvariable = name)
entry_name.pack()

# Define Label Widget2
label_name = ttk.Label(master=root)
label_name.configure(text = 'Please input something in Entry')
label_name.pack()


# Start GUI
root.mainloop()
Tkinterオブジェクト指向プログラミング
ここでは、前章の手続き型プログラミングのコードを、クラス化のテンプレートに変更します。
self.には気を付けましょう。
import tkinter as tk
from tkinter import ttk

class Application(tk.Frame):
    def __init__(self,master):
        #super().__init__(master)
        #self.pack()

        self.master.geometry("300x300")
        self.master.title("Tkinter with Class")

        self.create_widgets()


    # Create Widgets function
    def create_widgets(self):
        #Button
        self.button_hello = ttk.Button(self)
        self.button_hello.configure(text="Hello World")
        self.button_hello.configure(command = self.say_Hello) #do not forget to add self!
        self.button_hello.pack()

        #Label
        self.label_hello = ttk.Label(self)
        self.label_hello.configure(text='A Label')
        self.label_hello.pack()

        #Entry
        self.name = tk.StringVar()
        self.entry_name = ttk.Entry(self)
        self.entry_name.configure(textvariable = self.name)
        self.entry_name.pack()

        #Label2
        self.label_name=ttk.Label(self)
        self.label_name.configure(text = 'Please input something in Entry')
        self.label_name.pack()

    # Event Callback Function
    def say_Hello(self):
        print("Hello, World")  # on python console
        self.label_hello.configure(text="I Have benn Clicked!")
        print(self.name.get())
        self.label_name.configure(text=self.name.get())


def main():
    root = tk.Tk()
    app = Application(master=root)#Inheritクラスの継承!
    app.mainloop()

if __name__ == "__main__":
    main()
実行結果
まとめ
クラスを使うとPythonのコードが更に構造的で読みやすくなることがわかりました。これでどんどん拡張して行きます。
やっとPythonの世界が見えてきた気がしました。

