目的
rebuildfm の Miyagawa さんがGoogle の Cloud Speech-to-Text API を用いてマルチチャンネル音声の文字起こし(コードはこちら)をされていたので、以前自身で書いたブログ(Google Cloud Speech API を使った音声の文字起こし手順)を参考にマルチチャンネル音声の文字起こしにトライ してみました。
Google Cloud-to-Speech マルチチャンネルで 1/2 わけて transcribe するのできた。チャンネルごとに書き出して sox -M でマージ、あとは チャンネル数指定してあげるだけでできた。2ch だったらL/R でやるのでもいいのかも。
— Tatsuhiko Miyagawa (@miyagawa) 2019年2月22日
ただチャンネルごとに書き出すのちょっと面倒。 pic.twitter.com/EtqtNW47f5
事前準備
- 先の記事(Google Cloud Speech API を使った音声の文字起こし手順) の事前準備は実施済みとします
- マルチチャンネル音声データは Google Cloud Platform リポジトリの commercial_stereo.wav をローカルPCにダウンロードしておきます(一応 こちら にも置いておきます)。
手順
0. 準備
先の記事(Google Cloud Speech API を使った音声の文字起こし手順)の手順1 ~ 5 とまで実施し、上記の commercial_stereo.wav を GCP のストレージにアップロードします。
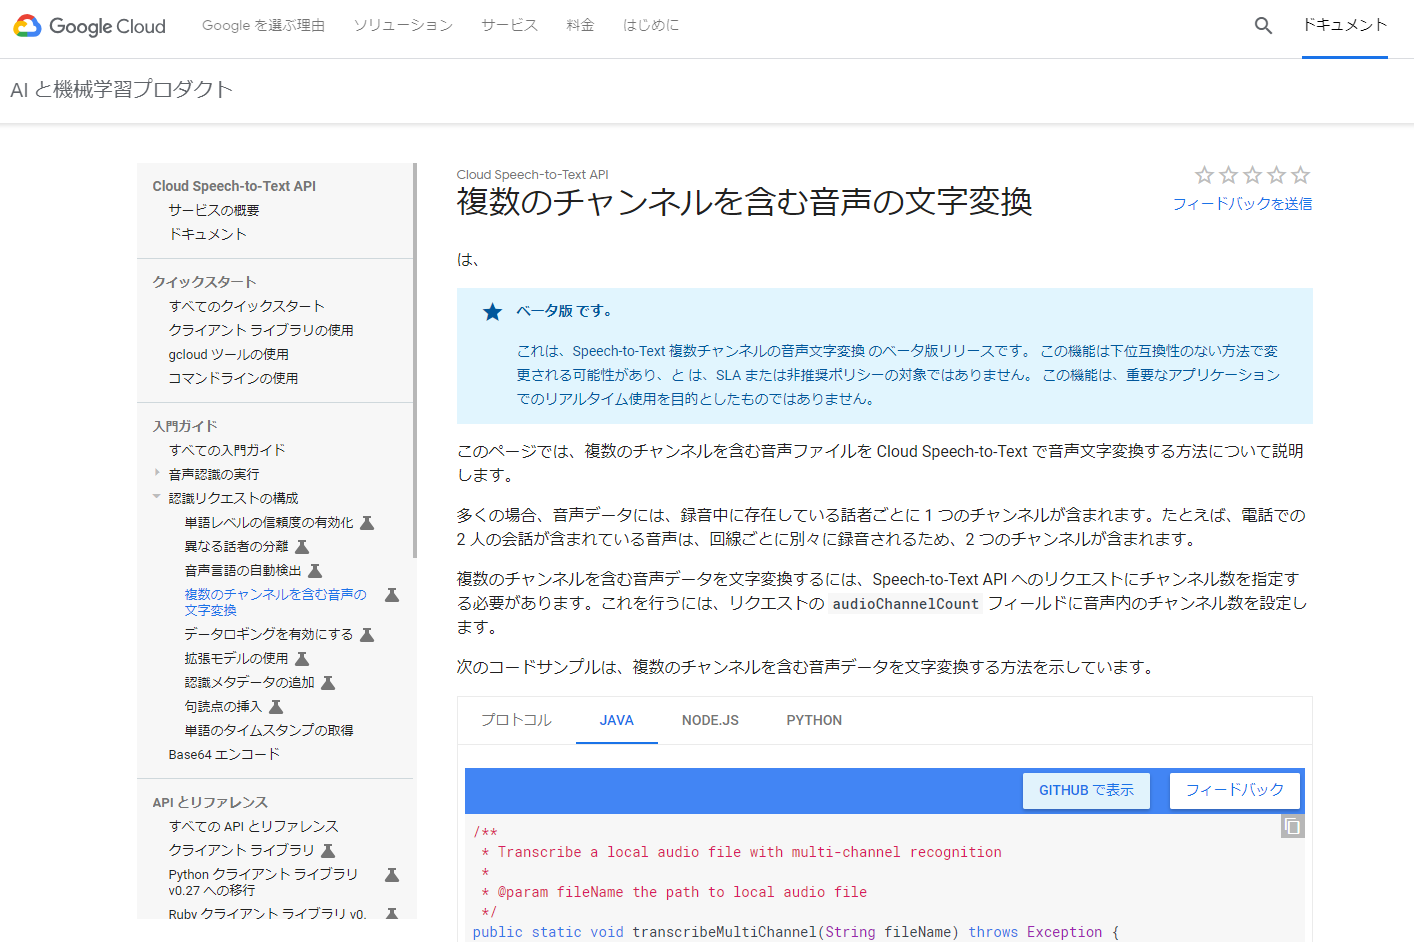
また今回利用するマルチチャンネル音声の文字起こしには、Cloud Speech-to-Text API のベータ版の利用が必要となるため、下記コマンドで Google Cloud Shell上 google-cloud-speech をアップグレードしておきます。

sudo pip install --upgrade google-cloud-speech
1. マルチチャンネル音声向けの文字起こしPythonスクリプトの作成
Google Cloud Shell上で文字起こし実行用のPythonスクリプトを作成します。
$ nano transcribe.py
文字起こし用のPythonスクリプト(英語音声用):
# !/usr/bin/env python
# coding: utf-8
import argparse
import io
import sys
import codecs
import datetime
import locale

def transcribe_gcs(gcs_uri):
    from google.cloud import speech_v1p1beta1 as speech
    from google.cloud.speech_v1p1beta1 import enums
    from google.cloud.speech_v1p1beta1 import types
    client = speech.SpeechClient()

    audio = types.RecognitionAudio(uri=gcs_uri)
    config = types.RecognitionConfig(
        sample_rate_hertz=44100,
        encoding=enums.RecognitionConfig.AudioEncoding.LINEAR16,
        language_code='en-US',
        audio_channel_count=2,
        enable_separate_recognition_per_channel=True)

    operation = client.long_running_recognize(config, audio)

    print('Waiting for operation to complete...')
    operationResult = operation.result()

    d = datetime.datetime.today()
    today = d.strftime("%Y%m%d-%H%M%S")
    fout = codecs.open('output{}.txt'.format(today), 'a', 'shift_jis')

    for result in operationResult.results:
      for alternative in result.alternatives:
        fout.write(u'ChannelTag: {}\n'.format(result.channel_tag))
        fout.write(u'Transcript: {}\n'.format(alternative.transcript))
    fout.close()

if __name__ == '__main__':
    parser = argparse.ArgumentParser(
        description=__doc__,
        formatter_class=argparse.RawDescriptionHelpFormatter)
    parser.add_argument(
        'path', help='GCS path for audio file to be recognized')
    args = parser.parse_args()
    transcribe_gcs(args.path)
ポイントとしては下記3点です:
- マルチチャンネル音声認識の設定として、マルチチャンネル音声のチャンネル数(今回の音源は2チャンネル)の設定、チャンネルごとの音声認識フラグを True にします。
        audio_channel_count=2,
        enable_separate_recognition_per_channel=True
- チャンネルごとに分けてテキスト書き出しをします。
for result in operationResult.results:
      for alternative in result.alternatives:
        fout.write(u'ChannelTag: {}\n'.format(result.channel_tag))
        fout.write(u'Transcript: {}\n'.format(alternative.transcript))
- 今回新機能利用のためCloud Speech-to-Text APIベータ版をインポートしています(将来的に正規版に組み込まれた場合は下記正規版のインポートへと記述を変更する必要があると思われます)。
    from google.cloud import speech_v1p1beta1 as speech
    from google.cloud.speech_v1p1beta1 import enums
    from google.cloud.speech_v1p1beta1 import types
また、日本語の文字起こしをしたい場合は下記1行を修正します:
language_code='en-US')
↓
language_code='ja-JP')
2. マルチチャンネル音声文字起こしの実行
Google Cloud Console 上で下記コマンドにて文字起こしを実行します。
$ python multichannel_transcribe.py gs://バケット名/音声データ名.wav
3. 結果
今回注目したいのが、2人の会話(お店にChromecast を買いに来た人とその店員との会話)が分離された形でチャンネルタグ1 とチャンネルタグ2 として音声認識できている という点です。
これまでの音声ファイルからの文字起こしではこうしたチャンネルごとに分けられずテキストが出力されていました。
今回Cloud Speech-to-Text APIベータ版のマルチチャンネル音声の文字起こし機能を利用することで、電話の受け答えのような複数のチャンネルを含んだ音声についてチャンネルを分けた形で文字起こしができそうという手ごたえを得られました。
ChannelTag: 1
Transcript: hi I'd like to buy a Chromecast I was wondering whether you could help me with that
ChannelTag: 2
Transcript: certainly which color would you like we have blue black and red
ChannelTag: 1
Transcript:  let's go with the black one
ChannelTag: 2
Transcript:  would you like the new Chromecast Ultra model or the regular Chromecast
ChannelTag: 1
Transcript:  regular Chromecast is fine thank you
ChannelTag: 2
Transcript:  okay sure would you like to ship it regular or Express
ChannelTag: 1
Transcript:  express please
ChannelTag: 2
Transcript:  terrific it's on the way thank you
ChannelTag: 1
Transcript:  thank you very much bye
参考
- https://twitter.com/miyagawa/status/1098815809701347328
- https://gist.github.com/miyagawa/7624f237f103554fdfbdad44f8857355
- https://cloud.google.com/speech-to-text/docs/multi-channel?hl=ja#speech-multi-channel-python
- https://stackoverflow.com/questions/50773013/importerror-cannot-import-name-speech-v1p1beta1
所感
- 今回本当は rebuildfm #131 の「年の割に無責任 」 の回(自分の好きな回)をチャンネルを分けた形で文字起こししてみたいと考えてトライしたのがきっかけでした。
- しかし、結果として Podcastサイトの mp3 をそのままダウンロードした場合、音源データ自体が複数チャンネル情報を含んでいなかったため、上記 Python スクリプト実行時に「設定されらチャンネル数が間違っている」という意味のエラーで複数のチャンネル音声の文字起こしはできませんでした。。( ;∀;)
- そのため、適用範囲としては複数人の声が入った音声データではなく、あくまで音声データ自体がマルチチャンネル音声である必要がある 点、注意点として強調しておきたいと感じました。